

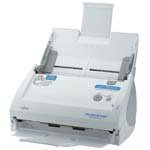
If you’ve been following my blog over the past few months, you know I have had an interest in portable document scanners. The first one that I took a look at was the Fujitsu ScanSnap S510M. I’m still using it and VERY HAPPY with it. Then I wanted something smaller and more portable for scanning receipts. So I took a look at the latest one from Neat Receipts. It fit the bill for the size that I was looking for and has a great app that drives it (especially for scanning receipts), but the hardware pales by comparison to the ScanSnap S510M. So that brings me to the Fujitsu ScanSnap S300M. This scanner is smaller than the S510M, but larger than the Neat Receipts scanner. It’s not as fast as the S510M, but much faster than the Neat Receipts model. So it clearly fits right in the middle of the two in just about every way.
| Â |
Neat Receipts |
ScanSnap S300M |
ScanSnap S510M |
| Speed | 4 rpm-receipts per minute (single sided) | 8 ppm (double sided) | 18 ppm (double sided) |
| Two Sided Scanning | No | Yes | Yes |
| Color & B&W Scanning | Yes | Yes | Yes |
| Size | 10.8″Wx1.6″Dx1.3″H | 11.18″Wx3.74″Dx3.03″H | 11.2″Wx6.2″Dx6.2″H |
| USB Powered | Yes | Yes (either USB or AC) | No |
| Scan to PDF | Yes | Yes | Yes |
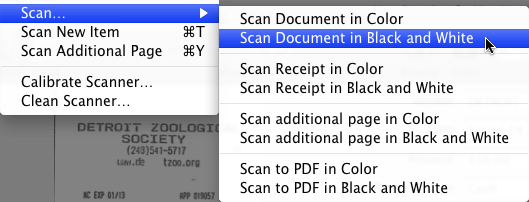
| OCR Capability/Searchable PDF | Yes | No | Yes |
| Auto Document Feader | None | 10 sheets | 50 sheets |
| Comes with full Acrobat | No | No | Yes |
| Price | $161.85 | $266.79 | $433.89 |


How fast is the ScanSnap 300M?
I decided to put all 3 scanners to the test and record it so that you can see for yourself. I took the same 3 documents and scanned them on each scanner. See for yourself in this video:
I like all 3 models
Of course each one has its pluses and minuses. When it comes to eliminating paper on my desk, nothing beats the ScanSnap S510M. I’m still blown away by how FAST this scanner works. I’ve never seen anything like it. I also like its “baby brother” the S300M because it takes up less space and costs less. Also since I already own Acrobat 9 Professional, I don’t need the added expense of having that bundled in (like it is on the S510M). When It comes to scanning on the go and especially scanning receipts, the NeatReceipts scanner is my choice. But what if you only could buy one?

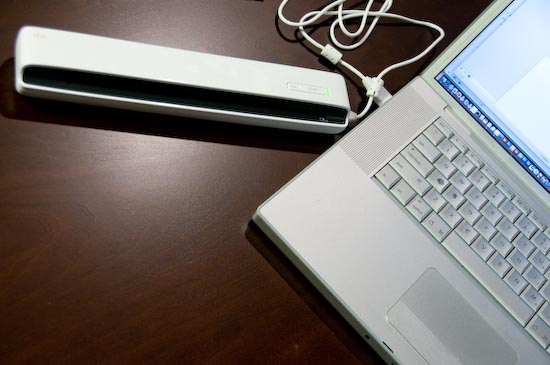
As you can see, the S300M is at least twice the size of the NeatReceipts
Which one is right for you?
Chances are you only need one of these. So it really depends on what you need to scan most and how cost conscious you are. Clearly the NeatReceipts scanner is the smallest and costs less, but it’s also by far the slowest and only handles single-sided documents one page at a time. If you plan to scan a lot of stuff, often, then the S510M would be the way to go. Like I said above, this thing devours stacks of paper without blinking an eye. If you want a happy medium, then I would say go with the S300M. It’s a nice balance between the two. You get double-sided scanning. You get a smaller form factor than the S510M. It can be USB powered for portability and you don’t end up paying for Acrobat if you already have it. The only two downsides to the scanner is that you don’t get OCR (searchable PDF capability built-in), but again if you already own Acrobat, you can do the OCR in Acrobat instead. It’s also a bit bulkier. So you won’t be sliding this one into your laptop bag as easily as the NeatReceipts scanner.
The S300M: Although the S300M doesn’t come with Acrobat or the AbbyFine Reader software like it’s big brother the S510M, it does come with Cardiris for scanning business cards and automatically adding them to your contact manager (such as Address Book on the Mac). The S300M can be USB powered from your computer or powered with the supplied AC adapter. However, I should note that powering it over USB requires TWO USB ports: one for data and one for power. It comes with the necessary cables to either run via USB or AC power.
The Bottom Line
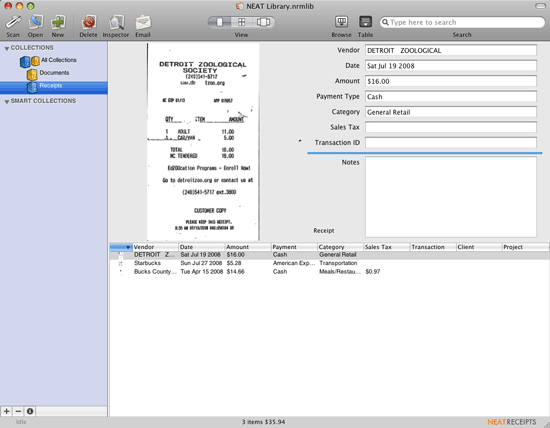
You really can’t go wrong with either one of these 3 scanners. Like I said, I like them all. I do find myself using the NeatReceipts scanner when it comes time to do expense reports at work and the S510M for home/office clean-up and archiving. The NeatReceipts app just can’t be beat for filing receipts and its even improved in a few ways since my initial review. Â All of these scanners are available for Mac or Windows PCs. The S510M and S300M are specifically for Mac (that’s what the “M” stands for), but like I said, you can get the Windows version too (the one without the “M”). These 3 scanners are truly a “Good”, “Better”, “Best” scenario. If I could only have ONE of these, it would probably be the S300M. It’s the right balance between performance and features. See the S300M specs here. You can get the Fujitsu ScanSnap S300M for $266.79 here at Amazon.com.


 OK, you've heard me