Nest vs. Ring vs. Logitech – Which Security Camera is Best?

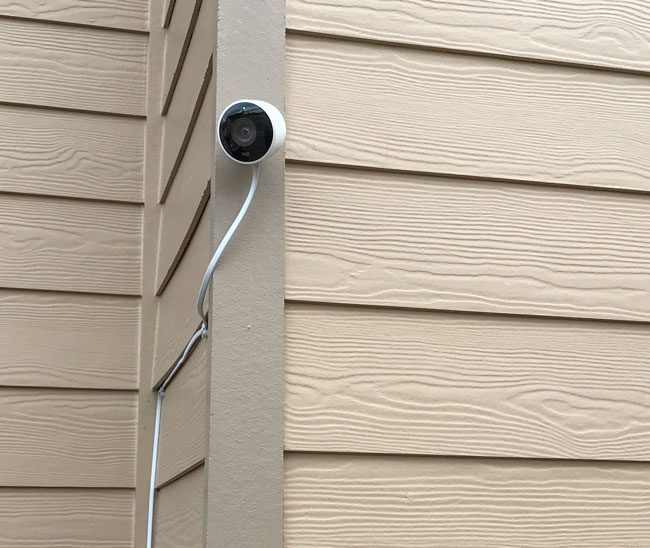
There are several security web cameras and video doorbells on the market right now. Each as you would expect has its advantages and disadvantages over the other one. While there are several viable options out there, today I’m going to focus on three that I use regularly. All of these webcams connect to your home/office network via Wi-Fi. By no means should you walk away thinking that these are the only three options. However, these are the three that I’ve had the most direct experience with.

Why use more than one brand?

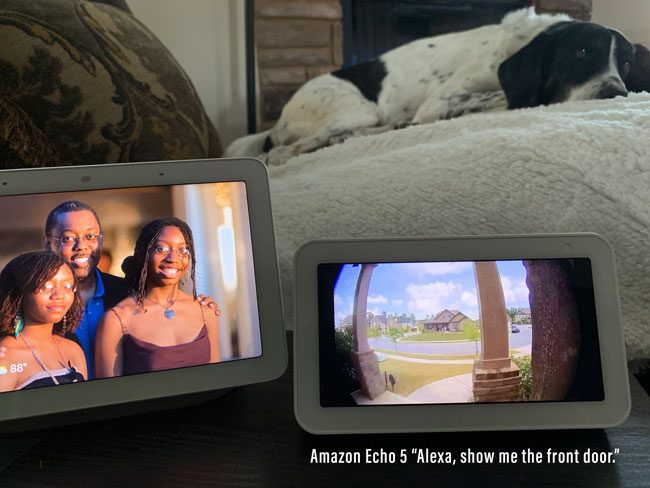
You can absolutely get good cameras from any of the three vendors I’m reviewing today and use that brand exclusively. However, sticking with a single brand may mean that you’re missing out on other features and uses that you may be interested in. For example, I like my Ring cameras because Ring offers solar powered options that don’t require a power outlet outside the house or having to constantly take them down and charge their internal batteries. Ring also works with Amazon Echo (Alexa) smart speakers with displays so that you can view them in any room without having to fire up the app on your phone.

Amazon Echo 5 Showing the Ring Video Pro Doorbell by saying “Alexa, show me the front door.”

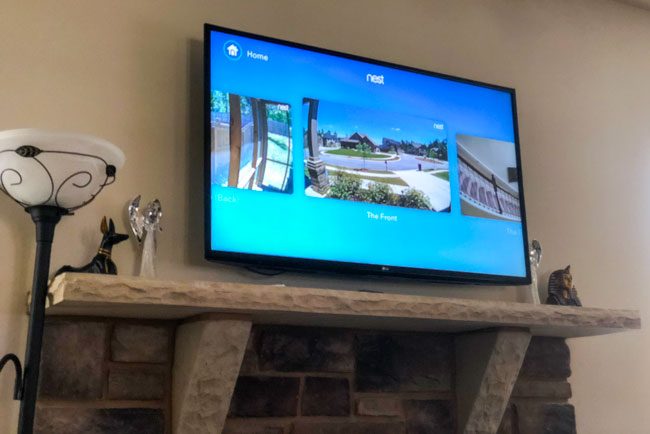
Nest offers both indoor and outdoor cameras that work just as good as the ones from the other two vendors, but I really like that they offer of all things a native Apple TV app so that I can view my cameras on the big screen.

Nest Apple TV App

Logitech offers cameras that cost less and have the big advantage of having native HomeKit support. Having HomeKit support means that the cameras can be integrated into HomeKit Automations. For example, if someone walks within range of a camera at night it can trigger lights inside and/or outside the home to come on automatically. Logitech also lets you do more without having to pay for a monthly subscription to store the videos in the cloud. Because Nest cameras are powered via AC they are always recording/streaming whether there is activity or not. This way you can look at any timeframe to see what happened even if there wasn’t a specific event trigger.

I love all of these features and use them daily, but don’t worry, I’ll tell you by the end of this post which camera I’d go with if I could only pick one.

I started with Nest before it was Nest

Continue reading “Nest vs. Ring vs. Logitech – Which Security Camera is Best?”

I Did the World’s First Nikon D850 Review in 360° 4K

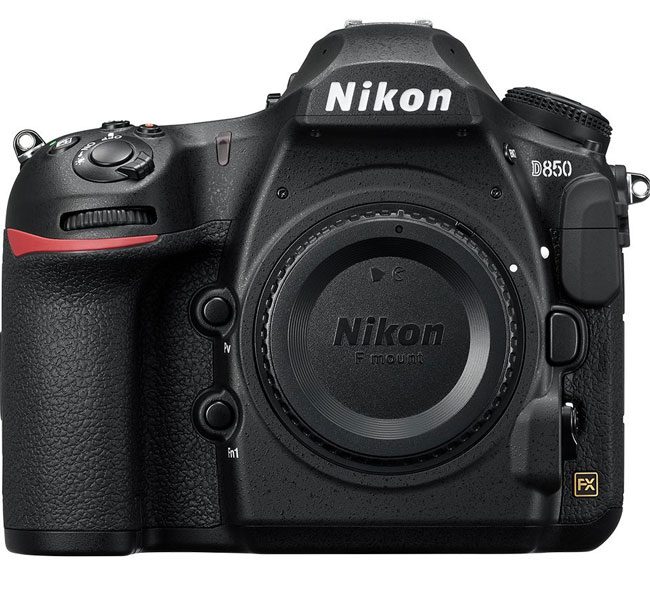
Nikon D850

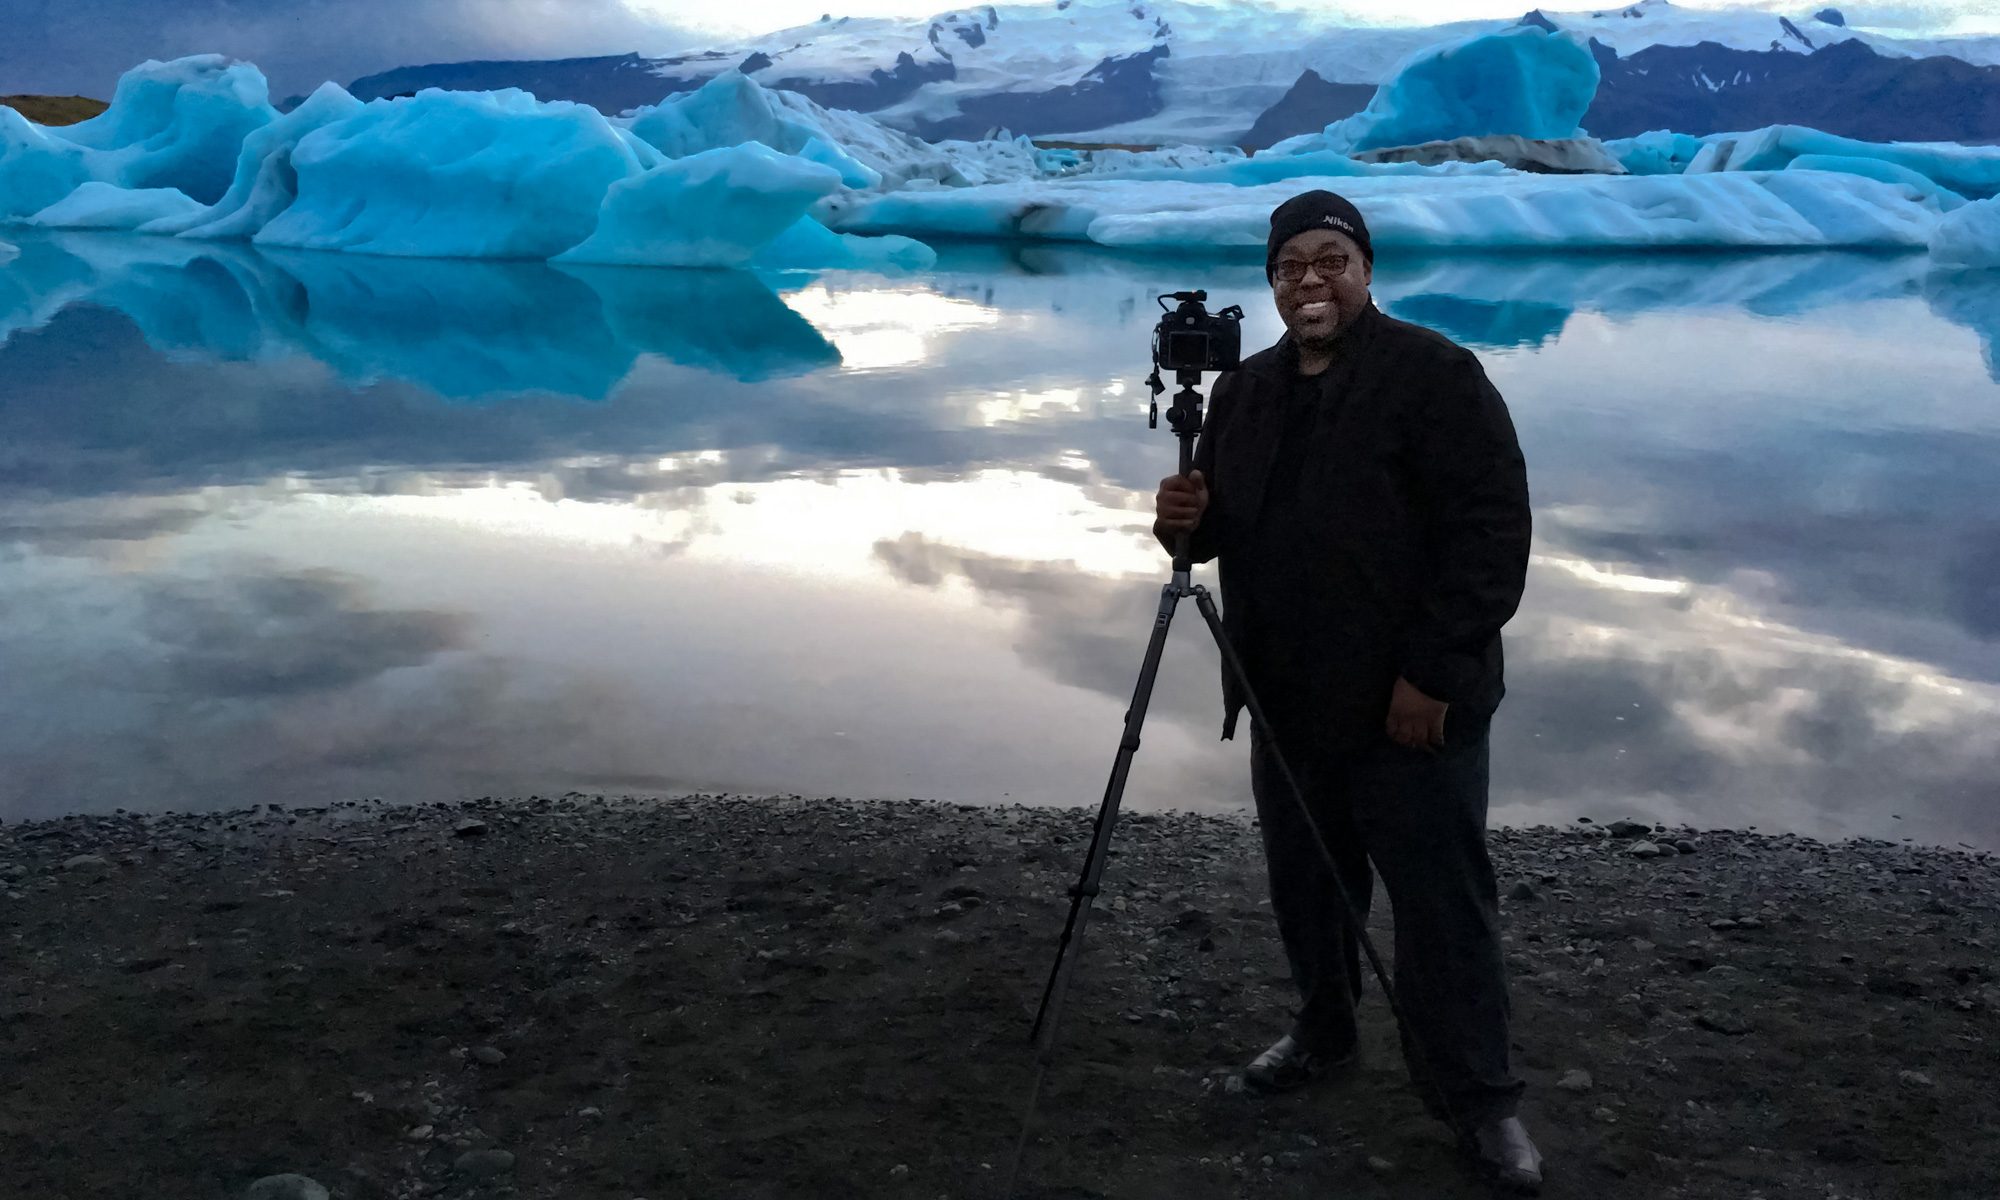
I got the opportunity to review the 2017 DSLR of the Year. It’s the Nikon D850. This camera is so hot that it’s still in short supply several months after it’s release. When Nikon offered to send me one for review (full disclosure, it was a loaner and has been returned. This was NOT a paid review. P.S. I don’t do paid reviews), I jumped at the chance. I wanted to do something beyond just listing specs and showing sample photos. I wanted to do a LIVE shoot, but let YOU the user experience the entire video in 360°. Here’s how it came out:

If you watch the above video you should be able to pan around in a 360° space and watch anything you want when you want. As far as I can tell, this is the first review of the D850 of this kind. If I’m not the first to do it, it’s still a first for me 😀

A few things that are not in the video

Continue reading “I Did the World’s First Nikon D850 Review in 360° 4K”

I love shooting 360° photos and videos – Ricoh Theta S Review


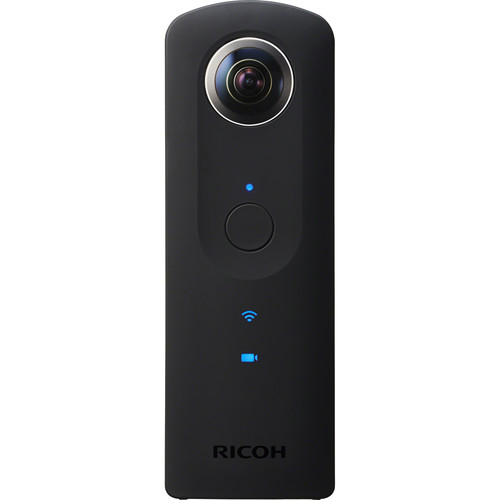
Ricoh Theta S 360° Camera

I’ll be the first to say that when 360° images hit the scene I was not the least bit interested. All I saw from my friends were images like the one below. While they are somewhat interesting to look at in that style, I just didn’t see myself wanting to create a bunch of those. Then the announcement came out that Facebook was now supporting 360° images NATIVELY and INTERACTIVELY.

Continue reading “I love shooting 360° photos and videos – Ricoh Theta S Review”

A 20MP DSLR Quality Camera for your iPhone – DxO ONE


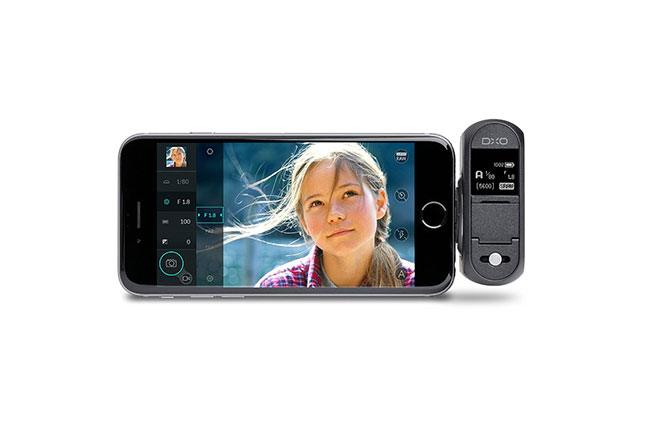
dxo-one

For many people their smartphone is their main or only camera. I’m finding that I use my iPhone 6 Plus to take more and more pictures when I’m out and about. I have no problems with the quality of the images that the iPhone produces, however the one thing that keeps me from using it when it really matters is the lens. Your smartphone has a relatively small lens and sensor. Sure there are some lens attachments out there, but nothing I’ve seen that rivals the quality of my Nikon glass while still maintaining the convenience of a camera that’s in my pocket at all times.

The DxO Labs ONE hopes to solve this problem

wpid14874-DXO_0002-1_sm.jpg
The very first image I took with my DxO ONE

The DxO ONE is a 20MP digital camera with a 1″ sensor that has its own storage and battery. Unlike other solutions in this category that connect wirelessly and therefore slowly, the DxO ONE has a built-in Lightning connector that attaches directly to your iPhone or iPad. This effectively turns your iPhone/iPad display into a touch screen view finder. Because of this direct connection there is virtually no lag. Once in you’re in the Universal DxO ONE app you can control all the settings on the camera including switching between RAW, Super RAW or JPEG as well as Auto mode, Aperture Priority, Shutter Priority, or fully Manual Mode. You can also switch between taking stills and video.

Sometimes showing is easier than writing. Check out this video review I did:

Continue reading “A 20MP DSLR Quality Camera for your iPhone – DxO ONE”

Use the Simplicam to monitor your home or office

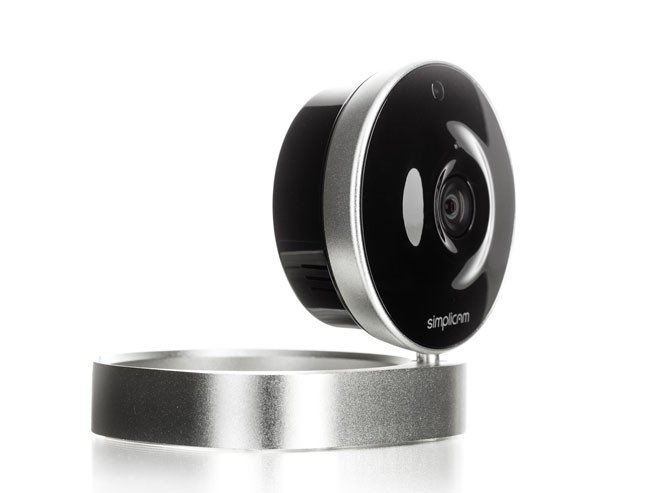
simplicam

WiFi connected webcams are nothing new. When someone enters this category I quickly look to see if they’re adding anything new or if it’s just a me too product. In most cases there isn’t a whole lot that’s new, but companies do sometimes find a way to improve on an already crowded product category. The Simplicam + Closeli is a standard WiFi connected webcam with a nicer design than most. It has a well thought out base/stand as well as things like a 10 foot “flat” USB cable so that you can more easily hide it in your home. This camera can be monitored from your iPhone, iPad, Android device or web browser.

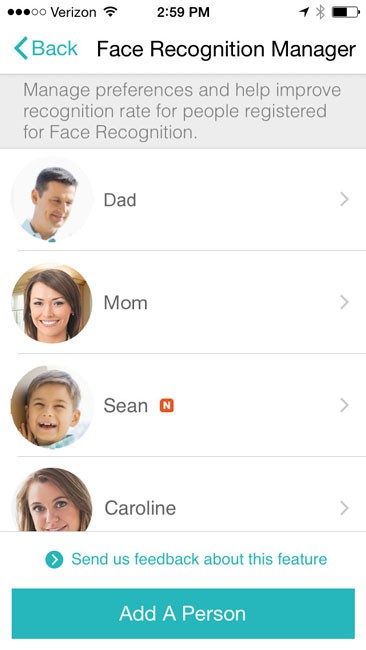
The setup process is pretty straight forward. Just plug the supplied “short” USB cable into your Simplicam and the other end into your Mac/PC. The software mounts in a volume on your computer that you can run from there. Once you’re in the setup utility you’ll use it to connect the Simplicam to your WiFi network. You’ll also create an account on Closeli.com where you’ll get a year of included cloud recording service. Closeli like others has different plans so that you can go back and review footage from your camera based on motion and sound detection. They also bring “face” detection to the table to distinguish between someone actually entering the room vs. the cat running by. You can get push notifications of any of the aforementioned types of activity. You can also schedule times when notifications need not be received (you’re home) or when the camera should be off. Notifications or not you can see what’s going on in the room on demand by just firing up the Closeli app on your mobile device or logging in with your web browser on your computer. You can export clips or still grabs as need. If you need to talk to the people in the room remotely you have two way audio. Yes there is also night vision.

Here’s a video review of the product.

The Bottom Line

simplicam-Face-Recognition-Manager

While I haven’t reviewed any of the newer cameras in this category lately, I would say that just looking at the specs alone Simplicam brings at least two things to the table over the competition and that’s face detection (a beta feature, which can also be set up to recognize specific faces and can tell you when an unrecognized face enters the room.) and a lower priced cloud storage/recording service. The 720p 107° view camera is also better than my older cameras.

You can get Simplicam HD + Closeli here.

Traveling by plane with your camera gear

Recently a fellow photographer asked me about flying with her camera gear and what was allowed and what wasn’t? Since I fly for a living and I usually have at least one camera with me I’m pretty familiar with the rules and thought I’d share some tips here. First I have to give you a disclaimer in that TSA can decide to search any of your baggage at anytime and ask you  to take out every single item one-by-one for inspection. I’ve had it happen! Now with that out of the way luckily this is not the norm. Let’s go over some quick tips on carry-on vs. checked luggage. I absolutely HATE checking my luggage and only do so if I have no choice. This means that I want to carry both a camera bag AND a computer bag on board and therefore I will check the 3rd piece of luggage containing my clothes. Under no circumstances am I ever ever ever going to check my camera or computer gear. It’s like waving good-bye to it as I feel like I’d never see it again. If I have to check my camera gear, then I’m not going! Most airlines allow you one piece of carry-on luggage such as a roller-board suitcase and a personal item such as a backpack, briefcase or purse. For me that means a backpack.

A Quick FAQ

Q. Do I have to take my cameras out of the bag when going through TSA security?

A. Typically NO, but TSA at any time can ask you to take ANYTHING and EVERYTHING out of your bag. With that said I can’t remember the last time they asked to take my cameras out. It’s been years. This of course goes out the window outside the US. Foreign airport security is a lot less forgiving. Give yourself time as you will likely need to take out each piece of gear and put it in a bin.

Q. Should I just check my camera gear under the plane to save the time and hassle.

A. NO! You may never see it again if you do and the airline will NOT replace it.

Q. What about tripods/monopods?

A. I have been known to travel with a tripod from time to time and I put it in my larger roller-board suitcase with my clothes. This however, is a grey area. Some TSA checkpoints will let it go and others will require that you check it as a tripod could be used as a club/weapon. So be prepared with extra time if you’re traveling with a tripod and have it in a bag that you don’t mind checking (not with the rest of your camera gear).

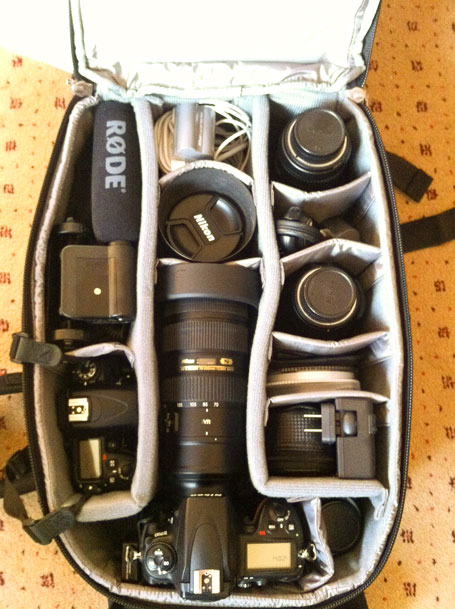
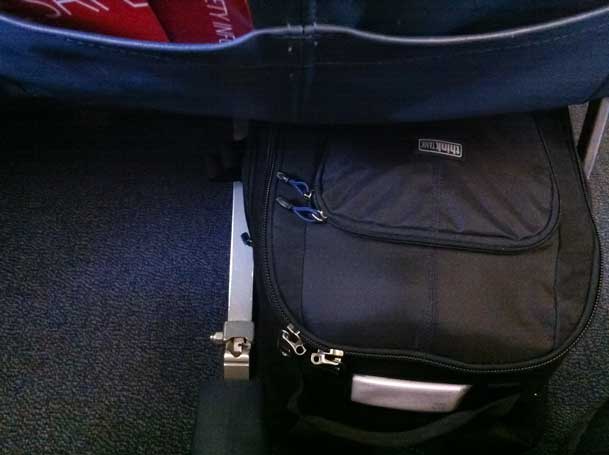
The backpack pictured above is my BIG ThinkTank “Street Walker Hard Drive”  Backpack. This is the one I carry when I’m going on a trip specifically to shoot and I’m going to carry a LOT of camera gear. This one backpack also holds my MacBook Pro 15″ Retina notebook and iPad Air. It weighs a freaking ton once I have I have it loaded, but it still fits under the seat in front of me on a plane and therefore allows me to carry a rollerboard on with my clothes (and tripod) in it.
On trips where I’m carrying less photographic gear but still more than two lenses then I carry my smaller “Kata” backpack:
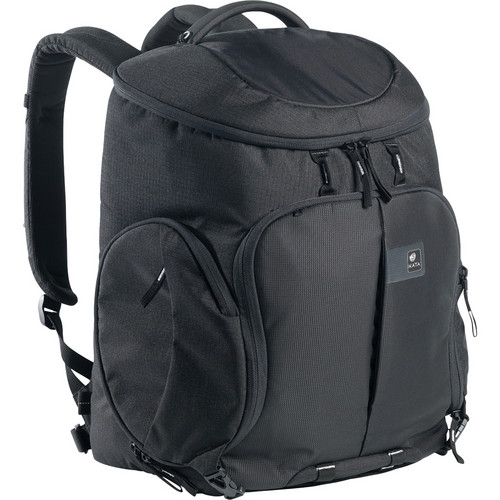
kata

This one will still hold one camera body and 2-3 lenses plus my MacBook Pro. Also since it’s smaller you’ll be less likely to load a ton of gear in it and therefore it will be lighter to carry and manage.

Although both backpacks above  are great for those photo specific trips I go on, neither of them are my “regular” backpacks. Since most of my trips are not photo specific I’m usually carrying only one camera body (my Nikon D600) and one lens (my Nikon 28-300mm) or my even smaller Sony Alpha NEX-3N. My daily/weekly travel backpack is actually my Tumi Alpha T-Pass Laptop Backpack.
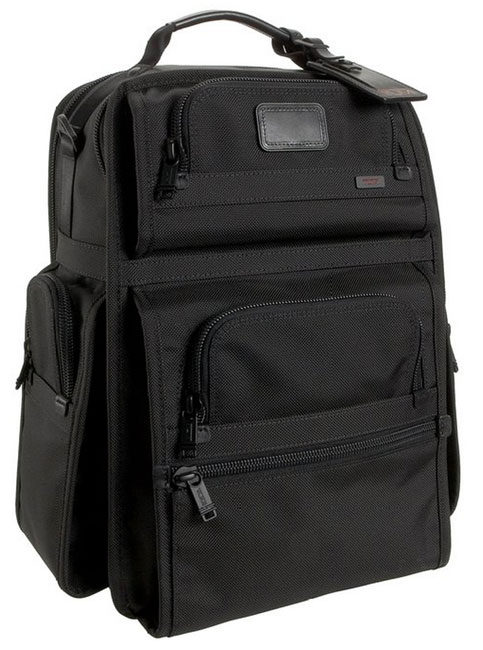
tumi_alpha_t-Pass_backpack

I really like this backpack A LOT! The T-Pass stands for “TSA Friendly” in that the back containing your laptop can unzip so that you can lay the bag flat (open) without having to remove your laptop saving you time. Tumi bags are expensive, but they come with a 5 year warranty and are very very very well constructed. I use this bag daily and it shows no signs of wear after one year so far. There is plenty of room in it for my laptop, iPad, camera stuff and just a ton of other little items that I carry. It weighs a ton once I load it up, but it handles the load very well.


The Bottom Line

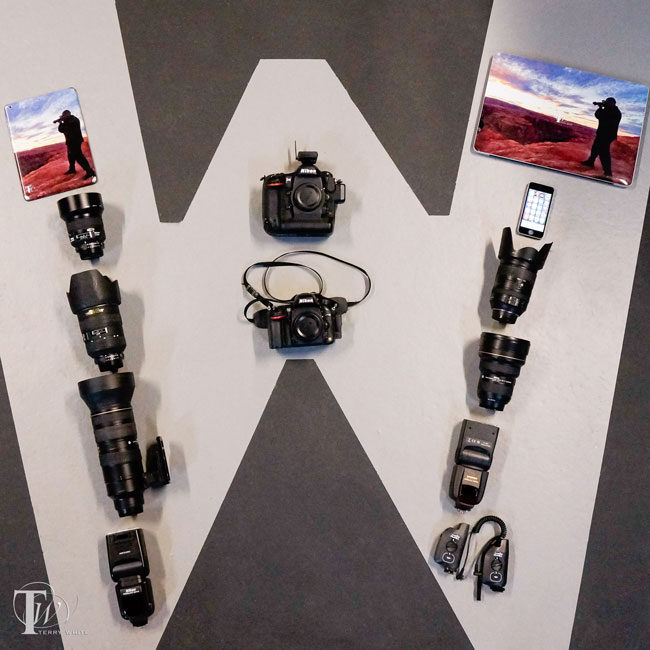
For the most part you should be fine traveling by plane with your camera gear and carrying it on as long as your carry-on bag meets the size restrictions for the overhead bin or under the seat. TSA sees cameras everyday and while they still require you to take your laptop out and put it in a separate bin (unless you are TSA Pre-Check or you have a bag like my Tumi above), they tend to not ask you to take your camera gear out. The only other thing they can be uptight about is carrying a lot of batteries. So keep your extra batteries to a minimum and spread them across multiple carry-on bags as best you can.
W-camera-gear


I Just Became An UPstrap Fan

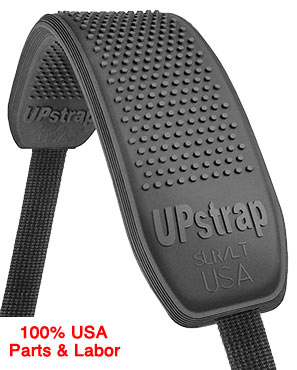
I recently talked about the OPTECH strap that I was using and a few of my photographer buddies suggested that I also look at the UPstrap, so I did. I ordered an UPstrap and finally got a chance to try it out. I gotta say that I was a little skeptical about any strap claiming to not slide off your shoulder. I've heard those claims before. However, I have to say that the UPstrap lives up to its claims. I put it on my Nikon D7000 and no matter what I did (jumping, dancing around, running, etc.) it stayed in place. Wow! While it's not the prettiest strap out there (it's really plain and rubbery looking), it's now my new favorite! Can't wait to do my next photowalk with this one.


Check out the UPstrap here.

iPhone’s One Button HDR: Another wakeup call to camera manufacturers

Yep, I'm back on my "point and shoot cameras are dying" rant again. You might remember this post where I talked about camera phones being the "new point and shoot cameras" and I gave my reasons as to why I felt this way then. As I stated in the earlier post, when it's important I shoot it with my DSLR. However, when it's just about capturing the moment and for fun I'm going to pull out my smartphone and take the shot. Before you argue with me, let me state the obvious: yes point and shoot cameras offer better optics and higher megapixels. They also offer a wider range of features for controlling the shot as well as the higher end models even offering RAW capabilities. Yep, I get it! They are technically better "cameras". No question. However, whenever there's an exciting moment unfolding at a public event I see 10 times more camera phones go up in the air than I do dedicated point and shoot cameras. The reasons for this are numerous. The most common ones are: people don't want to carry multiple devices and probably the biggest reason is that the camera phone shot is "good enough" for the average person. Beyond those reasons I think a bigger reason is that the camera phone and especially the smartphone offer instant sharing of those pics AND in device image editing!


iOS 4.1 Brings One Button HDR (high dynamic range) shooting to the iPhone 4

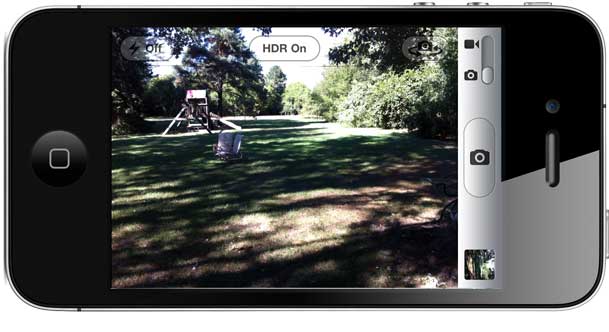
When I saw this feature come out in the latest update to the iPhone's operating system (iOS 4.1), I had an immediate "Duh" moment! Apple once again took something that is so obvious and added a "one button" interface to it. Professional Photographers have been shooting HDR images for years now. It has actually become a "creative" effect in photography. However, pros have to do this in a multiple step fashion that involves setting their camera up a certain way (bracketed exposures) and combining the multiple shots in post using software like Photoshop CS5 (Merge to HDR Pro). in its simplest form HDR is ability to combine multiple exposures into one high dynamic range image that achieves the best exposure for highlights, shadows and midtones. This is where the amateur photographer often fails. The shots that come from these low end cameras and camera phones often over expose one area or under expose another. Since there aren't very many if any manual controls on these devices you're usually stuck with what the device thinks you should have. So Apple took HDR and brought it to the masses in a seamless way. Just turn it on before you take the shot! With an iPhone 4 running iOS 4.1 you have the option to turn on HDR. Once it's on you aim at your subject and press the onscreen shutter button. The iPhone 4 then captures 3 images in rapid succession instantly with no lag, one under exposed, one over exposed and one in the middle and combines them together AUTOMATICALLY as an HDR shot. There is no user interaction required. Of course pros will want control. They'll want to tweak things an get the image just right and I applaud you for that. However, this feature isn't aimed at pros! This is aimed at everyone else so that right out the camera they can get better exposures.


For example…

The iOS 4.1 update gives you the option of keeping both shots. So here's the original shot BEFORE HDR.


Here's the HDR version (again, all automatic and with no adjustments on my part)

Is it perfect? No! I'd still like to see a little more light in the shadows of the barn. Is it better than what we were getting from these low end cameras? ABSOLUTELY!


Get HDR on the iPhone 3GS too

If your iPhone model doesn't support the iOS 4.1 HDR feature, you can still have HDR because there's an App for that. Before iPhone 4 and iOS 4.1 supported this feature natively, I was using the Pro  HDR App to do the same thing. Of course it takes more steps, but it get's the job done. You can get Pro HDR for the iPhone 3GS and iPhone 4 for $1.99 here from the Pro


Camera Manufacturers: Step Your Game Up!

There is absolutely NO REASON that this kind of feature shouldn't be on every point and shoot camera sold today. Yes, I applaud Canon for adding an HDR mode to the NEW G12 – way to go!

The lack of it (one button HDR), built-in wifi, built-in GPS/geotagging, etc. on the vast majority of P&S cameras continues to further my argument that point and shoot cameras are dead! Hell I'd like to see some of these features make it on to DSLRs too. Now I know I'm dreaming….

iPhone 4 Camera White Balance: The Other Issue

Wow! There certainly has been a lot going on in the press about the iPhone 4's phone reception issues. Any time you sell millions of anything you're going to have a percentage of users that have issues with it. Especially if the something you're selling is created under a veil of secrecy that may inhibit testing under a wide variety of conditions. For the record, I can't repeat the "cosmetic" signal strength indicator problem. I've covered the little black strip areas with my fingers and I've held the iPhone 4 as tightly as I can and at the most I saw a brief one bar drop in signal on the display that I couldn't even repeat. However, although I can't repeat what others are saying is happening doesn't mean that there isn't a reception issue! It also doesn't mean that just because I can't make it happen that others aren't having a real problem. I will say that out of all the iPhones I've ever owned (all models up until now), that prior to putting the "Bumper" on my iPhone 4 I dropped more calls on my iPhone 4 than all my other iPhones combined in the same locations that I always call from and calling the same people that I always call! I've also had random disconnects and reconnects using my Jawbone ICON bluetooth headset that I never had with my 3GS. So there is definitely something going on there and it's not just how the bars are displayed on screen. Again, you may not be having a reception issue at all and you may have the best signal strength and call quality that you've ever had, but that doesn't mean that it isn't happening to others. So please don't tell me about how just because it's not happening to you, the problem doesn't exist!

Speaking of problems that not every iPhone 4 is having:


Is there a White Balance Issue with the iPhone 4's Camera?

On my iPhone 4 there definitely is a problem and I'm not alone. If I use the camera outside, the pictures are great! No complaints. However, depending on the lighting situation inside my pictures will have an extreme yellow tint to them.  As a photographer and video enthusiast one of the main reasons I upgraded to the iPhone 4 was to get the better camera AND HD video recording. Since the problem is in the way the rear camera interprets the light it also affects any video shot too. Once again, this isn't happening to everyone. My buddy Jack Beckman has NOT been able to reproduce this with his iPhone 4. Even on mine it doesn't happen in all cases. For example, I took a shot in my dining room the night I got my iPhone 4 and it was pretty much unusable as everything and everyone was YELLOW. However, the next day when more sunlight was coming in the window, the pictures came out great. Using the camera flash doesn't seem to matter much. I took this shot in complete darkness and for the most part, except for the Sony label on the tripod the white balance is fine. 

Continue reading “iPhone 4 Camera White Balance: The Other Issue”