If my last post about Ring’s “Search Party” controversy didn’t make it clear, I have been walking away from Ring. I ditched my Ring cameras long ago and replaced the one floodlight that I had left with a Reolink. I was even willing to put up with them doubling the annual cost of my professional monitoring service from $99/year to $198/year as this newer price is more inline with everyone else out there.
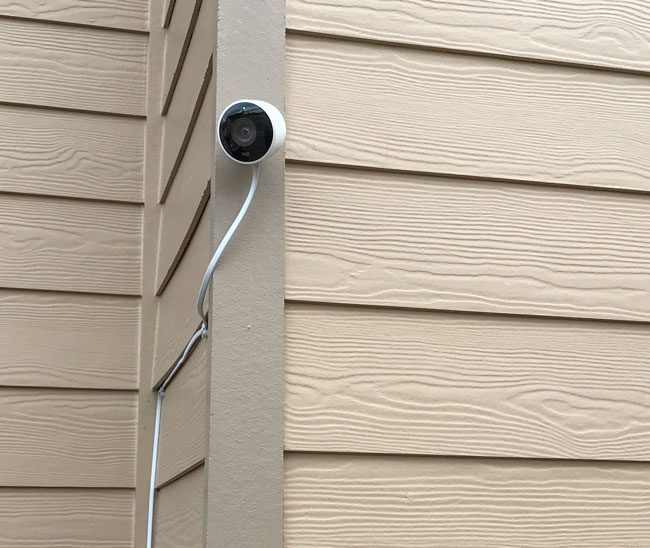
My Ring Alarm System disconnected and boxed up!
However, I figured that I’d keep using the alarm since it didn’t really mean much in terms of their new privacy controversies. That just came to an end because the absolute final straw wasn’t just a creepy Super Bowl ad—it was a hardware “upgrade” that felt like a downgrade for power users. Ring’s new 3rd Gen sensors have officially ditched the local Z-Wave hub connection in favor of Amazon Sidewalk.
While Amazon pitches this as “effortless connectivity,” it really means your home’s security heartbeat is now dependent on a neighborhood-wide mesh network rather than the base station sitting twenty feet away. I’m not interested in my door, window and gate sensors “phoning home” every time I open a door, via my neighbor’s Echo speaker, so I finally pulled the trigger and moved everything over to Abode (btw that’s Abode not Adobe). It’s been a breath of fresh air to have a system that actually plays nice with HomeKit out of the box and has a great Home Assistant integration, keeps things local, and doesn’t treat my privacy like a community resource.
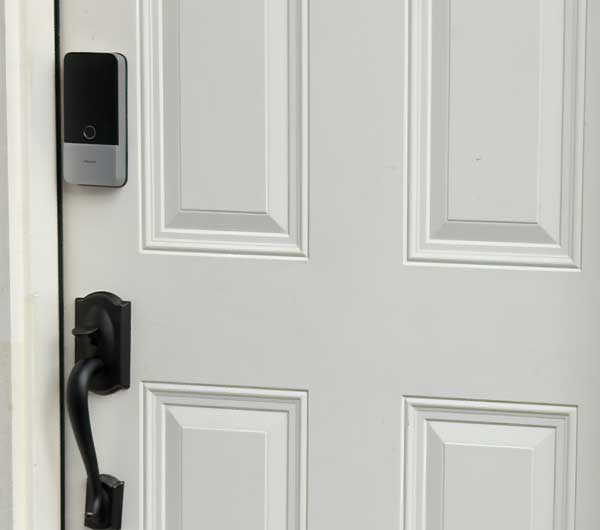
Hey I know that we’re only in month three of 2026 and there are new products being introduced all the time. However, Aqara came out with a banger of a smart lock, the Aqara U400 that has now raised the bar.
It actually dethroned my previous favorite smart lock of all time, the Lockly Visage Zeno on one of my doors.
Why is the Aqara U400 so cool?
The Aqara 400 is the first available smart lock to support UWB (Ultra Wide-Band) here in the U.S. This technology enables you to unlock your door just by approaching it with your phone in your pocket or Apple Watch on your wrist. I’m not talking about waving your phone or watch in front of the lock (that’s Apple Home Key technology which this lock supports too), no I mean just having a compatible device on you.
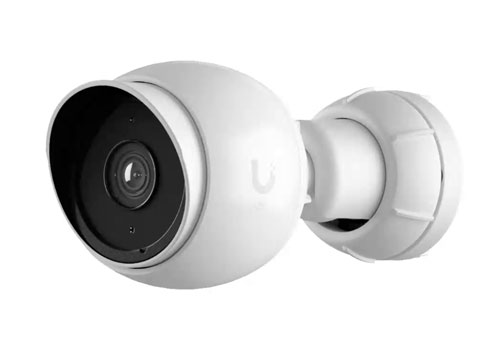
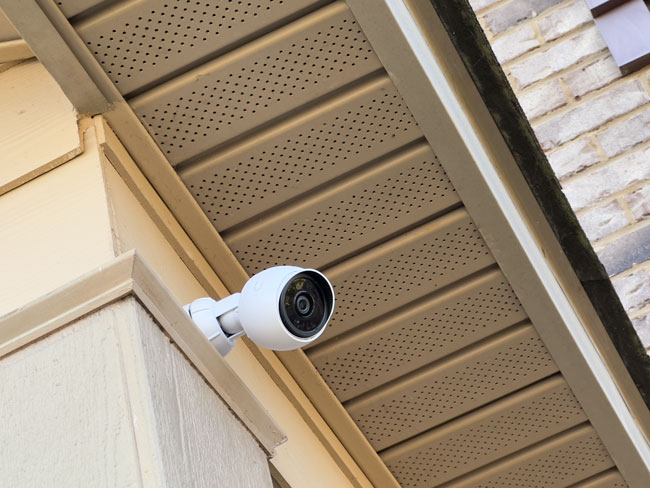
Unifi Protect G5 Bullet POE Camera under my front awning.
I’m a fan of having security cameras around my property that allow me to look at my surroundings at any time, day or night, and best of all, when I’m traveling. I’ve used various cameras/brands over the years, and at one point, I had cameras from Ring, Google, Logitech, and Eufy simultaneously. While I had each camera for a different reason and feature set, it was really a mess. Of course, each camera had its own app, and the only thing that made this setup bearable was that I could bring them all into Apple Home to see them all simultaneously.
In My Experience, Event-based Cameras Suck!
Ring Floodlight Cam Events
The first cameras to get booted were the Logitech Circle View cameras. While these cameras tend to work well most of the time, they were the flakiest when it came to staying connected to WiFi. They required regular reboots because of regular WiFi disconnects. The second problem is that while they worked natively with Apple’s Home and HomeKit Secure Video, this means that they only recorded if they thought an event was taking place. This sounds reasonable. If something triggers the motion sensor, it should start recording. The problem with “event-based cameras” is that sometimes they miss events. In other words, when you go back to look at the footage at a time when you know something happened, the clip is nowhere to be found because it didn’t record.
A prime example of this was when a very large package arrived at my house by mistake, and it was for a neighbor. I informed my neighbor that their package was next to my garage and that they could pick it up anytime. While my neighborhood is relatively safe, I still wanted confirmation that the right person took the package. When I went to review the footage from the Ring cam, the package was there one second, and the next, it was gone. There was no recording of the package actually being taken. This package was so big that it would have taken two people to carry it. So it’s not like it didn’t record the event because it was grabbed quickly. This is when I realized just how much event-based recording sucks! They are hit-and-miss.
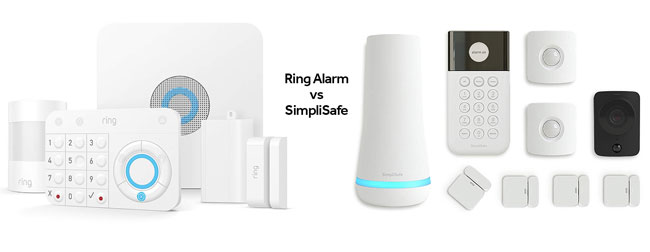
It was just one month ago that I wrote a review of SimpliSafe. While I do still stand by that review and everything I said, I have actually switched to Ring Alarm! It’s rare that after I do my research and make a tech decision that I end up switching to something else so soon after, but this is one of those cases.
My house was built in 2016. Back then I went with the security system that had been partnered with the builder. It turned out to be Alarm.com and later was acquired by Brinks. The system itself did its job. I was even able to set it up so that it could be armed via my voice by Alexa, Google Home and their mobile app. The system was basic and covered all the entry doors as well as a motion detector. It included a panel on the wall and this panel had the siren built-in as well as a cellular connection to the monitoring service. That’s it.
Why I switched from a system that I had paid off to one that I would have to buy from scratch?
I’ve been buying wifi and ethernet enabled home security cams for years. The first ones I got were made by Panasonic and while the resolution was crappy compared to today’s solutions, they had some nice features such as pan/tilt and even a weatherproof version. I bought the Dropcam when it first hit the scene and it not only worked in 720p HD, but it offered a cloud DVR service. This meant that even if the camera was stolen, the captured video wouldn’t be lost because it was tucked away neatly online for access after the fact. Dropcam was bought out by Google and rebranded Nest Cam. The current indoor Nest Cam has a better camera at 1080p. Checking in your home while you’re away is great. However, these cameras were all designed to work inside, not outside. In most cases people simply place them up against a window to capture what’s going on outside. That works but has its challenges (usually the reflection from the glass can be a pain). Google solved this problem by shipping the Nest Cam Outdoor model.
When it comes to home security cameras I have pretty much standardized on Google’s Nest Cams. However, the one thing that is not likely to appear in any Nest products is HomeKit support. HomeKit is the standard that Apple created for home automation and is supported in iOS, Siri, Apple TV, and the Home App that’s now built-in to iOS 10. So that means that you either buy accessories that work with HomeKit or competing platforms. Since until now there were no shipping HomeKit enabled security cameras, it really didn’t matter which platform you went with. However, that has just changed now that D-Link has shipped the Omna 180 Cam.
Viewing the Live feed from the Omna 180 cam in the iOS 10 Home App.
The 1st shipping HomeKit enabled security cam is lacking features that other cams have…
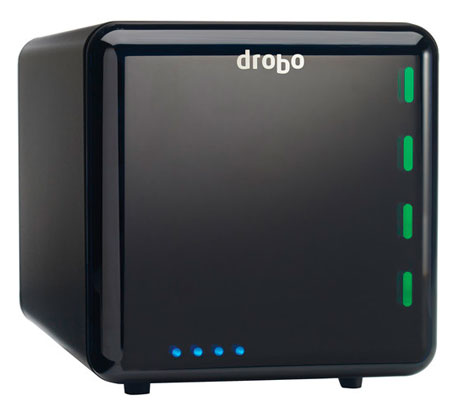
Drobo recently introduced their third generation 4-bay enclosure and I thought I’d take a look. I’ve been using Drobo storage units since 2008 (see my first review here). As a matter of fact that first unit is still in use today. Now I have five of them in total between home and my studio. So far to date I haven’t had any hardware issues with my Drobo units. They have actually performed quite well. I did have a directory corruption problem early on that required me to reformat and restore from a backup, but that could have happened on any drive. Other than that one incident my five Drobo enclosures have worked just fine. I know that some, including my buddy Scott Kelby have not been so lucky. As a matter of fact Drobo has gone through some major changes (for the better) as a company as a result. With that said and since I’ve not had any real issues I continue to use their products.
What’s New?
The new third generation 4-bay enclosure gets back to the basics. It reminds me of my first Drobo, only it’s cheaper and faster with a more solid design. With this new model you can put anywhere from 1 to 4 drives in it of any capacity. Of course you’re going to want to put at least two drives in it to get the data protection features. It has one interface on the back: USB 3. Aside from the USB 3 connection it looks and feels just like any other Drobo, but there are a couple of other things under the hood. It has a Power Fail Protection feature that protects the data you were transferring in the middle of a power outage. It also now sports a new Time Machine feature that lets you create a backup-specific volume. This is handy when you don’t want Time Machine to eat up all the available space.
You can configure it up to 24 TB
Why Drobo?
I get this question all the time. Certainly there are less expensive RAID systems out there that are not proprietary. I went with Drobo for the following reasons:
Beyond RAID (their technology) means that I can mix the drive capacities. As the price of 4TB drives continue to drop, for example, I can replace my 2 and 3 TB drives without doing them all at once.
I can swap out a drive without having to stop the work or reformat. If I need to replace a bad drive or increase the total storage capacity, I can just eject a drive and replace it with another (potentially larger) one.
I don’t have to be an IT expert to manage it. It sits in my server closet and just runs 24/7. If anything goes wrong it sends me an email.
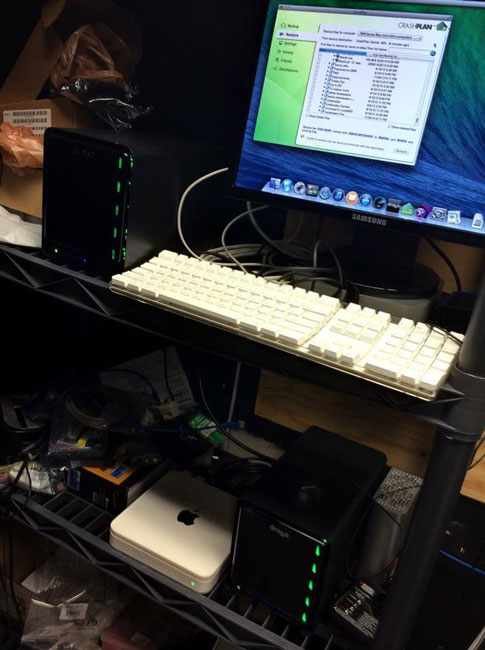
My messy, but functional server closet with a Drobo 5D up top connected to a Mac mini server and the Drobo FS below backing up stuff
What if it fails?
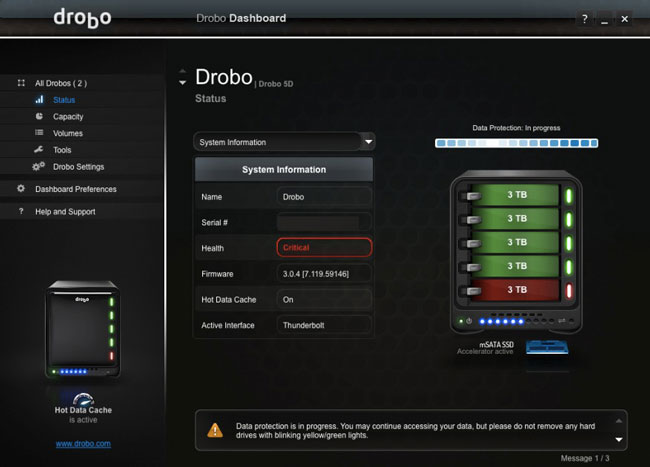
I’ve heard the horror stories. As a matter of fact you’d be hard pressed to find ANY product that someone doesn’t have a horror story about. However, I don’t rely on or totally trust ANY single solution when it comes to my data. No matter who makes my storage units or how great their reputation is, I’m going to have my data backed up in multiple places including an offsite backup via crashplan.com. So if it failed tomorrow, I’d probably replace it with another one as nothing lasts forever and it will die someday. My favorite model is the Drobo 5D. This baby is fast and is connected via Thunderbolt to my Mac mini server. Again, I haven’t had a moment’s problem out of it since the day I turned it on. It’s been running 24/7 since day one.
Although my Drobo units haven’t failed, my hard drives have! Here’s what Drobo does when a drive fails:
I got an email that the 5th drive was failing. I ordered a new one. It arrived in a couple of days. I ejected the bad one and put the new one in. I kept working the whole time. If you’re super paranoid you can set it to protect you against TWO drive failures. This will reduce your total available capacity, but two drives could die at the same time and your data would still be protected.
You can get the NEW 3rd Generation Drobo here for $349 or less. Drobo increased their warranty period from one year to two years.
People are always asking me about backup strategies and while I usually discuss my home/studio backups I rarely discuss my “on the road” backups. My MacBook Pro has a 768GB SSD internal drive. While SSDs tend to be more reliable than old school rotating platters, I’m still as paranoid as I’ve always been. I don’t back it up any less than I did before SSD. I’ve had two major data scares while traveling on business. The 1st was on a trip to Toronto several years ago to do a seminar. I was the main/only presenter and I had an audience of about 400 people. My presentation was going to start at 10AM and I was in the hotel connected to the event hall. I woke up that morning and did some work on my laptop before heading over to the hall. I closed my laptop and headed over giving myself just enough time to get there and plug in to the projector. I got there, plugged in and opened my laptop to a “blue screen”. I immediately thought “oh my God, if this thing doesn’t come up I’m screwed!” Although I had my files and fonts on a drive at the time and I could have used a colleague’s computer it would have taken no less than 30 minutes to get everything loaded and setup. It could have easily taken an hour or more if they didn’t have the right applications loaded. Luckily everything came back after a forced reboot. But what if it hadn’t?
After my experience above in Toronto I realized that simply having a backup of the data was not good enough. I need to be able to be up and running in 5 minutes or less in the event of a total drive failure. From that day forward I started carrying an external portable hard drive that was an exact clone of my internal drive. I update this clone before heading out on each trip. I use SuperDuper!, which is a fantastic utility to clone your drive from one to another. In the case of a blue screen or total drive failure I could plug in the clone backup drive and reboot directly from that drive. Since it’s a recent clone it would have all of my applications and demo/data files. Continue reading “Why I Carry 3 Portable Hard Drives When I Travel”
Although I have what seems like a mountain of thumb/flash drives lying around, I've never had one as cool as the one my friend Mary just gave me. It's called the IronKey. While it looks like an ordinary thumb drive in a cool aluminum casing, it's actually a lot more.
For the Security Conscious
As computer users we're taught not to leave a list of our passwords next to our computer right? Some will take it a step further and put that list on their computers in a text filed called something less obvious like "Johnson Rod Repair Manual". However, sensitive data should really be encrypted! While there is no shortage of encryption apps for Mac and PC's, I don't run across hardware solutions as often. Sure, most portable drives will offer something, but in that case it's usually very platform specific and requires the software to actually be "installed" to use it. The IronKey takes a simpler more straight forward approach.
Set it up
When you first plug in the USB thumb drive, you can launch the app for your platform right off the device itself. They have the documentation there as well. Give it a name and your secure password (please remember it!). You can also enable the Device Reset feature at this point so that if your device is lost/stolen and someone keys in the wrong password too many times it will automatically and securely erase or destroy the device.
At this point your IronKey is ready to use
Just key in your password and it will unlock and mount the drive


 model.