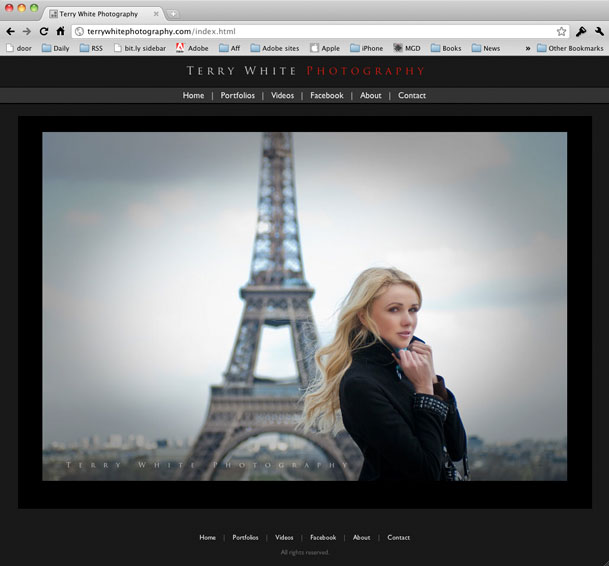
Creating an HTML 5 Website for Photographers in Adobe Lightroom 3

This one is for the Photographers out there!

Adobe Photoshop Lightroom has had web galleries since day one. You can either export out an HTML gallery of your images or a Flash Gallery of your images. Each one of course having its advantages and disadvantages. I find that photographers in general like Flash galleries because of two things: 1) they're (pardon the pun) flashy. You get transitions, animations, zooming, automatic slideshows etc. 2) they offer one more level of image protection by making it harder for people to just right click and download the images. The disadvantage is that not every device can display Flash galleries. If you go with an HTML gallery it can be seen on just about any device, but you lose the flashy appeal. 


What about HTML 5?

Up until yesterday my photography website was all Flash with an HTML fallback. I loved the features of my template. I loved the animations, image fading and slideshows and while I did have an HTML fallback for those that couldn't see the Flash site the biggest problem was keeping them BOTH up to date. The Flash site was driven by XML and was pretty easy to update with new images.. The HTML part was driven by a Lightroom web engine (more on that later) and required a separate export and upload each time I needed to do an update. It wasn't the end of the world to update them both, but I found myself updating the Flash site more often (because it was faster), which meant that people on non-Flash devices/computers wouldn't see my latest images. Not good!

What's this HTML 5 thing anyway? HTML 5 is next standard of HTML and it's still very much a WORK IN PROGRESS. This is why you don't see a ton of tools for it yet. Also and probably the biggest thing to note is that HTML 5 may never do all the things that Flash can do. This means that it's not a direct one to one replacement. At least not today for sure. HTML 5 authoring isn't just one thing. It's using HTML 5, CSS3 and Javascript. . Actually it's CSS3 that's the really interesting part. If you're really interested in developing in HTML 5 Adobe has already released the HTMl 5 pack for Dreamweaver and Illustrator. Check them out on Adobe Labs. More tools are in the works! Back to the photographers…


My goal

I started thinking about my site and the fact that it was a pain to update and therefore I wasn't updating it as often as I'd like to. Then I started listing the ideal things that I would want to have to make it easier:

  • I'd want as much of the site as possible driven by Lightroom since that's where my images live anyway.
  • Until HTML 5 is further along I still want Flash galleries for those who can see them.
  • The site has to be viewable on devices/computers not running Flash
  • I only want to update ONE set of images. In other words, both the Flash and HTMl version would use the same images.
  • I want Video that plays on everything <-this is not as easy as you think!
  • I don't want to write any code! Writing a line here and there during setup is fine, but I don't want to have to code the thing with every update.


The Turning Gate To The Rescue
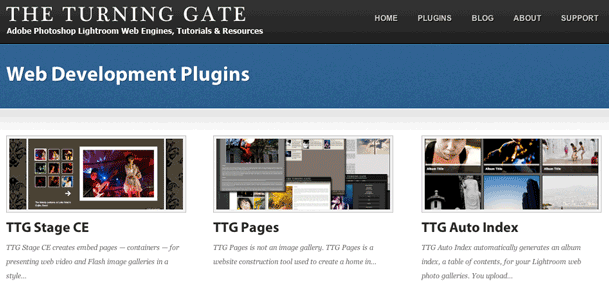
Once again The Turning Gate has come through for me. You might remember my post on using one of their web engines for my client review galleries. Since that review went live I've been working with Matthew Campagna at TTG on the ultimate solution to my goals. After countless emails back and forth (he's a great guy!) on what I wanted and tweaks to his engines based on my feedback I was able to create my entire site from scratch using Lightroom 3 and three TTG plug-ins. 

Continue reading “Creating an HTML 5 Website for Photographers in Adobe Lightroom 3”

Don’t Shoot DSLR Video without a Z-Finder Pro


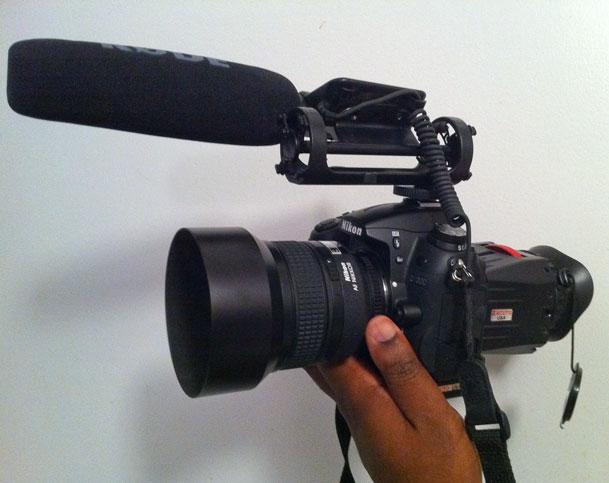
Nikon D7000, 85mm f/1.4 lens, Rode VideoMic and Zacuto Z-Finder Pro 3x

Shooting Video with a DSLR camera is all the rage now. However, one of the biggest problems with shooting video with a DSLR camera is keeping the video in focus. When you shoot at a shallow depth of field (one of the benefits of DSLR video), it's almost impossible to maintain focus while looking at the LCD on the back of your camera. While 3" may seem like a nice healthy screen size for a camera, it's really small when you're trying to check the focus of a scene. If you're shooting stills it's less of a problem because you can take a shot and then zoom in on it to check focus. When you're shooting video you don't have the same luxury. You can can't zoom the preview while you're shooting. The camera manufacturers haven't figured out that they should give us the option of looking through the lens via the eyepiece when shooting video yet. So for now we have to rely on the LCD for everything video.


The Zacuto Z-Finder Pro to the rescue

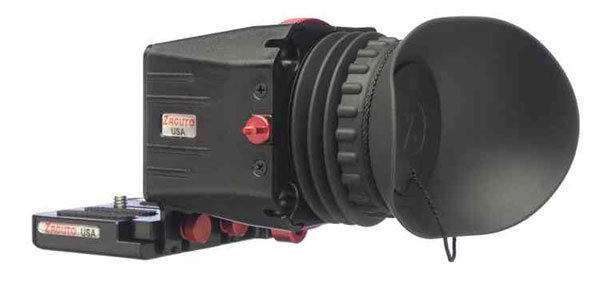
Zacuto has a few solutions for this problem. The one that I like the most is the Z-Finder Pro. It's designed to attach to a supplied bracket that goes on the bottom of your DSLR. It then gives you a more standard eye piece/viewfinder to look through while you're shooting. It also magnifies the screen. Once you put your eye up to the Z-Finder Pro you'll never want to shoot video without it again.

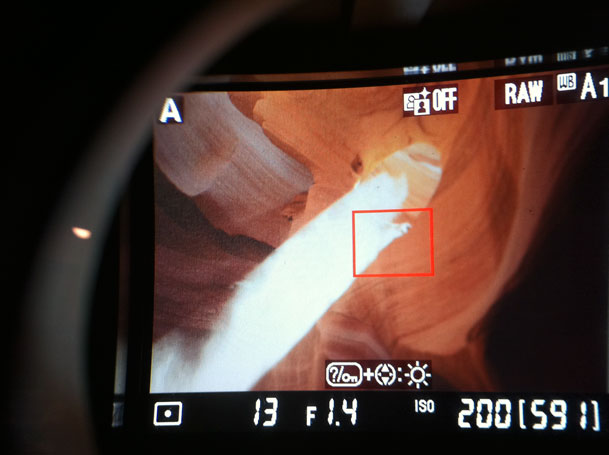
Looking through the Z-Finder Pro 3X


How would I redesign it?

The Z-Finder Pro attaches to a plate with two thumb screws. While you can certainly loosen these screws to remove the Z-Finder when you want to go back to shooting stills, I'd make a faster "quick release" system for quickly detaching it and re-attaching it. I also haven't tried this yet with a tripod mount/ball head. It might be interesting if the popular ballhead manufacturers had built-in support for the Zacuto bracket or vice versa.


If you shoot DSLR video, you want this!


You can get the Z-Finder Pro 2.5x mag here for $375.25

You can get the Z-Finder pro 3x mag (the one I used) here for $375.25

Solving the Camera Strap Mystery

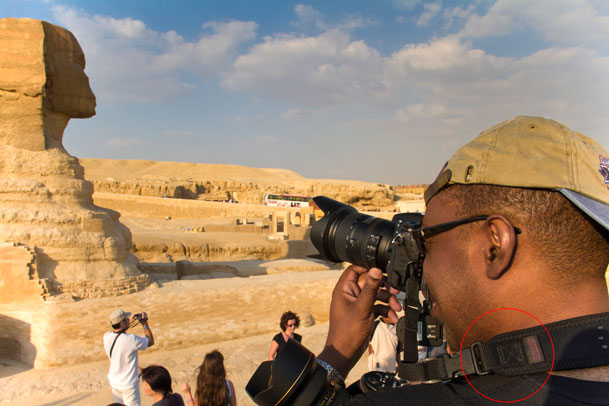
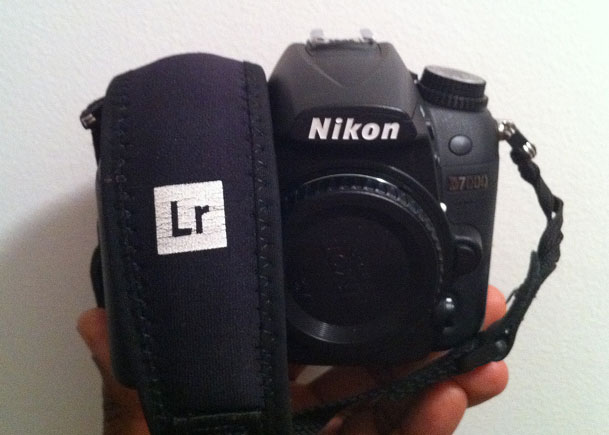
Several months ago I was at an event and Tom Hogarty (Adobe's Lightroom Product Manager) walks up to me and says "let's replace that Nikon camera strap with this one." He hands me an Adobe Lightroom branded strap. It has the Adobe logo on one side and the Lightroom logo on the other. I thought, "cool!". I immediately switched straps and have used that one on my smaller travel bodies ever since. I can not believe the number of emails and comments I get asking…..not where do I get an Adobe/Lightroom strap, but "who makes that strap it looks comfortable?"

I get logo'd items all the time and rarely do I think "hmm, I wonder who makes this?" This is definitely the case with this strap. Yes it is comfortable! However, not once did I ever think about who makes it?


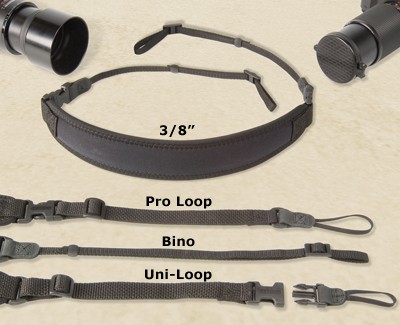
It's by OP Tech USA

I took a few minutes to look to see who makes it and it turns out it's by OP Tech USA. I'd never heard of the company before so I went to their site and found that they have tons of straps! It actually took me a few minutes to find the right one. It turns out it's the "Superclassic 3/8".

The mystery is solved. 🙂 You can check it out ON SALE here.

Nikon D7000 First Impressions

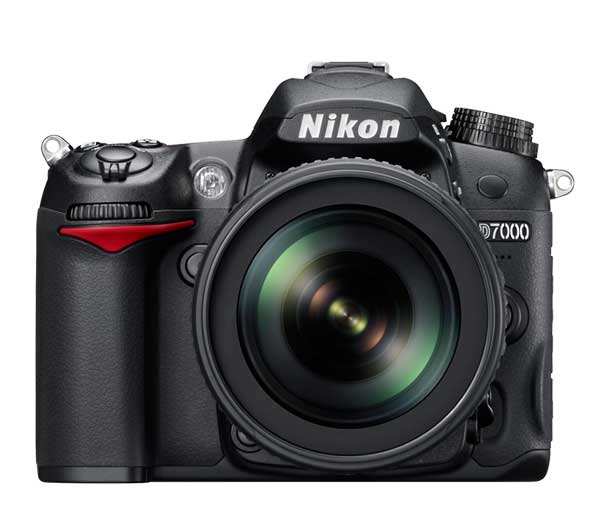
This is going to be an easy one! First off I've been waiting for this camera for a long time. I was waiting for it before I even knew it existed. What I was waiting for was a camera that met the specs I wanted for a second body that I would use primarily for travel and DSLR video. When I saw the rumors of the D7000 I salivated because if those rumors were true I would have the exact camera I wanted. When the D7000 was officially announced I almost couldn't believe it. Although my needs are actually quite simple for this camera, this is the first time that Nikon has shipped a model meeting those requirements. I love my D700 for my studio work. It's a full frame body and I get fantastic results. I got the NEW D7000 for use as my travel camera and for DSLR Video. 


What I wanted

Like I said, my needs for this camera were pretty simple. I wanted a Nikon body to support the lenses that I already have. Canon makes great DSLRs and their DSLR video features are legendary (I've never shot Canon so I can't compare this one to a 7D – sorry). However, in order for DSLR video to make sense it's best if you can use the lenses you already own. That means I need great DSLR video from Nikon. While I originally got the D5000 for this need it fell short in one important area. The audio on the D5000 is,…well….awful! It has a built-in mic that only supports 11hz mono audio. While that might be ok for a simple interview (talking head), it's not good for events, live shows/concerts, anything loud with bass, etc. The built-in Audio on the D7000 probably isn't much better, however it has the one thing you need to over come this and that's an audio/mic input! This way you can plug in whatever mic you want to get great audio. The next thing I wanted was 1080p HD. The D5000 only supported resolutions up to 720p for video. Not only does the D7000 have 1080p 24fps video, but it also supports face detection/auto focus to keep the shot in focus automatically. I was skeptical at first, but this actually works well as long as the subject isn't moving around frantically in the shot.


Here's a sample clip

I shot this clip in Cairo with the D7000 and 28-300mm VRII lens. There was no post production or editing applied to this. In other words shot, transferred to the computer and uploaded to YouTube (as is) as a 1080p clip.

httpv://www.youtube.com/watch?v=Tg_71brozxU


What about the camera?

Oh yeah, it's a great camera too 🙂 That almost goes without saying. While video is important to me I will most likely always be shooting stills more than video with this camera.  The minute I took it out of the box I smiled because it had a GREAT FEEL to it. Bigger than my D5000 and smaller than my D700. Probably more in line with the D300s. It definitely feels less "consumery" than the D5000. The next thing I appreciated was the dual SD card slots. You can configure these to work in a few different ways. For me I set it to capture the stills to card 1 and the movies to card 2. Also by default if card 1 fills up it will start capturing to card 2. After about 15 minutes of tinkering with the settings I was all set with how I wanted the camera to work. Another new feature that I absolutely love is the user customizable settings "U1" and "U2" are on the main dial. You can set those up anyway you want. For example, to go into Bracketing Exposures on the D5000 was 2-3 steps. Now I just switch the dial to U1 and I'm all set! When I'm done taking the shot, I switch back to manual or aperture priority. While the megapixels have gone up to 16.2 from 12mp, that really doesn't matter a lot to me. I was quite happy with 12mp images. However, for those in the megapixel race, you'll be happy to have more. 

Continue reading “Nikon D7000 First Impressions”

My New ThinkTank Streetwalker HardDrive Backpack

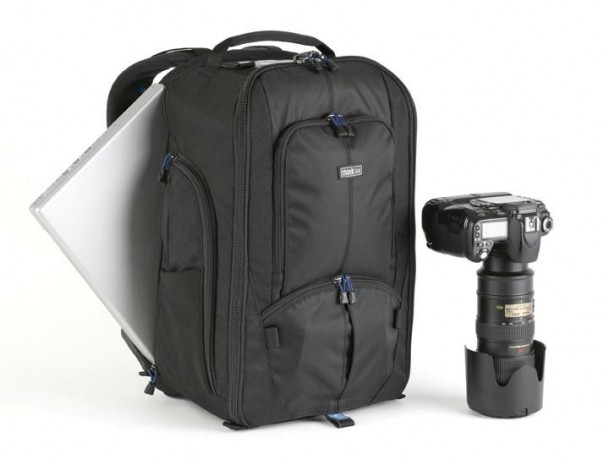
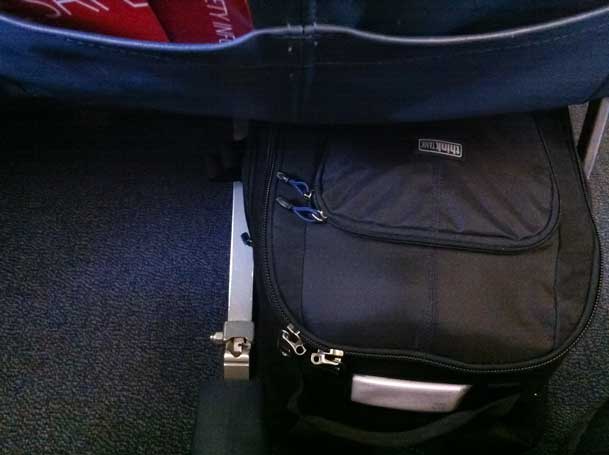
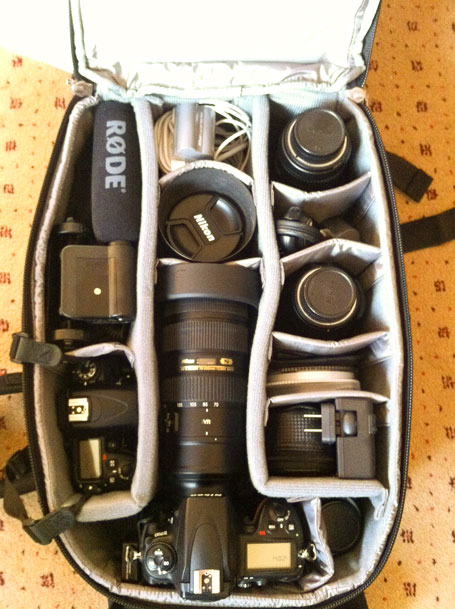
While planing my trip to Egypt I figured I'd be carrying a little more camera gear than usual to capture this amazing location and while I love my Kata backpack it just wasn't big enough for this trip. My need was to have a backpack that would carry two camera bodies, all the lenses I wanted, my Wacom Intuos 4 Small Tablet, accessories and oh yeah my MacBook Pro 15" and my iPad. I HATE checking luggage and I would never check my gear anyway. However, if I can carry one bag of gear (my smaller personal item that must fit under the seat in front of me) and the larger bag for clothes (going in the overhead bin, wheels inward) then I'm a happy guy. Having been totally satisfied with my larger ThinkTank Airport International 2.0  Roller bag I decided to look to ThinkTank for a backpack this time. I ordered the Streetwalker HardDrive Backpack and when it arrived I was a little freaked out at how long it was. Sizewise it was perfect in that it could hold everything I wanted to take on my trip. However, I just wasn't sure if it would fit under the seat of a domestic flight. I took the chance and headed out with the bag figuring worse case scenario would be that I would check my clothes/suitcase. 


It fits!

I had no problem fitting it under the seat. As a matter of fact it even fit in that skinny area under the seat that my normal laptop bag never fits in. I was also able to fit the MacBook Pro and iPad in the laptop area. However, had it been an inch longer the flight attendants may have complained of it being a potential tripping hazard. Although this backpack can accommodate a tripod on the front I didn't push my luck 🙂


What's in it this week?

I brought along a few goodies for the trip 🙂

Yes I can still lift it and wear it comfortably on my back. 


How would I redesign it?

No product is perfect for all users. Although I'm really digging this bag I would make a couple of changes in the next version (again to fit my needs). First off tablets (both computer and graphics) are becoming more and more popular. The outside pocket on the front would be perfect for an iPad if it were just a little wider and deeper. Although the main camera compartment zippers can be secured with a lock (optional), the computer area doesn't have any security features at all. Granted I'm traveling with more valuable photography gear this time than computer gear (and I never let it out of my sight anyway), but that doesn't mean that my computer gear isn't valuable and crucial to my trip. 


The Bottom Line

If you need a well made backpack that can hold quite a bit of camera gear AND your laptop, look no further. The ThinkTank Streetwalker (the name sounds so…) HardDrive is available here for $179.


P.S. many of you are waiting for my 1st impressions/review of the Nikon D7000. In a word it's AWESOME! More later, but here's my first shot taken last night after walking into my hotel room in the dark at ISO 6400. I'm doing the happy dance with this camera! It's everything I wanted it to be. More  later as I have more shooting to do 🙂

Adobe Project ROME is here! All-in-one Content Creation & Publishing Tool

httpv://www.youtube.com/watch?v=mtm3Ahx_paY

In case you missed the announcement over the weekend Adobe released a public beta of Project ROME. Project ROME is unlike any other app out there in that it's an all-in-one content creation tool for vector/raster images, video and animations as well as web sites. On the surface ROME appears to be a simple easy to use basic program and that's a good thing. This product is aimed at casual users. However, unlike most basic programs, ROME allows you to go deep if you need to. I was floored with the number of options available.

You can download your copy of ROME here or just use it in your browser! That's the beauty of ROME, it was built entirely as an AIR app.


To get you started I recorded these 5 very short videos:


Working with Vectors

httpv://www.youtube.com/watch?v=-LRoEBV9NAY


Working with Photos

httpv://www.youtube.com/watch?v=Tcm55I0ZWYo

Continue reading “Adobe Project ROME is here! All-in-one Content Creation & Publishing Tool”

Photographers: MacBook Air vs. iPad

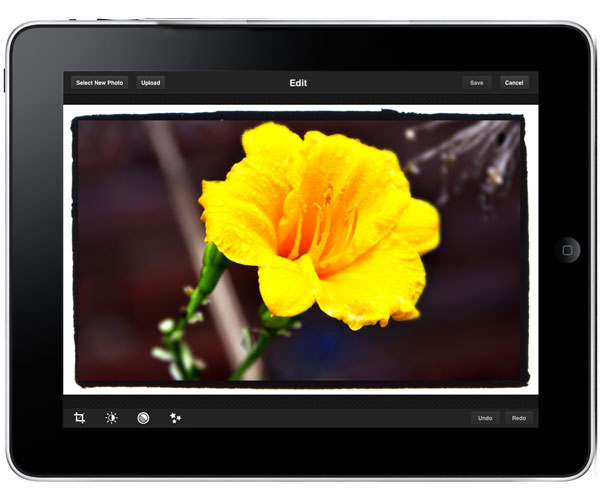
When the iPad arrived in April I had high hopes (I still do) for it to become a great tool for photographers and in many ways it has. More photographers showed their portfolios at Photoshop World this past September electronically than they did in print. Just recently I published my list of 8 Must Have iPad Apps for Photographers. Yes, progress is being made, but yesterday Apple released the long awaited update to the MacBook Air and the more I looked the specs the more it made me think about this new MacBook as a better choice for photographers in the field. 


The iPad appeal

The iPad is/was appealing because it was small, lightweight, has a relatively long battery life, relatively large display and is capable of importing images via the Camera Connection Kit. It can do moderate photo editing on the go. Also the instant on and not having to manage a file system are pluses in many ways.


The NEW MacBook Air offers so much more for not much more money

The most fair comparison I can make is to compare the 64GB iPad Wi-Fi model ($699) with the new 64GB 11.6" MacBook Air ($999). Yes, the MacBook Air is $300 more and weighs 0.7 lbs. more. The MacBook Air is also a few inches bigger.


MacBook Air iPad

Size and weight

Height:
0.11-0.68 inch (0.3-1.7 cm)
Width:
11.8 inches (29.95 cm)
Depth:
7.56 inches (19.2 cm)
Weight:
2.3 pounds (1.06 kg)1

Size and weight1

Height:
9.56 inches (242.8 mm)
Width:
7.47 inches (189.7 mm)
Depth:
0.5 inch (13.4 mm)
Weight:
1.5 pounds (0.68 kg) Wi-Fi model;


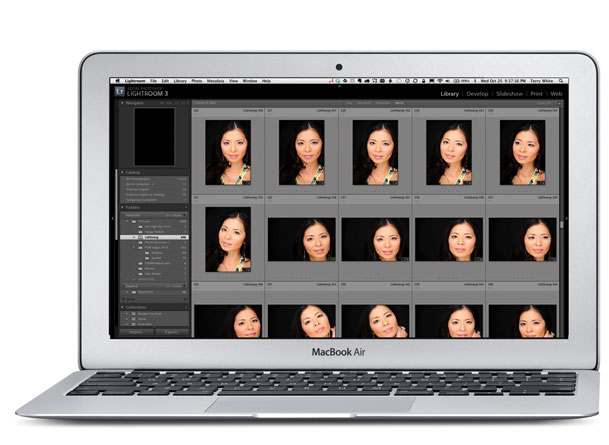
Once you get past the slightly larger size and weight of the MacBook Air, you can then start to justify it for what it offers over the iPad. The MacBook Air (MBA) has the ability to run your standard Mac applications (or even Windows Applications using Parallels or other Virtualization apps). So instead of trying to find replacement Apps on the iPad, it can actually fun Adobe Photoshop Lightroom 3 and Photoshop CS5. Instead of having to use the Camera Connection Kit with low power/speed CF Cards/Readers, you can plug in any standard USB Card Reader and Import photos from any memory cards. With the MBA you can also more easily offload your images onto another hard drive just by plugging it in to the USB port and doing a standard file copy. Also since many photographers publish their websites using Adobe Flash, you can view those sites on the MacBook Air by installing the latest Flash Player if you choose to. Lastly, and probably one the biggest reasons is that the you can shoot tethered to a MacBook Air and see your images on the nice big 11.6" display. Lightroom 3 already does native tethering and that means that the MBA can already do this. Yes, the MBA is $300 more, but you get a much more capable device for that $300.


What I would have liked to have seen

There are two things that I would have liked to have seen on the MacBook Air. The first is a built-in option for 3G connectivity. That's one of the things I love about my iPad is that I can take it out of my bag and get online pretty much anywhere. Sure I can use my MiFi or a 3G USB Stick, but a contract free 3G option built-in the MBA would have been killer. The next thing I would have loved to have seen is a TRUE HYBRID between these two devices. Imagine a MBA in the same form factor, but if you open the lid and flip it over it becomes an iPad and can run iOS Apps. While it's true that a touch screen on a vertical display would be a pain, there's no reason that the display has to stay vertical if it swiveled and reversed. That would have truly been the best of both worlds!


What will I do now?

Believe it or not I have no plans to get a MacBook Air pretty much for the same reasons that I didn't buy myself the first model. When I travel for business I need the most full featured and powerful MacBook Pro available and the MacBook Air just isn't enough muscle for what I do. Since it's not going to replace my current MacBook Pro I see no need to travel with TWO laptops. A MacBook Pro and iPad will continue to be my tools of choice. However, if you're a photographer that doesn't demo software for a living like I do, then the MacBook Air might be a GREAT tool for you! If I didn't need the power of a MacBook Pro, I would seriously consider the Air!

My Web Gallery for Client Image Selection

click the image above to enlarge

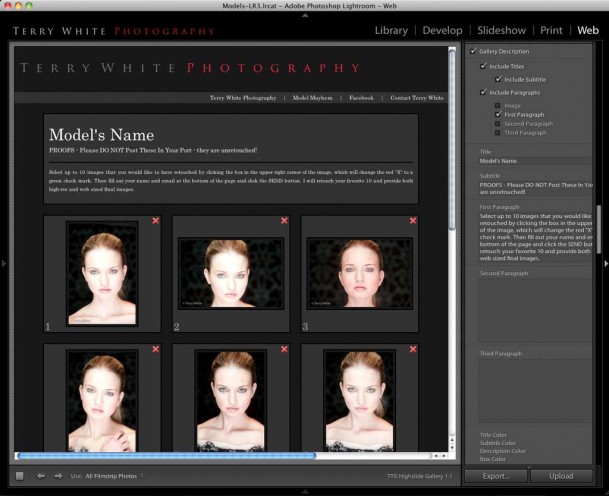
It's no secret that I manage my photos using Adobe Photoshop Lightroom 3. Whenever I do a model or client shoot whether I'm shooting tethered into Lightroom in the studio or shooting to a memory card in the field and importing the shots later, they end up in Lightroom. I do my non-destructive adjustments using Lightroom's Develop Module. Before I do any compositing and further retouching using Photoshop CS5 Extended those initial images are posted online in a private gallery for the model/client to review and make their selections. 

While Lightroom has had built-in web galleries since day one, none of the ones that come with Lightroom automate the process for receiving the client picks. A couple of years ago I discovered a really cool Lightroom Web Gallery Template/Plugin by The Turning Gate and I haven't looked back.

The Turning Gate Highslide Gallery

I'm so used to using this template that I often forget when I'm presenting Lightroom, that it doesn't come with Lightroom. Once you download this plug-in and install it, it shows up in Lightroom alongside all the rest of your Web galleries. You can customize the look and feel of your gallery pretty extensively. You can then either upload your gallery to your FTP space directly (hosting is NOT included with the plugin) from Lightroom or Export a folder of your web gallery and upload it via any other method that you use to get files to your space.

The one caveat is that your web server/space has to allow you to be able to run PHP scripts. Luckily most web hosting packages do! This FormToMail script is necessary to process the form that the client uses for their selections to send back to you via email. It's very transparent on the clients end. They basically see a web page with all the images that you provided. They can click to make them larger (again sizes you specify) and they can check off the ones they want. At the bottom of the web page is a spot for them to enter their name, email address and comments. At that point they hit the submit button and you get an email (to the address you configured in the plug-in/script) containing the choices they made. 

You can get the Turning Gate Highslide Gallery here for $25. They also make a pretty cool Client Response Gallery with less features for $10 here.

I couldn't imagine using Lightroom without this plugin!