Review: F.J. Westcott Spiderlite TD6

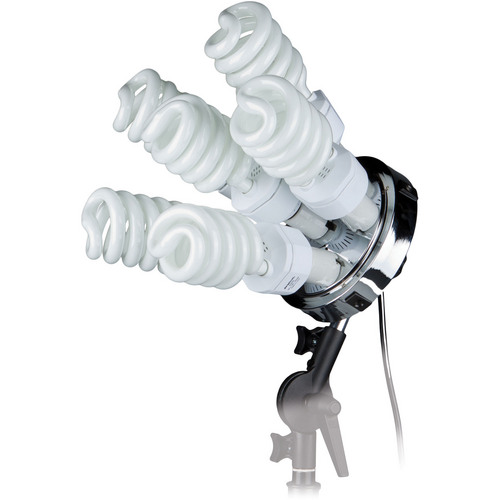
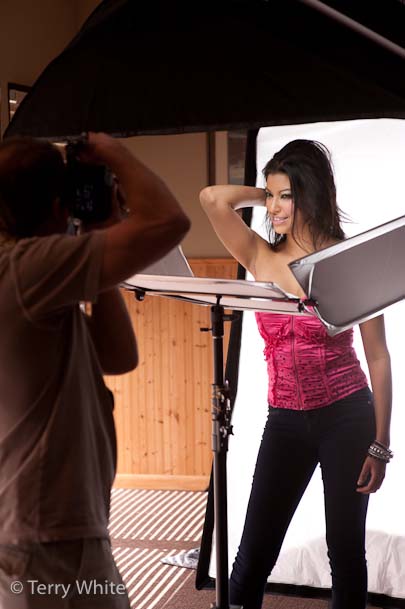
There is no easier lighting setup to use than the Westcott Spiderlite TD5's. While these lights are great, everyone that uses them says the same thing. "I wish they were brighter." In other words we all wish they output a little more light. Westcott has answered our wishes with the new Spiderlite TD6's. Instead of 5 daylight balanced fluorescent bulbs you not get to use 6. This means 1200W of output instead of 900W of output on the TD5s and that makes all the difference in the world. In fact for everything but their giant softbox, a 6 foot shallow rectangle softbox <-this softbox is amazing though, I can now shoot at 200 ISO as opposed to 400 ISO.

It's more than just an extra bulb

They also made some additional and welcomed improvements. The switches on the back and now more high quality and professional looking. They also added a much needed cord switch to turn the entire unit on/off without having to climb up on a ladder when you have the lights mounted high. Speaking of the cord it's longer too. Basically the TD6 is improves over the TD5 in just about every way possible.


The Bottom Line

Although I love my strobes, I'm still amazed by the results I get with the continuous lighting the Spiderlites. Life will only be better with the enhancements on the TD6's. They don't get hot and are great to use in workshops/classes where you will have multiple shooters. If you're doing product photography they rock for that too! Thanks Westcott!

You can get a single Spiderlite TD6 here for about $420. My recommendation is that if you have Spiderlites already, then perhaps one TD6 to replace your main TD5. Otherwise, I would recommend this kit if you're starting out. I use a setup like this one for most of the portrait work I do!

I Won’t Leave Home Without Rogue FlashBenders Again


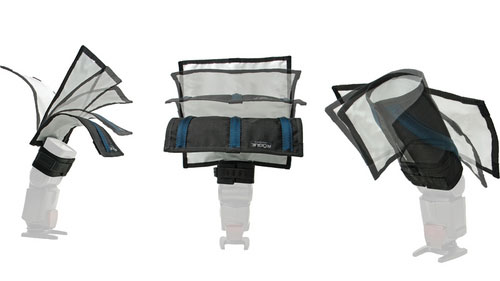
I've had a pack of ExpoImaging Rogue FlashBenders sitting around for a while now. I decided to take them with me to my last workshop at Precision-Camera University. I figured I'd kill two birds with one stone. This way I could teach the class on how to use studio lighting with the NEW Westcott Spiderlite TD6's, but also spend a few minutes showing what I travel with as a very portable speedlight lighting kit. Normally I travel with a Nikon SB-900 speedlight, Westcott shoot-through umbrella and small light stand for off camera flash. I had these elements with me in my carryon and showed the class how to use the umbrella. Then I broke out my Rouge FlashBenders by the same company that gave us ExpoDisc for white balancing our DSLRs. 


I was blown away!

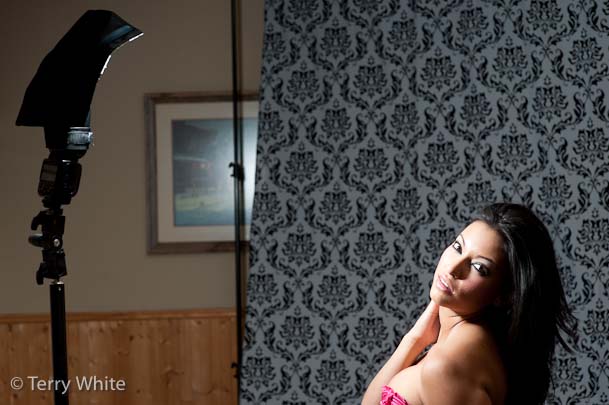
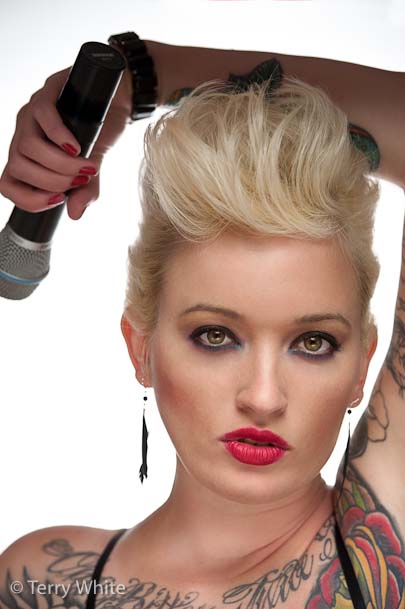
They worked way better than I imagined they would. You get 3 FlashBenders in a pack and they are designed to velcro right onto your speedlight. You can then "bend" them to aim the light any way you want. Using the configuration above, I got this shot:

ISO 200, 85mm (Nikon 85mm f/1/4 Lens), f/1.4, 1/125 sec

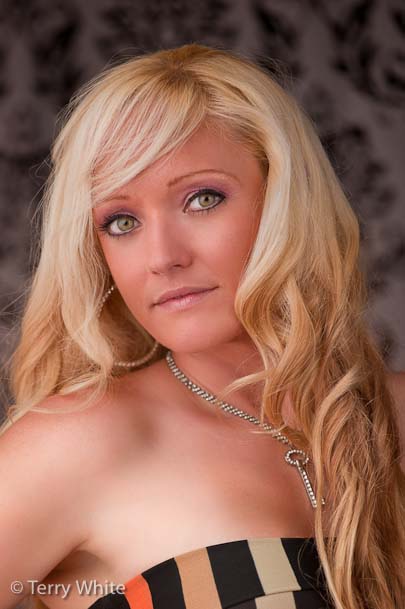
Next I decided to create a more dramatic look (not something I would do in a beauty setup), but using the medium sized one in a snoot configuration. With it I captured this shot.

ISO 400, 102mm (Nikon VR II 70-200 f/2.8 Lens), f/5.0, 1/80sec

The beauty of these is that they are completely flat when not in use and EASILY fit in the outer pocket of my carryon suitcase. Sure I'll take a giant softbox any day I can get one, but in situations when I'm on the road and taking portraits or lighting other scenes with my speedlights, these are AWESOME!


You can get the Rogue FlashBenders (3 in a set) here from B&H for $104.85 or individually Large $39.95, Small $34.95, or Bounce Card/Flag $29.95. My favorites are the Large and Bounce Card/Flag.

Meet George from LCD4Video

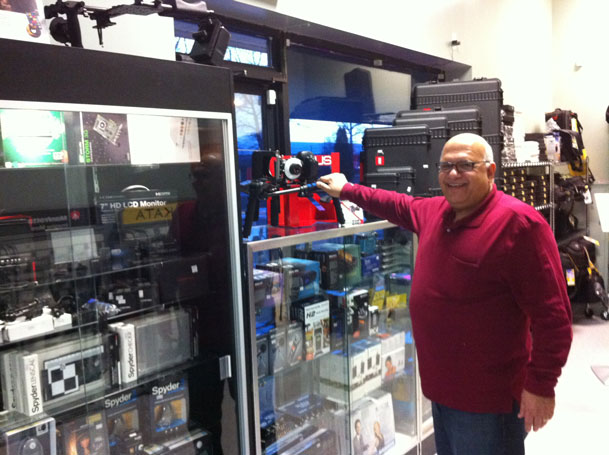
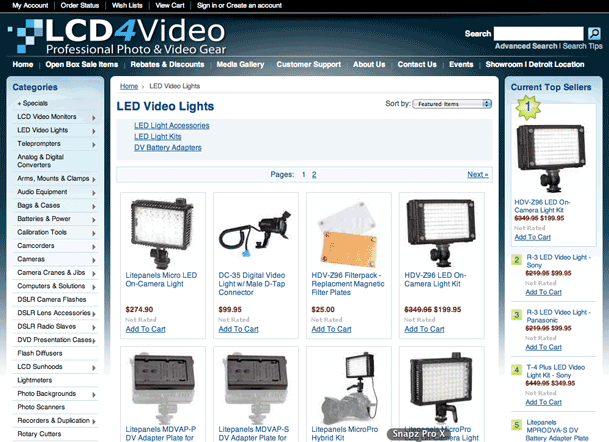
As a gadget guy I love finding gadgets that are useful but sometimes fly below the radar because they are not by the big named manufacturers. A lot of times there's a gadget out there that fills a need and unless you happen to be in the right place at the right time you may never know about it. Although I had ordered an LED video light from LCD4Video.com in the past, I had no idea that 1) they were located right in my backyard and 2) they have so many other cool little accessories for video and and still photography. 

LCD4Video

They sell the usual gear such as cameras, lenses, tripods, cases and lighting equipment, but they also manufacture specialty items under their own brand. I had the chance to visit their location last week to attend a seminar put on by my good friend Mark Astman representing Manfrotto, Lastolite and Elinchrom. I didn't realize the connection between the seminar and the venue until I arrived. During one of the breaks I popped into the show room and before you know it I was buying hundreds of dollars in gear. 🙂

I wanted a small HD monitor that would fit in my hotshow on my Nikon D7000 for doing DSLR video. I also wanted another battery operated LED light for doing video podcasts. These guys had everything I wanted and even the things I never knew existed. George runs a great business and sticks behind what he sells. 

I highly recommend that you check out their site and the vast collection of products they offer! It's also always good to support the local dealers when possible.

Great Weekend of Teaching at the Precision Camera University

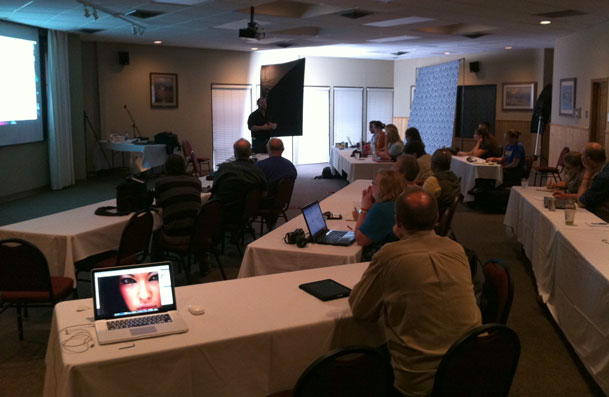
I had the great pleasure of teaching my Digital Photography Lighting and Workflow Session at the Precision Camera University this past weekend. I went into this weekend with quite a bit of trepidation. I was worried that I wouldn't have enough material to fill an 8 hour day (3 days in a row).

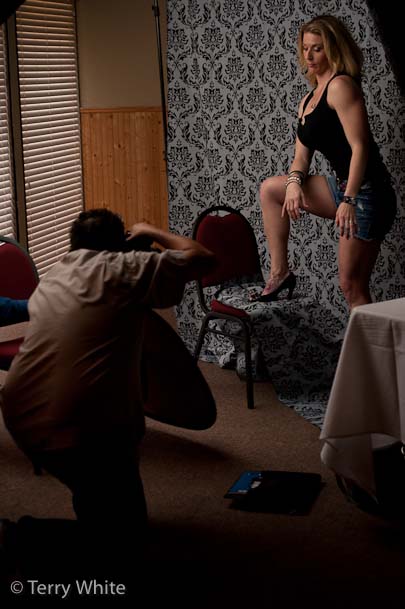
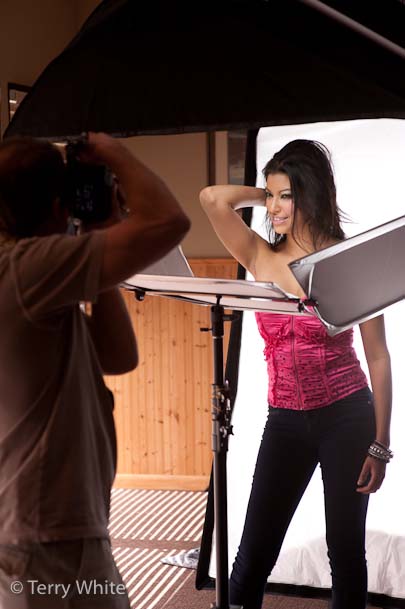
Part of my day was spent showing various lighting setups using the NEW Westcott Spiderlite TD6's and the rest of my day was spent showing my workflow from start to finish including everything from signing model releases with Easy Release on the iPad, importing images into Adobe Lightroom 3 and managing them, delivery of the web proofing gallery via the TTG Highslide Gallery Pro plug-in and retouching in Adobe Photoshop CS5. Needless to say by the time I did all of this and allowed time for the students to shoot using the various setups that I did each day flew by.

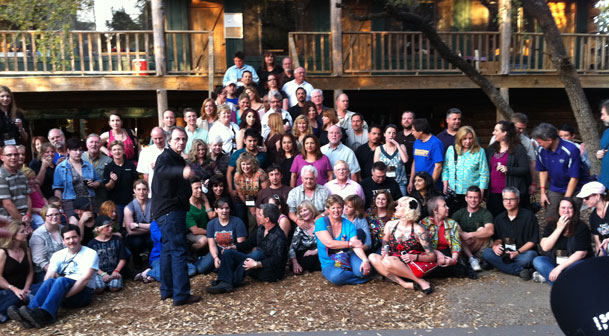
prepping for a group shot with all the attendees, I stole this opportunity to grab one using my iPhone 4.

It was an honor presenting along side Michele Celentano, Tony Corbell and David Guy Maynard at this event. Also I have to thank the staff at Precision Camera for all the hard work that went into coordinating this 3 day event with multiple simultaneous tracks, location scouting and model/makeup/wardrobe setup.


John Williamson was on hand from Westcott

It was a pleasant surprise to walk in and see my buddy John from Westcott. Westcott was one of the sponsors of the event and I was there on their behalf as well as Adobe's behalf. While it was great seeing John again, he was a huge help in my classes acting as photographer assistent and I imposed upon him to kick each day off explaining the six styles of lighting. I've never heard anyone explain it the way he does and I didn't want my class to miss that opportunity. John also made for a very handsome male model 🙂


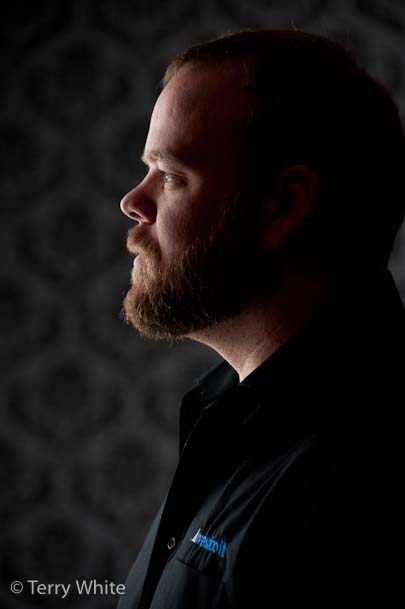
Briana, Cheryl-Rose, Jennifer & Sarah


Without the great models this workshop would have been a lot harder to teach!


Thanks!

A Special Thanks goes out to all of my students over the 3 day period. You had a choice in instructors and you chose my class. So I thank you for spending a day with me and hearing what I had to say.

5 Things You May Not Know About Photoshop CS5

httpv://www.youtube.com/watch?v=2qq_20ruKA0


In this episode I'll show you 5 features that you may not know about in Photoshop CS5. These are just 5 of the many JDI (Just Do It) features that the Photoshop Team worked into Photoshop CS5 to make life easier for Photoshop users each and every time they use the application.


See more of my Adobe Creative Suite Videos on my Adobe Creative Suite Podcast and get the App here. It features EXCLUSIVE CONTENT that no one else gets to see. This episode has a BONUS CLIP that is available only in the App:

Learn Adobe Creative Suite with Terry White - Wizzard Media


Nikon SB-700: Guest Review by Jason Lykins


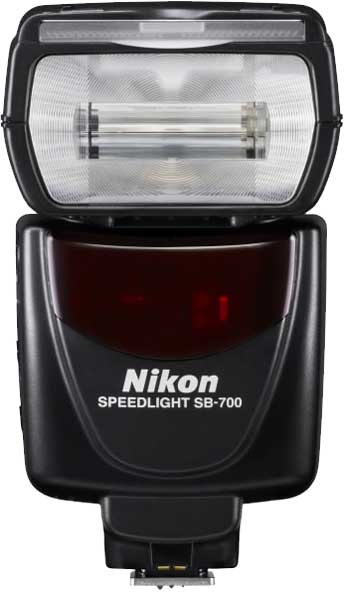
I love the Nikon CLS flash system. For me, it is THE reason to choose Nikon over any other brand. Their R&D, fit and finish, and performance are second to none in the small flash arena. For a few years the SB-800 was the go to flash for me, offering the control, and power needed for a working professional. Recently Nikon updated it’s flash line; first with the flagship SB-900 replacing the SB-800, and more recently the SB-700 replacing the SB-600. I am currently using SB-900’s as my go to main flash units, but when my last SB-800 died I decided to take a look at the new SB-700 as an alternative. After reading David Hobby’s (aka the Strobist) initial review of the flash I decided to give it a go. After a couple of weeks with it, I’m not only impressed, but sold on this unit. I’ll be buying more.
 

What it had to have

There were a few things that this flash had to have to make it useful for me. The first and most important thing that I need is power. I often double, and triple diffusing my flashes to increase the quality of light. This requires a lot power to shoot through all of these layers of diffusion and still have enough “oomph” to light the subject. The SB-700 has power to spare. After shooting it side by side with a SB-800 I’m pretty sure that the power output is on par with that unit. Of course I didn’t do a scientific comparison to measure this, but just the light output, the coverage, and the recycle times make me think that this flash is right there with the 800. Nikon claims not, but I have to think that the low power rating by Nikon is to drive pros to the SB-900 over the 700. Suffice to say that this flash meets my power and output needs without a problem.


The next thing on my list of must have’s is control. I need to be able to control wireless flash systems just as I would with the SB-800 if I’m going to be using these flashes as replacements. The SB-700 gets part of the way there. Let me explain. Nikon did a great job by putting a lot of the controls on the outside of the flash similar to the SB-900. They placed a rotating switch similar to the 900 for TTL, remote, and Master selection for the wireless CLS system. While we’re on this subject, the 700 can act as a Master flash for the CLS system, but only offers two groups. For me this isn’t a big deal because I use them with the Pocket Wizard Flex units, which allow me to add that control externally anyway. The 700 also adds a physical switch to the back of the unit to select your mode. With the option of TTL, Manual, and guide number, it has every option that I would want. Another Physical switch added to the back of the flash is the light output type (standard, even, and center weighted). The FEC (flash exposure compensation) for your main unit, and the remote units when in master mode is controlled just like the SB-900 with a quick button push and a spin of the wheel. If you’re already accustomed to the SB-900 controls, you will feel right at home.

The reason that I said Nikon only get’s part of the way there on the control has to do with the way it handles it’s wireless flash units. With the 700 in master mode, the remote flash units are set to the same flash exposure mode as the 700. This means that if you are using TTL for the main on camera flash, you can’t set the remote units to anything else. For most this probably won’t cause a problem. For me I want to make my remote flashes different exposure control than my master sometimes. Sometimes my subject is being lit with TTL, but in the background I want to add a small amount of kicker light with a gel. The SB-900 allows for this independent control of the wireless flashes, but for whatever reason they excluded it from the SB-700. To work around this, I use the SU-4 mode to trigger the background lights instead. Speaking of SU-4 mode, it works remarkably well on the 700. Nikon flush mounted the light sensor for triggering making this thing super sensitive. When I say sensitive, I mean SENSITIVE. It picks up any little glint of flash and triggers it.
Continue reading “Nikon SB-700: Guest Review by Jason Lykins”

How To Get Started With Adobe Photoshop Lightroom 3

httpv://www.youtube.com/watch?v=-5SA-uluPns


In this episode I show you how to get started with Adobe Photoshop Lightroom 3. Sure there are tons of videos and sites dedicated to Lightroom and showing tips and tricks, but this time I'm specifically aiming at Lightroom beginners. Learn how to get started the right way with Lightroom 3 no matter where you're coming from in terms of image management.


See more of my Adobe Creative Suite Videos on my Adobe Creative Suite Podcast and get the App here. It features EXCLUSIVE CONTENT that no one else gets to see. This episode has a BONUS CLIP that is available on in the App!:

Learn Adobe Creative Suite with Terry White - Wizzard Media


Unleashed GPS Bluetooth Geotagging Solution for Nikon DSLRs

I've spent quite a bit of time reviewing GPS based Geotagging solutions for my Nikon DSLR cameras. You might remember my most recent review of the blueSLR solution, which involves attaching a bluetooth module to your Nikon DSLR and using your iOS device to run their App. The folks over at Foolography saw that review and asked if I would take a look at their solution. Since I have a passion (or geeky interest) in this area I jumped at the chance.


The Unleased Dx000 is the smallest one I've seen to date
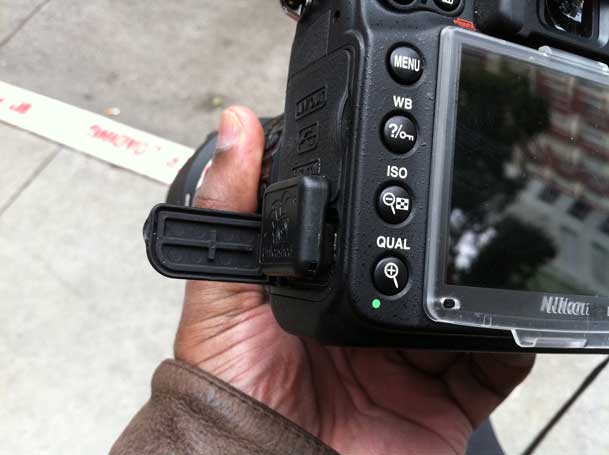
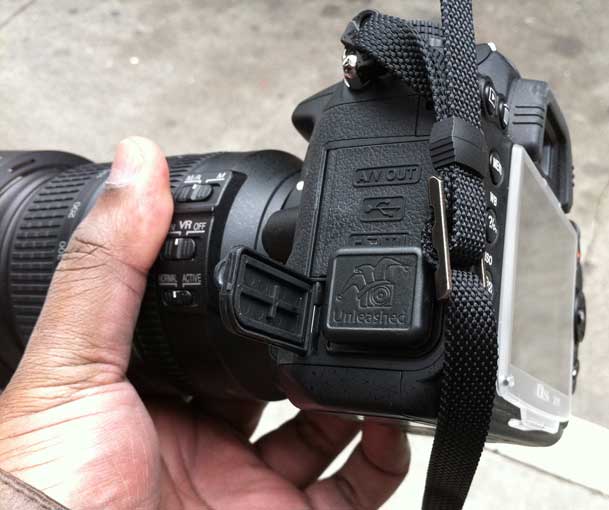
One of the issues with a GPS device on your Nikon DSLR is that it's not built-in. This means that you either have a module that attaches to the 10 pin terminal port (on the higher end DSLRs) or the GPS port on the side of the body (yes you can have one that doesn't attach and do it later in post, but I hate those solutions). These modules either attach via a cable, which means the module itself has to either sit on the hotshoe (not electronically, just for placement) or on the strap. The potential problem with these types is that as you walk around you're going to bump it and either knock it around or even possibly break the cable/port going into the module (I've done that). The Unleased Dx000 as you can see in the picture above fits very snuggly against the camera body. The only problem in the case of the D7000 is the port door hangs open.

When I first saw this product I almost jumped out of my chair until I realized that this was only one half of the solution….


The Unleashed Modules Require a Bluetooth GPS Receiver
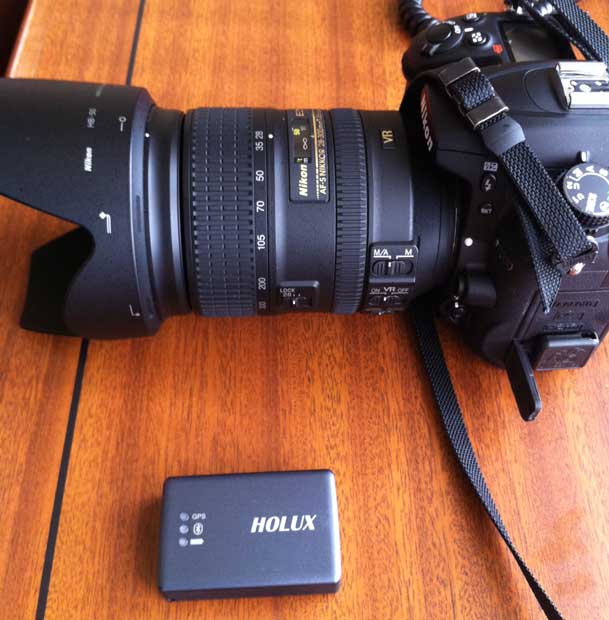
While the module that plugs into your DSLR is in fact the smallest I've seen, there is another piece you need to actually Geotag your photos as you take them. You need a compatible Bluetooth GPS receiver.  Luckily there are quite a few to choose from. I received the Holux M-1000C for review. This (Holux M-1000C) module is the actual GPS receiver. It pairs with the Unleashed Dx000 wirelessly via Bluetooth. 


How does it work?
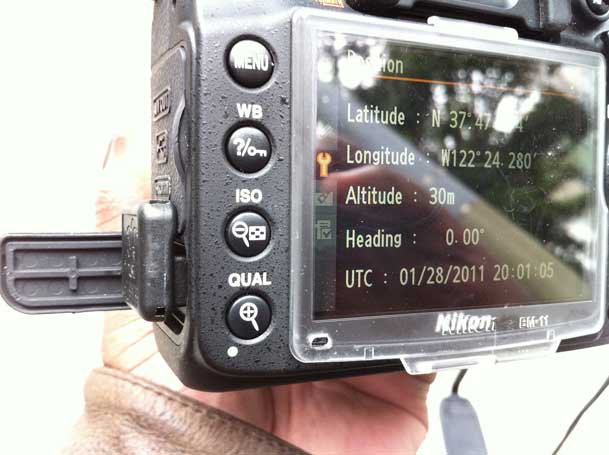
Once you pair the Unleashed Dx000 with your Bluetooth enabled GPS receiver, you then just turn on the GPS receiver and your camera. Mine came already paired and ready to go. I charged the Holux via USB and took it out to test it. Per the instructions I turned on the Holux and my D7000 with the Unleashed Dx000 attached. Once the Holux M-1000C locked on to a satellite the Nikon D7000 picked up the location from it wirelessly. At this point I put the Holux unit in my jacket pocket and started shooting. 


The Bottom Line
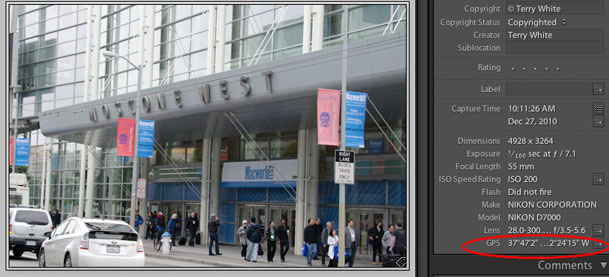
Click the above photo in Lightroom to see where this shot was taken/geotagged on Google Maps


This solution worked as advertised. The accuracy seemed a bit off but that may very well be to the placement of the Holux device in my pocket instead of out in the open. For example, when I took the shot above I was outside on the sidewalk across the street. However, when you click the shot above to see it on Google Maps you'll see that it places me (the green arrow) just inside the building. For this reason you're probably going to want the GPS module more out in the open. It would be nice if someone developed a GPS bluetooth hat 🙂

When I went inside the convention hall the module continued to transmit my last known location to the camera. However, this doesn't work indefinitely. After so long the GPS module will no longer transmit your location if it doesn't get an update. It's hard to say when it stopped, but my guess is about an hour inside. This is fine if you're ducking in and out of locations, monuments while shooting, but it's not suitable for prolonged indoor geotagging.

Battery life was great on both units. I kept the Holux on the entire day and the battery was still going strong until I turned it off for the evening. Also there was no significant drain on the D7000, which I did turn on and off as needed throughout the day.
Yes you can also attach a compatible shutter release for those long exposure shots.


Which one should you get?

There isn't a Nikon compatible GPS that I flat out don't recommend (although the Nikon branded GP-1 would be on the bottom of my list in terms of features). They all do what they say they do. It really boils down to the features you're looking for and form factors. I look at each solution as having a place depending on the kind of shooting you're going to be doing most. So here are my recommendations:

For the all day landscape shooter

If you're out and about all day then battery life will be a concern. While these newer bluetooth units offer better form factors they do pose a potential concern for the additional battery life you'll need in your iPhone/iDevice or your Bluetooth GPS receiver. So if you're out and about from sun up to sun down I would still recommend the Solmeta N2. It's my favorite all around unit that works with all of my Nikon bodies.

For the on location shooter

This is the person that will be shooting both inside and outside, but they will be shooting inside a lot! Monuments, museums, and other buildings where there isn't a clear view of the sky. For this shooter I would go with the blueSLR solution. Because it gets its GPS location data from your iPhone it stands the biggest chance of geotagging shots that the other solutions will miss! Also with the blueSLR solution you get the benefit of a wireless shutter release from your iPhone including time lapse photography.

For the photowalk photographer

If you are doing a lot of walking with your camera, say on a photowalk and you don't want to have to worry about constantly looking out for the GPS attached to your camera body, then hands down I would go with the Unleashed solution. I like the fact that you turn this on and forget about it. The flush mount design is awesome and again it's smallest on camera solution that I've seen. Prices start at 125 Euros for the Unleashed module and about 63 Euros for the Holux GPS receiver. 


The good news is that you can't go wrong with any of the solutions above. Pick the one that's right for you!
The 5 Things That I Do To Every Portrait

httpv://www.youtube.com/watch?v=aeVm2Ndc5E4


I got an interesting request from my Facebook Fan Page where Craig Marks asked "what are the 5 things that I do to every picture?" I thought it was such a good question that I decided to make it this week's episode of the Adobe Creative Suite Video Podcast. Now of course it would vary slightly between portraits, landscapes, product shots, etc. so I decided to start with the 5 things that I do to every portrait and see where it goes from there. Thanks Craig!

Also if you get my App you'll see a bonus clip where I take things even further:

See more of my Adobe Creative Suite Videos on my Adobe Creative Suite Podcast and get the App here. It features EXCLUSIVE CONTENT that no one else gets to see:

Learn Adobe Creative Suite with Terry White - Wizzard Media


Bert Monroy’s 750,000 Layer Photoshop File of Times Square is Done!

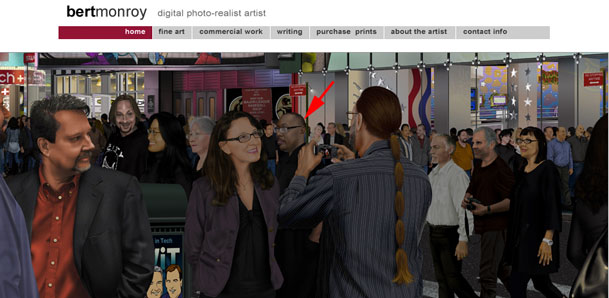
Yes, you read that right! My buddy and Photoshop Artist Bert Monroy (I'm in awe of what this guy can do with a blank Photoshop canvas) has completed his latest project. A 750,000 Layer Photoshop File of Times Square in NYC. Bert wanted to recreate a scene in Times Square using hand drawn art and photos that he has taken over the years. I'm also very proud and totally honored to be featured in it :

Check out Bert's new masterpiece here (using Zoomify technology, you can actually zoom in on it!)  Pan around see who you can recognize.

Very cool Bert! You are amazing!