Nikon ME-1 Mic for DSLR Video


I love my Nikon D7000 DSLR camera. I hate the built-in mic. While the camera takes both great stills and high def 1080p video, the built-in microphone…well um…yeah…sucks! It's barely adequate for an interview and the 11Hz mono audio is pretty much useless for anything else. While I've been happy with my Rode VideoMic and VideoMic Pro, I was intrigued by Nikon's announcement of the NEW ME-1 Mic because of its small size. The ME-1 is about half the size of my VideoMic Pro and that makes it much better for travel. Keep in mind that my D7000 is my travel DSLR. I use it more on the road than I do at home. That means that if I'm I recording a video I'm most likely recording it on the road too. On my last international tour I had no room for the VideoMic and of course as luck would have it I had to do an impromptu video recording in Australia. The video looked great, the audio was…"meh." The whole time I was kicking myself for not bringing the VideoMic Pro. The ME-1 had shipped, but hadn't arrived before I left home to go my trip. 

Note: When you plug in an mic to the Nikon D7000 you get Stereo/Mono audio at 48kHz/16bit. 


ME-1 Pros and Cons

Continue reading “Nikon ME-1 Mic for DSLR Video”

Don’t Shoot DSLR Video without a Z-Finder Pro


Nikon D7000, 85mm f/1.4 lens, Rode VideoMic and Zacuto Z-Finder Pro 3x

Shooting Video with a DSLR camera is all the rage now. However, one of the biggest problems with shooting video with a DSLR camera is keeping the video in focus. When you shoot at a shallow depth of field (one of the benefits of DSLR video), it's almost impossible to maintain focus while looking at the LCD on the back of your camera. While 3" may seem like a nice healthy screen size for a camera, it's really small when you're trying to check the focus of a scene. If you're shooting stills it's less of a problem because you can take a shot and then zoom in on it to check focus. When you're shooting video you don't have the same luxury. You can can't zoom the preview while you're shooting. The camera manufacturers haven't figured out that they should give us the option of looking through the lens via the eyepiece when shooting video yet. So for now we have to rely on the LCD for everything video.


The Zacuto Z-Finder Pro to the rescue

Zacuto has a few solutions for this problem. The one that I like the most is the Z-Finder Pro. It's designed to attach to a supplied bracket that goes on the bottom of your DSLR. It then gives you a more standard eye piece/viewfinder to look through while you're shooting. It also magnifies the screen. Once you put your eye up to the Z-Finder Pro you'll never want to shoot video without it again.

Looking through the Z-Finder Pro 3X


How would I redesign it?

The Z-Finder Pro attaches to a plate with two thumb screws. While you can certainly loosen these screws to remove the Z-Finder when you want to go back to shooting stills, I'd make a faster "quick release" system for quickly detaching it and re-attaching it. I also haven't tried this yet with a tripod mount/ball head. It might be interesting if the popular ballhead manufacturers had built-in support for the Zacuto bracket or vice versa.


If you shoot DSLR video, you want this!


You can get the Z-Finder Pro 2.5x mag here for $375.25

You can get the Z-Finder pro 3x mag (the one I used) here for $375.25

What a Fantastic Week in the Nordics!

photo by Jason Levine

i'm on the road and literally on the go in the airport. However, I wanted to take a moment to thank the thousands of you that came out to our Adobe Creative Suite 5 tour in Helsinki, Stockholm, Oslo and of course the beautiful Copenhagen! I had a blast presenting the latest tips and techniques including a sneak peek at our NEW Digital Publishing solution featuring the iPad. 😉

photo by Jason Levine


It was also fun having Julieanne Kost on the tour with myself, Jason Levine and Greg Rewis.

The crowds were amazing and when I walked into the Cinemaxx in Copenhagen I literally said "whoa!". It was PACKED!


Thanks again and I'm looking forward to coming back to the region soon.

Getting Started with DSLR Video for Photographers – Part 4

httpv://www.youtube.com/watch?v=dG1sqevWElE


Adobe's Worldwide Evangelist for Video and Audio, Jason Levine is back once again to give us his fourth installment on Getting Started With DSLR Video for Photographers.

Download a FREE fully functional 30 day Trial of Adobe Premiere Pro CS5 and work right along side Jason.

Continue reading “Getting Started with DSLR Video for Photographers – Part 4”

Getting Started with DSLR Video for Photographers – Part Three

httpv://www.youtube.com/watch?v=WxaN2bWwxKU


Adobe's Worldwide Evangelist for Video and Audio, Jason Levine is back once again to give us his second installment on Getting Started With DSLR Video for Photographers.

Download a FREE fully functional 30 day Trial of Adobe Premiere Pro CS5 and work right along side Jason.

Continue reading “Getting Started with DSLR Video for Photographers – Part Three”

New Nikon D7000. Now we’re talking!

Yesterday Nikon answered my wishes for a replacement to my Nikon D5000 (and D300 before that) travel camera. My wish was for a small rugged body that offers DSLR video at 1080p, stereo mic input and continuous autofocus while shooting video ain't bad either. I looked at the D3100 was tempted, but once my buddy Jeff Revell pointed out that it lacked bracketed shooting (which makes HDR much much easer), and that was pretty much a deal breaker. It also lacks a mic input. However, the D7000 has everything I want. It's actually more of a replacement to the D90 than the D5000. Although the D5000 was newer, the D90 had a more rugged water resistant body. The D7000 brings Nikons latest technologies to bear.


It offers:

  • a 16.2MP DX-format CMOS chip
  • HD Video up to 1080p 24fps (20 minute clip limit – up from 5 minutes)
  • Full-time Auto Focus while shooting video <- if this works well it will be HUGE!
  • a respectable 6fps continuous shooting mode
  • ISO range from 100 to 6400 (expandable to 25, 600 in HI2 mode)
  • Twin SD (SDHC, SDXC) card slots – great for copying, shooting video to one stills to the other or RAW to one and JPGs to the other.
  • Optional MD11 external battery grip 
  • Built-in HDMI out and stereo mic in
  • GPS support (external module required as before)
  • Full specs here.


Yep, this is the one I've been waiting for since last year. 

The Nikon D7000 lists for $1,195 and you can place your pre-order here.


Continue reading “New Nikon D7000. Now we’re talking!”

Getting Started with DSLR Video for Photographers – Part Two

httpv://www.youtube.com/watch?v=B2VXeqwlZF8


Adobe's Worldwide Evangelist for Video and Audio, Jason Levine is back once again to give us his second installment on Getting Started With DSLR Video for Photographers.

Download a FREE fully functional 30 day Trial of Adobe Premiere Pro CS5 and work right along side Jason.

Continue reading “Getting Started with DSLR Video for Photographers – Part Two”

Photoshop World – Vegas 2010 Wrap Up

For me this was probably not only my busiest Photoshop World, but probably my best. There was a good vibe going on all week long! I not only got a chance to see some old friends, but I also got a chance to teach some new classes and do some presentations that I hadn't tried before. 


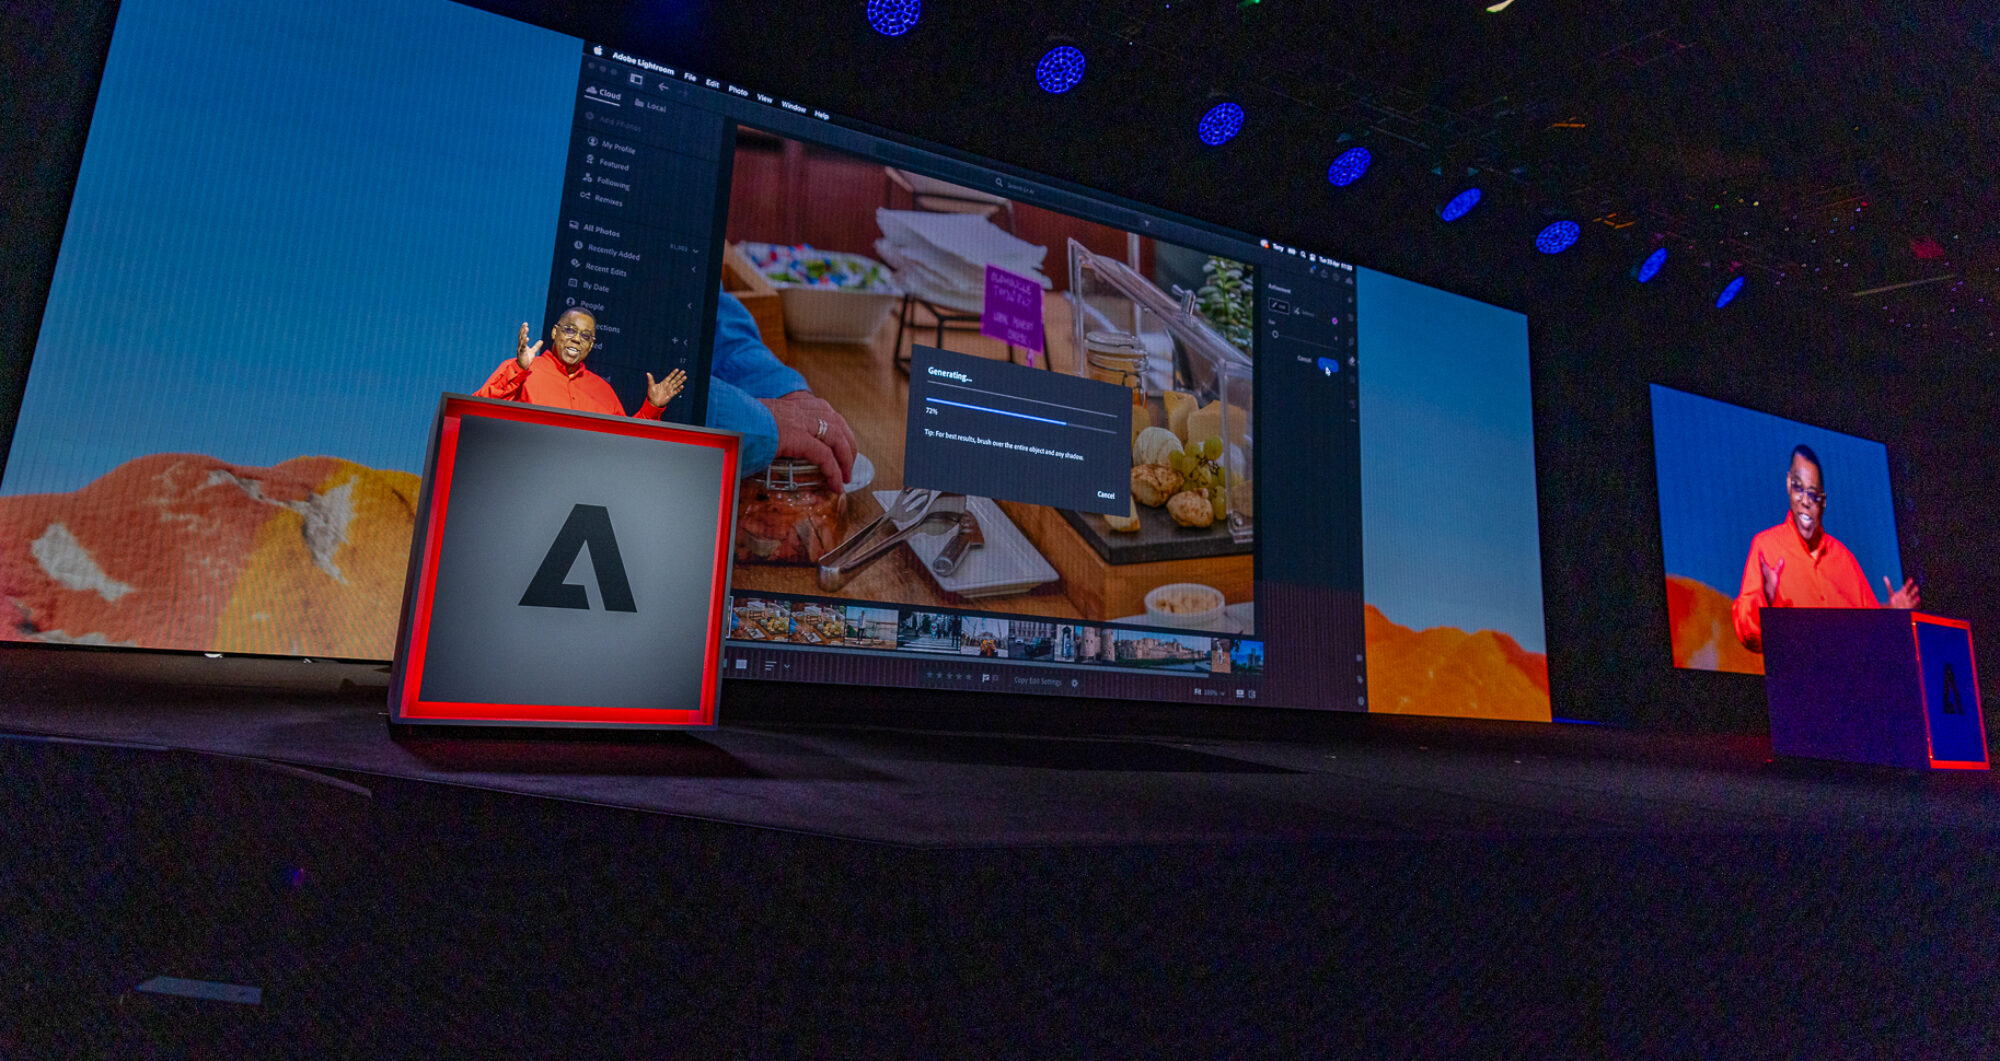
Honored to be a part of the Adobe Keynote Address

shot by Cari Gushiken

The last time I was on stage for the Photoshop World Keynote was actually the very 1st Photoshop World Keynote 1999 in Orlando FL. Back then I was the keynote speaker and oddly enough back then the big news was Adobe InDesign 1.0. Wow! A lot has changed in 10 years! This year I took the stage along side Johnny L to show a quick 5 minute demo on taking your photos and DLSR video from Adobe Photoshop Lightroom 3.2 into Adobe Premiere Pro CS5. It was great to hear so many photographers that were thinking about getting into DSLR video come up to me afterwards and say "I think I can do that". 

If you missed the keynote, you can watch the replay here.


Celebrating Photoshop's 20th Anniversary In the Adobe Booth


Adobe took a totally different approach to the tradeshow floor this time. Normally our booth is the typical theater with demo stations and continuos demos of our latest wears. This time we paid tribute to the 20th Anniversary of Photoshop by setting up Macs running every version of Photoshop all the way back to version 1.0. These Macs were running the version of the Mac OS and Photoshop of their era. Users could walk up and play with the earlier versions of Photoshop to remember just how far Photoshop has come in 20 years. I started with Photoshop 2.0 and yes I can remember a time before Layers, editable type, multiple undos and installing Photoshop from floppies. 

We also had "Spotlight" sessions throughout the day where Adobe Evangelists and partners showed Photoshop tips and techniques.


More Classes and Partner Presentations

photo by Brad Moore

photo by Brad Moore

that thing we call Midnight Madness 🙂 photo by Brad Moore

I had 4 classes on the conference track instead of my usual 2. Not only did I get to do my 2 InDesign classes, but I also got to do one on Lightroom as well as a Social Media Class dealing with Facebook. Thanks goes out to all that attended my classes and the many kudos you gave me.

I also did a couple of lighting demos for Bogen and Westcott. Sarah K on the left lit with the Elinchrom BX-RI 500 against a Lastolite Hi-Lite background and Tala lit with the Westcott Spiderlite TD5s. Both shots taken with my Nikon D700 and 28-70mm f/2.8 lens.


Wacom also asked me to give a demo in their booth of the Intuos 4. 


The Westcott Booth Was Over the Top!

Westcott added something very cool at this show. They had their usual corporate booth with various lighting setups and equipment on hand. However, they also added a second area near the rear of the show floor with Live Shooting Bays. They had 4 bays setup so photographers could walk up and shoot the various themes and models they had for each day. I was completely blown away by how well this worked and it was the buzz of the show floor. It was one thing to have this very creative setup, but I was stunned when it changed each day. A lot went into this for sure. The real beauty of this setup was that it allowed Westcott to REALLY SHOW OFF their Spiderlite TD5 Lights. These continuous lights don't need triggers and therefore not only is it what you see is what you get, but its perfect for allow multiple photographers to shoot at the same time. Bravo to the Westcott team for pulling this off and allowing everyone the opportunity to get some creative shots!

See more of my shots here:

If you also did some shooting in this Gallery the guys at Westcott are offering you a shot to be featured in their next catalog. Check out the details here.

I told the Westcott guys, "you know that you can't ever come to Photoshop World again without doing this right?" they smiled 🙂


Lessons learned (again)

Don't rely on one camera battery. I figured one fully charged battery would last me the week. Normally it would have, but the Westcott Shootout took it's toll on my battery and at the end of the week I was only able to get off two shots during my Lightroom Class (tethered shoot) before it died. I have several batteries, they're small and don't weigh much. I could have easily fit two more in my bag without even noticing the added weight. Next and once again I was reminded how important it is to have comfortable shoes. I normally wear or bring sneakers, but this time I was tight on space and left them. Lastly, I brought my Nikon 28-70mm f/2.8 lens and while it's a great lens, I was really wishing I had brought my 70-200mm f/2.8 instead. It's not that much bigger and it would have been so much better for the shoots I did. 


I look forward to seeing you all in Orlando for Photoshop World East 2011!