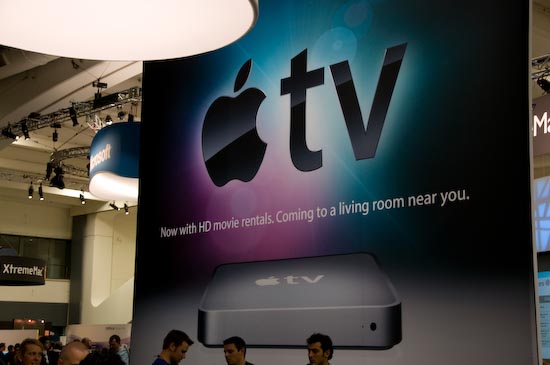
teaser banner posted at the entrance to the exhibit hall
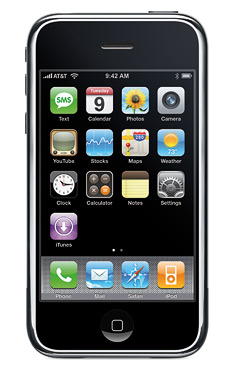
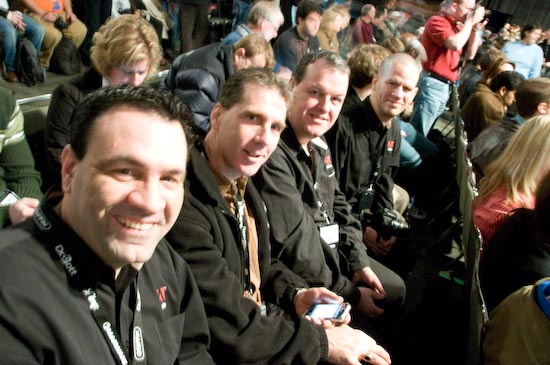
Well today is the big day! I’m here live getting ready for the Apple/Steve Jobs Keynote at Macworld Expo. I’m going to attempt live updates from the keynote using my iPhone. If all goes well you’ll get a blow-by-blow on what’s being announced.
So refresh this page often from 9AM-11AM PST…
8:26am I’m standing in line to get in.
9:05am Steve took the stage, thanked the software vendors for being native intel. MS Office 2008 for Mac is the last major app to be ported to intel Macs. He’s introducing 4 things today!
9:20 am Steve introduced Time Capsule – 500MB $299, 1TB $499 – This is an AirPort Extreme base station with a hard drive built-in. Its a companion to Time Machine backup appliance for Leopard.
9:21 am Steve announced 4 million iPhones sold today – 200th day today since the launch.
9:23 am Great new features being rolled out Today for the iPhone. The iPhone can now find your location. Webclips, Up to 9 total home screens, SMS multiple people, if your song has lyrics, they’ll display.
9:26am Steve is demoing the new maps feature with the “find my location” feature.
9:27am Now he’s demoing the new Web Clip feature for the iPhone. This allows you to ad websites directly to your home screen on the iPhone.
9:30am Now he’s demoing customizing the home screen on the iPhone.
9:30am Working with Google and Skyhook wireless to make the “find me” feature on the iPhone. This is using both cell tower technology and wi-fi hot spot beacon locators to triangulate your position on the map on the iPhone.
9:33am Just demoed bookmarking spots in movies on the iPhone. All of these iPhones updates are available today as free updates. “What can we do for the iPod touch today?” We’re adding 5 apps!
Adding Mail, Stocks, Notes & Weather, Maps with Wi-Fi location. Starting today it’s built-in to new ones. Available as a $20 update for existing users. That was the 2nd thing he wanted to talk about today!
#3 “it’s about iTunes!” Sold the 4 billionth song last week!
Sold 20 million songs on one day on Christmas day. A new record. Sold more TV shows and more Movies than anyone else!
iTunes movie rentals with 12 major movie studios -every major studio.
9:38am Flipping through all the great new titles.
9:39am Launching with over 1,000 films by the end of Feb. Films 30 days AFTER their DVD release (what?). You have 30 days to start to watch it. You have 24 hours to watch it after you start watching it as many times as you want within 24 hours. $2.99 for an older movie, $3.99 for a new release.
iTunes Movie Rentals Launches TODAY! Free update to iTunes – US Today, International later this year.
What about your TV? All of us have tried (MS, Apple, TiVo, Netflix, Blockbuster). We’ve all missed! We tried with Apple TV. It’s not what people wanted.
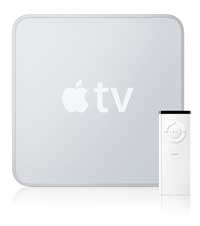
We’re back with Apple TV 2. No computer is required! It’s about Movies, Movies, Movies. You can rent movies directly on the TV. DVD quality AND HD Quality (Yeah!) with 5.1 surround sound.
Supports photos from your computer AND directly over the internet – Flickr and .Mac. Podcasts directly from Apple TV. as well as Buy TV shows and Music. All of the original features as well.
HD movies are $1 more ($3.99 & $4.99). You can choose either format. Now he’s showing the new interface.
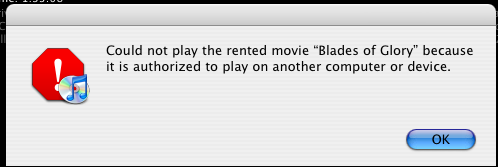
The interface is pretty slick! It’s all about the movies. Now showing Blades of Glory description. You can preview the movie first.
Now he’s renting it. The movies is already ready to play. It’s playing now. So it downloads a little of it first and then you start watching it while it downloads the rest in the background. It looks very impressive! That was DVD quality. Now he’s showing Live Free or Die Hard in HD. Continuing to show the interface of the new Apple TV, including search.
9:50am Still talking about Apple TV and iTunes.
9:54am Now showing HD podcasts streaming on the Apple TV in HD.
9:55am Yep, he’s still talking about Apple TV. Now showing streaming photos and home movies over the web off .Mac & Flickr.
9:57am Oops, there’s a glitch. The Apple TV looks like it locked up only playing sound from a Flickr site, but no photos. Now he’s recapping the stuff you just read above!
9:59am Made a joke about Flickr – “when they’re serving up photos” – chuckle
FREE Software Update for existing Apple TV users! Way to go Steve – you rock!
Lowered the price to $229 from $299 of Apple TV. Software update available for free in two weeks.
Movie rentals can be watched on your computer, Apple TV, iPods and iPhones. “I think we’ve got it all together!” The first studio to sign up was 20th Century Fox. Jim Gianopulos (Chairman & CEO) is now taking the stage.
10:03am Jim is talking about the business model and what everyone wants.
10:06am People will still want DVDs (“Blu-ray looks like the winner”). Showing the Family Guy Blue Harvest DVD. This DVD contains a digital copy that can be moved to your iPod, etc.
Now for the 4th Thing! Here it comes.
“Apple makes the best notebooks on the planet” The MacBook Air
The world’s thinest notebook!
10:09am Going over the competition now. 3lbs is a good target!
MacBook air .76″ down to .16″ The thickest part of the MacBook Air is thinner than the thickest part of the Sony viao. He has it in a interoffice mail envelope! It just took it out. It’s insanely thin!
Full size keyboard – full size display.
13.3″ widescreen LED backlit display – instant on the minute you open. Built-in iSight. Magnetic, no physical latch. Has the ambient light sensor on the keyboard. Multi-touch gesture support on the trackpad.
You can set your preferences for the trackpad. You can rotate a photo by turning it on the trackpad, double tap to then move a window. 3 fingers to switch photos – pinch to zoom in and out all from the trackpad.
1.8″ hard drive. Ships with an 80GB HDD standard with an optional 64GB solid state drive (“it’s pricey”)
1.6GHz core 2 duo standard, with an option to go to 1.8GHz. 60% smaller package for the chip thanks to intel!
10:18am Paul Otellini intel CEO taking the stage and talking about the product.
USB 2 port and Micro DVI and Headphone jack, 802.11n, Bluetooh 2.1 + EDR, No Optical Drive. You can buy a USB powered optical drive fro $99.
Steve is going over the reasons why you don’t need an optical drive anymore. We’re going to install software wirelessly too. A new feature called Remote Disc. So you’ll be able to put the disc in another Mac and use it on your MacBook Air wirelessly! Even on a PC!
Battery life – 5 hours with everything on.
2GB of RAM standard!
Priced at $1,799!
Shipping in 2 weeks, taking orders today.
Now showing the new TV ad for the MacBook Air
Now going over the new Environmental efforts. Mercury-free display with arsenic-free glass, case is recyclable. Retail packing is 50% less volume.
MacBook Air – The thinest notebook in the world! “That is the 4th thing that I wanted to talk about today!”
Now reviewing the 1st 2 weeks of 2008 and their innovation. Recapping the new Mac Pros and everything announced today.
We’re done! Now bringing up – Randy Newman to perform a few songs.
10:31 Randy has just started playing.
So I’m wrapping this post up now and I’ll post more later on my opinions and take on all of the above! Have a great day!