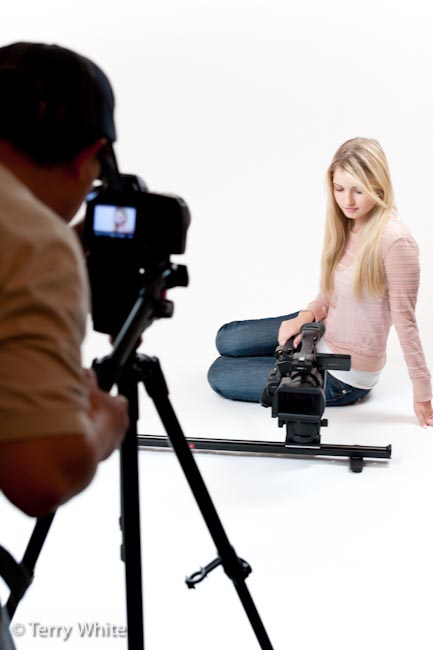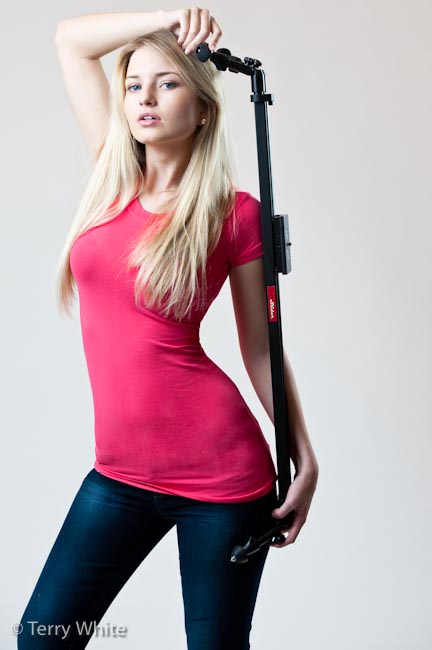
My shoot with Don Pham of DP Slider fame


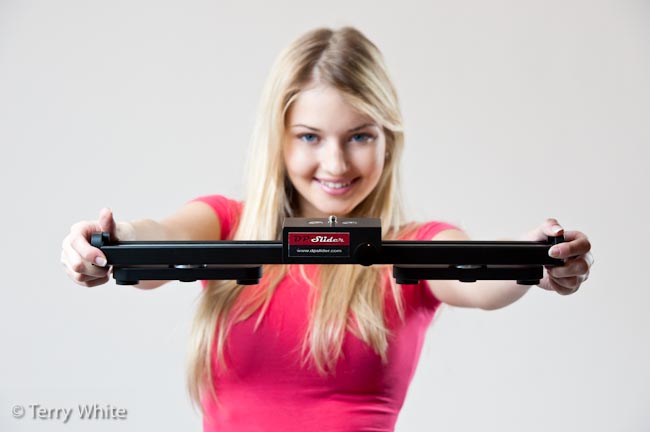
Every now and then I get a break from the beauty and fashion photography that I do as a hobby and I get to do a product shoot. This time it was for my buddy Don Pham. Don has an invention that is a must have for video shooters. It's called the DP Slider. The DP Slider is a glide track for your video camera or DSLR to allow you to record sweeping shots that as smooth as butter. While Don wasn't the first one out of the gate to invent one of these, his is by far the smoothest in operation and most flexible from all the ones I've seen.

Don is an engineer by trade and he spent a great deal of time perfecting his DP Slider. One thing that makes Don different from most engineers that are tasked to create a product is that Don is also a videographer. This means that he knows what the product needs and what it doesn't.

Also Don didn't rest on his laurels with the first one out of the gate. He has come up with new models (the Prime & Mantis) and refined his original concept to make it even better.

Check out the Video that Don shot during our photo shoot:


Prime & Mantis promo for EDU from Don Pham on Vimeo.


Now see a video shot using the DP Slider:


DP Slider from Don Pham on Vimeo.


Get more information, see more pictures and more videos about Don's invention here.

In case you were wondering, yes this entire shoot was lit with Westcott Spiderlite TD6's.

Turn your Mac into an HD DVR with EyeTV HD

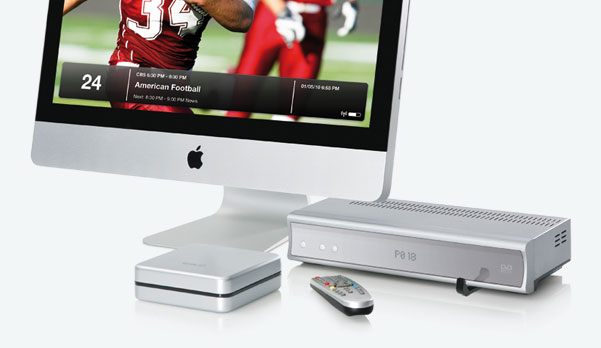
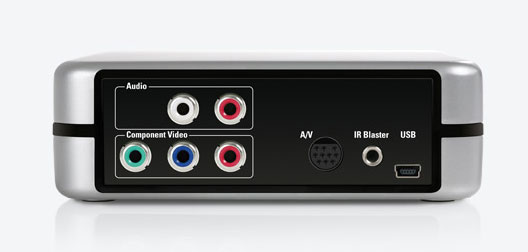
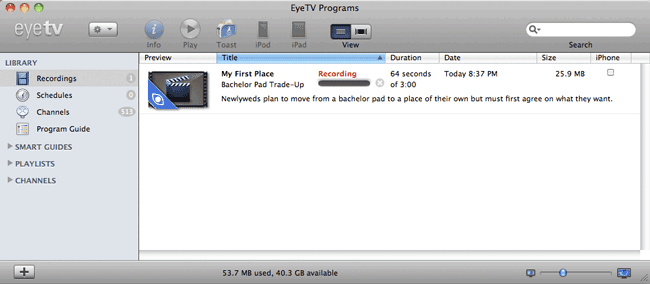
As many of you already know I’m a fan of DVRs in particular TiVo HD and Premiere boxes. However, I recognize that many of you don’t want the costs associated with TiVo, but you do want to be able to record your shows in HD and transfer them to your iOS and other mobile devices. For this Elgato has got you covered with their EyeTV HD. I’ve used Elgato products in the past to simply bring in cable TV to an iMac and have “TV” playing in a window as I worked. However, since those days a lot has changed in the world of TV. For example, Comcast in my area no longer broadcasts “basic” cable without a box. This was one of the things they cut in the move to “Digital” TV. Although there was probably no technical reason to cut it, they cut it and now in order to get cable in my area you need a set-top box to decode the digital signals they send. This also means that in order to record those shows (especially in HD) that you either need to rent their DVR (not a fan of their boxes) or buy a TiVo. With the EyeTV HD you can use your Mac as the HD DVR. You still need a cable or satellite box to decode the signals from your provider. However, with a one time purchase of an EyeTV you can connect this small box to your cable/satellite receiver and then connect it to your Mac via USB (it’s bus powered, so no power brick). Once you load their software you’ll have access to your guide and even the ability to have your Mac remote control your set-top box via the IR emitter. It even comes with it’s own wireless remote control and all the cables you’ll need. Yes it pauses live TV too.

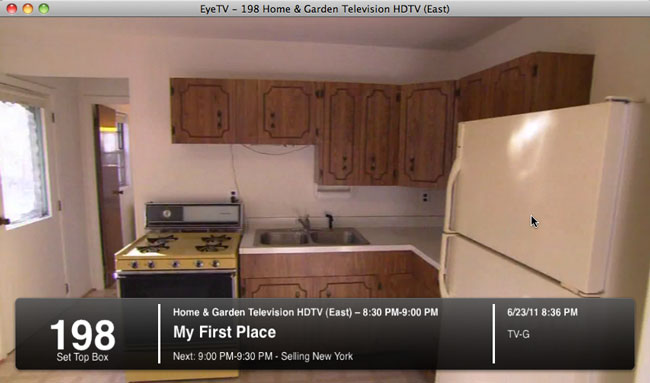
Recording a live show in HD

Record and Watch Anywhere

Besides being able to record to your Mac’s hard drive (internal or external) you can choose to record in two different modes simultaneously. For example, you can record the HD version to watch on your TV (or Mac) when you return home AND you can have it record an iPad/iPhone version at the same time. Of course this uses more disk space, but it definitely saves time for people that want to record and then take their shows with them. That’s one of my frustations with TiVo is that while it can transfer a show to my Mac, it takes a while to transfer it and then even longer to transcode it to a mobile compatible format. With EyeTV, the mobile versions would be sitting there waiting for you as soon as the show ends.

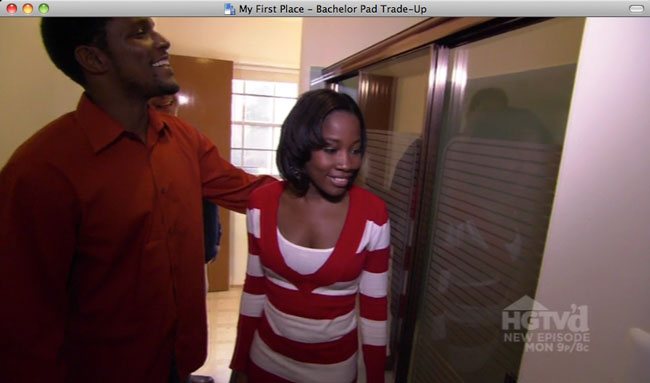
Playing back the recorded show on my MacBook Pro

There’s an App too

While it’s great to have the ability to do dual format recordings, it’s even cooler just to be able to stream your shows from your Mac to your iPad, iPhone or iPod touch via their App. It streams over WiFi or 3G and eliminates the need for a Slingbox.

You can get the EyeTV App for $4.99 (also a bargain when compared to the $30 Slingplayer App) here from the iTunes

What’s the downside?

While this solution solves a few problems, there are some things you have to take into consideration. First of all you’ll need a Mac that is relatively close to your cable/satellite box. Also that box will need to have a free Component Out port if you want HD recording. The EyeTV uses Component video instead of HDMI to avoid Copy Protection issues. You’ll also need ample amounts of hard drive space to be able to record shows in HD. If you plan to stream your Mac will need to be awake. While the solution works, it could be expensive to “dedicate” a Mac to it. However, if you’ve got a Mac server or other Mac that just sits there it might as well get some use doubling as a DVR too. The EyeTV requires Mac OS X 10.5.8 or later as well as an Intel Core 2 Duo processor or better. Lastly you’ll need to connect you Mac to your TV if you want to watch the show you just recorded on the big screen as there is no direct connection from EyeTV HD back to the TV. If you have Apple TV you could stream the recordings that way.

You can buy it here for $169.89 (a bargain compared to long term DVR renting or TiVo/Slingbox buying).

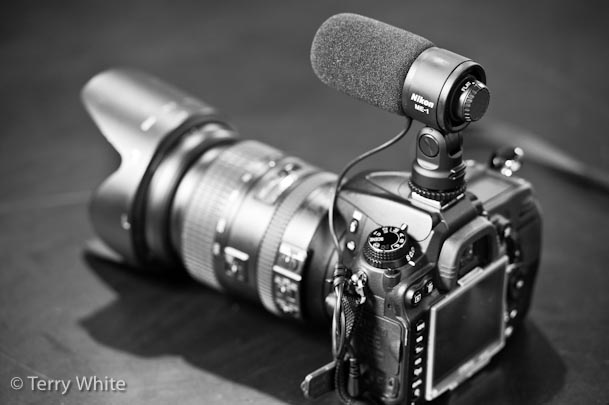
Nikon ME-1 Mic for DSLR Video


I love my Nikon D7000 DSLR camera. I hate the built-in mic. While the camera takes both great stills and high def 1080p video, the built-in microphone…well um…yeah…sucks! It's barely adequate for an interview and the 11Hz mono audio is pretty much useless for anything else. While I've been happy with my Rode VideoMic and VideoMic Pro, I was intrigued by Nikon's announcement of the NEW ME-1 Mic because of its small size. The ME-1 is about half the size of my VideoMic Pro and that makes it much better for travel. Keep in mind that my D7000 is my travel DSLR. I use it more on the road than I do at home. That means that if I'm I recording a video I'm most likely recording it on the road too. On my last international tour I had no room for the VideoMic and of course as luck would have it I had to do an impromptu video recording in Australia. The video looked great, the audio was…"meh." The whole time I was kicking myself for not bringing the VideoMic Pro. The ME-1 had shipped, but hadn't arrived before I left home to go my trip. 

Note: When you plug in an mic to the Nikon D7000 you get Stereo/Mono audio at 48kHz/16bit. 


ME-1 Pros and Cons

Continue reading “Nikon ME-1 Mic for DSLR Video”

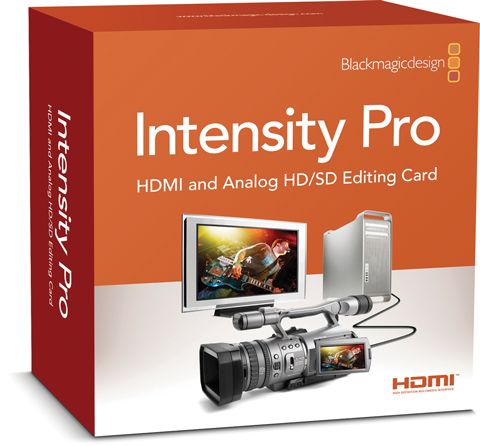
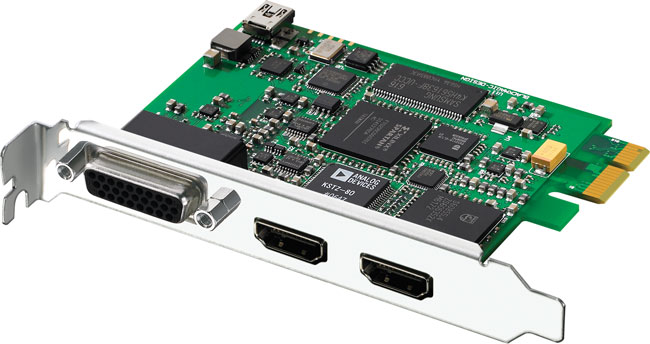
BlackMagic Intensity Pro: Capturing an iPad 2 Demo via HDMI Out

One of the main features of the iPad 2 that I use the most over the iPad 1 is the ability to mirror my desktop out to a projector when doing demos. I've been using this feature extensively on my latest Adobe CS5 Evolution Tour. You can use either the original Apple VGA Adapter or the NEW Apple Digital AV (HDMI) Adapter. While this works GREAT for live presentations I also wanted to take advantage of it when recording tutorial videos or App reviews. The problem was finding a solution that allowed me to take either the VGA out or HDMI out of the iPad 2 back into my computer.


BlackMagic Intensity Pro to the rescue

Continue reading “BlackMagic Intensity Pro: Capturing an iPad 2 Demo via HDMI Out”

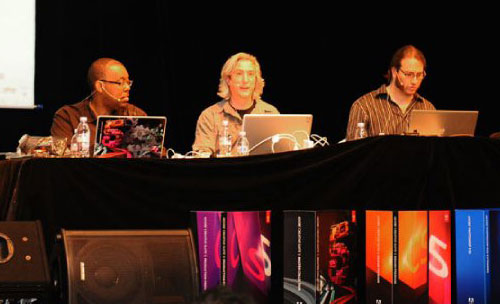
LIVE: Ask a CS Evangelist – again


Join me, Jason Levine (Video Evangelist), Greg Rewis (Web Evangelist) and Paul Trani (Flash Evangelist) for a another LIVE Creative Suite Q&A session Today!

We will show our Top 10 Favorite Features of Adobe Creative Suite 5 and 5.5

Date: Today, Thursday, April 28, 2011

Time: 11:30 AM EDT (GMT-4)

Where: Online in our Connect Room

Cost: Free

Registration: Here

Will there be demos?: Yep

Will there be prizes?: Yes!

What questions can I ask?: Pretty much anything you want, but let's keep it Creative Suite related 🙂

How To Remove Unwanted Noise From Your Video

httpv://www.youtube.com/watch?v=rpOWqDH7SzY


In this episode I'll show you how to remove unwanted noise from the audio track of your video. Using Adobe Soundbooth CS5 I can roundtrip the video over, take out the annoying hum and bring it right back to the timeline in a non-destructive manner.


See more of my Adobe Creative Suite Videos on my Adobe Creative Suite Podcast and get the App here. It features EXCLUSIVE CONTENT that no one else gets to see. This episode has a BONUS CLIP that is available only in the App:

Learn Adobe Creative Suite with Terry White - Wizzard Media


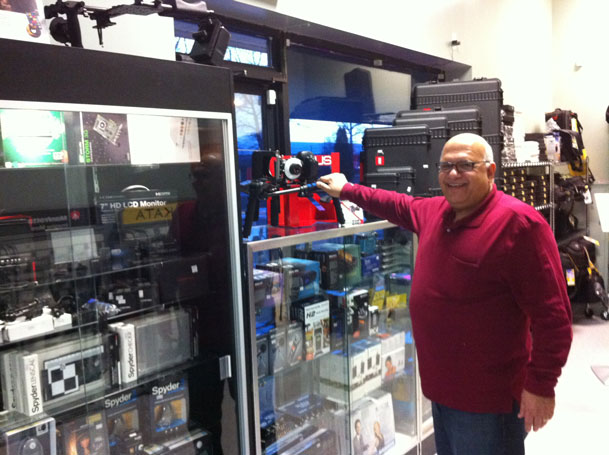
Meet George from LCD4Video

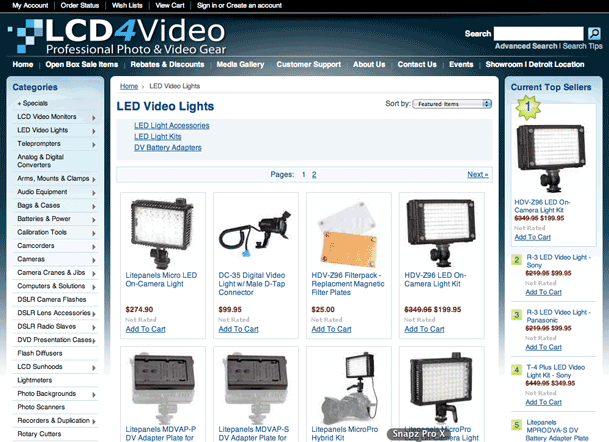
As a gadget guy I love finding gadgets that are useful but sometimes fly below the radar because they are not by the big named manufacturers. A lot of times there's a gadget out there that fills a need and unless you happen to be in the right place at the right time you may never know about it. Although I had ordered an LED video light from LCD4Video.com in the past, I had no idea that 1) they were located right in my backyard and 2) they have so many other cool little accessories for video and and still photography. 

LCD4Video

They sell the usual gear such as cameras, lenses, tripods, cases and lighting equipment, but they also manufacture specialty items under their own brand. I had the chance to visit their location last week to attend a seminar put on by my good friend Mark Astman representing Manfrotto, Lastolite and Elinchrom. I didn't realize the connection between the seminar and the venue until I arrived. During one of the breaks I popped into the show room and before you know it I was buying hundreds of dollars in gear. 🙂

I wanted a small HD monitor that would fit in my hotshow on my Nikon D7000 for doing DSLR video. I also wanted another battery operated LED light for doing video podcasts. These guys had everything I wanted and even the things I never knew existed. George runs a great business and sticks behind what he sells. 

I highly recommend that you check out their site and the vast collection of products they offer! It's also always good to support the local dealers when possible.

Guest Blog featuring Scott Diussa: Basic Audio for DSLR Video Shooters

Hi Everyone! My name is Scott Diussa and I’m the Field Operations Manager for Nikon Professional Services. I want to thank Terry for the opportunity to share with you something that I have been talking to photographers about more and more in the past year or two. If you have been a DSLR still image shooter for a long time and you are making your way into the world of creating multimedia projects with your DSLR that shoots HD video then you have been experiencing quite a learning curve. Now, I’m not say that learning curve has been solely based around how to actually shoot the video footage with a camera that wasn’t originally designed for this purpose, I’m talking about the fact that now you have to be an audio expert just as much as a video expert! It’s sort of like when digital photography first came out, people could shoot the images but had no idea that they now had to be their own photo lab! But, things change and the more you learn the better you get so I’m going to talk to you today about some of the basics of audio and how they relate to DSLR video that I think will help you from here on out with any of your multimedia projects.

First of all, before I went to school for photography I went to school for audio engineering. There I learned a lot, actually too much to retain. But, even thought that was in the late days of analog audio the principles of things such as microphones and levels and editing still remain the same today. This isn’t any different than a photographer coming from film to digital photography. Camera bodies, apertures, shutter speeds and lenses still do the same thing as they did when film was king. So, as you can see there are ways of relating some theories about audio to photography and that’s what I plan to do here to make understanding the relationship between the two easier. So, let’s get started…
 

Microphones (Lenses)

There are just as many microphone choice and price ranges as there are lenses in photography or even more so… It can be a pretty overwhelming task to choose the right one. But, as any good photographer knows, you can’t just have one lens that does it all. Sure you can have one that does a lot but there isn’t one single lens that does it all. This is exactly the same for microphones as well. Also, when it comes to lenses… you get what you pay for. It’s the same with microphones. Of course, there’s always the thought of… get what you need to get the job done… within reason.

There are two main types of microphones available that you will need to understand some basic about, dynamic and condenser.

Dynamic mics are more durable, less sensitive and don’t require any extra power to work. They deliver what known as a “mic level” signal which requires a device such as a mixer at the other end to amplify the sound to “line level” which is what a DSLR camera mic input needs. So, most mics that hook up to a DSLR camera are not dynamic mics.

Condenser mics are a bit more fragile (but not too bad in some cases) and require either a battery or what called “phantom power”. “Phantom power” is delivered to the microphone by a mixer and DSLR cameras don’t work this way. So, mics that you will get that work well for a DSLR camera will require a battery. These mics deliver “line level” output that the camera likes in order to deliver good quality sound. There are other variables in play here, too, but let’s keep it somewhat simple today.

Now that we know we are most likely going to be using mics that require their own power source which type of mic will we need? Just like lenses, it all depends on the shooting situation. If you are going want a “wide angle” type of sound then you would want a stereo mic. If you want a more “telephoto” sound then you would want a shotgun mic. Those are the two main types of mics that you will use on a normal basis. So, if your multimedia piece needs to portray a sound moving from left to right then a stereo mic would allow the sound to go from left to right. If you are needing to capture the sound of a single voice then a shotgun mic will do a better job of picking up that voice and ignoring the competing sound off to the sides of the subject.

Another type of mic that is commonly used in any sort of video interview situation is a “lav” mic. You’ve seen these on every news person on TV. It’s the small mic clipped to the lapel of a shirt that is somewhat un-noticeable. You can have either wired or wireless versions of these microphones. Wireless versions can be expensive but there is a new one coming out by Samson that looks very interesting…

Continue reading “Guest Blog featuring Scott Diussa: Basic Audio for DSLR Video Shooters”
Review: Nvidia Quadro 4000 for the Mac Pro

I never really used to pay much attention to graphics cards in the past. I figured that the stock video card would be more than enough for my needs. I'm not into hardcore gaming where I would need a high frame rate or rendering lots of 3D work. I've also never really had any complaints with the standard video cards that came with my systems in the past. However, this year when I upgraded my 4 year old Mac Pro to a new 12 Core Mac Pro system, I knew that I was going to replace the stock video card. With the introduction of Adobe Premiere Pro CS5 and the Mercury Playback Engine I knew that I would want a compatible video card to take advantage of it. With Mercury Playback Engine in Premiere Pro it has support for the Nvidia Card's CUDA chips and GPU acceleration. This means playing back multiple layers of HD video with effects in real-time without having to render first. Sign me up!


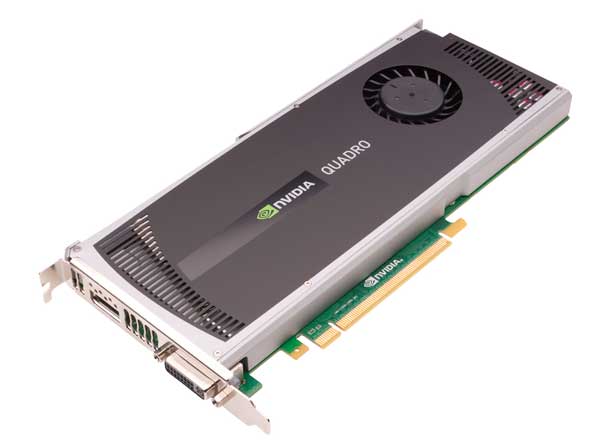
The New Nvidia Quadro 4000

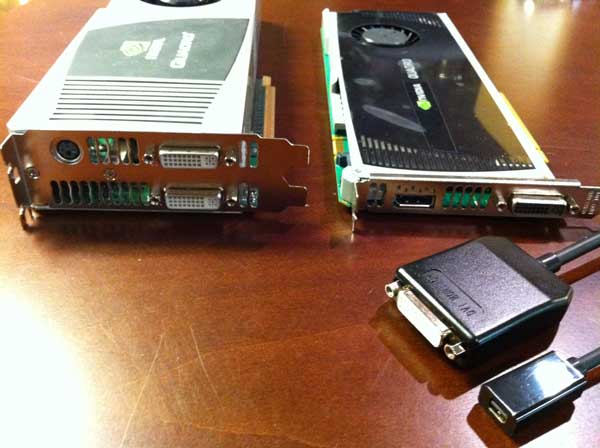
Although I had a loaner Nvidia Quadro 4800 card (their older discontinued card) that worked fine in my new system, I was anxiously awaiting to see the next card they were working on for the Mac Pro. The New Quadro 4000 for Mac (yes it's for PC too) is better in just about every way over the older card. First off it only takes up one slot instead of two like the previous model and the stock ATI card that came with my Mac Pro. Secondly there is a built-in DVI port and a second port in which you can plug in either one of the two supplied dongles. One dongle gives you a Display Port for Apple's and other manufacturers newer displays and the other dongle provides a second DVI port to drive a second display.

Although I'm perfectly happy using this card to drive my existing 30" Cinema Display, it's nice to know that if I ever have to go to a new display with a Display Port connection, I'm all set. Installation was pretty easy. Install the Driver first! Then just open the case unplug the old card and plug in the new one. It did leave an "open" hole (the old card took up two PCI spots) in the back of the machine as Apple doesn't ship a spare cover. I was going to scrounge around my house looking for one (as I'm sure I have a few), but decided to stick an OWC USB 3.0 card in that slot instead.  

This new card is not only slimmer, but also better on power consumption while providing a 30-40% speed improvement over the previous model in intensive graphics work and has more onboard RAM. Again my main concern was more around Video Editing than scientific computations. So my first question to Nvidia was "how much faster is it in Premere Pro CS5 over the previous model?" The answer was "about 10% faster." What this means to you is that if you have an existing Quadro 4800 card, there is very little reason to buy this one! However, if you're in the market for a NEW card to replace the stock ATI card then this is a great choice. It's less expensive than the previous model and like I said it's faster, uses less space and consumes less power. Full Specs Here.


Putting it to the test

People that do video editing know what it's like to have to render an effect or scene first to preview it before you can move on to the next edit. If you didn't have to render the scene/effect then your editing is going go much much faster. Although the built-in "Software" Mercury Engine in Premiere Pro CS5 works well on a fast system. Having a compatible Nvidia card with CUDA support simply blows away everything else out there on a desktop system!

I recorded this quick video to show the Mercury Playback Engine in action. Rather than do a typical screen recording using software, I wanted to show the real performance without the screen recording software processing in the background. So in this case I setup a video camera pointing at the screen to show the playback in real-time. Enjoy!

httpv://www.youtube.com/watch?v=foLxsL5RU6k


You can get the Nvidia Quadro 4000 for Mac here for $1,195 or here (thanks Brian Stone for this incredible find) for only $761.78!


You can get Adobe Premiere Pro CS5 here.

Download the 30 day trial here and play.