Adobe Creative Suite 6 Ships Today! Let me show it to you…

It is with great pleasure that I announce the shipping of Adobe Creative Suite 6 today! We’ve talked about it, we’ve sneaked it, we’ve announced it and now we’ve finally shipped it! That’s right, if you are upgrading to Creative Suite 6 you can download your copy today.

If you missed my webinar “Adobe Creative Cloud and CS6 for Designer”, where I showed the new CS6 versions of Photoshop, Illustrator, InDesign, Muse and Photoshop Touch you can check out the replay right here:

I look forward to seeing many of you in person on the Adobe Creative Suite 6 World Tour!

Adobe Announces Creative Suite 6 and Creative Cloud

Today Adobe announces Creative Suite 6 and Creative Cloud. Watch the LIVE WEBCAST here TODAY (4/23/2012) at 10AM PT (GMT -7)!

There’s a lot to talk about and I’m sure we’ll spend the next few months here on my blog, on my Adobe Creative Suite Podcast and social media talking about all that’s new. I thought I would kick things off with my Top 6 Favorite Features in InDesign CS6, Illustrator CS6 and of course Photoshop CS6.

Adobe Illustrator CS6 – My Top 6 Favorite Features 

Adobe InDesign CS6 – My Top 6 Favorite Features 

Adobe Photoshop CS6 – My Top 6 Favorite Features (repeat) 

See more of my Adobe Creative Suite Videos on my Adobe Creative Suite Podcast and get the App here. It features EXCLUSIVE CONTENT that no one else gets to see.  My iOS App is a Universal App for iPhone, iPad and iPod touch. I also have an Android version:

Learn Adobe Creative Suite with Terry White - Wizzard Media

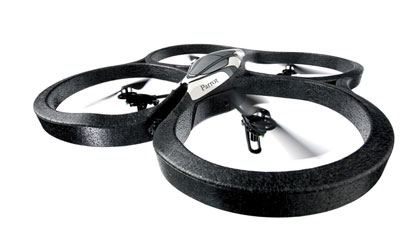
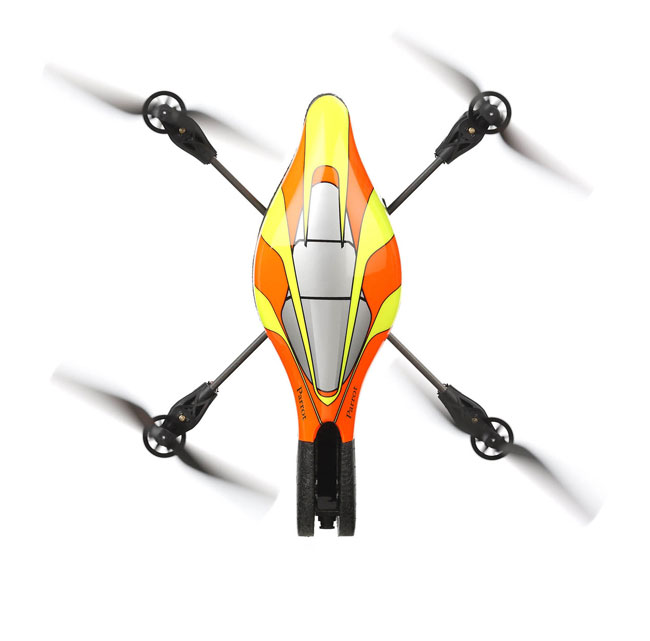
AR.Drone 2.0 – My In Studio Test Flight

When the original AR.Drone came out I have to admit that I immediately dismissed it as a “toy” and I had very little interest in it. Sure, like any toy it would be fun to play with for a while. However, like many other toys you could quickly lose interest. Therefore I never bought one. Not even for the “cool (aka geek) factor”.  Then the AR Drone 2.0 came along and it added something that I thought would be useful. The AR Drone 2.0 adds a better camera that does video at 720p HD. Yes, this raised an eyebrow and I decided to take a look. I did a pre-order and my AR.Drone showed up a couple of days ago. I figured I might have a use for this on set, especially on location shoots to do fly arounds of the set and the area that I’m photographing.

What’s Great…

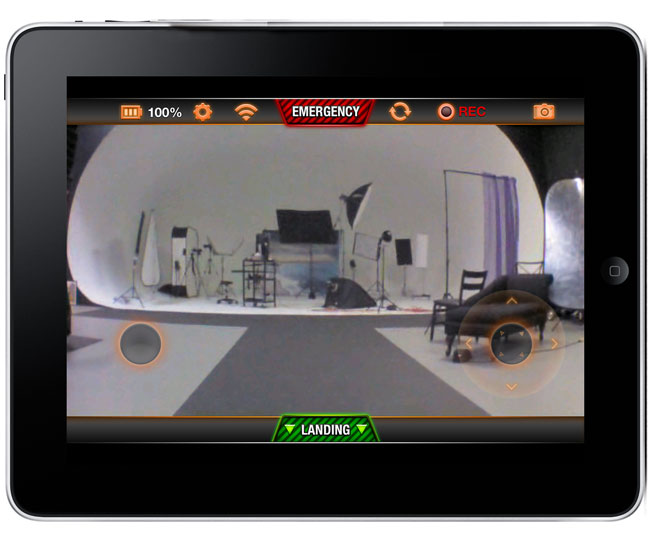
The great thing about this little drone is that it’s light weight and very easy to fly. It doesn’t come with a remote control! You actually fly it from your mobile device (iOS or Android). I downloaded the App on my iPad and iPhone. The AR Drone 2.0 has it’s own built-in WiFi network. Once you charge the battery and pop it in, it powers up and starts broadcasting a network. You connect to this adhoc network from your device and then launch the AR Drone App (a free download). You see what the AR Drone sees right on your device. Using the accelerometers in your iPad, iPhone, etc. you tilt the device to control direction. There’s an on screen joystick to turn the drone. If you suddenly lose control, just take your fingers off the screen and the Drone will hover in place.

Since the built-in camera is always running you can tap the record button within the App and start recording/streaming video from the AR Drone right to your mobile device. Very Cool! The App even allows sharing directly to YouTube.

Here’s a sample video I did flying around my photography studio while a friend also video’d the AR.Drone 2.0 itself using my iPhone 4s:

What’s not so great…

Battery life is still relatively SHORT! You get one rechargeable battery and charger and the battery last for about 10 minutes of flying. Then you’ll need about 90 minutes to charge it back up. Unless you plan to do really short flights/videos, you’ll definitely want to have a couple of charged batteries on hand (about $35 each). It’s light weight and while that’s a good thing for travel, it means that a strong wind will take it away. Since it works via WiFi you’ll also have limited range. Like most small cheap HD cameras, this one doesn’t do well in low light. With a small lens/sensor comes lower quality video in low light. However, with enough light the video is more than acceptable for my needs.

The Bottom Line

The AR.Drone 2.0 is an improvement over the original! Adding 720p Video Recording makes it useful as a tool. On a calm day I can really see some great outdoor uses for it.

You can get the AR.Drone 2.0 for about $299 here.

You can get the AR.Drone Free Flight iOS App here from the iTunes

Logitech Listened! C920 Webcam Has a Tripod Mount

In October 2011 I posted a rant asking Logitech to add a tripod mount to their webcams. While readers did point out that the C615 does in fact have one, my webcam of choice was the C910, which did not have one. “Hey Terry! Why do you even need a webcam since your MacBook Pro has an HD FaceTime camera built-in?” The FaceTime HD camera that is built-in to my MacBook Pro is fine for video chat, Skype, FaceTime, etc. however, for my video recording/podcasting needs I want to be able to mount the camera higher than the top of my laptop. Logitech seemed to be stuck on this being the only option for the majority of their cameras. I did ultimately get a C615 and I use it on the road because it’s so small. I usually mount it to a Gorillapod and life is good. However, when I’m in studio or at home I prefer the higher quality of the C…… oh wait, they have a new one….

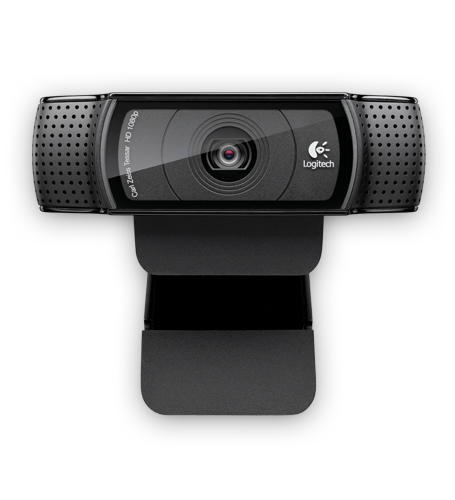
The Logitech C920 is What I Asked For!

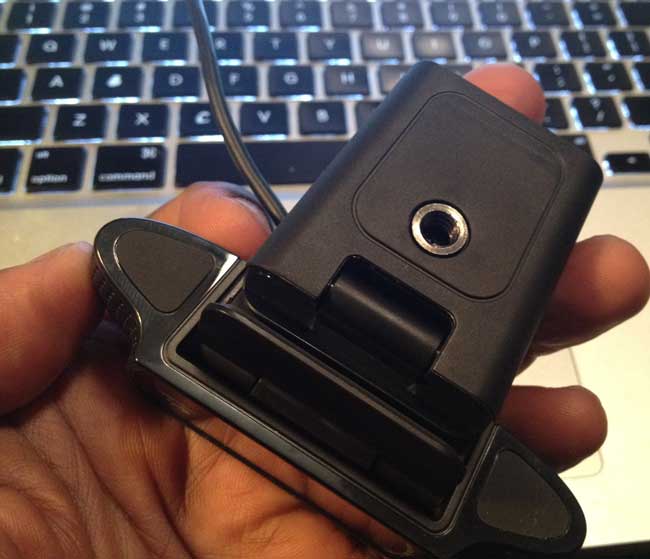
Hands down the NEW Logitech C920 has to be the best if not one of the best webcams for the money. The video quality is crystal clear and smooth. Also at long last it has a standard tripod mount in the base! Woohoo!

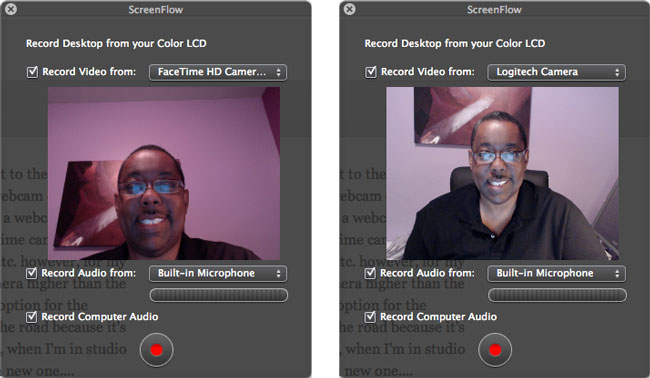
You can immediately see the advantage of being able to mount the camera where you want in the sample above. I’m sitting at my desk and the FaceTime HD camera is tilted up so that I can see my screen. However, the Logitech C920 is mounted on a tripod right in front of my desk and is aimed straight on. This way I can put the camera where ever I want. You can even see the difference in lighting/quality in these unretouched/unadjusted screen grabs.

I record my video tutorials/demos using Screenflow. Screenflow recognized the new camera right away with no need to install any drivers or other software.

“Terry, can’t you use your Nikon D7000 or D4 for even better quality?” Sure and I have used my DSLRs for better quality than these sub $100 webcams. The problem though is that it adds to the post production process since the video would then have to sync’d and edited in afterwards vs recording directly into Screenflow. Also DSLR video is harder to focus when you’re working alone 🙂

They did more than just add a tripod mount

This camera got some beefier specs too! Adding onboard compression (reduces CPU usage of your computer) and H.264 as well.

The Bottom Line

This is my new favorite webcam for screen casting and recording my Creative Suite Video Podcast. You can get the Logitech C920 here for about $80. (List price $99.99)

Today ONLY: Amazon offers the Transcend 32GB 400x Compact Flash Card for $51.99

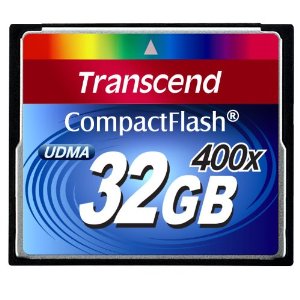
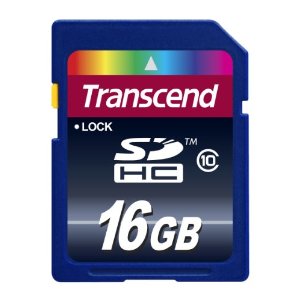
I’ve been using the Transcend 16GB and 32GB SD cards for quite a while now in a variety of different cameras including my Nikon D7000 exclusively with no issues to date. Today (Monday, March 19, 2012) Amazon.com is offering the Transcend 32GB 400x Compact Flash card for $51.99! I just ordered two of these for my New Nikon D4, which is on the UPS truck to be delivered today!

Check out the Transcend 32GB 400x Card here.

Review: BlackMagic Intensity Extreme Thunderbolt HD Capture Device

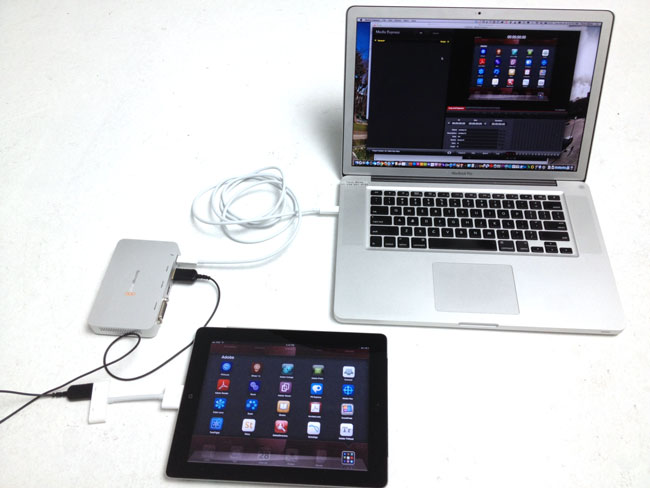
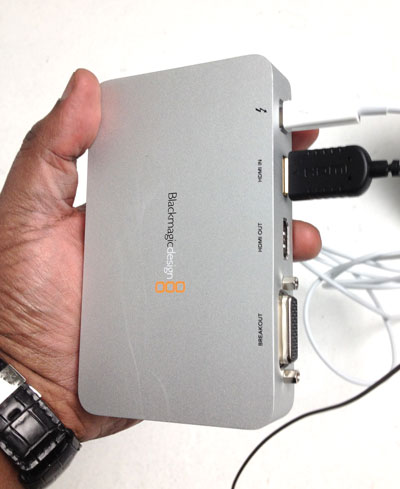
Earlier this week I released a video showing the NEW Photoshop Touch for iPad 2. The video was recorded using the iPad Digital AV Adapter that allows you to connect an iPad 2 to an HDTV via HDMI and a BlackMagic Intensity Pro that is installed in my Mac Pro tower. While the Intensity Pro card works well it means that any videos that I want to produce directly from my iPad 2 have to be done on that computer. A few months back BlackMagic announced a new external verison, the Intensity Extreme! The difference is is that the Intensity Extreme is an external capture device that connects to your Mac via the super fast Thunderbolt connector. As a matter of fact this is my 1st Thunderbolt device. While Apple has been equipping their new Macs with Thunderbolt ports, the actual 3rd party Thunderbolt equipped devices and peripherals have been slow coming to market.

How does it work?

Before I could even get started I had to go get a Thunderbolt cable from the Apple Store, as it’s not included. As far as I can tell Apple is currently the only company shipping a Thuderbolt cable ($49). While I’m totally against overpriced cables, the Thunderbolt cable is more than just wire and connectors. The cable actually has some chips/processors in it. However, I expect that competition will bring the price. down.

Once I got back with the cable I installed the BlackMagic software/driver, connected the box and to my pleasant surprise the Intensity Extreme is bus powered via the Thunderbolt port. NO POWER BRICK! I was already used to the software as it’s the exact same software that the Intensity Pro uses. Once I set my preferences, the iPad 2 showed up in the capture window and I was ready to go (record)!

What about audio?

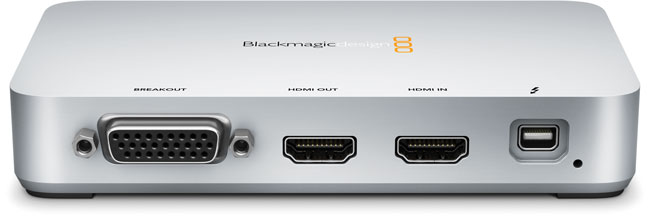
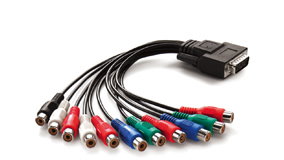
While HDMI does carry both video and audio, the problem is that I want the audio from my voice to be recorded along with the demo. There are a couple of options. The Intensity Pro also supports a breakout set of analog cables and even supplies all the female connections (pictured above). Just plug in your audio gear and you should be good. However, just like on my Intensity Pro, I don’t use this set of connections. The reason is I’m also going to want to be on camera and may integrate things/software demos from my computer too. In this case I record both my talking head image, whatever I’m doing on my computer and my audio simultaneously into Screenflow while I’m doing the demo on the iPad 2, which is being recorded into the Intensity Extreme. I put the two videos together in post using Adobe Premiere Pro CS 5.5 as well as adding the iPad “frame” as a Photoshop file on a layer below.

The Bottom Line

This new Intensity Extreme is a winner on all counts. While it took longer than expected to actually ship it, they got it right. It’s small enough to travel with and produces FANTASTIC uncompressed HD results so that you’re starting with the cleanest HD video possible!

UPDATE: this also works the exact same way with the iPhone 4s. You use the same Apple AV Adapter and plug it in and you can record video out from your iPhone 4s as well. Thanks blog reader “RF” for the tip!

You can get the BlackMagic Intensity Extreme here for about $285. You also get your Thunderbolt cable on the same order here.


Continue reading “Review: BlackMagic Intensity Extreme Thunderbolt HD Capture Device”

Review: Looxcie LX2 Wearable Video Camera

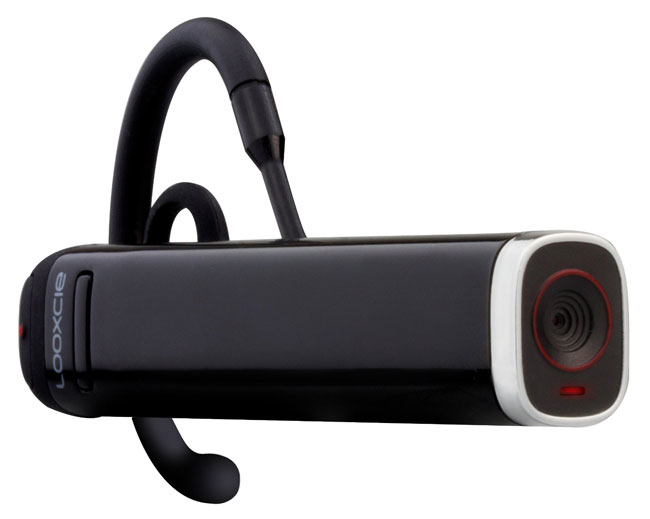
Have you ever had one of those moments that you wished you had a video camera in your glasses? If so it was probably because what you were witnessing you knew no one would believe you. 🙂 While I don't quite have a video camera in my glasses just yet (or a heads up display either), I do find the Looxcie LX2 to be a viable alternative. At first glance it looks like one of the early (fairly large and obnoxious) bluetooth headsets that people used to wear. You know the ones with the big flashing blue light that everyone else but you could see? However, what we have here is a very capable video camera that captures up to 480p video and audio to a built-in 2GB memory chip. Oh by the way, it's also a bluetooth headset (sans the blue flashing light too). I've seen and used small video recorders disguised  as other things before. Typically while they worked, the resulting video quality was poor. That's not the case with the Looxcie LX2. I was actually quite impressed with the quality of the video considering the relatively small form factor and low cost. Yes it would be nice if it were 720p HD, but for the most common use cases for this kind of camera the 480p quality is usually more than enough.


How well does it work?
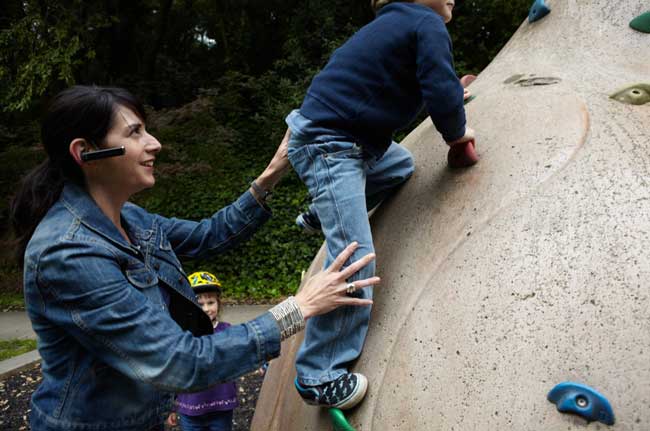
The Looxcie LX2 comes with a USB cable and various ear gels and over the ear clips for you to get the right size. You can charge it via USB and of course connect it to your computer to access the video files. You turn it on/off via a switch on the inner side of the unit. Once it's on you can start and stop recordings with a dedicated button as well as answer calls/hang up on a second dedicated button. There is a green status light so that you know if it's on and a red light on the front to indicate recording.

Rather Borgish, but hey, it works. Once you record your clips, just plug it into your Mac/PC to retrieve them. They are in .MP4 format. There is no zoom or any other manual controls on the device itself. It does autofocus. 


It gets so much better with the Looxcie Mobile Apps
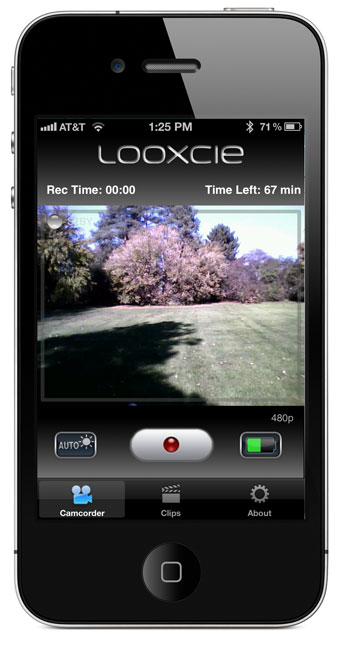
While the device works as advertised and as I've indicated above, it's soooo much better if you have an iOS or Android device. You can download their FREE mobile Apps that not only allow you to control the camera via bluetooth, but also serve as a LIVE LCD Viewfinder so that you can see on your device what the camera sees in real-time (not the same quality of course). Very Mission Impossible like. You can even edit and share the footage you just captured right from your phone. Sweet!

You can get the LooxcieCAM (basic recording functions) for free here from the iTunes or here from the Android Market

You can get the LooxcieMoments (capture, editing, sharing) for free here from theiTunes or here from the Android Market


Here's a 1st attempt at doing a quick recording walking around the yard

httpv://www.youtube.com/watch?v=C27x_QJXTdY


The Bottom Line

This is a really cool gadget! I can think of a few good uses for it. While ti could also be used for evil, so can most gadgets. I'd like to see it get down to about half the current size. Perhaps in the LX3 some day. You can get the Looxcie LX2 here for about $149.

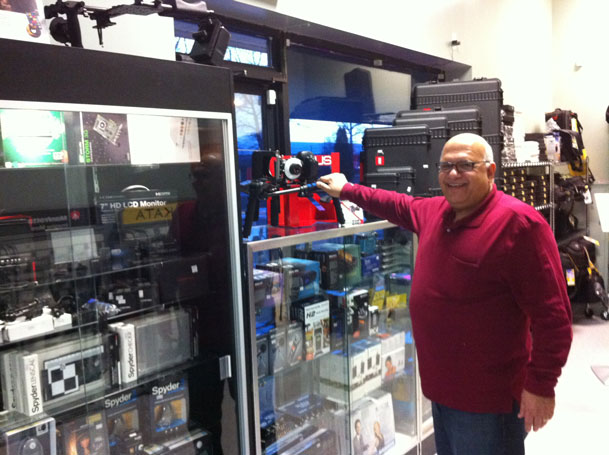
LCD 4 Video Offers My Readers Some Exclusive Deals

Owner George Haddad

My friends over LCD 4 Video have given you, my readers some Exclusive Deals on some of  their Video and Photography Gear! It's always great when a vendor is willing to give my readers some deals and I'm pleased to share them with you:


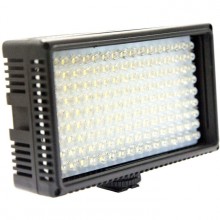
LCD4Video iLED On-Camera Dual-Color LED Light Kit $50 off at $199.95

Use Promo Code "TERRYWHITE" and order here


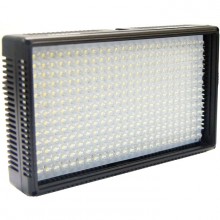
LCD4Video iLED-XL On-Camera Dual-Color LED Light Kit $50 off at $299.95

Use Promo Code "TERRYWHITE" and order here

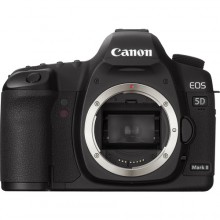
Canon EOS 5D Mark II Digital Camera (Body Only) $50 off at $2,249

Use Promo Code "TERRYWHITE" and order here


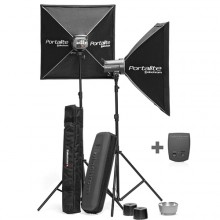
Elinchrom D-Lite-4IT 400Ws 2 Light To Go Set (90-260VAC) $674.95

No promo code needed, order here


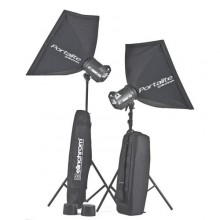
Elinchrom BXRi 500 Twin Flash Head Kit for $1,449.95

The same lights that Scott Kelby uses on his Light It, Shoot It, Retouch it Tour

No promo code needed, order here

Hey Logitech! Can I get a tripod mount?

I'm really impressed by the video quality of Logitech's 1080p HD Web Cams. As a matter of fact I've started using them for my Adobe Creative Suite Podcast when I'm recording an episode in studio. The only problem that I have with them is that Logitech (along with all the other webcam makers) seem to think that the only place anyone would ever want to mount a webcam is on top of their monitors. The reality is I already have an HD webcam on my MacBook's. It's called an FaceTime HD Camera. If I'm doing a video chat it's great having it built-in. However, If I want the camera further back to capture more of the set that's when an external video camera works best. 


Drill a hole

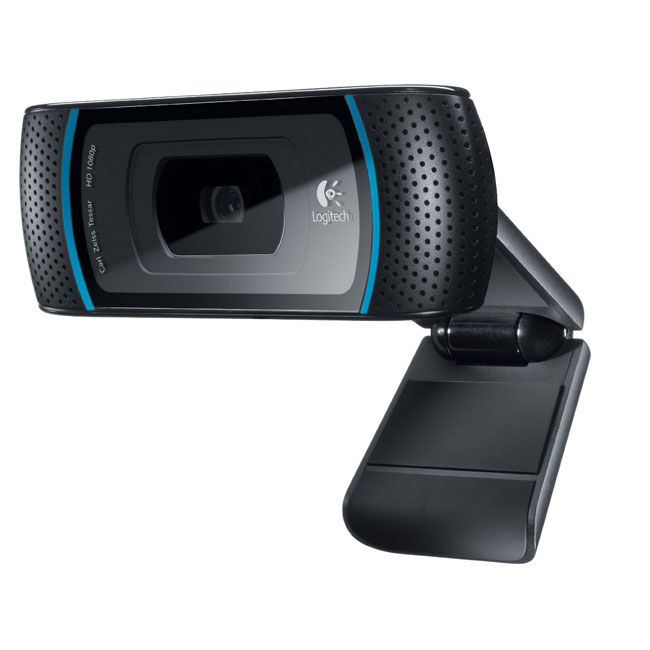
There is no physical reason why the Logitech HD C910 pictured above couldn't have a standard tripod mount built-in. As you can see the mount is just dead weight with no electronics in it. There's even room for a standard mount without changing the design. I've even seen some do-it-your-selfers out there posting all the steps necessary to do it yourself. While I know it wouldn't take much for me to do it, there's not reason for Logitech not to build it in.


My Solution

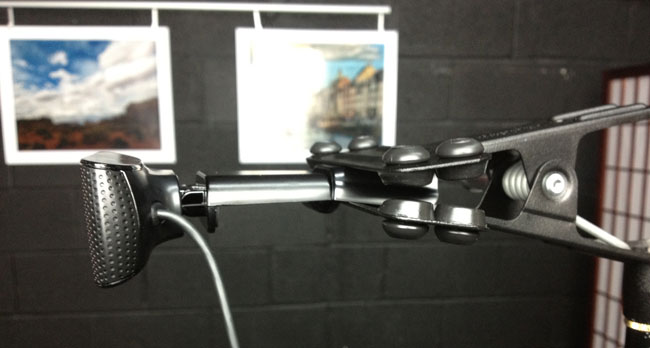
Instead of drilling a hole. I just went with something I already had in studio. A Justin Clamp mounted on a light stand. These are great for mounting speed lights and holding reflectors on standard light stands. They also work great for holding the Logitech Web Cams. The only problem is that they cost almost as much as the webcams themselves. If you're buying one for just the purpose of holding a webcam or reflector, then there is a much lower cost alternative. The Manfrotto Spring Clamp is less than half the cost of the standard Manfrotto Spring Clamp with Flash Shoe and it gets the job done just as good. You can get one here for about $17 or less.


Logitech Could Even Take It Up A Notch Further

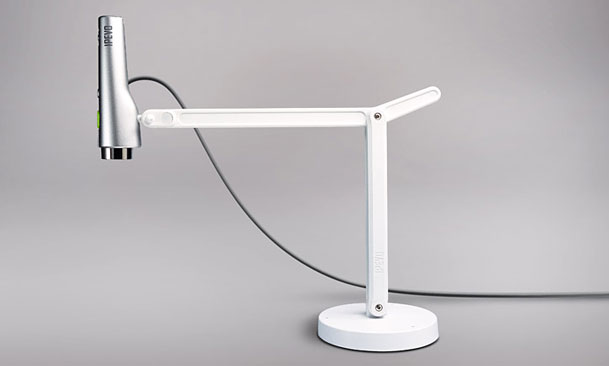
Besides adding a tripod mount hole they could really kick things up by adding or selling a separate stand to allow the camera to be pointed down at say, oh I don't know,  a mobile device such as a tablet or smartphone. More and more presenters are having to present from their mobile devices and the current solutions are expensive and bulky or low quality video. I love having video out on my iPad 2, but the problem with that is that people can't really see the gestures that you're doing. They just see things happing on the screen.  If a Logitech HD webcam could be mounted on a lightweight stand that's easy to travel with (See my Point 2 View review), then it would make them even more attractive.


What say you Logitech?

You build great webcams. Please look outside the box and look at more uses than just sitting it on top of a monitor!


UPDATE: Twitter follower @EricKintz alerted me to this Logitech Model (C615), which does in fact have a tripod mount on it. Woot!