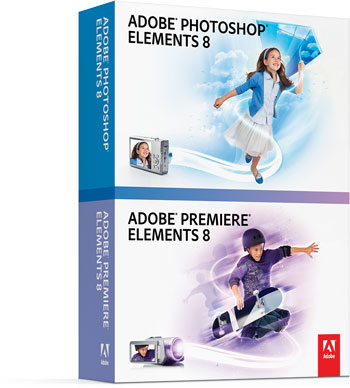
Adobe announces NEW versions of Adobe Photoshop Elements and Adobe Premiere Elements. Both apps are now at version 8!
Continue reading “Adobe Announces New Versions of Photoshop Elements 8 and Premiere Elements 8”

Adobe announces NEW versions of Adobe Photoshop Elements and Adobe Premiere Elements. Both apps are now at version 8!
Continue reading “Adobe Announces New Versions of Photoshop Elements 8 and Premiere Elements 8”
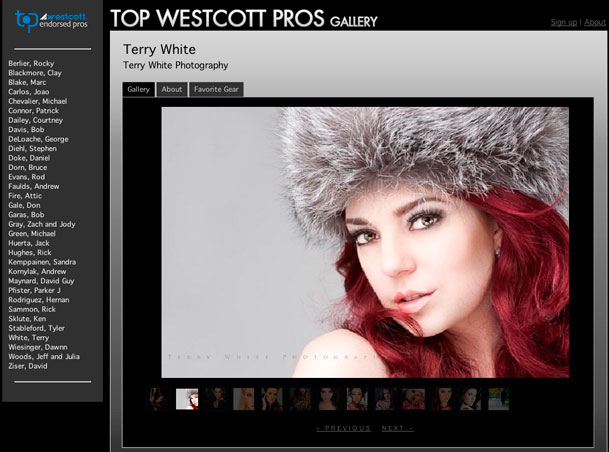
I’m definitely still very jazzed about being one of Westcott’s Top Endorsed Pro Photographers. Well Westcott just announced that the Top Westcott Pros Galleries are now live! You can check out the breathtaking work of these outstanding photographers here.
Also check out Westcott’s incredible line of products.
As a portrait photographer I’m very used to shooting in a controlled environment like my studio. I’m also used to shooting tethered into my laptop. So when onOne announced that their DSLR Camera Remote Professional Edition app for the iPhone was now compatible with Nikon DSLR’s, I was intrigued and wanted to try it out.
Before I get into this app let me first tell you what it does AND what’s required to use it. First off you’ll need a compatible Canon or Nikon DSLR camera. Here’s the list of the ones that this app works with. Next you’re going to need to plug that camera into your Mac or PC using a USB cable and you’re going to need to run the onOne DSLR Camera Remote Server app (free download here.) Lastly you’re going to need a Wi-Fi connection between your iPhone/iPod touch and your laptop so that the app can control your tethered camera.
Continue reading “iPhone App of the Week – DSLR Camera Remote Professional Edition”
You might remember my review of the Lastolite KickerLite. Well Lastolite not only liked the review, they also liked my shots. They liked them so much that they asked for my permission and rights to use them on their site. Needless to say it really made my day.
Also special thanks to Model Shay and Makeup Artist Renata.
If you’ve ever been the victim of a corrupted or damaged memory card that resulted in the loss of photos, you know how important it is to backup. I always travel with a notebook computer even when I go on vacation. However, if I’m out shooting on location, I don’t carry my notebook with me. It’s usually left behind in the hotel. That being said, I have been a fan of having a backup device on location with me.
I rely on my Epson P6000 Multimedia Device to backup my memory cards when I’m on the go. I really like the device and gave it a favorable review. The only thing that I don’t like about these Epson devices is the price. In my review I noted that you can bet a full blown notebook computer for what Epson charges for their backup devices. Today I’m reviewing a competitor in this important category.
At the end of the day these devices combine 3 things: a hard drive and LCD display and a couple of memory card slots. Now of course there has to be an operating system and controls to be able to use the device for its intended function, but as far as hardware goes, there really isn’t that much there. That’s why I never understood why the Epson devices cost so much other than they probably felt that they could charge it if people are willing to pay it.
The HyperDrive Colorspace UDMA is a lot more "open minded". First off they use standard notebook 2.5" SATA hard drives. I’m sure Epson does too, but the difference is with the Colorspace you are free to swap out the drive yourself without voiding the warranty. As a matter of fact they even sell the base model without a hard drive so that you can put in one of the ones you may already have. Although I probably do have a hard drive that I could have used from a previous notebook upgrade, I decided to start fresh and order their next model up, which comes with a 120GB hard drive. This should be more than enough for my needs since I really don’t use these devices for long term storage. Also keep in mind that my Epson P6000 only has an 80GB drive so this is an upgrade in terms of storage.
Continue reading “HyperDrive Colorspace UDMA Photo Backup Review”
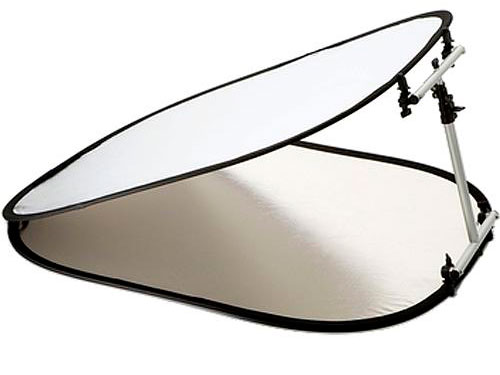
Last month I did a review of the Lastolite Kickerlite Softbox. It’s a great light modifier and I’m using it more and more. However, there are times where you may not have an extra stobe/speedlight to use in it. So you might be interested in the Lastolite UpLite as an alternative. They look very similar and the setup is almost the same. The big difference between them is one is a reflector and the other is actually a light (well a softbox with a light in it).
Well today is the big day! Today Scott Kelby will unveil the winning photo from his Worldwide Photo Walk that took place on Saturday, July 18th, 2009. While I have no idea who the winner is or who the runner ups were, I thought I would share my pick for the Detroit walk that I led and the other 9 runner ups. Now keep in mind there are no prizes for my picks. However, I thought the folks in my walk would appreciate knowing which pictures were my favorites and which ONE I submitted for the over all selection process.
Missing Stairway by Sten.sjoberg
The Joy of Photography by David Birdsong
Guardian Light by Thom Briggs
Go by James Howe
Water water everywhere by Michele

A City of Fighters by XAOSQUEEN
Space Available by Nick Edwin
Spirt of Detroit by Abdul Aquil
Hand by MDecker
Sky by Bill Stevenson
Congratulations Bill and to the runner ups! It was a tough choice and I was only able to submit one photo. There were several awesome shots to choose from, but there was something about Bill’s shot that kept me coming back to it.
Like I said, I have no idea who won or who Scott will pick as the runner ups for the overall walk, but these are the winners from my walk hands down.
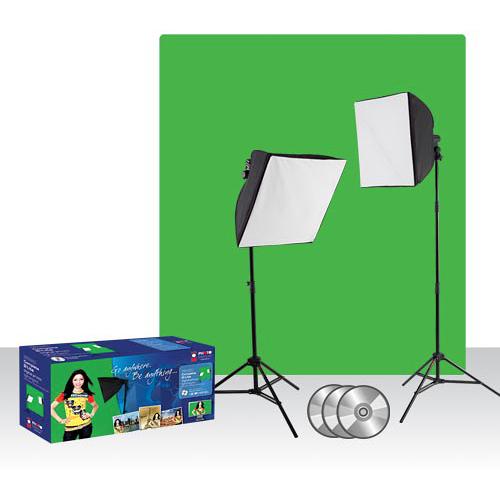
I’ve been wanting to experiment with Green Screen video and photography for a long time now. However, I just never felt comfortable buying a green screen system because I didn’t want to get the wrong thing. Also I didn’t want to invest hundreds if not thousands of dollars in getting the professional lighting that I figured you would need to get good results. Never in my wildest imagination did I think I would be able to get professional results (yes your opinion will vary) for only $199!
Although Westcott targets this kit at enthusiasts, I think they are selling themselves a little short. Sure the digital video pros would probably argue with me and well that’s OK, I’m used to it, but with what you get in this kit, you CAN produce some pretty decent quality projects.
The Westcott uLite kit includes:
I’m glad I watched the DVD first to get some pointers on light placement. Setup on took a few minutes and I was ready to shoot. I did run into one problem though. One of the bulbs in my kit may have been damaged in shipping. I screwed it in and fired up the light and it came on for about 10 seconds before going out. I confirmed that it was the bulb and not the light. While I’m sure the good folks at Westcott would gladly send me a new bulb, I wanted to proceed with my demo. So I used one of the bulbs from my TD5 Spiderlite. The only problem here is that the bulb I used was only 50W and no where near as bright as the other bulb. The purpose of having TWO lights is so that the subject is lit evenly on both sides and to eliminate shadows. I played around with light placement and did the best I could. However, you’ll notice that I’m brighter on the left side than I am on the right side.
Here’s my first attempt at using the kit (editing was done in Adobe Premiere Pro CS4 and the keying was done in Adobe After Effects CS4 using Keylight via Dynamic Link):
If you’ve been wanting to experiment with Green Screen video or photography, this is a great starter kit! For the price you just can’t beat it! I was a little disappointed that there was no support system included for the green screen, however for $199 I think you’re getting a great value. While the screen can be hung easily from a wall, clothes line, etc. I still recommend a support stand. Although your bulbs will probably work right out of the box, I did notice that the bulbs are only rated for 60 hours. So I would recommend ordering some extra ones right off the bat.
B&H Photo sells the Westcott uLite 2 Light Kit for $199.95.
I would also recommend getting this free standing support system for it and a few extra bulbs.
If you’re a NAPP member, check out Dave Cross’ tutorial on automating the process of extracting still images from a green screen background.
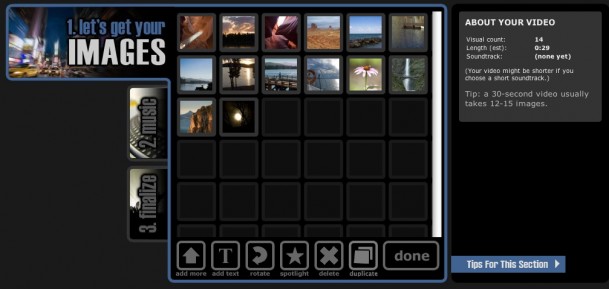
The next time you want to show your pictures with a little pizzaz, you might want to create an animated slideshow complete with soundtrack over at Animoto.com. The process is very simple and requires zero knowledge of video editing or animation apps.
After you create a free account, you can immediately get started on your first animated slideshow. Your show will be limited to 12-15 images if you go with the free option.
Continue reading “Create an Animated Slideshow on the Web with Animoto”
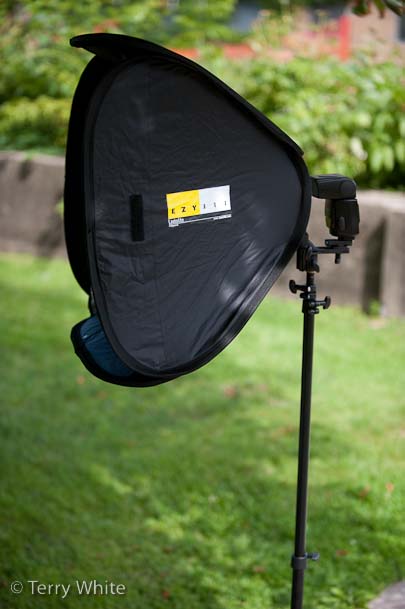
I got a chance to try out the Lastolite Ezybox for Hotshoe Flashes over the weekend and I’m quite pleased with the results. The Ezybox is designed to be a light modifier for your hotshoe flash. Basically a softbox for your speedlight. The kit comes with everything you need to setup a softbox for your speedlight in about 2 minutes. Once you take it out of the bag, it pops right up to it’s full size in one easy motion. You then place the hotshoe bracket/ring on the back of it and you’re ready to mount it on a light stand or pole for hand held use. Of course the only thing missing at this point is your speedlight.