Video Review: Westcott Shallow Softboxes with the Spiderlite TD6

httpv://www.youtube.com/watch?v=CDv42NWezic


Sometimes it's easier just to show you a product that I use rather than write paragraphs about it. Today is one of those times. I started using the Westcott Shallow Softboxes earlier this year during a workshop that I taught in Texas. I've been enjoying not only the new shallow boxes, but also the size of the new "large" one. 

Advantages of a shallow softbox

You probably wouldn't use one with a strobe because more than likely you'd create a big hot spot having the strobe that much closer to your subject. However, with the Spiderlite TD6 (or TD5), you don't have to to worry about. By having a shallow softbox you can you can get it into to places that normally wouldn't accomodate a deeper one. I have a nice red wall in the hallway of my studio and it's really tight trying to shoot there with my other softboxes. However, with the new shallow ones from Westcott, it's much easier.

The new LARGE one is also ideal for those times when you're doing a portrait of more than one person or you're shooting a larger product such as a motorcycle. 

Here's what I used in the video above:

Spiderlite TD6

72"x54" shallow softbox

48"x36" shallow softbox

If you're looking for a kit, I'd go with this one.

The shots were taken with my Nikon D700 and 70-200mm VRII lens.

ISO 200, f/4 to f/4.5 at 1/50th sec.

Up Close and Personal with Janet and the S95

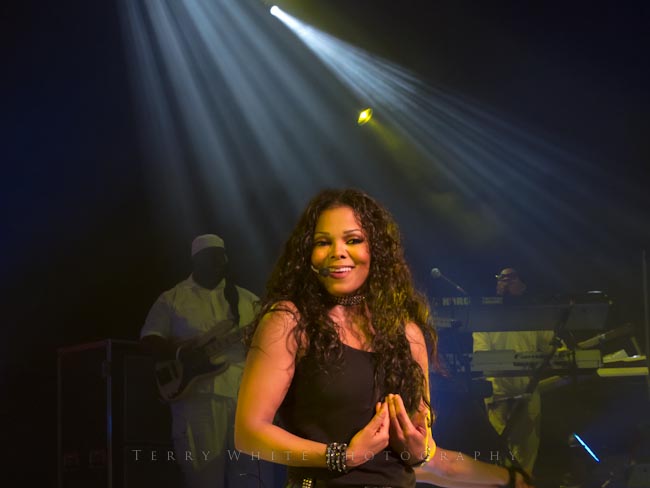
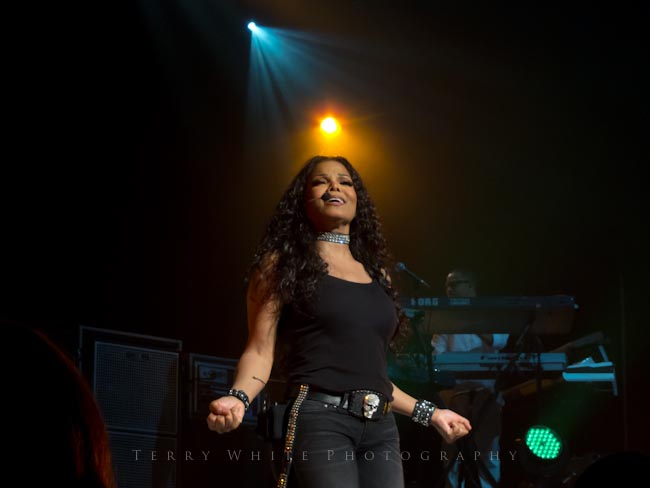
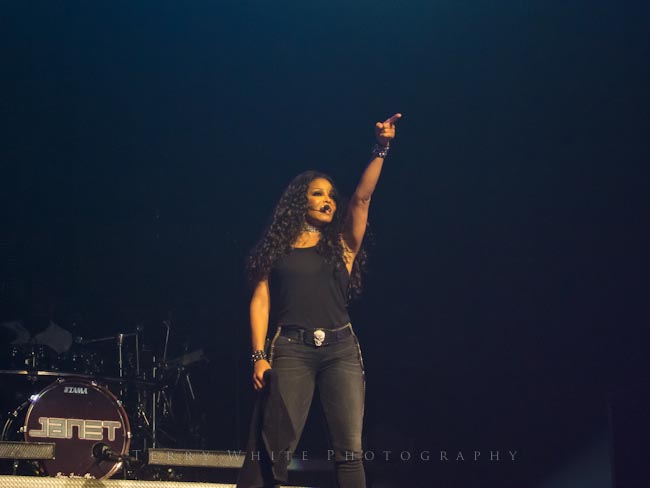
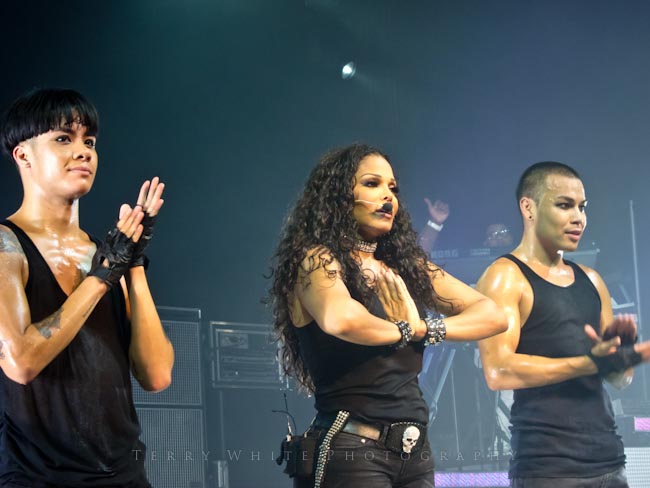
I'm back again with some more concert pics taken with the Canon Powershot S95. If you missed my original posts about this camera you can catch up by checking them out here and here. Unlike with the Brittany concert, I've been a fan of Janet Jackson for as long as I can remember!

I knew this concert was coming and it was one of the main reasons I wanted a "concert camera". 


One key component to getting good shots with any point and shoot at a concert is that you have to also have great seats.


Having already shot one concert with the Powershot S95 I felt a little more confident this time around. 

Continue reading “Up Close and Personal with Janet and the S95”

Get Matt’s New Photoshop Compositing Book!

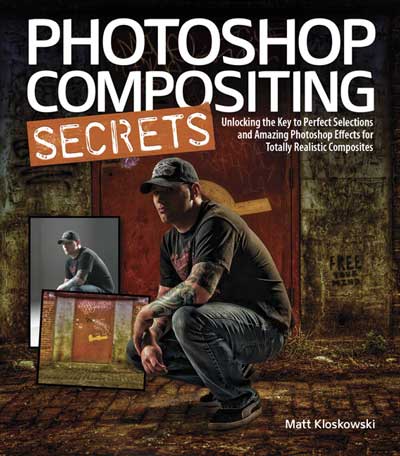
I actually entered the world of photography backwards! I knew way more about Photoshop than I ever did about photography when I started. Over the past 5-7 years I've been spending much of my spare time honing my skills behind the camera instead of saying "I can fix it later in Photoshop." With that said, I kinda left the compositing stuff behind as well. After taking a look at Matt's new "Photoshop Compositing Secrets" Book, my interest in compositing has been reignited. Now that I have a little more photography and lighting under my belt I can begin to look for not only great scenes to capture, but also great opportunities to create composites too. I never used to think about capturing shots of background images to use later in composites. Now I do!


There's an art to compositing

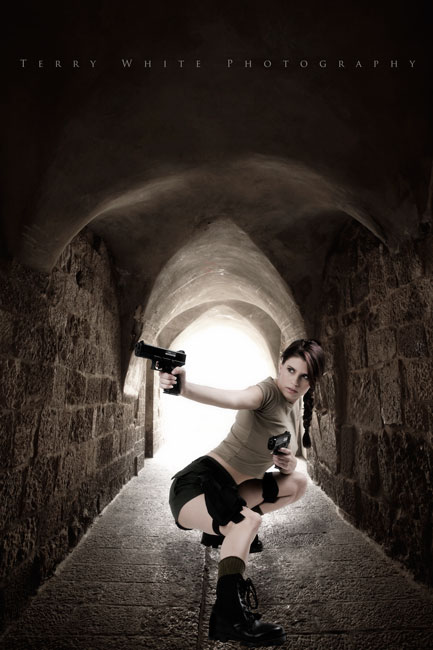
While technically compositing in Photoshop is simply taking two or more photos and putting them together, my goal has always been to make it look "as real as possible." That means that when a composite is done people should either look at the finished piece and not think that it's a composite or they may think it's one but they have a hard time trying to tell. That's when I know I've done it right. Matt's book exposes a lot of short cuts that I wish I had known back in the day, but glad I know them now. 

The composites I'm showing in this post are actually some of my "old" ones that I did years ago. The second one I went in and updated the color of the model that I was never quite happy with.  There are always new selection techniques to learn and new workflow steps. If you have any interest in getting better at selecting, cutting images out of the background and compositing them onto other backgrounds, then I highly recommend that you take a look at Matt Kloskowski's new Photoshop Compositing Secrets: Unlocking the Key to Perfect Selections and Amazing Photoshop Effects for Totally Realistic Composites. I have the Kindle version on my iPad and you can get it here in Paper or Electronic form starting at $21.99. Off to do more reading…

My Photography Website & Studio Updates


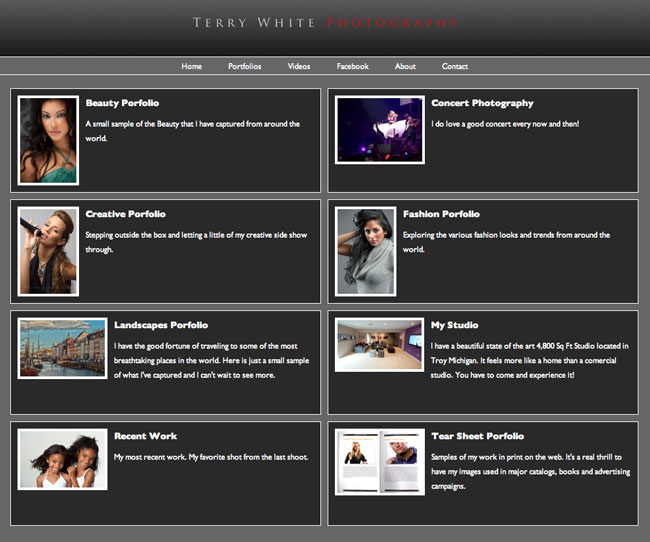
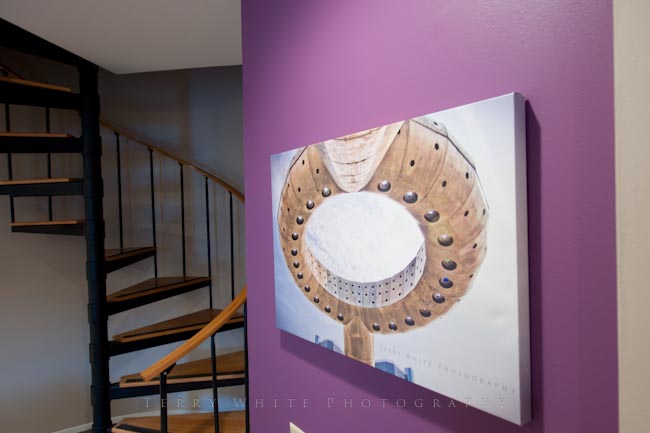
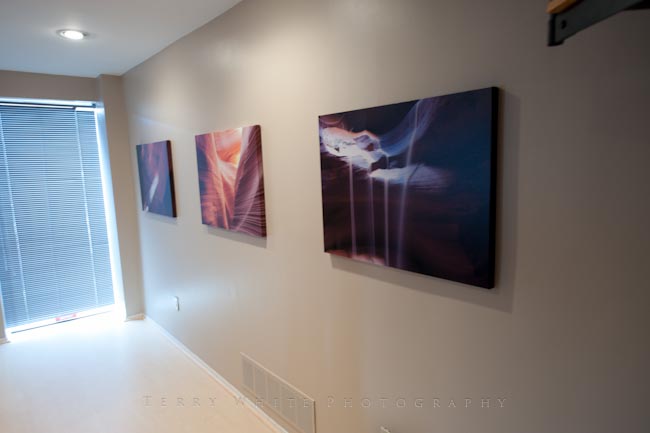
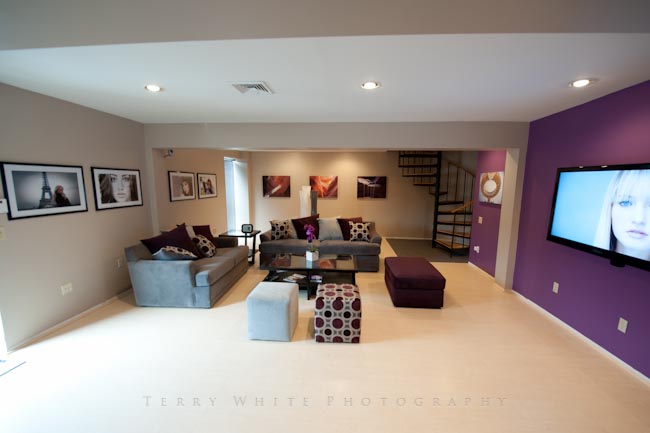
I just wanted to take a moment and update you on two things. First off I'm enjoying my time off and having a ball with my photography hobby. As I stated in my "I'm on Sabbatical" post, I'm in the process of moving into a new larger studio and for the most par the move is complete. I'm thrilled with the way everything turned out and although at times it felt like "work", I am enjoying the break from my day job "work". 🙂 With that said, I updated my Photography website with pics of the new studio AND a NEW Portfolio look/template.


The Turning Gate Horizon CE Plug-in

I wrote a post a while back about using The Turning Gate (TTG) Lightroom Plug-ins to generate and update my website completely from within Adobe Lightroom 3. While I dabble in web work with my day job, I'm not a web guy and I don't have one on staff either. This means that I either have to do the work myself or pay someone each time. While I certainly see the value in paying a pro (like Erik who designed my blog templates), when it comes to my photography website I need the ability to update it as frequently as I want to. This means doing the updating myself. That's why I'm glad that The Turning Gate plug-ins exist. 

The New Horizon CE Plug-in is what I'm now using for the Portfolio pages. I first saw this "scrolling" kind of web gallery on Scott Kelby's site and back then Scott did a post on how his was created by the very talented "RC Concepcion". While Scott's site is great, I don't have an "RC" on staff 🙂 . At first I wasn't sure that I would like the Horizon plug-in. It was just so different from the ones I've used in the past in terms of navigation being a simple scroll bar. However, after I loaded my images in and tested it I got used to it right away. Also it's important to me that my site work on mobile devices like smartphones, iPads, iPhones and other tablets. The Horizon CE Plug-in generated pages are mobile compatible and use the device's built-in scrolling capabilities. This means no need for Javascript or plugins when viewed on non-desktop browsers. 

While my old TTG plug-ins worked both on the desktop and on mobile devices, I was using the AutoViewer galleries for desktop viewing and they are Flash based. I liked the way they worked, but it was a two step process to update them. I'd first have to export the container/mobile gallery and then the AutoViewer gallery. With the Horizon CE plug-in I only have to do one export for each gallery and replacing it is as easy as doing another export with new pics. 

Check out The Turning Gate Lightroom Plug-ins here. Thanks again Matthew for making my life a little easier.

The Plug-ins That Created My Site:

TTG Pages CE, TTG Stage CE, TTG Auto Index & TTG Horizon CE


The New Studio

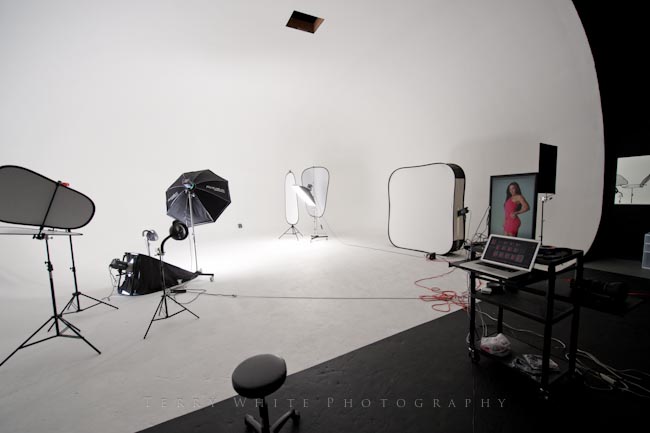
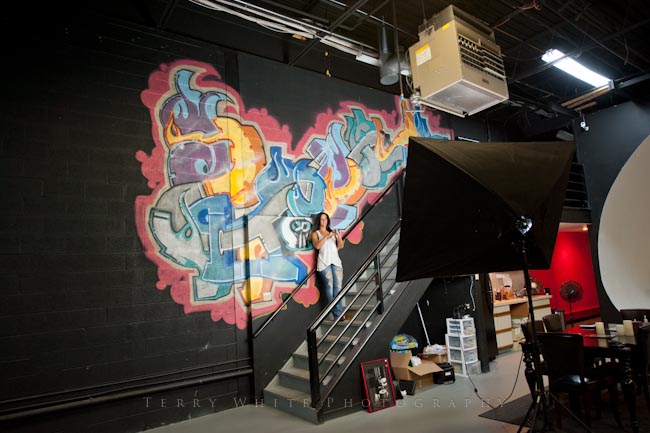
Like I said, I'm having a blast now that I get to use the studio. Above is a production shot of the Westcott Spiderlite TD6 and the 54"x72" LARGE shallow softbox.

You can check out the Studio pics and my updated photography website here.

My New Lightroom Tethering Display

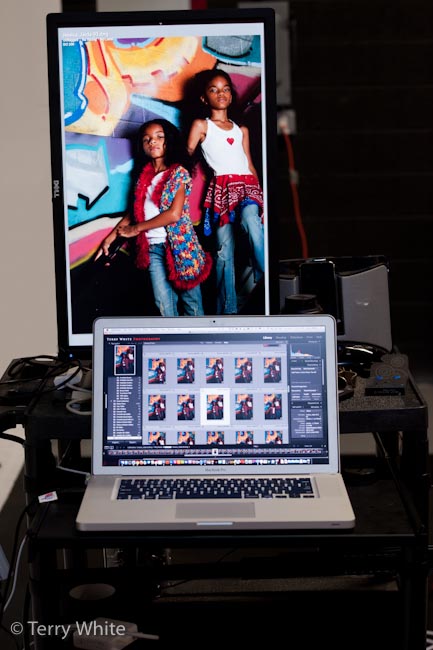
When I shoot in studio I'm usually shooting tethered to Lightroom 3 99% of the time. While my 15" MacBook Pro has been adequate all these years, I decided to go with an external display in my new studio. The question was, "which one do I get?" Right about the time I asked this question, I saw that Dell (yep, Dell) had just introduced a NEW 24" Display. You might be asking why would I get a Dell monitor for my Mac? Good question. The main attraction for me to this particular display is that it "rotates!" The display can be used in either portrait or landscape orientation. 

It has all the latest bells and whistles including: LED, IPS (in-plane switching) for wider viewing angles, Display Port, USB Hub, DVI, Adjustable Height and a 3 Year Warranty. 

For those of you old enough to remember the Radius Pivot Displays, you'll probably remember that back then the display would auto adjust based on the rotation and the driver on your computer. In the case of this new Dell there is no such magic for the Mac. However, manual display rotation is built-in to Mac OS X's Display Preferences. While it would be a slight pain to have to manually switch this setting every few seconds I find that I leave it in Portrait "most" of the time. If I shoot a wide shot, it displays it, but it just doesn't fill the screen. If i'm going to be shooting a long series of landscape oriented images then I'd make the System Pref adjustment.


Lightroom's 2nd Display Feature

Lightroom 3 natively supports dual displays. This means that I can set the second display to Loupe view, full screen with no overlays. It works GREAT!  This also means that I DON'T mirror the displays. I treat the Dell as a second display/virtual desktop.


Why not just shoot to an HDTV?

That question comes up a lot and I've tried it. My Nikon DSLRs have HDMI out and I could plug right into a nice big HDTV. The problem I find with this mostly is that the colors, brightness, contrast, etc. don't look the same. This means that after doing a shoot and importing the images into your computer they could look really different than what you adjusted for during the shoot. Since my shots are going to end up on a computer more often than a TV, I'd rather tether into my computer to begin with.


Dell? Really?

If you know me, you know that I've rarely if ever mentioned Dell on my blog (or anywhere else), but this time I gotta say that I'm currently a happy Dell customer. I'm actually surprised with all the accelerometer tech that Apple uses in iDevices that they haven't done this with their computer displays. Oh well, for now "it's a Dell."

You can check out the Dell UltraSharp U2412M "W Display here.

I also bought this Display Port to Mini Display Port cable. Of course after I ordered it I remembered that monoprice.com probably has it cheaper and they do.

Costco Does Canvas Gallery Wraps Too?!


I got my first Canvas Gallery Wraps done back in 2009 (see my post here) from MPIX. The quality was great and I LOVE seeing my landscape shots on canvas. The only problem was the cost. They are not cheap, but they are GREAT! About a year later I got an email from CafePress.com (yes the t-shirt people) that they also do Canvas Gallery Wraps and that they were having a 50% off sale to get the word out. I jumped on this as opportunity to get some more done and to go larger in size. Once again I was happy with the results. A few months later they had a 60% sale and yes I ordered more and bigger ones! At home I was set. I pretty much had all the Canvas up in my house that I wanted. I also saved a bundle with CafePress.

I recently moved into a New Photographic/Video Studio and there are many many many walls to fill :). I was waiting and waiting for CafePress to have another sale. In the meantime I was getting all my regular prints done at my local Costco. Their prices can't be beat and I developed a Lightroom workflow that achieved the best results for color/quality. About a week ago I was sitting there getting some more shots ready to upload to Costco and I was once again reminded that I need to get some Canvas done, but after paying 50% off and 60% off regular prices I couldn't bring myself to order at regular prices.I was thinking, boy it sure would be great if Costco did…..wait a minute….do they?… no way…. I can't look….OMG YES! They do Canvas too!


Great Everyday Prices on Canvas

I was very pleasantly surprised to see that Costco does Canvas Gallery Wraps too! I couldn't wait to upload some landscape photos and give them a try. Their prices were on par with CafePress' sale prices and that made me very happy. It meant that I could go larger and order more prints for my studio. Costco doesn't print these in their local stores. You can have them shipped from their processing center either to your local store or directly to your home/office. I had them shipped to my store. They arrived about 5-6 days later (quoted times are 5-10 days) and I couldn't tell the difference between theirs and the more expensive ones I'd had done! Score! Yay!

I went with the 24×32 size. Next I'll try the 16×48 for panos!


What about color matching?

Here's where I have to confess that I've never been big on color management workflows. Don't get me wrong, I think it's very important to have your print match what you saw on screen or in your mind. It's just that it has never been the most critical thing to me personally. As long as the print is "very close" to what I think it should be, I'm good. With that said, I was sharing this story with another photographer friend of mine and he was telling me how he's had hit and miss results with Costco prints. He said that one of his jobs was a disaster because it was for a corporate client and their blue had to be "their blue." In that case I would absolutely work with a lab that's going to make me/my client happy and look good no matter what it costs. Costco does give you the ability to download color profiles. The odd thing is that in the past I've actually had more problems using them than not using them. In a couple of cases using the profile for my local store resulted in prints that were not just a little off, but WAY OFF. It looked as if someone hit Invert in Photoshop on the colors. All the prints that are currently on my studio wall were done at Costco simply using the Adobe RGB color space and they look fine to me. Same goes for the Canvas. Every now and then I'll get a print that's a little darker than I think it should be, but I get that from time to time no matter where I print.

Check them out at costcophotocenter.com

Scott Kelby’s Worldwide Photowalk 2011 is Here

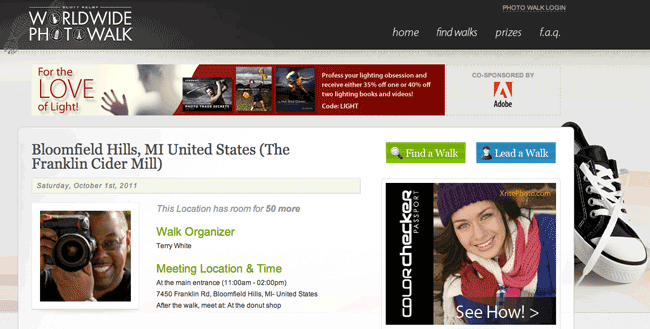
It's time to signup for Scott Kelby's Annual Worldwide Photowalk! The 2011 Walk will happen this October 1st & 2nd. Once again I plan to lead a walk here in the Metro Detroit Area. Since this is the first time he's done this in the Fall I've chosen the Franklin Cider Mill as our photowalk location as the fall colors should play very nicely for some great shots.

More details to follow, but don't wait! Sign up here now as my walk usually fills up the 1st day!

A Night With Britney and the Canon Powershot S95

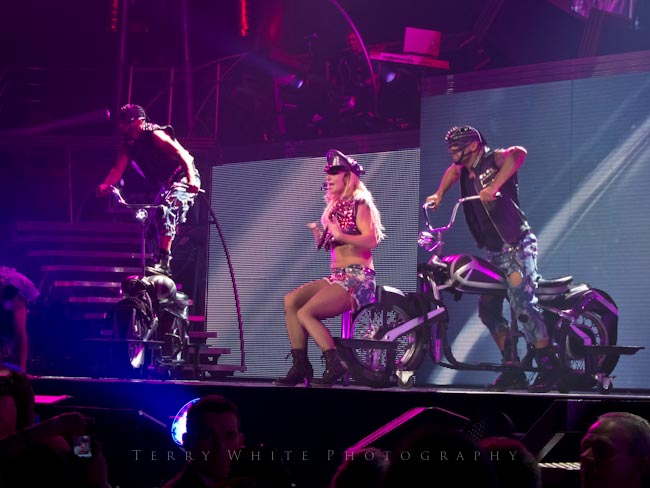
As promised I'm back to do a second look at the Canon Powershot S95 that I first talked about here. As a reminder I'm a Nikon shooter and use Nikon DSLRs. However, for a small point and shoot (pocket size) that shoots RAW I turned to the popular Canon Powershot S95. My main use for this camera will be for those times when DSLRs are NOT ALLOWED and I want something better than the camera on my phone. For me that will be mostly concerts. I'm not a huge Britney Spears fan, but I got the chance to go to her concert with a friend. Otherwise this event would not have been on my radar (get it? Radar). I looked at this as the perfect opportunity to give the Canon Powershot S95 a good test during a live concert.
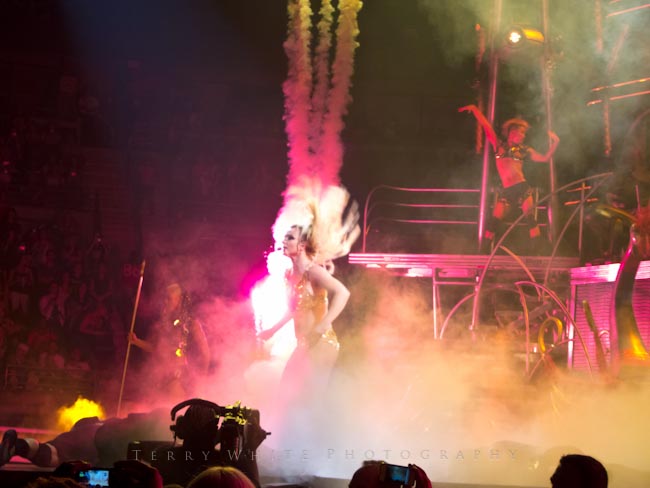
 

Great little RAW performer

I'm speaking of the S95 of course! What did you think I meant? As I suspected, anyone in the audience that even attempted to raise a DSLR and shoot was immediately tackled by security and asked to put it away. However, if you have a point and shoot or camera phone they didn't say a word.
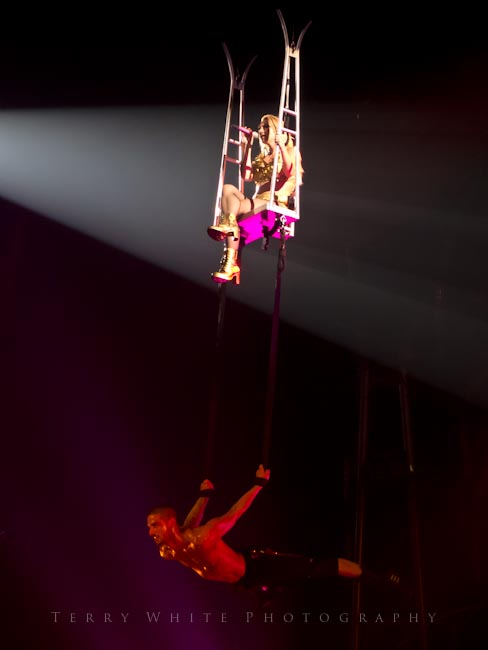
The only time security approached me was when (I guess) they mistakenly thought that my flashing battery warning was the video record indicator and he said "no video recording." I assured him that I wasn't shooting video and I was able to continue shooting uninterrupted. 


What I learned
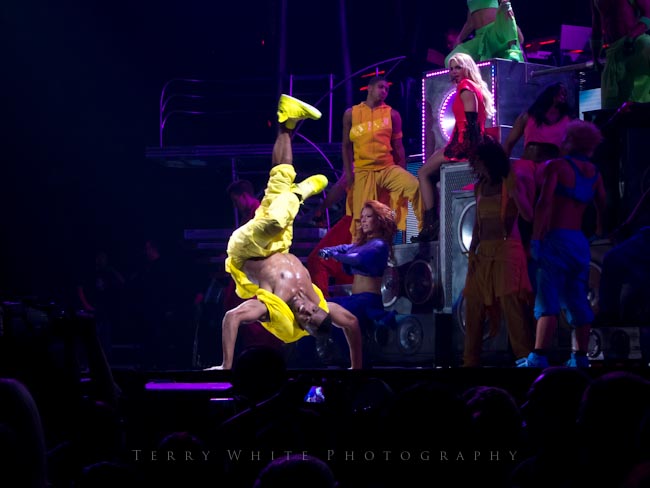
 

The S95 has the basic modes you'd expect in a higher end P&S including Program mode, Aperture Priority, Shutter Priority and Manual. The S95 also has a specific low light mode and when I tried this mode it was as I suspected that with the dark backgrounds and bright concert lights the camera was ofter confused and over exposing areas of the shot.
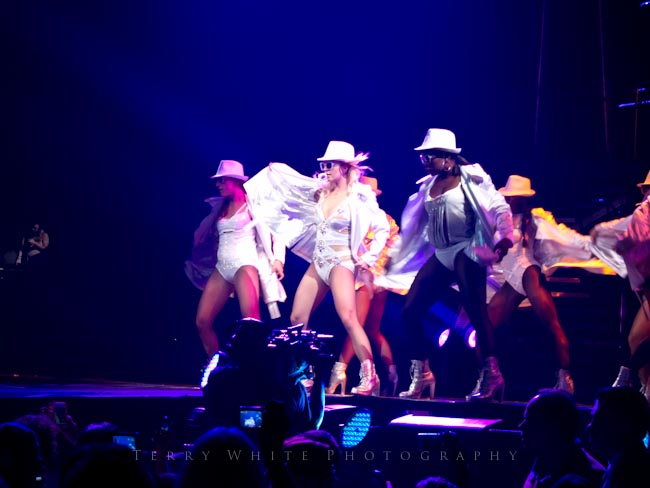
 

This was especially the case when the subjects were dressed in white, wearing white wigs and against a white backlight. This is where I was glad that it had a Manual mode as I was able to dial in the settings I wanted. 
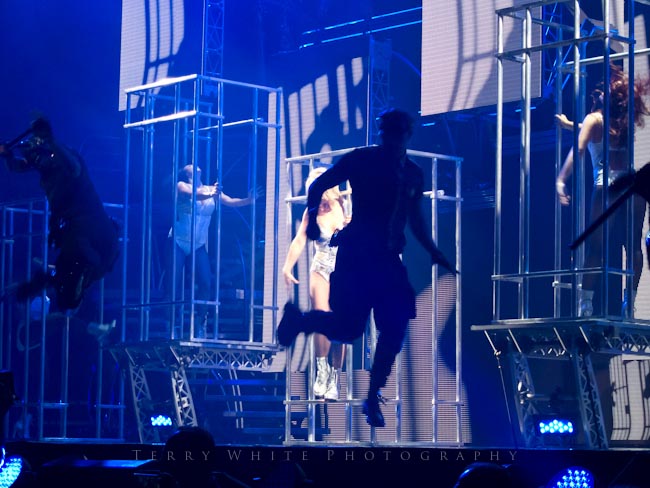
 

As with most point and shoots you are limited by the small glass in the lens. This was no different and unless you're reasonably close to the subject, you just won't get the clarity that you are used to from a DSLR. However, with that said I was impressed with what I got from such a small camera.

It was MUCH BETTER than the shots I took with my iPhone 4 (as I would expect it to be). 
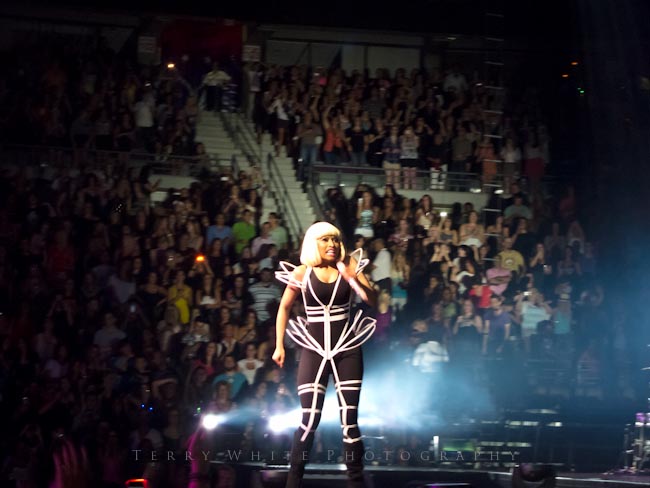
 

The other thing I learned was that there is a definite lag from the time you press the shutter, see the resulting shot and are ready to shoot again. While you can probably cut this time down by turning off the display of the shot you just took, it would be challenging to use this in a fast paced shooting scenario. I'm sure I missed a few good shots with the time it took the camera to be ready for the next shot. It's not the end of the world, it just takes some getting used to.
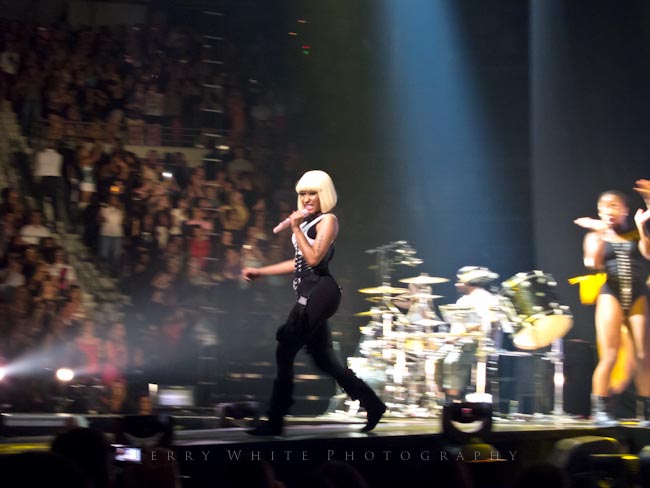
I will definitely be ordering a second battery. While I had tons of room left on my memory card, the one battery gave out after about 3 hours of continuous shooting/reviewing. 


Recommendations
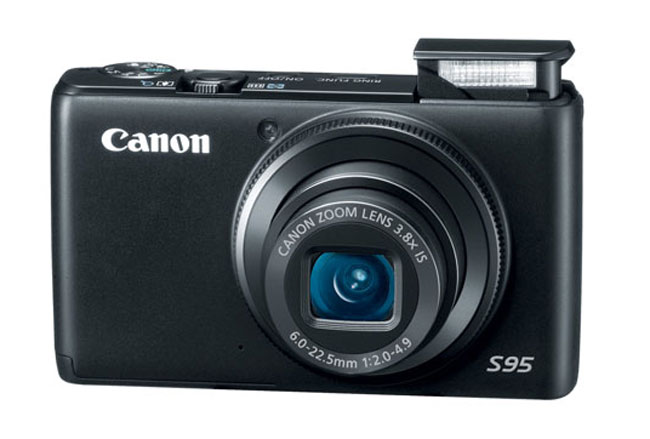


I will always prefer working with my Nikon DSLRs and great Nikkor lenses. I will always carry my smartphone and use it in a pinch to capture the moment when I don't have my DSLR. However, when I know that I'm going into a situation where DSLRs are not permitted and the smartphone camera isn't going to be good enough, the Canon Powershot S95 will be in my pocket.

 

You can get the Canon Powershot S95 for $399.95 here from B&H and for $393 here from Amazon (note: prices fluctuate on Amazon)
Keep it Sexy with a tvTray

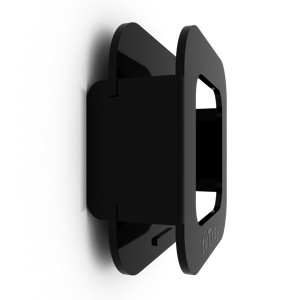
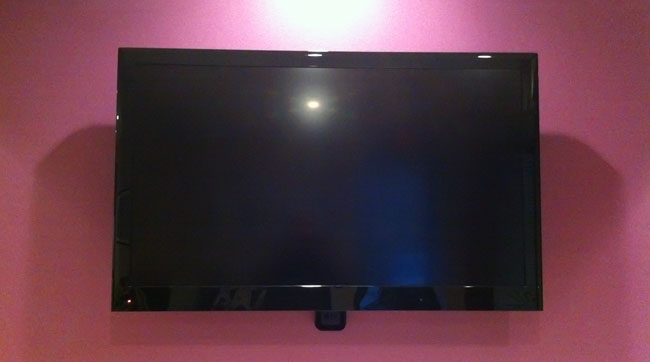
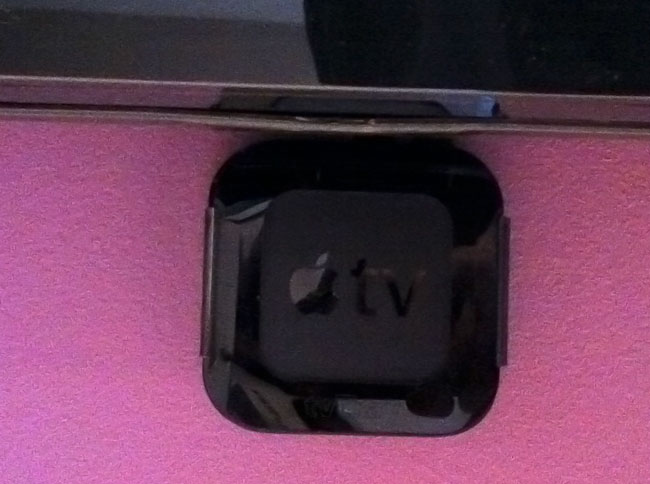
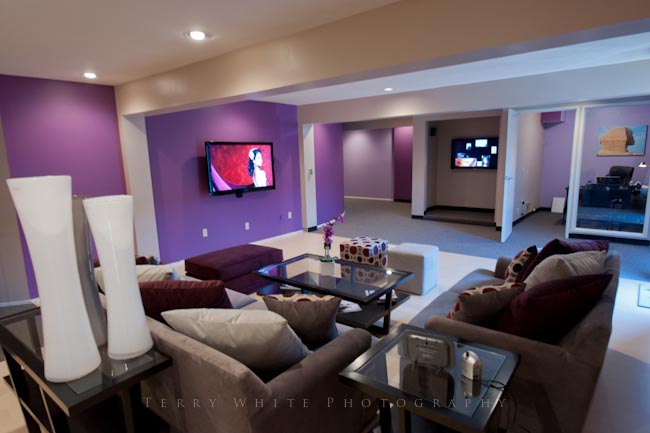
One of the things I've always envisioned doing in my photography studio is using flat panel LCD/LEDs to display my photography in addition to prints on the walls. Now that I've moved to bigger digs I've installed a few flat panels and they are driven by Apple TVs. I contemplated whether or not if I would mount the flat panels on the walls or use stands. My interior designer said "mounting on the wall is more sexy." How could I argue with that? He was right! Of course mounting a flat panel HDTV on the wall these  days isn't really that hard. What makes this more challenging is figuring out what to do with any equipment that you plan to connect to it. Certainly one option would be to run long enough cables and store the equipment in a closet. However, in my setup this wasn't feasible. Since I only planed to connect an Apple TV to each panel at this point, I needed a solution to either mount it or hide it. Since the Apple TV 2 is so small you could actually hide it behind the flat panel. The only problem with this is potentially losing a great deal of range with the IR based Apple TV remote control.

H-Squared comes through again!


These guys are awesome. They have a variety of different products to mount your Apple gear on the wall/ceiling. I started using their products years ago to mount my AirPort Extreme base stations and Mac mini. I remembered seeing one of their new products, the tvTray while attending Macworld Expo this past winter. I visited their website for a second look and within about 2 seconds I knew that this was exactly what I was looking for.

Mounting an HDTV on the wall is sexy. Seeing the cables is not! I wanted a solution that would also make the cables disappear. I decided to mount the tvTray right underneath the HDTV so that the cables would run up behind the TV and out of sight. It worked beautifully!

Check out the tvTray here at H-Squared.


I’m on Sabbatical!

Believe it or not I'm celebrating my 15th year at Adobe and one of the perks of being an Adobe employee is a generous Sabbatical program every 5 years. By this being my 15th year I get 6 weeks off! Many say it's well deserved and I'm not going to weigh in on that one way or the other, but I will say that it's much needed!


What are my plans?

The 1st thing that people ask is "where are you going on sabbatical?" That's a good question. However, as disappointing as this sounds to many, I have no travel plans at the moment. Sure I may pick up and go somewhere cool if the mood hits me (and Hawaii comes to mind), but as someone who travels the globe over 200 days a year for a living, traveling for pleasure is not the first thing that comes to my mind. So what will I do with my free time? I'll spend most of this time with family and doing the things that I enjoy, like photography.

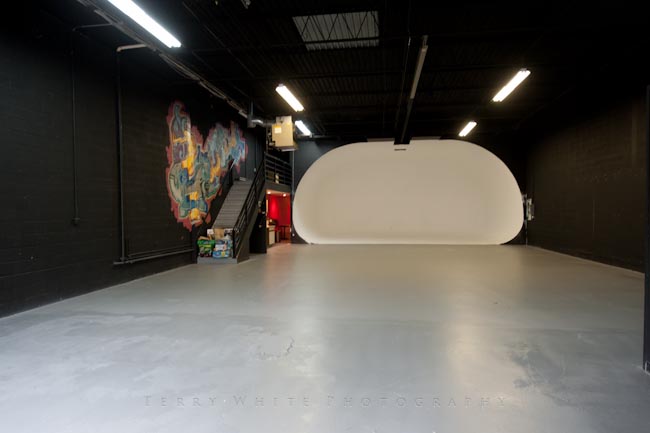
I just moved into a NEW 4,800 sq ft. studio and I'll be working on that little side project for sure. 🙂


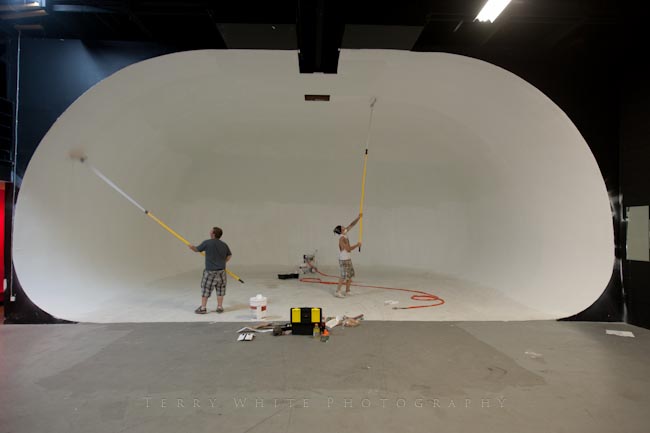
A fresh coat of paint going on by my very talented painter Chris Houghton


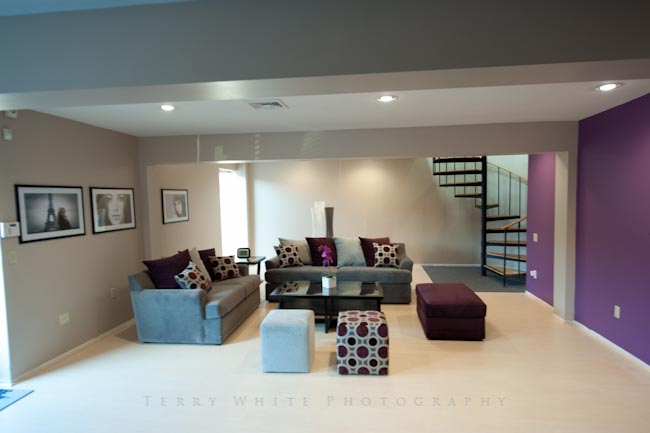
My environmental portrait area by my amazing interior designer W. Taharqa Blue is coming along nicely 🙂


What about blogging and podcasting?

Since I blog and podcast for a hobby, I don't plan on really taking a break from it. However, I will say that for the next 6 weeks I won't stress over not having a post ready every day/other day. So if I go a couple of days without posting here and there, you'll understand. My first official day back to work will be when I get to Photoshop World Vegas.

Look for studio updates, photos and of course gadget reviews as I have them.

Cheers and Happy Monday!