How I Broke My D700 By Tethering. Again!

It feels like déjà vu! It was a few days before Photoshop World Vegas and I was in the middle of shoot and all of a sudden I noticed the last couple of images didn't come up on the screen in Lightroom. I looked down at the camera and to my dismay I saw my USB tethering cable was at a 45° angle on the side of the camera. I thought, "that can't be good!" At some point my hand must have applied a bit of pressure to the end of the cable going into my D700 and as I suspected I damaged the port once again. Last time this happened was the week before Photoshop World Orlando. The only difference was in the previous incident I must have tugged on the cable too much. See that blog post here. I solved that problem with a TetherLock:
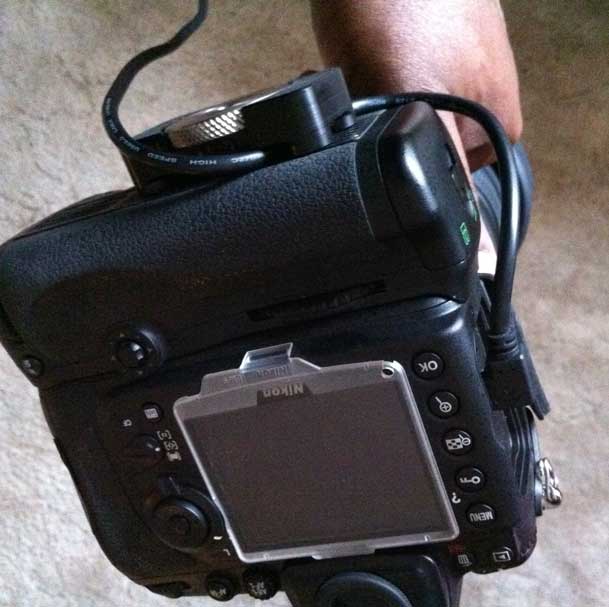
However, as I painfully found out solutions like TetherLock and the ones from TetherTools only solve the cable "tug" problem. As you can see in the image above the cable plug is still exposed and therefore it has potential to be bumped, pushed, bent, etc.


I need a cage or bracket

I started thinking about ways to protect the actual port with some sort of cage or cover that surrounds the port/cable connection itself. Little did I know at the time that such solutions already exist. Blog reader and friend Ken Toney suggested this "Cable Relief Spacer" from Really Right Stuff. I thought "PERFECT!"
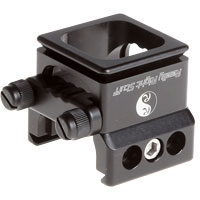
However, there was a small problem. All of my tripod heads and plates are by Kirk. I bought them long ago and while I do plan to switch to Really Right Stuff at some point (just for compatibility with all the people I shoot with), I hadn't planed on doing it right now. I wondered if Krik offered a similar solution for the L-Brackets I already own and fortunately they do! I ordered the Kirk LBA-1 USB Spacer Block immediately While these solutions basically offer the same solution, I would give the nod to the Really Right Stuff one because it appears to do both: Protect the port AND keep the cable from being tugged. Nevertheless, I'm now using the Kirk Spacer Block and my existing TetherLock for the ultimate "Terry proof" solution.
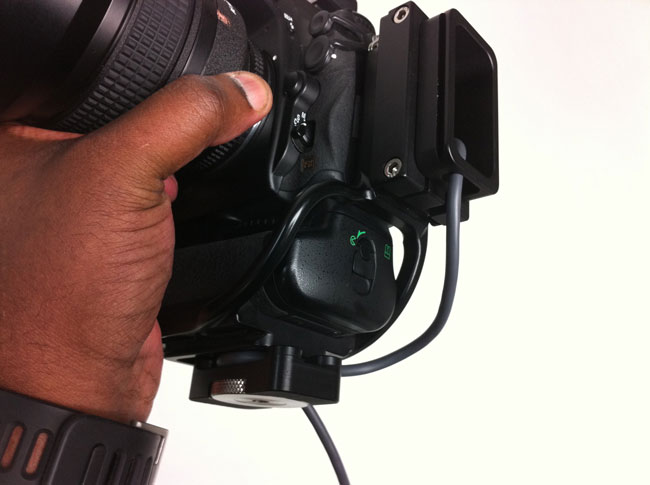
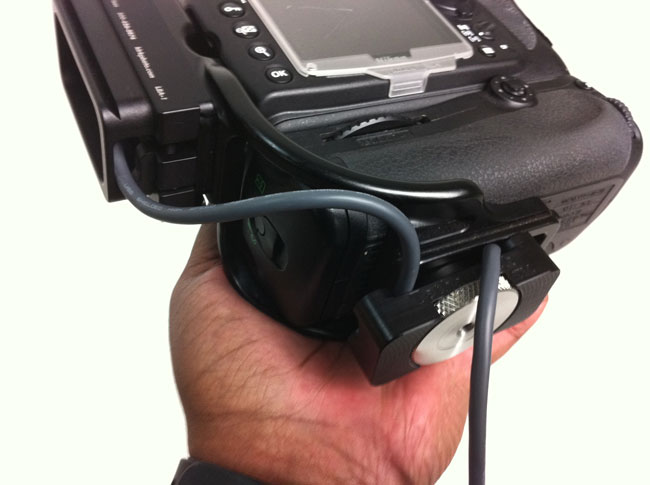
 

The Bottom Line

These extra pieces add cost to tethering. However, I couldn't imagine not tethering to Lightroom during my studio shoots. Now if only the camera manufacturers would wake up and build fast wireless tethering right into these expensive camera bodies (or at least the battery grips) this breaking the usb port, tripping over the cable, stuff would be a thing of the past.

Printer Rebates Lexar Rebates Sandisk Rebates Tamron Rebates Olympus Rebates Nikon Rebates Canon Rebates B&H Rebates & Promotions

On Location: My Abandoned Warehouse Fitness Shoot

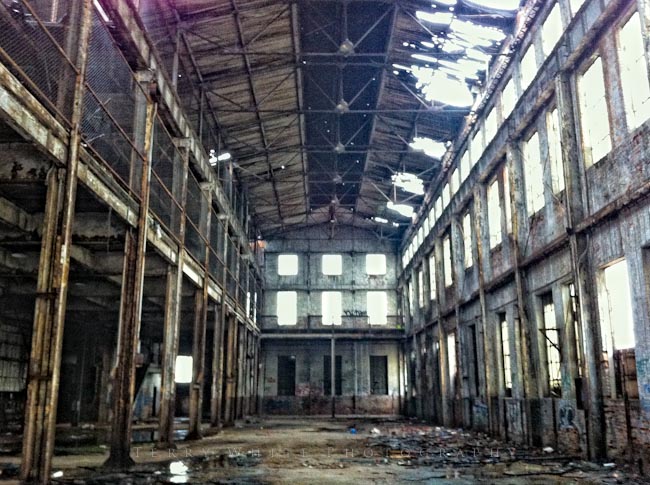
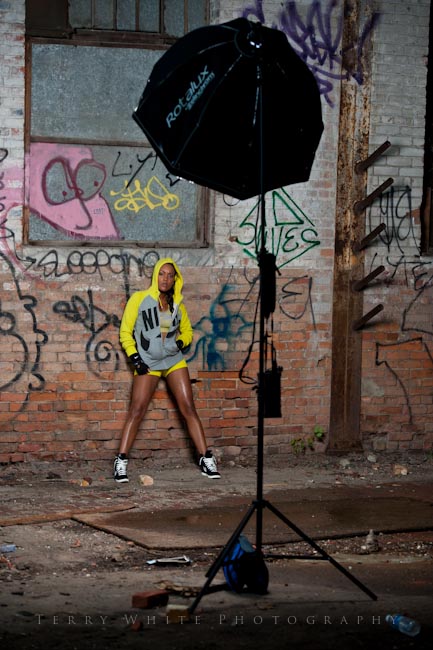
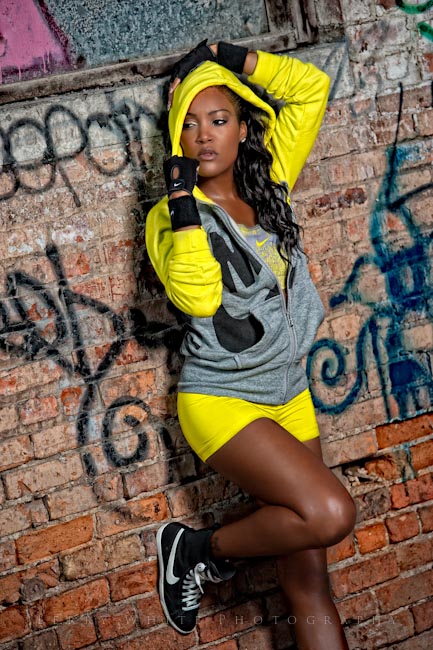
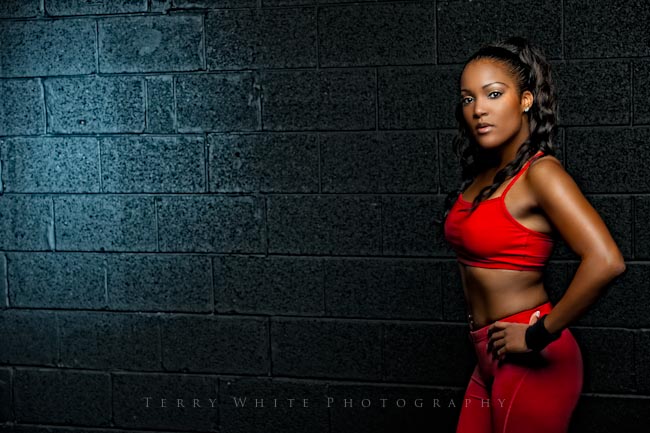
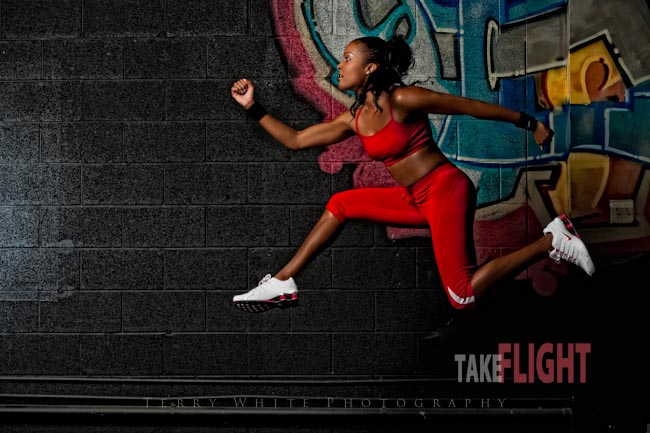
I wanted to do a fitness shoot. However, I didn’t want it to be just another shoot in my studio. I started looking at fitness shots like the ones in the Nike ads and I saw a consistent theme. The shots were mostly done outside and against interesting backdrops and walls. This lead me on a search for a location. It didn’t take me long to find a spot. I have to give credit to my photographer buddy David Birdsong for turning me on to this abandoned warehouse in downtown Detroit. I saw a shot of it in his portfolio and had to find out where it was. He gave me all the details.

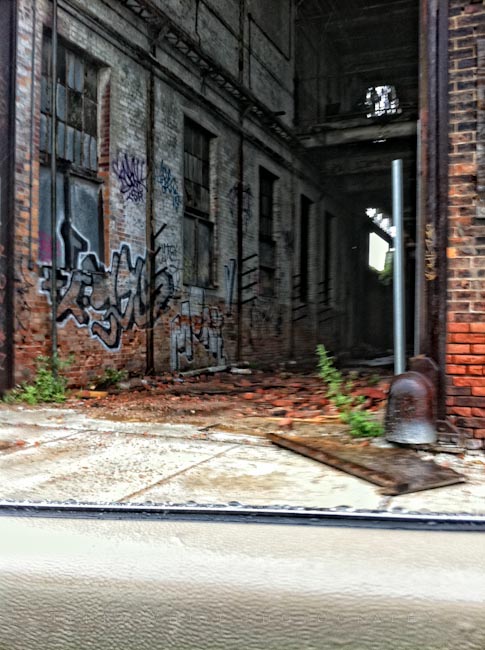
There are lots of abandon buildings in the Detroit area. However, as you would expect many are boarded up or have no trespassing signs. This gem is wide open. There is a big 10′ open door right at the street with great parking.

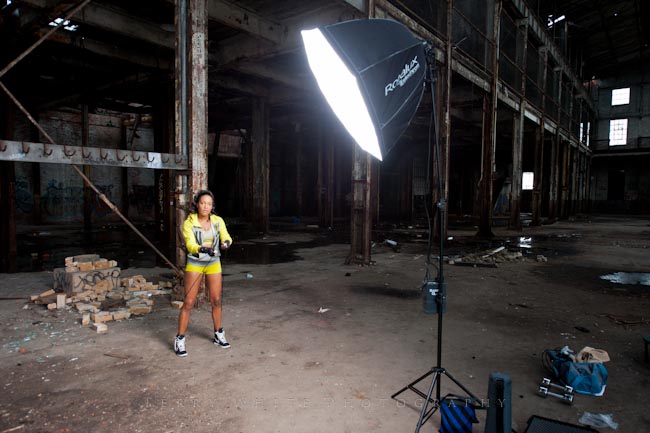
I brought my Elinchrom Quadra for lighting as well as a deep octa softbox.

When you shoot in an abandoned building all bets are off when it comes to safety. Everything is “at your own risk”. Remember, technically you’re not supposed to be there.

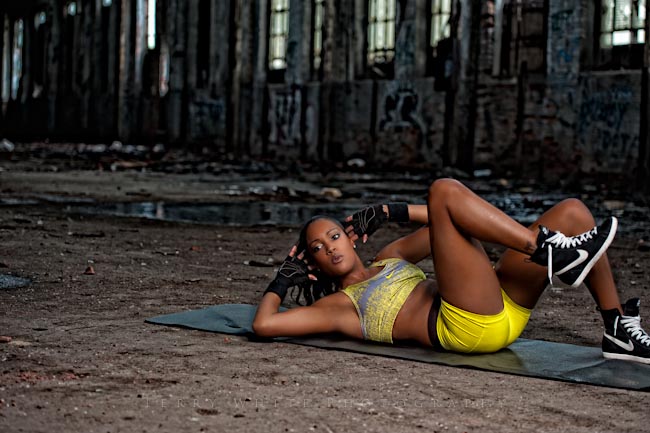
You have to also be careful not only with your equipment, but also with the debris and broken glass. Falling is definitely not recommended 🙂 We ended up just discarding the mat we brought because it was just too dirty to bring back.

I couldn’t get enough of this place, but I was on a time limit. I had a flight to catch later that evening as well as some more shooting to do in studio.

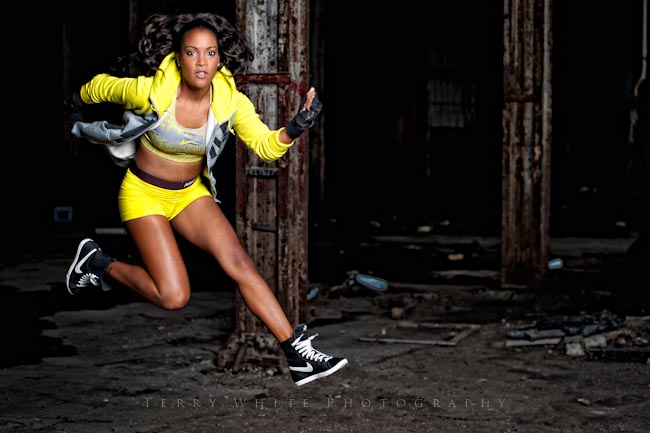
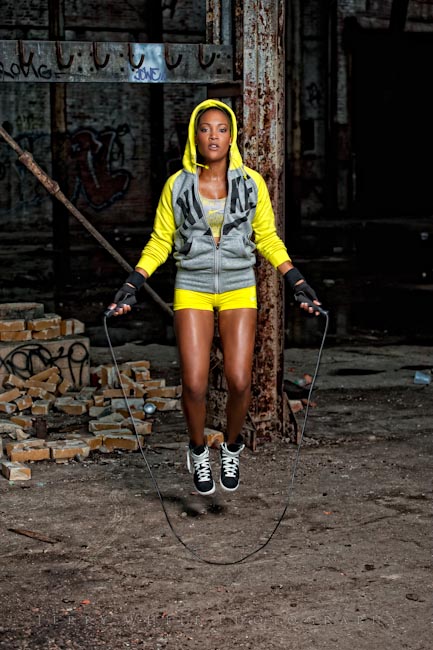
My beautiful & amazing model Kandice was a total trooper during the shoot. It was pouring down raining, wind blowing, dusty, dirty, etc. the whole time and nothing phased her.

One thing I’ll definitely bring next time is a broom. Also having some rags to wipe down everything after the shoot is over would have been really great.

In the shot above I managed to get more of the surrounding area. In many of the shots I took I wished I had done this more. I was too tightly composed on Kandice.

The Elinchrom gear performed like a champ. No issues with battery life or remote triggering with the Skyport Triggers.

I also have to give credit to my buddy Scott Kelby for his recommendation of hiring an off duty cop for security and keeping people off the set. It was great peace of mind to look over and see that unmarked police car the whole time 🙂 While having security could be considered overkill you have to remember that most abandoned buildings aren’t in the best of neighborhoods. What would you do if two guys walked in, hands in their pockets and said ‘hand over your camera and all of your money?”

The fun continued back in the studio

In studio I used my Elinchrom 600 RX’s

When it was all said and done, my mistakes aside it was a great experience and I can’t wait to shoot there again!

Gear Guide (Stuff I used on the location shoot)

Nikon D700

Nikon 70-200mm f/2.8 VRII Lens

Elinchrom Quadra Lighting Kit

Elinchrom Deep Octa

Elinchrom Adapter Rings

Impact 9.6′ Heavy Duty Light Stand

Portable Trampoline

How to Remove a Background from an Image in Photoshop CS 5

httpv://www.youtube.com/watch?v=Bm7v1DUn-0M

One of the number one "how to" questions about Photoshop is "how to remove a background from an image or how to extract an image from the background." I've recorded videos on this in the past and people always comment/ask what about when the background is not a solid color like grey or white? In this video the background is multiple colors and I walk you though how to do it from start to finish.

See more of my Adobe Creative Suite Videos on my Adobe Creative Suite Podcast and get the App here. It features EXCLUSIVE CONTENT that no one else gets to see. This episode has a BONUS CLIP that is available only in the App:

Learn Adobe Creative Suite with Terry White - Wizzard Media


It’s the Terry White Drobo Contest!


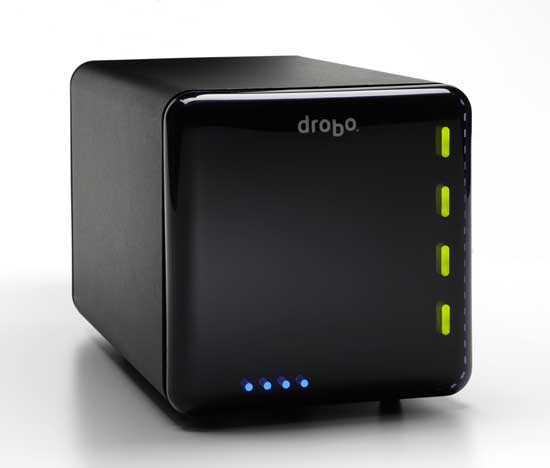
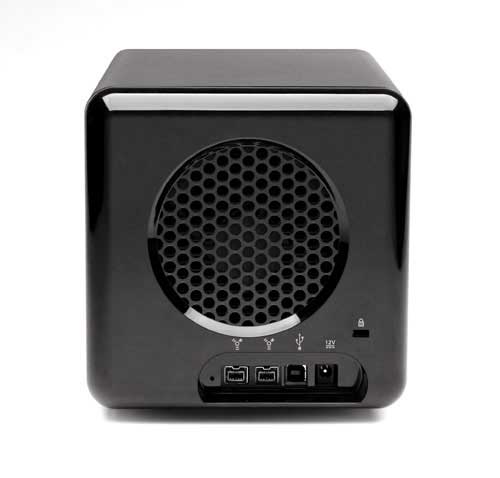
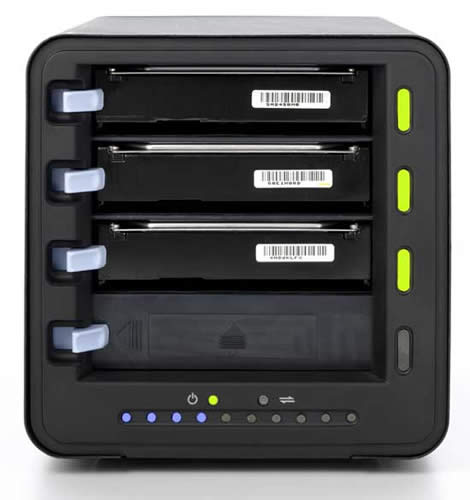
While I've given away lots of things in the past such as Adobe Software at Adobe sponsored events, this is my first big "Terry White" giveaway! It's the largest prize I've given away on any of my blogs or social media channels. Partnering with Drobo, I'm giving away a 4 Bay Drobo Storage unit. 


How to Enter

It starts by registering for the contest here. If you register you're eligible. That's it!

However,  you can increase your chances of winning by  spreading the word on Twitter, Facebook and Google+. Follow me on Twitter and then Tweet about the contest and why you want to win. Include in your tweet "The @TerryLWhite #Drobo Contest" so that your tweets can be tracked. If you're on Facebook then head over to my Facebook Fan Page, Like the page and tell me why you want to win a Drobo. If you're on Google+ add me to your Circles and then mention +TerryWhite in your post about why you want to win a Drobo. 

Not on Twitter, Facebook or Google+? Then post your reasons why you want to win a Drobo in the comments below.

FAQ

Q. What's a Drobo?

A. See my review here.

Q. Why are you giving away a Drobo?

A. I talk about and promote the products that I actually use. Therefore when Drobo offered me a unit to giveaway, I gladly accepted. 

Q. What do you get out of giving away this Drobo?

A. Drobo pays me $2.95 per entry

Q. Really?

A. NO, they aren't paying me a dime nor have they ever paid me anything. Not even advertising on my blog (Drobo are you listening? Hello! Just kidding 🙂 ) Like many companies though, they do send me review units.

Q. Is this a US based contest only?

A. Nope, I realize that I have a worldwide audience and it's open to everyone.

Q. Does the Drobo you're giving away come with the drives?

A. Nope

Q. Why not?

A. Because they didn't give me any drives to giveaway.

Q. That sucks!

A. Not really a question, but if you feel that way then don't enter. Have a nice day.

Q. How long does the contest run?

A. You can enter between now and Friday, 2PM ET (GMT-4)

Q. When will we know who won?

A. Hopefully it will be my Monday post next week. So a week from today?

Q. How will the winner receive his/her Drobo unit?

A. It will ship directly from Drobo once the winner has been drawn. 

Q. How can I learn about this Drobo you speak of or other Drobo products?

A. Head over to the Drobo website.

Q. Are there any other rules or restrictions?

A. Yes, please no whining. Please don't tell me about how you wish it was something else or run differently or whatever. Just don't enter.


True Drobo Story

I thought I'd share a true story about a recent experience that I had with one my Drobo units. I have three Drobos in my house. One is connected to a Mac mini, which serves as my file server. The second one is connected to an iMac, which serves as my iTunes/Media Server and the third one is a Drobo FS, which serves as a network Time Machine backup. When I got the Drobo FS I installed 4 brand new drives in it. The 5th drive was a 1.5 TB drive that I had lying around from a previous upgrade. Figured since Drobos can have drives of mixed capacities I'd put it to use. After a couple of weeks I got an email. Not from Drobo the company, but from my actual Drobo hardware. Yes, the Drobo can actually email you in the event that something is wrong. The email was a warning that one of my drives was failing. Sure enough it was the old 1.5TB drive. My data was being protected by the other 4 drives and I ordered a new 2TB replacement. I replaced the faulty 1.5TB with the new one and kept right on working the whole time. This was the first time that I got the chance to see a Drobo actually do what it was advertised to do. It protected my data against drive failure with ZERO DOWNTIME! Backups are still important, but it's this added peace of mind that makes me love my Drobos even more!


One more thing…

If there are a ton of entries I'll give away a second Drobo!


Good luck and I'm looking forward to picking a winner!

Adobe Shows off Carousel Cloud Based Photo Syncing to All Your Devices

Carousel running above on iPad and iPhone 4

I'm here LIVE at Photoshop World Vegas and during the Adobe Keynote Adobe introduced a new cloud based product called Carousel. With Carousel you can simply drag your images into the desktop client and they are uploaded to the Adobe Cloud in the background. You can also perform non-destructive edits and effects. Think Lightroom Develop Module 🙂 While this is cool, what makes Carousel magical is that the photos are AUTOMATICALLY, simultaneously and wirelessly sync'd to your mobile devices too. 

I've got Carousel running here on my MacBook Air. I took some photos during the keynote and they were sent via my Eye-Fi card to my iPad directly from my Nikon D7000 DSLR. I brought up Carousel on the iPad and added them and now they are on my desktop as well as my iPhone. This means that it doesn't matter where you add the photos or edit them, they will be sync'd to all your devices running Carousel. Once you have the photos in the Carousel app on your desktop or mobile device you can browse them, zoom in and share them. You can also have shared Carousels so that you and your family members/colleagues can share memories instantly.

Carousel will be available later this month (September 2011) for iOS and Mac and for Android and Windows early in 2012.

What I’m Teaching at Photoshop World This Week

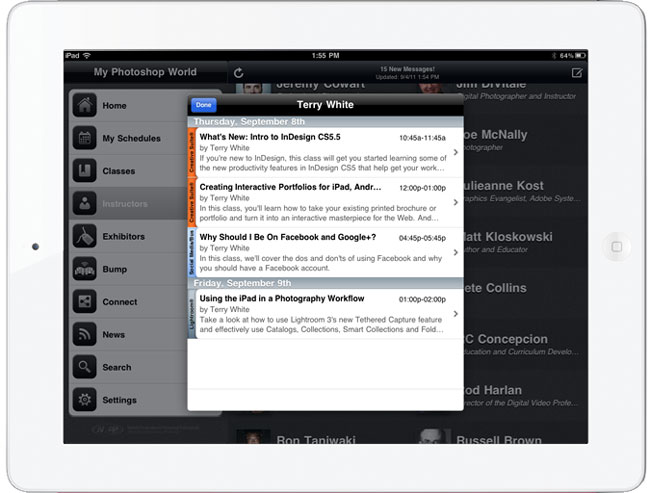
It's time for Photoshop World! It's this week in Las Vegas and I'll be teaching once again at this year's show. I've added two new classes and for whatever reason they didn't make the web schedule (hoping to get them corrected as we speak) I've also updated the information for my Intro InDesign & Facebook classes too.

  • Introduction to Adobe InDesign CS 5.5 
  • Creating Interactive Portfolios for iPad, Android & Blackberry Tablets in InDesign CS5.5 – NEW
  • Why you should be on Facebook (will talk Google+ too) Updated
  • Using the iPad in a Photography Workflow – NEW (this class replaces my Importing Images into Lightroom class that's incorrectly listed on the schedule)

Don't forget to see me on the show floor as well. I have sessions scheduled in the Adobe booth as well as partner booths such as Westcott and Manfrotto. 

See you this week and if you have an iOS device don't forget to grab the free PSW App here from the iTunes

Follow Me on Twitter, Add me on Google+ and Like me on Facebook for my live and up to the minute show updates!


Happy Labor Day!

Tired of the Same Old Backgrounds and Scenes?


I'll be the first to admit that I actually get tired of shooting in the same location time and time again. No matter what studio I'm in, including my new one which I LOVE, there are only so many backdrops to shoot against. This is one advantage to landscape photography as you can always go somewhere you haven't gone before. While I'd love to build sets (and I will), I just don't have the time to build new sets on a regular basis and they can be expensive to buy or have built. It's also funny when I can look at a photo and tell who shot it not, because of their photographic style, but because I recognize a piece of furniture that they always use 🙂

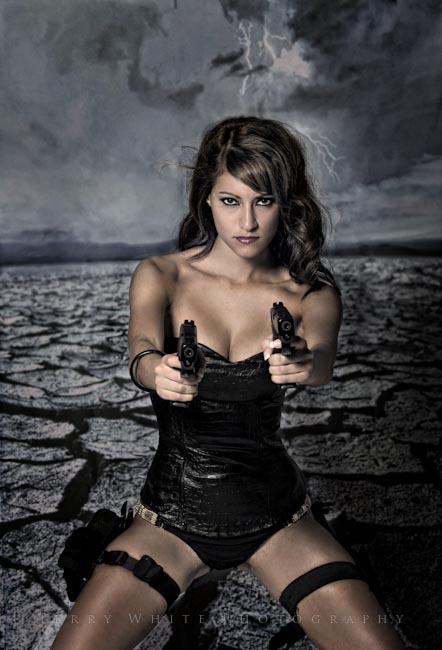
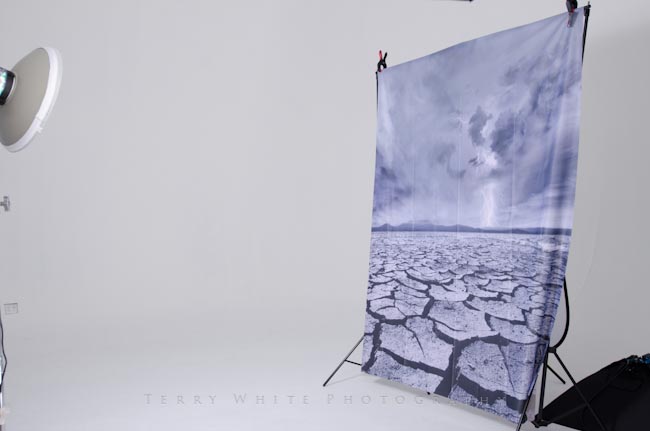
I remember seeing some cool scenes in the Westcott Live Shooting Bays at the last Photoshop World and I thought "Wow, Cool! But, I would get tired of that scene eventually." Little did I know at the time that Westcott actually will "rent" those scenic backgrounds. That changes everything. You can have a change of scenery, shoot it a few times and send it back without getting bored with it. I decided to check out a few of them and I used a couple of them in a shoot yesterday.

The backgrounds ship folded and as you can see you will have to either steam them or Photoshop out the wrinkles in post.

The tricky part is getting the perspective/distance/lighting right depending on the scene. Also depending on the color of the background you will either need to gel your lights or match the color in Photoshop afterwards.

Lastly the backdrops aren't as long as you may need for a full body shot. They come in either 5'x6' or 6'x8' However, you can get away with a seamless effect if the subject is sitting/kneeling or laying down.


If you're looking for a change of scenery but don't want to commit to one particular scene forever, check out the Westcott Scenic Background Rentals here.

Big Beautiful Light for $99.90! – Westcott Parabolic Umbrellas


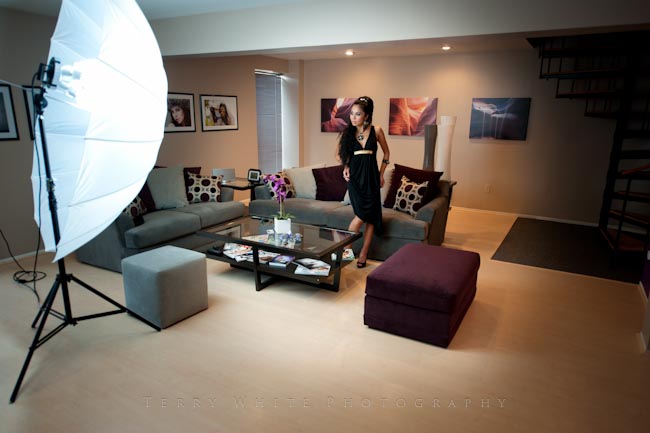
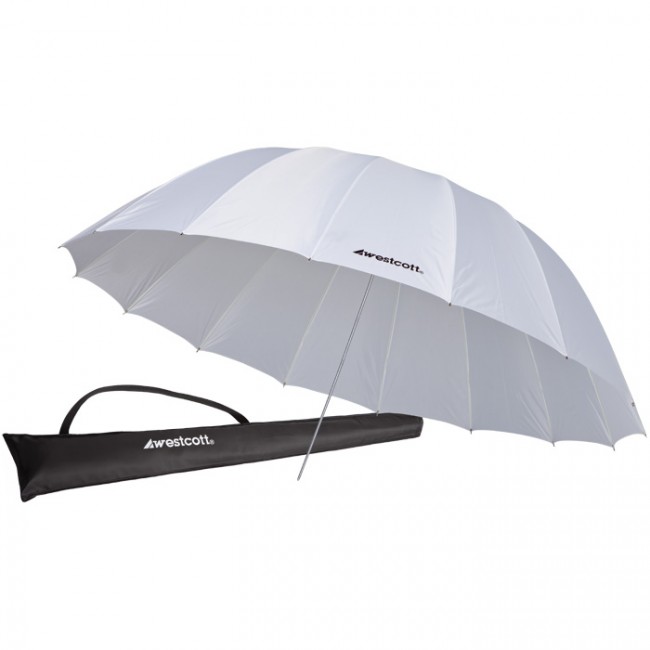
I'm a fan of big beautiful soft light for the beauty and fashion stuff that I shoot. As you might imagine I have a collection of large softboxes. While I love them and use them all the time, sometimes I need something that's large and more portable. Nothing is more portable than and travels as easily as an umbrella. Heck you can even carry an umbrella on a plane (as of today TSA has not banned them). Not long ago FJ Westcott introduced 3 NEW 7 FOOT Parabolic Umbrellas. You can get either a white one with a black cover, silver one with a black cover or white diffused shoot through one. It's a tough choice to make as I like all three for different situations. However, for starters I went with the white diffused one. Since it's a standard umbrella it should fit in any light setup/stand that you have that has an umbrella hole. In my case I used the Spiderlite TD6, which has an umbrella hole right on the included tilt bracket. Unlike the 1st two, you actually aim the light source into the umbrella and the light is diffused out from the other side. With the white and silver models you're bouncing your light source into the umbrella and back out the same way.

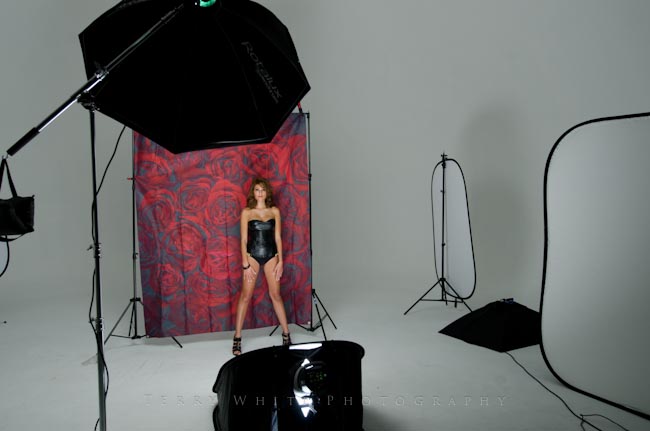
The bigger the light source and the closer to your subject, the softer it will be. 7 feet/6 feet curved is pretty big as you can see above in the production shot. The Spiderlites are already pretty soft and shooting though this umbrella makes them even more natural and soft. 

The umbrellas come with a carrying case to store them and make it even easier to travel with. You can use what ever lights you want with them. Like I said above, i used mine with a Spiderlite TD6 to produce the shot below. 

ISO 200, 85mm, f/1.4, 1/80 sec shot with my Nikon D700.

Model: Liz Hoang, Makeup/Hair: Joey Killmeyer


You can get the Parabolic Umbrellas here:

White with Black Cover – $99.90 Amazon or $99.90 B&H

Silver with Black Cover – $99.90 Amazon or $99.90 B&H

White Diffused (the one I used above) – $99.90 Amazon or $96.48 B&H

Spiderlite TD6