Adobe CS5 Evolution Tour Pt 2 Kicks off in Warsaw

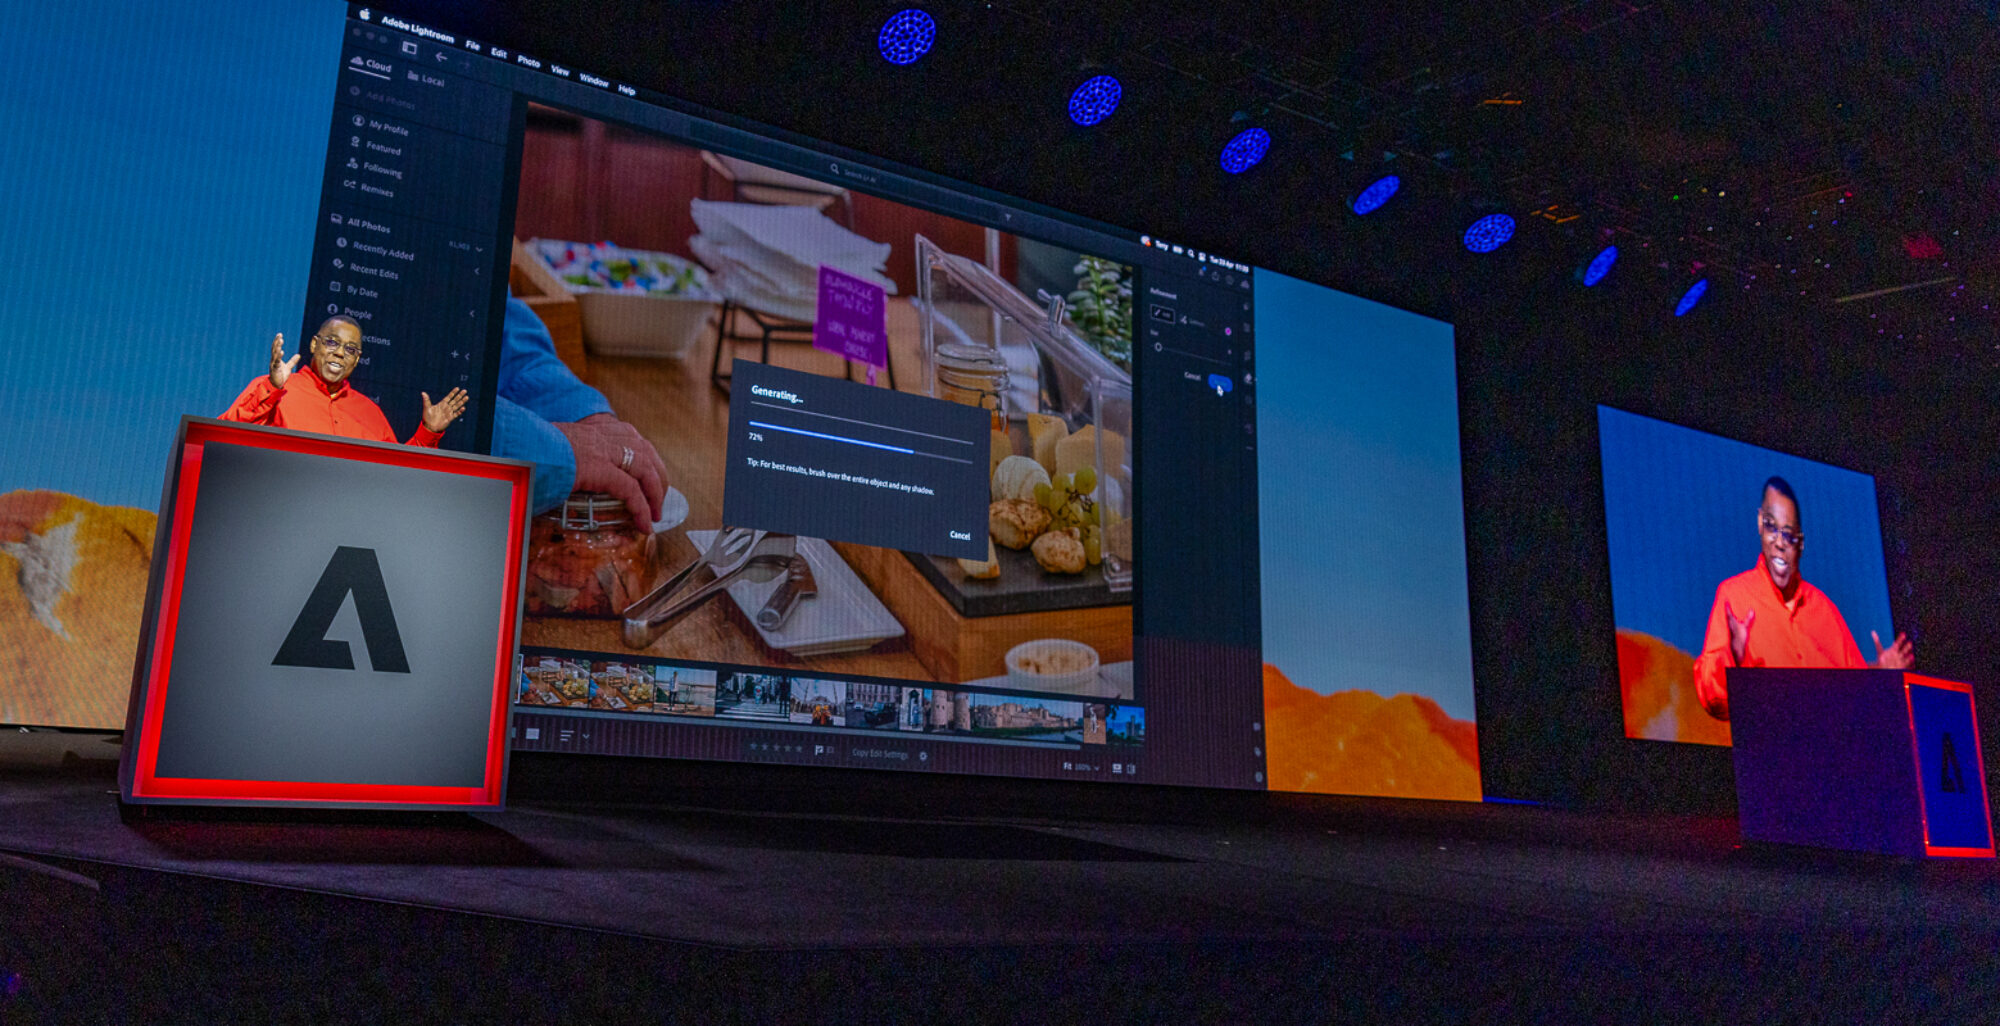
I just had to take a moment and thank the crowd in Warsaw that came out in full force for the Adobe CS5 Evolution Tour! We had an over capacity crowd of 800+ people with many sitting in the aisles. While it was unfortunate that Jason Levine and Greg Rewis couldn't make it due to flight delays and missed connections, Michael O'Neil from the UK and Paul Trani did a good job picking up the slack for the Video and Web presentations. 


Me and Michael (or Michael and I)


Glad I brought enough door prizes for everyone. However, I forgot to tell them to look under their chairs.


Continue reading “Adobe CS5 Evolution Tour Pt 2 Kicks off in Warsaw”

Go from Adobe InDesign CS 5.5 to your iPad Wirelessly

httpv://www.youtube.com/watch?v=1je3ZPU3lSM


In this episode of the Adobe Creative Suite Video Podcast I'll show you how to use the NEW Digital Publishing Suite Tools to take your interactive InDesign publication from start to finish fron InDesign CS 5.5 to your iPad (or Android tablet) wirelessly. This is my first look at the NEW .FOLIO builder tools that are now integrated directly inside InDesign. You'll need to grab the latest tools for your copy of InDesign CS5 or CS 5.5 here (Mac | Win).

Note: in the video I show how you can rearrange your articles online via digitalpublishing.acrobat.com. If your Acrobat.com account is NOT provisioned by Adobe to access the Digital Publishing Suite you can simply skip that part of the process and go straight to the iPad.

See more of my Adobe Creative Suite Videos on my Adobe Creative Suite Podcast and get the App here. It features EXCLUSIVE CONTENT that no one else gets to see. This episode has a BONUS CLIP that is available only in the App:

Learn Adobe Creative Suite with Terry White - Wizzard Media


Scottevest Wearable Tech

Got Gadgets?

Of course you do. Why else would you be reading my blog? I routinely walk around with iDevices, Android devices, cameras, gps units, chargers, cables, batteries, etc. Normally these items are in my pocket if they are small enough or in my computer bag if they are larger items. When I travel I almost never check my luggage. If I do check a bag, it's a bag of clothing and never a bag with gear in it. At the same time my carry on bag has to be small enough to fit under the seat in front of me. Since I'm now tasked with carrying more and more devices for work and having to carry a smaller bag due to the ever decreasing space under the airline seats I'm always looking alternative ways to carry stuff. I read a review from a friend of mine on the Scottevest line of clothing. I've seen "geek wear" before and had no interest in integrating gadgets into my clothing. I still don't have any interest in "wearable tech." However, I am very interested in clothing that is simply designed to carry more of my tech gear. That's exactly what Scottevest jackets/vest are to me.
 

It's my 3rd carry-on

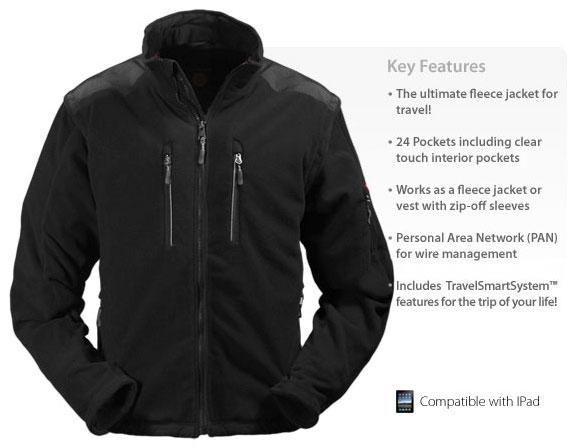
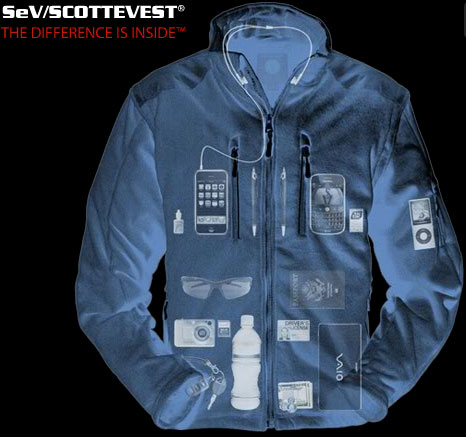
Scottevest jackets have on average 20+ pockets in them. They are designed to carry today's portable electronic gear and at the same time not showing visible bulges. That last part was pretty hard for me to believe. That was until i got one. The Scottevest clothing doesn't just have a bunch of pockets, It has a bunch of pockets that are carefully laid out to provide optimum storage and accessibility while providing minimal visible bulge. They thought of the little things. For example the two inner breast pockets are see through on the inside so that you can see and operate touch screen devices. Also you can run a set of earbuds through the inside of the jacket up to the collar where there is a special set of flaps to completely hide them when you're not listening to music/making calls. They put a screen cleaning cloth in one of the inside pockets on a string to allow you to quickly wipe your touch screens or camera lenses. There's even a pocket large enough to carry a tablet like the iPad. I first thought: "NO WAY will that not show from the outside!" While I don't really plan to carry my iPad 2 in my jacket, I did have to try it. OMG! It actually does fit and doesn't show from the outside.
 

What's in my pockets?

To date I have carried my: Kodak Zi8, Motorola Atrix, Mophie Air iPhone 4 Backup Battery, Holux GPS module, iPad stylus, keys, iDevice sync cables, iPad charger, boarding pass, passport, business cards, 2 ink pens, cash, and yes on occasion an iPad 2 🙂
 

Added security

While on my latest international tour I realized that the Scottevest has an additional benefit. It allows you walk around with gear that isn't showing to the general public. Granted, it doesn't hide a DSLR, but it can hide just about every other valuable that you're carrying.
 

The Bottom Line

Is that while I have jackets that I like to wear, the Scottevest has become my new favorite travel jacket. They come in a variety of styles and materials for both men and women.
You can check them out here.

Continue reading “Scottevest Wearable Tech”

5 Lightroom Keyboard Shortcuts that will Speed Up Your Workflow

httpv://www.youtube.com/watch?v=8Sud57DpfgE


In this episode of the Adobe Creative Suite Video Podcast I'll show you 5 Keyboard Shortcuts for Lightroom that will speed up your day to day workflow!

See more of my Adobe Creative Suite Videos on my Adobe Creative Suite Podcast and get the App here. It features EXCLUSIVE CONTENT that no one else gets to see. This episode not only has a BONUS CLIP that is available only in the App, but it also has an EXCLUSIVE PDF with tons of Lightroom Keyboard Shortcuts:

Learn Adobe Creative Suite with Terry White - Wizzard Media


Guest Review of iCarbons Skin for iPad 2

   
by Larry Becker

When I bought my iPad 2 recently I looked around at the dozens of case offerings and skin options. I bought an Apple Smart Cover as part of my original device purchase, but I wanted to protect the back surface as well. Even though there were dozens of case options, back cover protection that was also compatible with my Smart Cover, limited my choices quite a bit. The iPad 2 was already so darn slim, and the Smart Cover added so little to the bulk of the unit, that it seemed a shame to weigh the thing down in a bulky, book-like binder cover. I wanted slim, so I started looking at skins.

Top of my list was the Zagg Invisible Shield because I love the crystal clear, durable protection. The problem is that the application is a wet process and the iPad is so much bigger than the little devices I've covered with it in the past, I was envisioning getting moisture all over the place in my precious new iPad and fighting a war with bubbles under the film. The local mall has a Zagg kiosk with a professional installer and that comes with a lifetime guarantee, but with the installation fee and taxes, it was going to be over fifty bucks! And after the $50 installation I'd have a beautiful, crystal-clear cover that still had tiny seams at the corners so the film would fit the shape of the iPad's curved back. Most skin options don't even have corners covered at all. That's one of the reasons I opted for iCarbons. The big reason though, was that they had a great installation video and their application is a dry process. It doesn't hurt that it was half the cost of the Zagg (just $26 shipped).
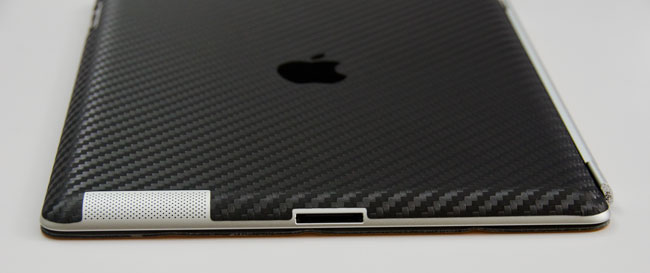


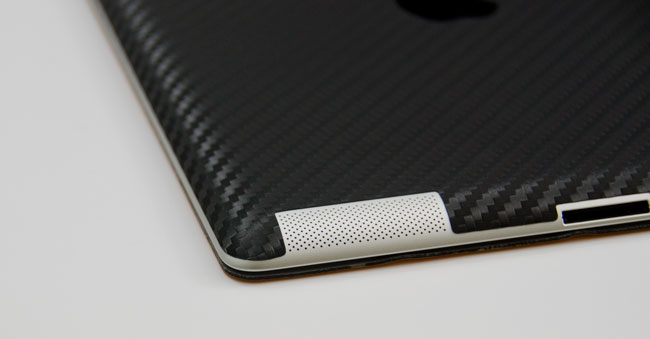
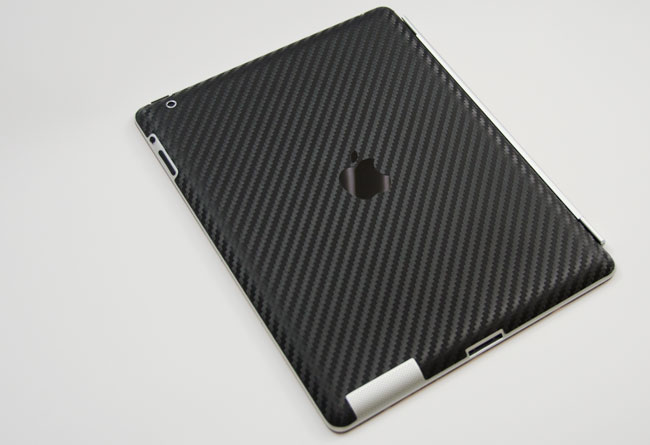
iCarbons offers a light and a dark woodgrain option as well as a black or white simulated carbon fiber skin. I opted for the black and it was just as easy to install as their video shows. It was easy because it's a dry process and there were zero bubbles. What you can't see until you have the skin in hand, is that the weight of the material is thicker than you might expect, and the embossed texture of the carbon fiber weave is relatively deep. It looks great on the iPad and it smoothly covers the corners as advertised. The only thing I don't love is the white carbon fiber Apple logo they supply to cover the logo cutout in the middle. I just left mine off so the black Apple logo is what you see.

While some people like keeping the carbon fiber skin theme going all the way around to the front, I wasn't interested in the front frame protector. That just seems a little over-the-top to me, because the Smart Cover does the job on the front. And speaking of the Smart Cover, the magnetic strength seems just as strong through the iCarbons skin as it did on the bare metal of the iPad. No need to cut a notch out of the skin for the smart cover spine like I was considering. If I could change anything, I'd make the skin just a tiny, tiny bit bigger to cover more closely to the edge. Of course, I'm not an engineer, so that extra little bit of coverage might cause the corners to not cover smoothly or it might cause the edges of the skin to peel over time. Maybe this is the best possible coverage after all. It’s also worth noting that this skin is not especially grippy. It’s better than the naked aluminum, but not much. I think GelaSkins and Zagg wins in the grippy category.

In my opinion, considering price, quality, ease of installation, Smart Cover compatibility, looks, and scratch protection, iCarbons is the best skin option for me.
Shooting with Scott Kelby in Denmark and Sweden

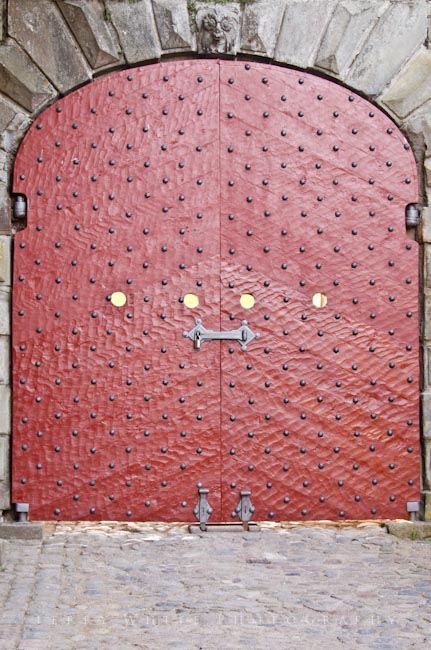
In case you haven't noticed I'm on tour in Europe. I've been on the Adobe CS 5 Evolution Tour since the beginning of May. Often times there are weekends where it doesn't make sense to come all the way home and then go right back out again, so we try to pick a good place to regroup for the weekend. It just so happened that this past weekend we stayed in Copenhagen. My good friend Scott Kelby told me before that he always wanted to visit Copenhagen and it worked out with his schedule that he could join me for the weekend to see the sights and of course do some photography. Scott asked his Twitter and Facebook followers for some shooting location suggestions and they came pouring in. Needless to say we not only had a blast, but we got to see some fantastic places. Be sure to head over to Scott's blog to see his photos from the weekend and I put together a few of my favorites below (most of my shots are geotagged, so if you're interested in "where" these photos were taken head over to my Flickr gallery). It's time to prep for the London stop this Wednesday, so I'll be signing off for now. Have a great week everyone!


The Turning Torso in Malmö Sweden

Continue reading “Shooting with Scott Kelby in Denmark and Sweden”

International Power! Revisited

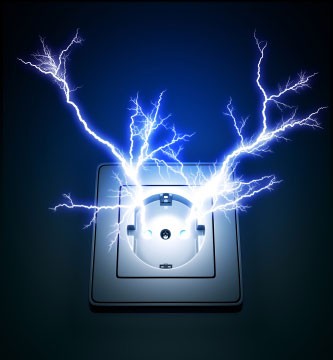
Image compliments of iStockphoto.com

Last year I wrote a post called "International Power" and the purpose of that post was to recommend adapters and accessories that you might use when you travel abroad. Since that time though I have been experimenting with different solutions and have just about completely revamped my list of travel adapters and plugs. The first goal was to reduce the amount of adapters needed and the second goal was to accomodate the ever increasing number of mobile devices that I'm traveling with. Since my job now not only involves showing Adobe Creative Suite on the desktop, I now show tablet and mobile apps on both iOS and Android devices too. On my current trip I'm traveling with a MacBook Pro, iPad 2, iPhone 4, Motorola Atrix and Motorola Xoom. Not to mention a Nikon D7000 DSLR, iPod nano watch and camera GPS device. That's a LOT of batteries to keep charged each night. One of the other big problems is that many hotel rooms can have as few as one single accessible AC outlet for you to use! Here is my current crop of adapters and gadgets to accomodate charging and powering on the go.


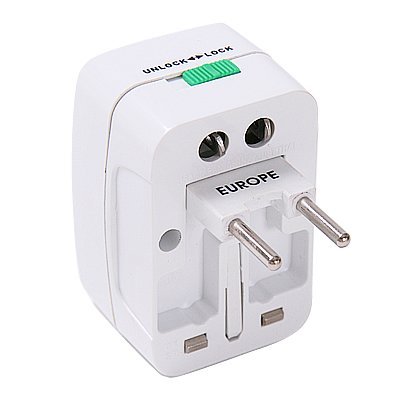
The Universal Adapter

All of my devices either can accomodate the higher voltages in other countries or charge via USB. Therefore I only need a couple of "adapter" plugs to adapt the US prongs to the sockets of foreign outlets. The one above is one of my new favorites. I like it because the prongs fold into it so that they don't protrude in your bag. I typically have at least two of these in my suitcase to leave in the hotel while I'm out and about and one in my computer bag for meetings and presentations.

Get one here.


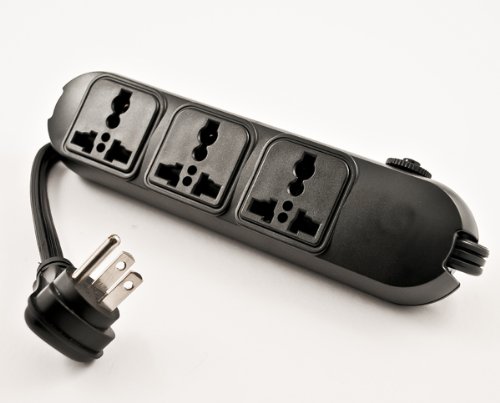
The Universal Power Strip

I don't want to have to adapt every single charger to a foreign plug and as I mentioned you may not even have the luxury of multiple outlets in the room. So just like at home I would love to use a power strip that plugs into the Universal Adapter above. This Power Strip not only works on US current and the higher European 220v outlets. Also the plugs work for both US and European based prongs.

You can get one here. I use this one in my computer bag.


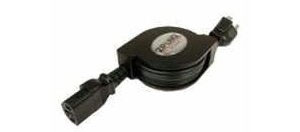
Retractable Extension Cord

Another common problem is that the single available power outlet in the room may be located across the room. This is when I pull out my retractable extension cord. Granted it's only 5' long, but it can make all the difference in the world.

You can get one here.


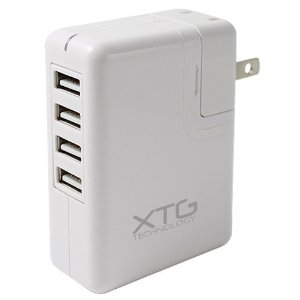
Charge 4 USB Devices At Once

My phones, camera GPS and iPod watch all charge via USB. Therefore I can get away with one of these multiple USB charging devices. Yes they work on the higher 220v current too and deliver standard USB power to up to 4 devices simultaneously and yes I've charged 4 devices at once without issue.

You can get one here. I also like this flater one too.


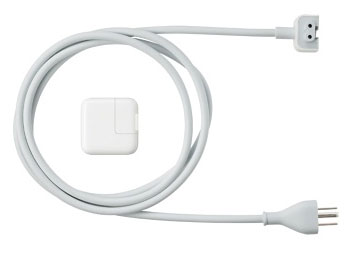
The iPad Power Adapter

While the iPad will charge over standard USB, it will do so at a slower rate. In this case I always travel with an iPad 10W adapter to charge the iPad/iPad 2 at top speed. This adapter also works at the higher voltages.

You can get one here.


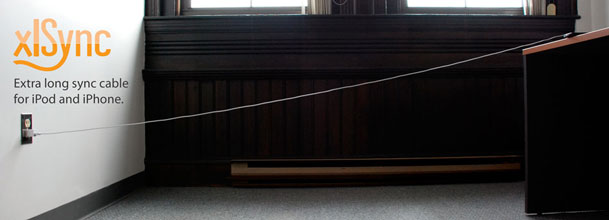
Longer iOS and USB cables

Since the only available outlet in the hotel room is sometimes behind furniture or across the room it may be necessary to have longer USB and iDevice cables. I found some nice long ones here.


The Bottom Line

When I have all these things plugged into a single outlet, it's not pretty! However, it works. I can easily charge 6 devices without any problem. It definitely cuts down on the number of little adapters I have to carry and I don't have to worry about not having enough of the right adapters for the country I'm in .

Adobe Photoshop World 2011 Keynote


If you missed Photoshop World Orlando, you missed the Adobe Keynote where Photoshop Product Manager Brian O'neil Hughes showed some sneak peeks of some up and coming Photoshop Technologies being worked on in the labs at Adobe. Check out the video above to see what you missed! Was there really a Photoshop for iPad shown? 😉

See more of my Adobe Creative Suite Videos on my Adobe Creative Suite Podcast and get the App here:

Learn Adobe Creative Suite with Terry White - Wizzard Media


How the iPad fits into a Photography Workflow

Last week when I was on The Grid, I got asked to describe how the iPad would fit into a photographer’s workflow and I promised to do a post on it…

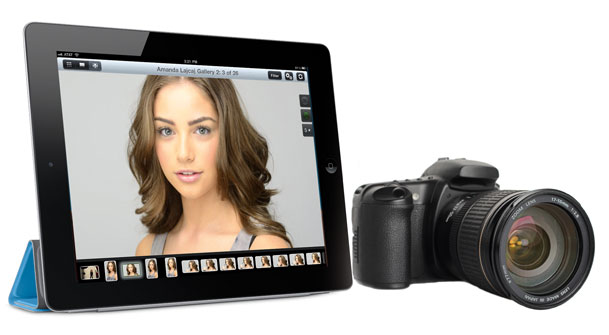
The iPad is definitely a revolutionary product that has disrupted the status quo. While I absolutely enjoy using an iPad, I don’t find it to be the end all be all replacement for a desktop/laptop computer. At least not full-time. The iPad didn’t replace my phone, nor did it replace my laptop. It’s another device that I use when it’s more convenient to use than either of the other two devices. With that said the question has been asked “How does the iPad fit in a photography workflow?” Last week my buddy Scott Kelby wrote a post about what he’d like to see in a “real Photoshop for iPad.” Adobe demonstrated some Photoshop technologies for iPad at Photoshop World in Orlando. There are several image editing and image viewing Apps for the iPad. So the question becomes does the iPad fit in a Photographer’s workflow and if so how?


The short answer is YES!

Here are the ways that I use my iPad in my day-to-day photography workflow:


Getting ready for the shoot

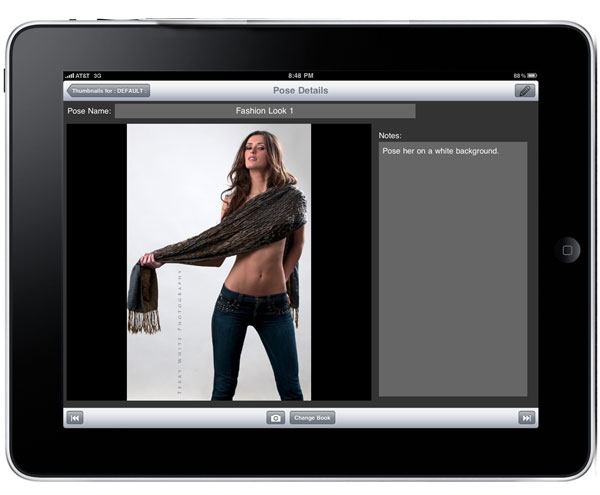
If i’m doing a model shoot, then I use the PosePad App to plan out my shoot with photos and notes to pull up right there on the spot and walk them over to the model. This is my digital shot list. This has worked extremely well even on location shoots outside the studio.

PosePad for iPad .


Model and Property Releases

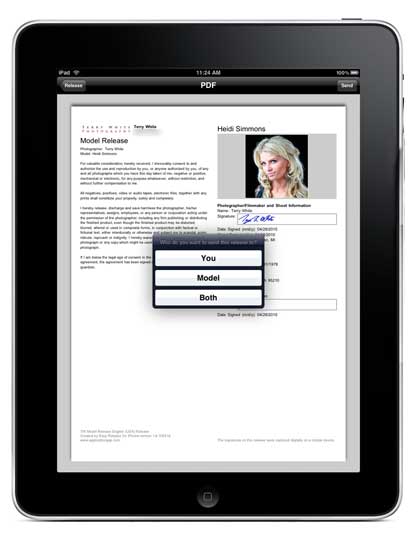
I stopped carrying paper releases over a year ago. There are two fantastic Apps for doing CUSTOM (yes, YOUR text) release forms for both Model and Property releases. I prefer the look and feel of the release forms in Easy Release, but I absolutely love the exhaustive number of available custom fields in the Contract Maker Pro. My recommendation: For a basic release only requiring a few fields and your custom text that looks great, go with Easy Release. If your release forms are more complicated or multiple pages go with Contract Maker Pro. Both Apps are GREAT!

Easy Release .

Contract Maker Pro .


Getting Images into the iPad

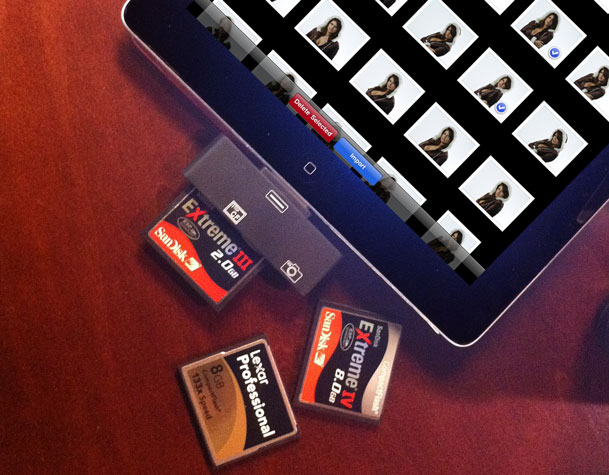
When you’re out and on the go chances are you’re going to be shooting and you’ll want to do two things. You’ll want to backup your images and review them. Let’s start with getting them in. There are 3 popular choices. The first is Apple’s own Camera Connection Kit. It works great with SD cards or via a USB cable to your camera. It will bring in your pics (JPG or RAW or both) as well as your videos. However, it will not work with Compact Flash cards. Apple turned down the power of the port via a software update and therefore card readers don’t work anymore connected to the Camera Connection Kit. That brings me to a NEW option: M.i.C. has shipped a CF reader for the iPad. Lastly and probably my favorite method is to shoot wirelessly into the iPad via the Eye-Fi card.

Continue reading “How the iPad fits into a Photography Workflow”

Adobe CS5 Evolution Tour Off to a Good Start

photo by Erik Bernskiold

Hi guys, this is a short post from the road. This week we kicked off the worldwide Adobe CS 5 Evolution Tour in Sweden. We had a great day in Gothenburg yesterday and looking forward to the Stockholm crowd today. It was also great seeing my good friend Erik Bernskiold (designer of this blog and bestappsite.com) in his home town. Looking forward to seeing you all on the tour!


Adobe Ships Creative Suite 5.5 Today!

CS5.5 SHIPS TODAY! You can even get your hands on it now by ordering and downloading it here. Or, explore everything that's new by trying it out first.

That's right! You can get your hands on all of it's mobile authoring goodness today!


Gothenburg yesterday:

They really are happy on the inside 🙂 Those are expressions of excitement in Sweden.


Erik & Tommi manning the video switcher. Thanks guys!