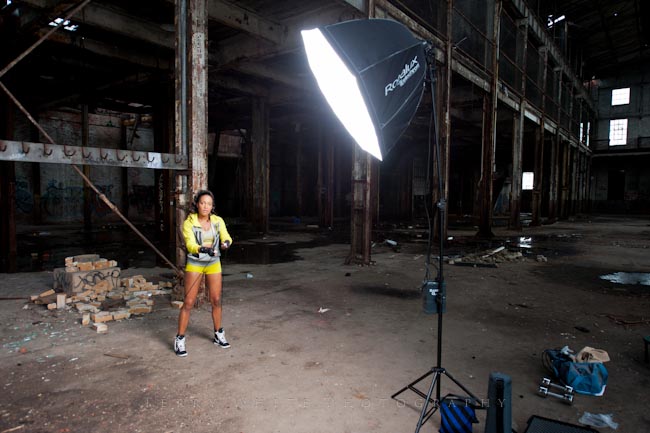
My buddy and fellow photographer Rynelle Walker posed against a Mist X-Drop
If you’re traveling to do an on location portrait shoot you can either utilize the surrounding area as your backdrop or bring your own. Using a nice location is great, but what if you don’t have one? I’ve done family portraits in hotel hallways and hospitality suites during family reunions and let’s just say that the wallpaper in these venues usually isn’t good enough. However, traveling with a full blown backdrop and support system can be a pain too.
Westcott X-Drop Backdrops
Westcott just introduced a series of 5’x7′ backdrops and a kit to hold them up. When I first saw them I was really only interested in the backdrops themselves. I wasn’t really thinking about a support to hang them since I already have a couple. However, I got a kit and I gotta say that I’m glad I did. First off I couldn’t believe how light weight this thing was compared to traditional pole type support systems. Secondly it goes up in about 5 minutes or less.
Linda standing against the Saffron X-Drop
You have your choice of 6 different colors: Mist, Quarry, Saffron, Serenity, Eminence and Slate. Plus Black, White and Green Screen for a total of 9. The X-drops can either be ordered separately or as a kit with the stand. I highly recommend at least one kit with the color you want and then if you want additional X-drops you can just order them separately and use the same stand from the kit.
Like most cloth backdrops it will ship folded and therefore you will have to deal with the creases either by ironing/steaming them out or with Photoshop in post. I used a steamer with great fast results. The good news also is that they are machine washable. The kits come complete with a travel bag that would fit easily in the overhead bin or even in a suitcase.
Over the weekend I was working with a model and during our casual conversation she expressed to me how disappointed she was that in one of her recent shoots with another photographer that she lost all but a couple of her images. She described the tale of receiving a CD of the images that he took of her. She was importing the images into her computer and it stopped after about the 3rd image. It seems that the disc was corrupted. At that point she contacted the photographer to perhaps get another disc and he informed her that he had lost the images too. I’m not really sure what that means, but I take it as either he had the same problem with disc corruption (relying on CDs as his method of archival) or some other form of data loss?
Data Loss Happens!
No matter what system you use, hardware you use, services that you use there is the potential for data loss. Physical media is susceptible to all kinds of failure. So the idea is to never ever ever ever ever trust your images (or any other important data) to one single device or thing. To date I’ve been quite lucky. I’ve never lost a shoot. Nothing would be more frustrating than to spend hours or all day on location doing a shoot only to not have any images to show for it. I’ve been backup paranoid since my 1st hard drive crash in the early 90’s.
Let’s start with the shoot itself
Memory cards these days come in nice large capacities and while I love being able to shoot 1,000 RAW images to a single card, it’s not a good idea! You’re much better off breaking your shoot up onto multiple cards. At least if one card goes bad you haven’t lost ALL of your images. Keep in mind this is when you’re the most venerable. At this point your images only exist in one spot.
Immediately Backup The Shoot – If I’m out in the field and I’m shooting to a memory card then I’m going to backup immediately afterwards (usually while on location) to another device. I’m either going to backup to my iPad, my MacBook Pro or a portable media backup hard drive such as the HyperDrive Colorspace.
That way I still have the original images on the card AND on at least one other device. If I’m shooting in studio then I’m automatically backing up with each shutter release. I’ve been shooting either wirelessly with my Nikon D4 or via Ethernet. That means an image is being captured to the card AND then transferred to my MacBook Pro. That’s not enough for me! I still copy the folder of images to a backup folder on my server before I start working on the local copy that’s on my hard drive.
Yes, even on vacation! Not only do I backup the card via one of the methods above, but I will probably even upload the images to the cloud so that if my gear is stolen or damaged while I’m on vacation I would at least have the images to pull back down when I get home. Before cloud storage was so common I would mail myself a backup DVD.
Image compliments of iStockphoto.com
After it’s all over – even after the shoot is over, images have been retouched and delivered. I still backup EVERYTHING to CrashPlan.com. My computers are backed up locally to other drives via Time Machine, but at the end of the day I still prefer having at least TWO backups and at least one of them being offsite. CrashPlan has served me well thus far. An often overlooked feature of CrashPlan is that it allows you to also choose another location for backups such as a friend’s house or perhaps backing up your studio computer to your home computer or vise versa.
How to start thinking about your own backup strategy – The 1st time I ever backed up my hard drive was due to a total hard drive crash. I learned my lesson the hard way. However, even after that crash and learning the importance of backing up, I wasn’t doing it regularly back then. One day I looked at my computer and said to myself “what if your hard drive crashed RIGHT NOW? What would you lose? I started thinking about all the things that weren’t currently backed up and of course I did an immediate backup. Luckily times have gotten better and our backups are more automated with things like Time Machine and Crash Plan. That doesn’t mean that you can’t use the same method to determine what to backup. Just modify it a bit. Ask yourself if your computer crashed right now, what would you lose? Now ask yourself if your building burned to the ground overnight (no one was there, no one was hurt), what would you lose? If someone stole your camera bag, what would you lose? If someone stole your computer bag, what would you lose? For me, in each of those scenarios I’d lose gear and I’d be pissed off, but my data in each of those scenarios would be recoverable.
The Bottom Line
I’ve never lost a shoot! Sure it could happen some day, but I try to reduce my risk as much as possible using the methods above. I had worked with another model for a couple of years before she moved out of state. One day she sends me an email telling me that she had a small fire and lost all of her CDs (she put them on CD, not me) and was wondering if by chance that I had any of the images we had created together. I had ALL of them! I was able to send her all of our “finished” images that we had ever taken.
“You’ve either lost data, or you’re about to lose data!” BACKUP
If your important data is only in one place then you’re doing it wrong!
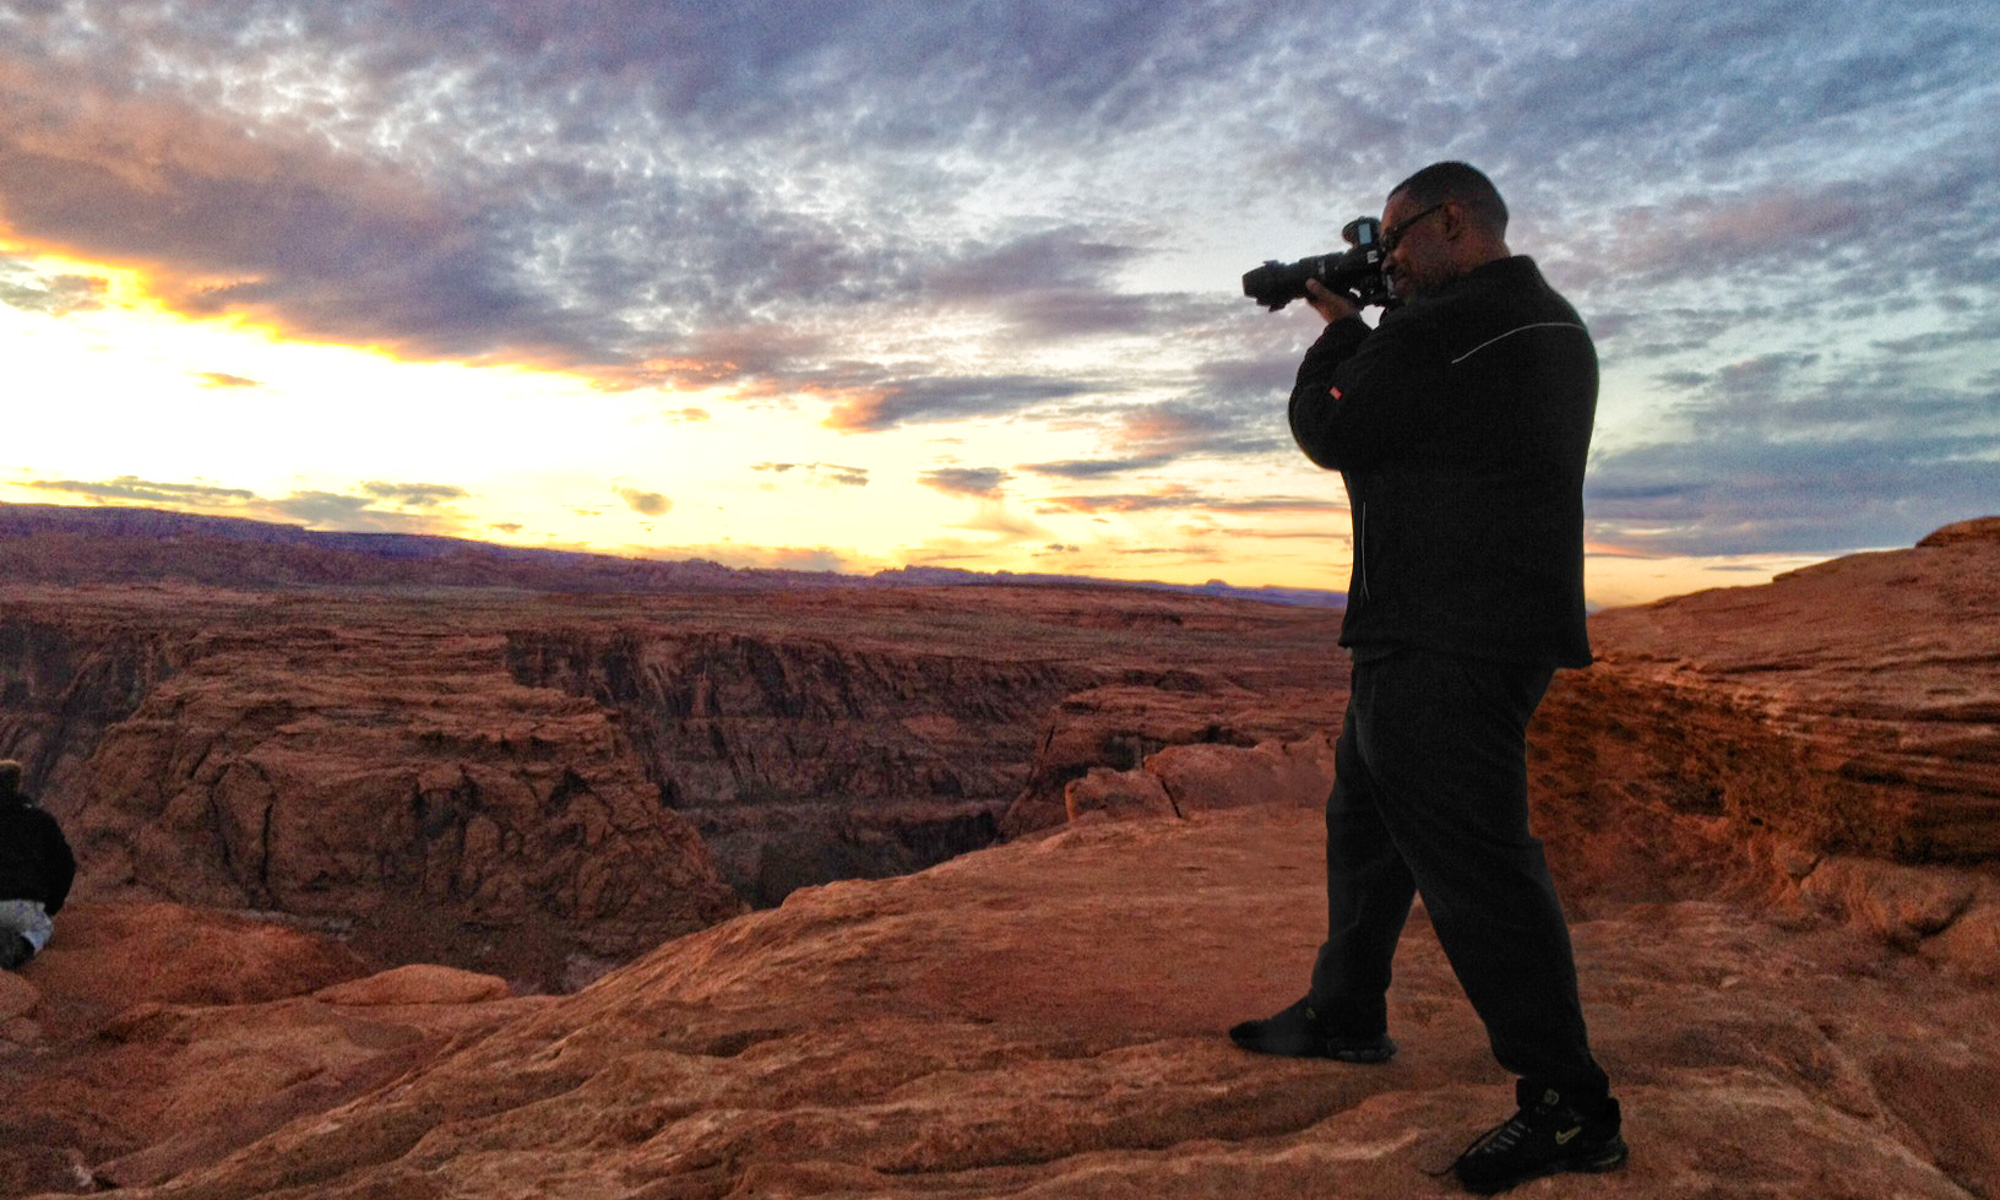
When it comes to photography my primary focus is Beauty/Fashion, in other words people. However, because I travel for a living I also get to do a fair amount of landscape and travel photography too. While I did have a Landscapes Portfolio on my site, my travel shots were starting to blend in even if they weren’t technically landscapes. A couple of nights ago I decided to break them out and create a dedicated Travel Portfolio.
While I was at it I also was curious to see how many shots I had taken with my iPhone. I was toying with the idea of perhaps having an “iPhone Photography” Portfolio just for fun but I could only think about 3-4 worthy shots off the top of my head that I remember shooting with my iPhone.
I figured that I shouldn’t trust my memory and I decided to let Lightroom show me my iPhone shots by creating a Smart Collection. I was right to take that approach because there were many more shots than I remembered taking with my iPhone and as a result I was easily able to put together an iPhone Photography Portfolio just for kicks.
While I don’t see any smartphone camera replacing my DSLR any time soon, I pretty much do use the iPhone 4s 99% of the time as my point and shoot camera. I’m usually amazed by some of the shots I get considering the small sensor on that thing.
I updated my site using the Turning Gate Plug-ins and Adobe Lightroom 4.1. Also since I’m a Geotagging Freak! Most of the shots in the new galleries will show you the location where they were taken.
Nothing sparks passion and debate like a good ole’ fashion copyright discussion. I’m sure this question has been asked before and probably answered, but I thought I’d ask it here and see what my readers feel…
If someone picks up your camera and snaps a photo, who owns it?
Yes technically it’s your camera and you physically have possession of the shot, but whose copyright is it? Does it matter if you gave permission to use your camera or not?
In this episode of the Adobe Creative Suite Podcast Terry White shows How to Create A Photo Slideshow For Your Website With Adobe Muse. Whether you’re a photographer or just someone who wants to put a photo gallery on the web, it couldn’t be easier than the steps you’ll see in this tutorial.
Are you missing out on my Bonus Content?
See more of my Adobe Creative Suite Videos on my Adobe Creative Suite Podcast and get the App here. It features EXCLUSIVE CONTENT that no one else gets to see. This episode has a BONUS CLIP that is available only in the App! My iOS App is a Universal App for iPhone, iPad and iPod touch. I also have an Android version:
I get asked the question "how long have I been doing photography?" all the time. Even though I get this question regularly I have to pause and think about it for a minute because it depends on what the person is referring to. I've always had an interest in taking pictures ever since I was a kid. So do I count my Kodak Instamatic experience complete with flash cubes? Probably not what the person is thinking. I then answer for about 5 to 6 years. Last night I spent some time in Adobe Lightroom 4 Beta and while I don't organize my folders by year, I can certainly see why someone would want to use that method. Instead I organize by the folder for a particular shoot. If I do a shoot with Jane Doe, then that shoot goes into the Jane Doe folder. If I do another shoot with Jane Doe then it goes into the "Jane Doe 2" folder. That has worked well for me as I'm usually looking for a picture of a person, not necessarily a year that I took it. With that said, I was curious to see what photos I took when and since I have one catalog for my "Model" Shoots containing every "edited" picture I've done, I decided to create "Smart" Collections to separate them out by years:
It was really fun taking a trip down memory lane! Some of the photos I looked at and cringed and others I said, "hey that wasn't bad for a beginner." The photo above of Mya was my first "solo" shoot. I say it that way because it wasn't my first shoot ever. I had actually started shooting portraits in 2006, but back then I was merely tagging along on other photographer's shoots. My first shoot ever was along side Scott Kelby. Scott visited me back in 2006 and he had set up a shoot for his upcoming iPod Book at the time (I was technical editor). We rented Andy Greenwell's studio here in Michigan and Andy setup the lights, Scott found the model and I just basically observed and got a shot here and there. The reason that I don't really count that as my first shoot is because I didn't do any of the work. I just pointed my camera and fired after I asked "hey what settings are you using?"
Going Solo
I finally got up enough nerve to try my own portrait session in 2007. My sister recommended that i use Mya (friend of the family) and Mya agreed to let me photograph (experiment with) her. I had no studio, no professional lighting and a consumer grade DSLR. The shoot took place in my living room. I had a Nikon D80, 18-200mm Nikon lens and an SB 600 speedlight. I also used a Westcott pop up background. My SB 600 speedlight was mounted on a stand and shooting through a diffuser. Quite honestly I had no idea of what I was really doing from a settings stand point. I just kept adjusting things until I got a half way decent image. That session showed me that I had a LOT to learn!
Renting a Studio in 2008
In 2008 I decided that I needed a larger space than my living room. So I did a timeshare with other photographers. I also started buying more gear including lighting. According to Lightroom I shot more portraits in 2008 than any other year. This probably due more to being less selective about the number of images I kept vs. doing more shooting.
2009-2011
Between the years of 2009 and 2011 I would say was the timeframe that I learned most of what I know.
Not only did I improve my photography skills and lighting skills, but I also improved my editing skills in post.
I'm always learning from the photographers that I admire. Videos, seminars, books and group shoots are ways that I learn the fastest.
The number one lesson that I can say that I've learned and constantly remind myself of is "Less is more – Only show your best work." This is one that I have to credit Scott Kelby for. He basically beat it into to me and I finally got it. I now limit my galleries to 24 images. If there is a new image that I want to put in, then it has to be better than one of the ones that's already there and it replaces it.
Today
Although I have my own studio now and a few years of shooting under my belt, I'm always learning something new just about every time I pick up my camera. I invite you to go back through your work and feel free to share some links in the comments below. Tell us your experiences over the years and perhaps some of the things you've learned.
While I've already published my massive 2011 Holiday Gadget Gift Guide, I realize that I have quite a few photographers following me here. Therefore, I thought I'd share my Top 20 Picks for Photography Gift Ideas. These are among my favorite and most used products.
If you're a photographer and you want to give back to your community. You should definitely check out the Help-Portrait opportunities in your area this Saturday. I'll be volunteering/shooting in Lansing Michigan on Saturday. If you're local I hope to see you there shooting with me. If not, I hope you take the time to participate where you are. Last year I wasn't able to participate due to work travel, this year I plan to make up for it!
See more of my Adobe Creative Suite Videos on my Adobe Creative Suite Podcast and get the App here. It features EXCLUSIVE CONTENT that no one else gets to see. This episode has a BONUS CLIP that is available only in the App:
PS. My iOS App just got an update that fixes the iOS 5 video playback problem and adds the following features:
Retina Display Graphics
A new tab bar interface
Swiping to the left and right from the episode detail page will go to the next or previous episode
In this episode of the Adobe Creative Suite Podcast I'll show you How to Publish Your Photos from Lightroom Directly To Google+. Special thanks goes out to Tom Roper for leading me to this tip.
See more of my Adobe Creative Suite Videos on my Adobe Creative Suite Podcast and get the App here. It features EXCLUSIVE CONTENT that no one else gets to see. This episode has a BONUS CLIP that is available only in the App:
PS. My iOS App just got an update that fixes the iOS 5 video playback problem and adds the following features:
Retina Display Graphics
A new tab bar interface
Swiping to the left and right from the episode detail page will go to the next or previous episode