
Any good landscape photographer will tell you that you’ll get the best results if you’re up, out, and ready to shoot as the sun is coming up or as the sun is going down. Middle of the day is probably the absolute worst time to be outside shooting. However, if you’re shooting a wedding or other gig you may not have the luxury of having everyone on set before the sun comes up. Sometimes you’re going to be out in bad light. I hate it, you hate it, and we try to avoid it at all costs, but it may happen some day. Luckily if you’ve got the right gear, it doesn’t have to suck.
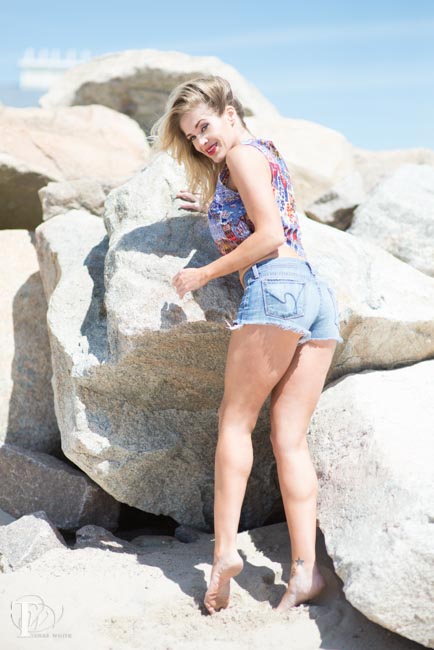
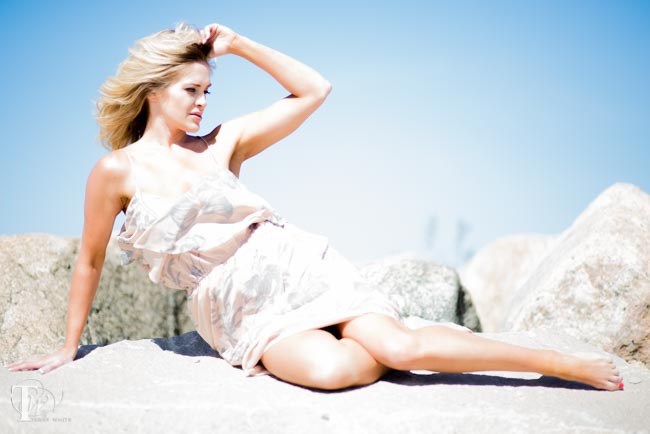
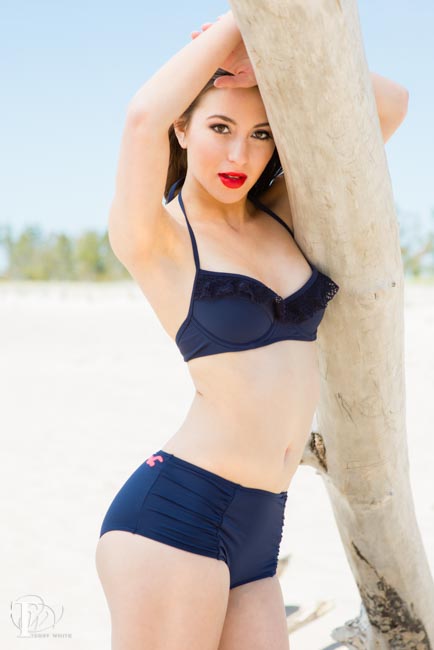
I recently did a beach shoot and I purposely waited until after 9AM to arrive on location. Yep, that’s right I purposely sabotaged my own shoot. I wanted to see if I could still get good results if I used a Scrim Jim Kit. The sun was up and the light was HARSH!
Any other time I would have turned around and headed back home. Even though it wasn’t noon, it looked like it was. Not only was the light harsh on the subjects, but it was a clear sunny day with no clouds and that meant a lot of squinting on the part of my models. It was just bad all the way around.
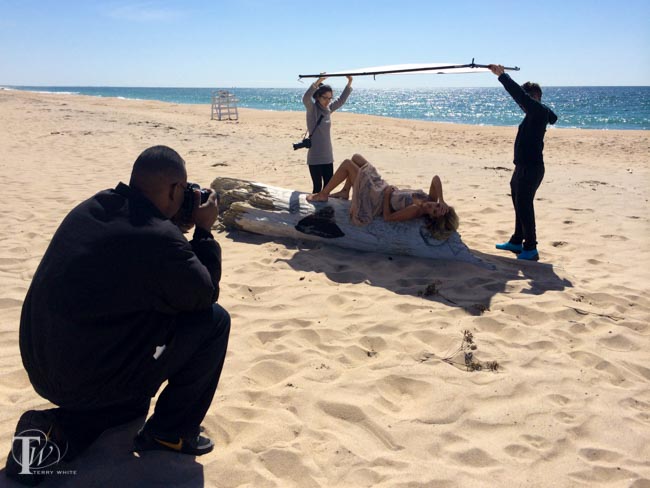
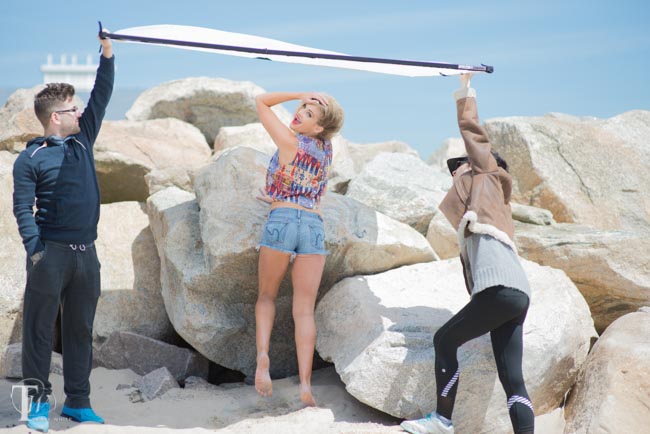
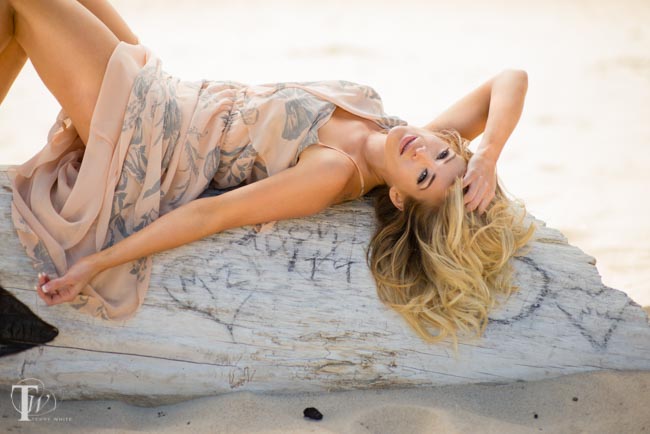
I set up the Westscott Scrim Jim Large Reflector Kit and I had two people to hold it for me over my subject to block the sun. Now instead of the sun being my enemy, the sun turned the Scrim Jim into a giant softbox with nice even light. The only problem was the wind. It was a windy cool morning and it was a challenge for my assistants to keep the large Scrim Jim in place. It was like holding a sail at times. However, they did a masterful job with it and I was able to shoot with sun being my ally instead of an enemy.
The Bottom Line

I still highly recommend that you shoot in good beautiful natural light. However, if the situation is out of your control and you need to be out in harsh lighting conditions, then I definitely recommend the Westcott Scrim Jim Large Reflector Kit.
Even when you’re not out in bad light you can use it as a reflector. It comes with both a 3/4 stop white diffusion fabric sheet and white/silver reflector fabric sheet and you can quickly attach either one as needed with the built-in Velcro. The frame is quick to assemble and disassemble and it comes in a nice carrying case. If the wind isn’t bad you can also get a stand to hold it for those times when you don’t have an assistant.

Shooting in bad light doesn’t have to suck! You can get the Westcott Scrim Jim Large Reflector Kit here.