It feels like déjà vu! It was a few days before Photoshop World Vegas and I was in the middle of shoot and all of a sudden I noticed the last couple of images didn't come up on the screen in Lightroom. I looked down at the camera and to my dismay I saw my USB tethering cable was at a 45° angle on the side of the camera. I thought, "that can't be good!" At some point my hand must have applied a bit of pressure to the end of the cable going into my D700 and as I suspected I damaged the port once again. Last time this happened was the week before Photoshop World Orlando. The only difference was in the previous incident I must have tugged on the cable too much. See that blog post here. I solved that problem with a TetherLock:
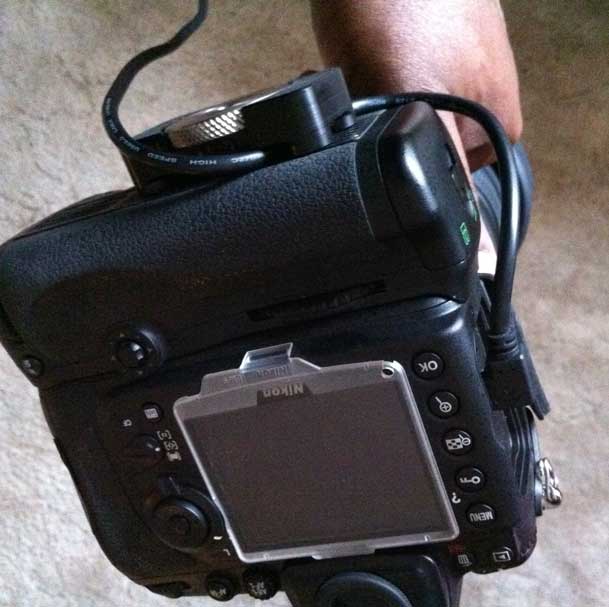
However, as I painfully found out solutions like TetherLock and the ones from TetherTools only solve the cable "tug" problem. As you can see in the image above the cable plug is still exposed and therefore it has potential to be bumped, pushed, bent, etc.
I need a cage or bracket
I started thinking about ways to protect the actual port with some sort of cage or cover that surrounds the port/cable connection itself. Little did I know at the time that such solutions already exist. Blog reader and friend Ken Toney suggested this "Cable Relief Spacer" from Really Right Stuff. I thought "PERFECT!"

However, there was a small problem. All of my tripod heads and plates are by Kirk. I bought them long ago and while I do plan to switch to Really Right Stuff at some point (just for compatibility with all the people I shoot with), I hadn't planed on doing it right now. I wondered if Krik offered a similar solution for the L-Brackets I already own and fortunately they do! I ordered the Kirk LBA-1 USB Spacer Block immediately While these solutions basically offer the same solution, I would give the nod to the Really Right Stuff one because it appears to do both: Protect the port AND keep the cable from being tugged. Nevertheless, I'm now using the Kirk Spacer Block and my existing TetherLock for the ultimate "Terry proof" solution.
![]()
![]()
The Bottom Line
These extra pieces add cost to tethering. However, I couldn't imagine not tethering to Lightroom during my studio shoots. Now if only the camera manufacturers would wake up and build fast wireless tethering right into these expensive camera bodies (or at least the battery grips) this breaking the usb port, tripping over the cable, stuff would be a thing of the past.