Sarah K
Owner
Company
Sarah K Designs

Savannah, Georgia
Your blog/website?
Favorite Gadget(s)
iPhone, V-Moda Vibe Duo Earbuds
(could not live without either of these), iHome Alarm Clock, Wacom Tablet (does that count ?) Wii

Welcome to my technology blog!
Owner
Sarah K Designs
Savannah, Georgia
iPhone, V-Moda Vibe Duo Earbuds
(could not live without either of these), iHome Alarm Clock, Wacom Tablet (does that count ?) Wii
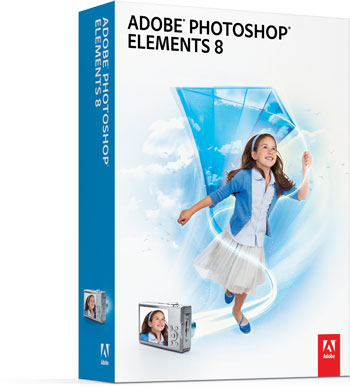
Amazon is running one of it's ONE DAY ONLY sales on Photoshop Elements 8. You can get either the Mac or Windows version for only $54.99. Remember that Elements 8 includes a $20 MAIL-IN rebate that brings the out of pocket price down to $34.99.
See it/order it here.

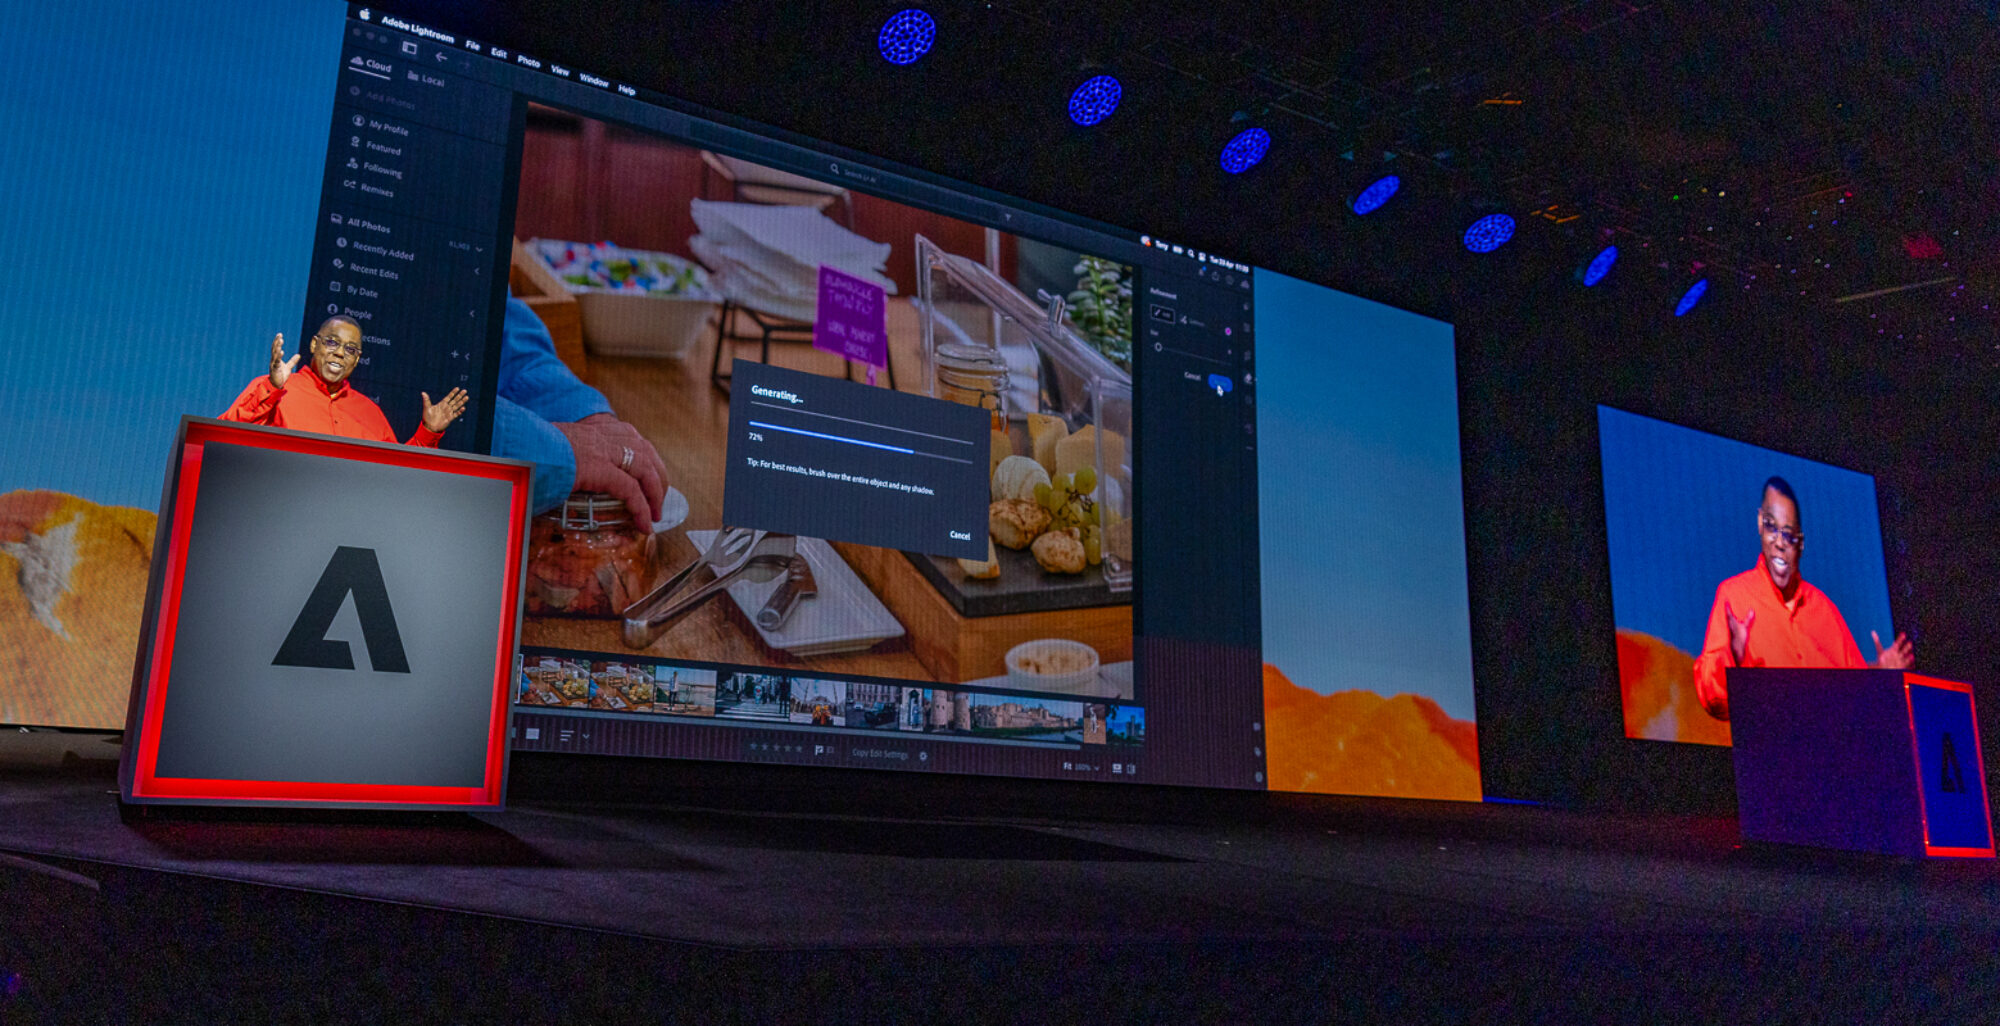
It was exactly one month ago today that I officially launched my YouTube channel and I've been both amazed and a bit overwhelmed by the success. In less than a month's time I've seen over 500,000 views of my videos, over 1,400 subscribers and literally hundreds of comments. All I can say is THANK YOU!
I currently work with two other full-time Adobe Creative Suite Evangelists (Jason Levine and Greg Rewis) and I'm happy to announce our NEW……wait for it……. YouTube Channel. It's cleverly named: Adobe Evangelist TV. Although we each have a presence on our blogs, twitter and Adobe TV, social media is about being EVERYWHERE and there's no denying the huge YouTube base. So look for regular videos and tutorials on the Adobe Creative Suite there.
httpv://www.youtube.com/watch?v=ioevL6m62yk
In this brief video, Adobe's Worldwide Video/Audio Evangelist Jason Levine will show you the incredible power and ease of NATIVELY editing DSLR footage in Premiere Pro CS5.
That's right. Straight from the camera to the timeline. No transcoding; no proxies. Import your videos through Adobe Bridge/Photo Downloader, or pull content directly off your CF/XD/SD/Express/PCMCIA card from a card reader. Full frame-size, mixed frame rates, all living together, harmoniously, in the Premiere Pro CS5 timeline. And what makes it all possible? The incredible new 64-bit Mercury Playback Engine. Oh, and Premiere Pro CS5 is a native 64-bit app as well now. 😉
Camera used: Canon 7D
Lens: Canon EFS 18-135mm, 3.5; Tamron AF28-200mm, 3.8
Machine(s): MacBookPro COREi7; 8GB RAM, Snow Leopard; HP8730w Quad-Core, 8GB RAM, Windows7
Download a FREE Fully Functional 30 Day Trial of Premiere Pro CS5 here.

Wow! What an amazing day in Singapore! Today was the first stop on our Asia CS5 Roadshow and we presented the NEW Adobe Creative Suite 5 to over 1,000 attendees (standing room only). What a fantastic warm reception. CS5 is going over great and I certainly enjoyed showing it too.
Thank you!
P.S. Don't forget that you can download a Free fully functional 30 day trial of Adobe Creative Suite 5 here.


It wasn't long ago that I declared the Solmeta N2 GPS as my choice among Nikon DSLR compatible GPS units. Solmeta has stepped up its game to win my heart over even more with a new "Pro" model. Their NEW Solmeta Geotagger Pro offers the same features as the N2 model that I've come to love, but it adds something that I wasn't even thinking of and that's an LCD to display the information that it's tracking. At first I thought, "do I really need that?" After all, the current model Nikon DSLRs have a great GPS menu display that shows this information whenever you need it. So at first glance I wasn't impressed that this info would be on the GPS itself until I actually got one in to test. I'm totally hooked now! It's soooo much nicer NOT having to navigate to the GPS menu on the back of my Nikon camera and instead concentrate on shooting. I can see at a glance that not only has the GPS unit acquired a signal, but exactly what my Longitude, Latitude, Altitude, Heading, Time, Battery Level, etc. are. Do I need to know what my longitude and latitude are on screen? Nope! I really don't. At that point they might as well just be random numbers. However, it's the other stuff that's helpful like seeing the battery level and the fact that I do have longitude and latitude (even though I don't really care what the numbers themselves are) to let me know that it's functioning properly. Having the heading info is also important to see sometimes. So yes, it's GREAT having an LCD on the GPS itself! Oh and yes, the LCD also has a backlight feature so that you can see it in the dark if need be.

I wanted to give this new unit a real world test so i brought it with me to Singapore and India. Satellite acquisition time was great and accuracy seems to be dead on. The shot above was taken in…… why not just Click it to see it on Google Maps?
Continue reading “Solmeta Steps Up to A Pro Model Geotagging GPS”

I'm often having to balance my "hobby" with reality. That reality is that although I LOVE photography it's not my day job. It's not even my night job. I shoot for the sheer joy of shooting. So when I think about spending $2,400 for a lens I have to really really really think about it. When the NEW Nikon 70-200mm f/2.8 VRII Lens came out last fall I put it on my "that would be nice to have if the opportunity comes up" list. After all I already owned the Nikon 70-200mm f/2.8 VR Lens. This was lens was an "update." It was also much more than the original lens that I bought. I think the original 70-200 was around $1,800 or so and this one was coming in at $500 MORE! Like anyone I wanted to know what would I get for spending MORE than the original costs?
The first and most obvious is that the NEW 70-200mm lens offers VRII. This is Nikon's updated image stabilization. This update promises to give you better hand held shots. OK great, but still not enough. The second thing that this new lens promised was to fix an issue with using the original lens on Full Frame cameras like my Nikon D700. The original 70-200mm would cause some veinetting at certain focal lengths when attached to a full frame camera. Yep, that is something I wanted, but still not enough. Lastly, the new lens promised to have better autofocus than the original. Now I'm interested! With my original 70-200mm the autofocus was "good", but depending on the available light it could be tricky getting it to lock on to your subject and since I do a lot of portrait work it was sometimes frustrating. While no one thing that I've mentioned above was motivating enough to get me to upgrade, the three things together made it tempting.
Musician, Photographer

Los Angeles, CA
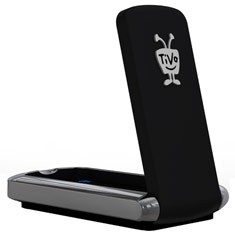
Last week I shared with you TiVo's announcement of their NEW 802.11n based WiFi adapter for their Dual Tuner DVRs including the TiVo HD and New TiVo Premiere. I said then I that I thought this adapter was over priced, but I still wanted to test it to see how much of an improvement it was over the 802.11g based one. I was totally surprised by what I saw when I opened the package.
Don't let the design and pictures fool you. The reason that I thought that the new adapter was over priced was that it looked just like the old one and therefore I figured it connected to the USB port like the old one. It doesn't! This NEW Adapter is a completely new design and instead of connecting via USB it connects to your TiVo's Ethernet port. You also have to plug it into the AC to get power to it. Actually there is nothing TiVo specific about this new adapter. It's just like any other Ethernet based 802.11n Wireless Bridge. Unlike the old adapter you can't even configure it from the TiVo HD. You either have to use your computer or you have to have a wireless router that has a WPS button. Although my New TRENDnet router does have the WPS button, I opted to just configure it directly by plugging into my MacBook Pro via Ethernet. Configuring it was pretty straight forward and once I was done I plugged it into my TiVo HD and it worked perfectly!
Continue reading “TiVo Wireless 802.11n Wireless N Adapter: 2nd Look”
httpv://www.youtube.com/watch?v=t-IvKyitAO0
Russell Brown has done it again! He has released his FREE Watermark Panel for Photoshop CS5. You can download it here for Mac or PC.
Continue reading “Russell Brown Releases his Watermark Panel for Photoshop CS5”