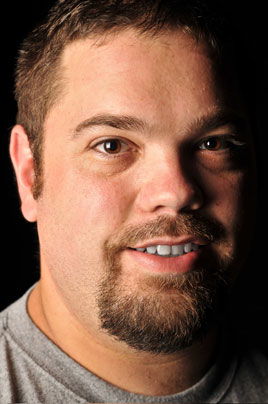
Guest Blog with Jason Lykins Reviewing The PocketWizard Flex units for Nikon

I want to thank Terry for offering up his tech blog to me today. I can’t say enough about Terry, his tutorials, videos, and all around great advice. He’s helped me immensely over the years. Terry asked me to talk to you guys today about my experience with the PocketWizard Flex units for the Nikon CLS system, as I’ve been in the Beta testing program since June. I was first approached by Phil Bradon about a year ago. Phil is the Product Marketing manager of the MAC group which is the distributor for Pocket Wizards in the US. He told me that he had added me on the (short) beta list of photographers to test out the new Flex Units for PocketWizard along with the Likes of David Hobby, Joe McNally, and the guys from the Fstoppers, just to name a few. A bit intimidating list… you had better believe it! Being a Nikon Shooter I couldn’t wait to get my hands on a set of the Flex units. I lusted after them since they were released for the Canon system. I LOVE the Nikon CLS (Creative Lighting System) Flash System. It is the main reason that I chose to go with Nikon over the years. The only thing that I (along with every other Nikon shooter that I know) has really, really hoped to see added was the addition of radio communication for the system instead of IR. With no option from Nikon, Pocket Wizard has answered our prayers with the Flex TT1 transmitter and the Flex TT5 Receiver.
 

Do they live up to the hype?
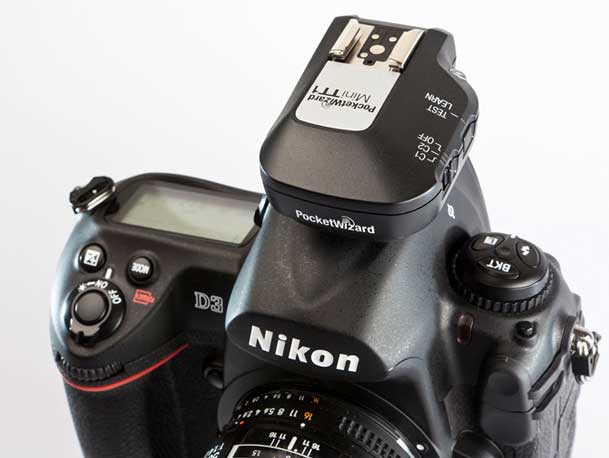
Long story Short, these things ROCK! Every Nikon shooter that I have talked to wants to know if they work as claimed. Do you really get rock solid construction just like every other PocketWizard Product? Yup. Do you really get 800 feet of TTL control? Yup. Everything that PW claims about these units is true. Anyone that has ever had any experience with PocketWizards in the past knows that when they do something, they do it right. The Flex units are no exception. The build is a solid high impact plastic. Securing them to the hot shoe is done via threaded locking screw on top of the hot shoe connectors. Staying true to form they have ¼ 20 metal threaded input for secure mounting to external sources.
During my time with the Beta Units I pushed them to the limits. I arranged models, at distances of up to and beyond the claimed 800 feet. I placed flashes behind walls, under benches, behind windows, hundreds of feet outside of windows on stands, and more… Each and every time the flashes fired without issue. Pocket Wizard did a stellar job of design and alpha testing. They have really allowed me to be more creative with my small flash lighting, and placement.

When I was looking to add TTL radio capability to my Nikon Flashes I looked at one other brand of transmitters besides the Pocket Wizards, the Radio Poppers. Without talking too bad about the other system, the advantages that I saw in the Pocket Wizards were this: The Pocket Wizards were backwards compatible with the older Plus II units that I was already heavily invested in for triggering my studio strobes. The Flex units had a solid connection with the camera and flash units unlike the Radio Poppers which required some creative field engineering to attach. There were a few other small things that came down to personal taste but it’s safe to say that I prefer the Flex Units over the Radio Poppers.


What I wasn’t expecting

The Flex Units lived up to everything that I expected. They did absolutely everything that I wanted. What surprised me were the things that they did that I wasn’t expecting. PocketWizard has not only made these units backwards compatible with the Plus II’s but they have also made them compatible with the Multimax units as well. Offering 52 channels you never have to worry about being on another shooters channel. One feature that I wasn’t expecting but totally took me by surprise is called Hypersync. High Speed FP mode allows your flash and camera to sync all of the way up to 1/8000th of a second, but with Hypersync you can sync with your studio strobes at 1/500th of a second or faster! This is HUGE! This is the difference between background in focus, and background out of focus while shooting with studio strobes in certain situations. This has to be my favorite feature added to these units. Something else I was hopeful that the system would do, but I wasn’t sure was sync regular Plus II’s with Studio strobes, and Flex units with Speed Lights running TTL seamlessly. The Shot of the girl on the motorcycle was done in this fashion with an Alien Bee for fill and a Sb900 as the main. PocketWizard has added one more thing that should make every Nikon shooter rejoice, the AC3 zone controller. Basically the AC3 is PocketWizard’s version of the SU800. On camera flash control for remote units, but for only $79.00!
 

Should you get them?

Absolutely! I have recommended that every Nikon shooter I know to get on the waiting list for these things. I ordered three more to expand my lighting possibilities myself. If you’re tired of losing CLS distance in bright sunlight, if you want to extend your flash distance and keep TTL, if you want to put flashes out of the line of sight and still be able to trigger them reliably, the PocketWizard Flex units are for you. With the backward compatibility, the introduction of the AC3 Zone controller in February, and PocketWizard’s reputation for solid performance, you can’t go wrong with these units. 
Get the PocketWizard FlexTT5 Transceiver Radio Slave for Nikon i-TTL Flash here for $219.00
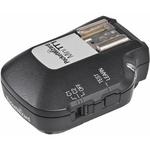
Get the PocketWizard MiniTT1 Radio Slave Transmitter for Nikon i-TTL System here for $199.00


See more of Jason's photography here.

Review: blueSLR Wireless Camera Control & GPS Geotagging

A couple of my favorite gadgets just got married ๐Ÿ™‚ I’m a Nikon shooter and an iPhone user. It’s rare that I’m ever anywhere shooting without my iPhone on my belt. So when XEquals Corp sent me a message about their new blueSLR Wireless Camera Control and GPS Encoding solution I was all ears.


Wireless Control for my Nikon DSLRs

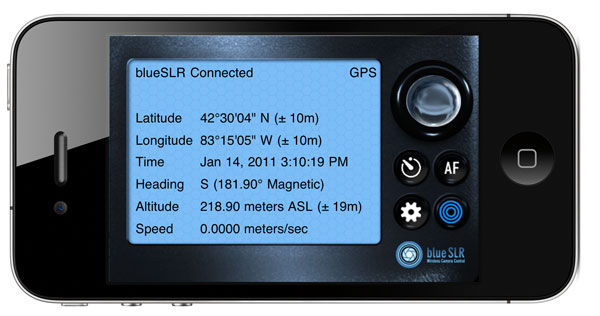
Once you plug in the blueSLR into your Nikon D3100, D5000, D90, D3(s), D200, D300(s) or D700, you can then fire up their free iPhone App. With the blueSLR App you can then remote control your shutter release, auto focus and even time lapse or bracketed exposure from up to 300 feet away via bluetooth. This is the feature that most of the initial announcements were touting and reviewers were so excited about. While I definitely think this is cool, it’s not what excites me most about this solution…


GPS Geotagging is where it’s at – Literally

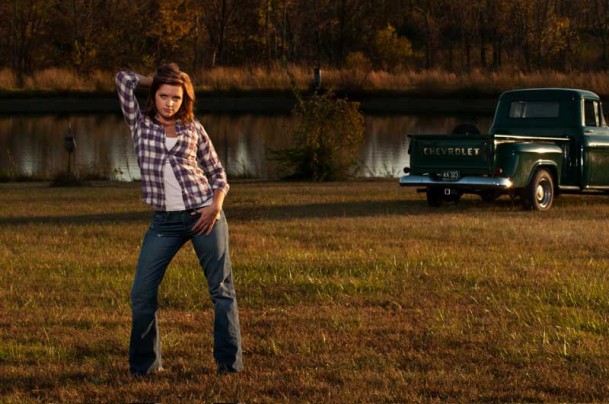
Click the above shot to see where it was taken – Nikon D700,ย Nikon 28-300mm lens, blueSLR and iPhone 4


I’ve reviewed many Nikon compatible GPS attachements here over the years and while they have all worked well, they all have one thing in common. They attach to your camera via a cable and have to either sit in the hot shoe or on your strap. They also have to acquire a signal from the global positioning satellites in the sky. Yep that means you’ve got to be outside to grab a signal before you can go inside with the newer units and continue shooting. However, the iPhone’s “Location” feature works off not only GPS satellites but also cell towers and WiFi hotspot locations.

Click the above shot to see where it was taken – Nikon D700, Nikon 28-300mm lens, blueSLR and iPhone 4

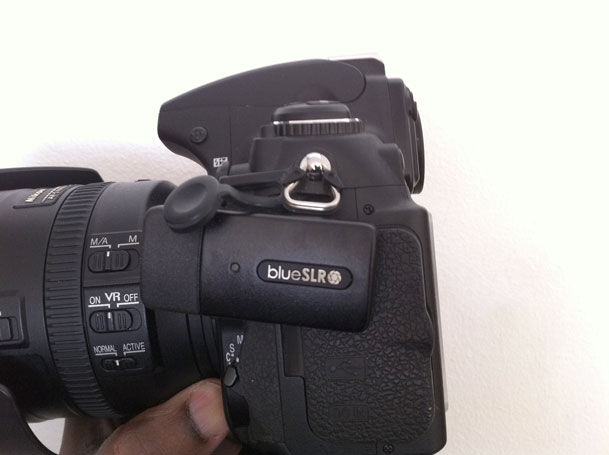
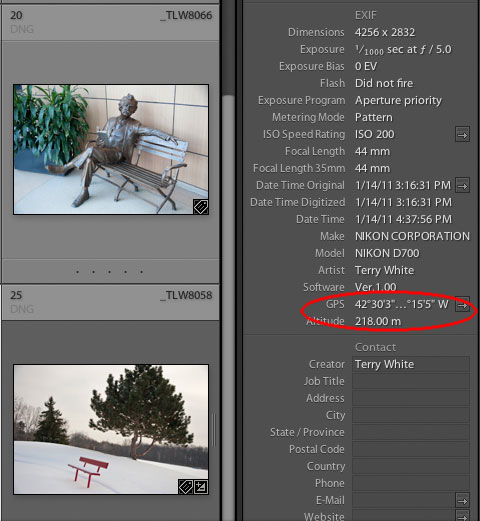
This means that your iPhone (iPad or iPod touch) knows where you are even if you’re inside a building. The blueSLR solution can use this Location information and input the info right into (the EXIF data) your shots as you take them with your Nikon compatible camera! Woohoo! Finally! Also unlike all the other solutions out there XEquals prides themselves on their “flush with the camera” design. They’ve gone out their way to make the attachement as unobtrusive as possible. I applaud this effort!


How well does it work?

images displayed in Adobe Photoshop Lightroom 3 with clickable GPS button that takes you to Google Maps


I’m very happy with the way this gadget works. The first thing you’ll want to do is (it’s in the instruction card that comes with the device) change the default metering timeout on your camera from 6 seconds to something like 30 minutes. Otherwise you’ll be quickly frustrated by the device constantly timing out before you get to pair it with your iDevice or use it with the App. Once you make that adjustment in your camera, it looks and acts like any other GPS/Remote Shutter Release on your camera.

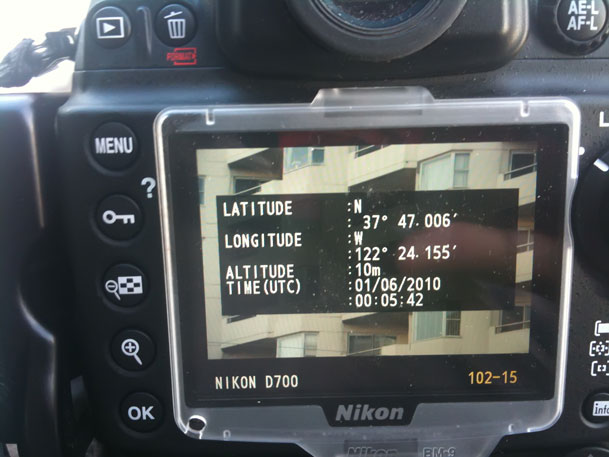
My Nikon D700 has GPS support built-in with a menu to display the status of the attached module. This is one of the reasons I use Nikon over Canon and others. With that said, it’s 2011 and I still can’t believe that ALL camera manufacturers don’t offer a built-in option! More power to XEquals!

Since I don’t have to wait for a satellite signal to be acquired I can start shooting right away! Both the remote features and the GPS features work as advertised. The iPhone app also takes avantage of the iPhone’s built-in compass for heading info. Sweet!

What about battery life? To be honest I haven’t had it/used it long enough to judge the impact on battery life over other GPS units. I know that Nikon has done a lot of work in their latest firmware to reduce the battery drain from GPS devices so I’m not really worried about it.

How’s the GPS accuracy? Keep in mind that it’s only as accurate as your iOS device. iPhones and iPad WiFi+3G devices are going to be the most accurate because they actually have GPS chips built-in. iPod touch and WiFi only iPads will have to rely on Wi-Fi triangulation which could be an issue in the boonies. In my limited testing the shots were geotagged very accurately using my iPhone 4.


How would I redesign it?

my Kirk L-Bracket has to come off to use the blueSLR

There really isn’t anything that is majorly wrong with this device. I do like it A LOT! However, with the “flush” (a blessing and a curse) design, this means that the port door on my D700 is covered while I’m using it. It also meant that I had to remove my L-bracket for my tripod head since it covers that part of the camera. Since it is a remote trigger, most likely I’d want to use it while it’s on my tripod. This would mean having to go back to the standard tripod mount instead of my L-bracket . Not the end of the world, but ย I would like to see the next version offer a “swivel” feature with a lock. If I could swivel it up or out then it would be out of the way of everything that I wanted to attach. For a moment I was going to complain that it didn’t offer a 10 pin passthrough on my D700. Then I realized that the only time I’ve needed a passthrough on my other GPS units was to attach a shutter release. Duh! This is already a “wireless” remote shutter release too. However, if you have some other accessory that uses the 10 pin terminal, then you’re going to have to decide which one you want to use.


The Bottom Line

Kudos to XEquals for making a killer device/App combo! I know that there were some manufacturing issues with the Nikon D7000 model and as soon as that one is available It will undoubtedly become my default travel camera GPS unit. If you’re not waiting on the D7000 model, then I wouldn’t hesitate in getting one of these TODAY!

You can learn more about blueSLR and order directly from their site here.

Get the App for your iPhone, iPad or iPod touch for free here from theย iTunes

See my blueSLR App review here.

Heading into a Weekend with Moose

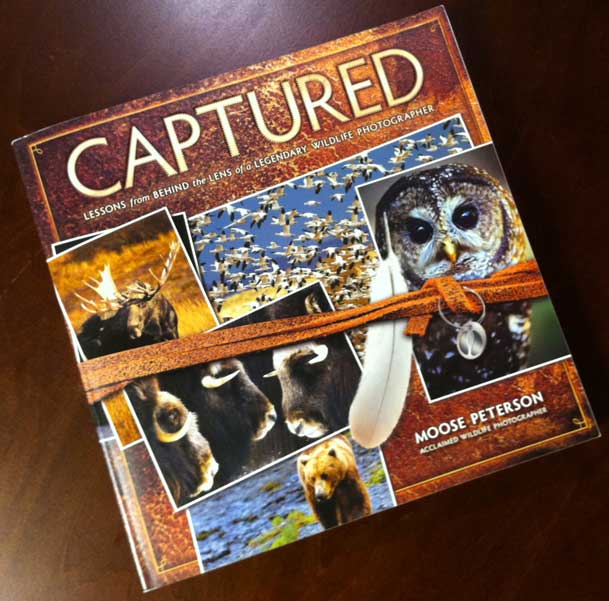
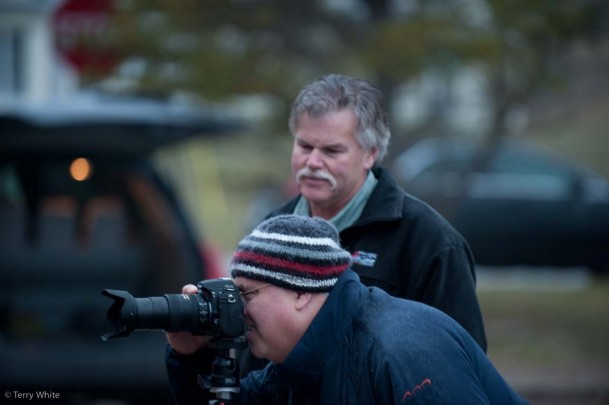
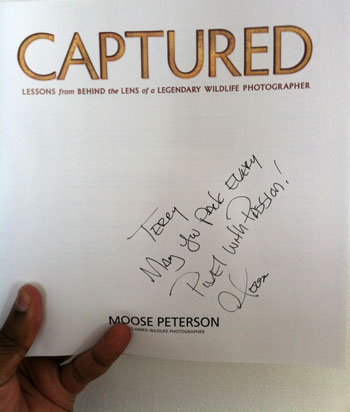
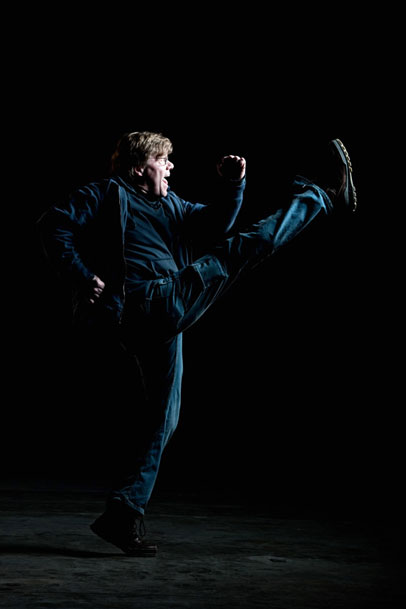
My buddy Moose Peterson sent me his latest book as a holiday gift and while I have no aspirations (or skills) of becoming a wildlife photographer Moose's work has always inspired me. Moose is not only one of the best Wildlife photographers out there, he's also a fantastic Landscape shooter. My primary interest in photography is People, however I do enjoy a good landscape shoot every now and then too. I had the honor of shooting alongside Moose in the Fall of 2009 and it was an experience I'll always remember. That's the great thing about photography in general. I can learn something from just about every good photographer even if they're shooting a subject that I'm not primarily interested in. Not only do I enjoy learning from Moose, he's a great human being and friend too.


Captured: Lessons from Behind the Lens of a Legendary Wildlife Photographer

That's a heck of a title to live up to! The good thing about the title of this book is that Moose does live up to it. He's been at this for over 30 years and has paid his dues. Rather than just keeping his knowledge and experience to himself, Moose enjoys teaching others. I've witnessed it first hand.


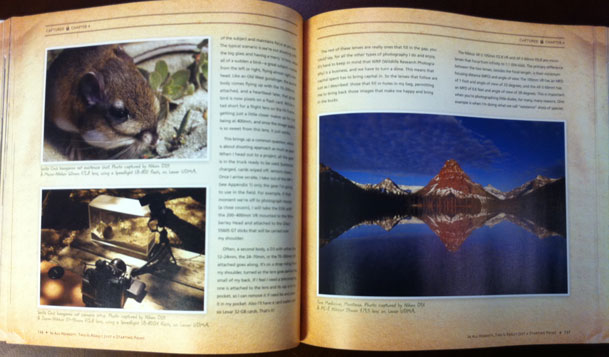
First off, this book is beautifully illustrated. I could spend a couple of hours just looking at the photography without reading a single word. If I did though, I'd be missing out on the great stories Moose tells about how he got started and more importantly how he captures the amazing shots that the does. While I definitely learn from step-by-step techniques I also learn from someone telling me their thoughts and stories that went into a particular shot and how the went on to capture it. That's what this book is all about. I can't wait to dive in deeper over the weekend and the weeks to come. This is the kind of book that I want to digest over time. 

Whether you're a Wildlife photographer or not, if you're looking for some inspiration, this is your book!  If there is anyone more passionate about photography, I haven't met them yet. You can get Captured: Lessons from Behind the Lens of a Legendary Wildlife Photographer on sale here for $34.64. If you want it on Kindle it's available here as well (please enjoy this book in color or you will be missing out!)


P.S. Moose if you're reading this (you are aren't you?), yes you always tempt me with big glass ๐Ÿ™‚

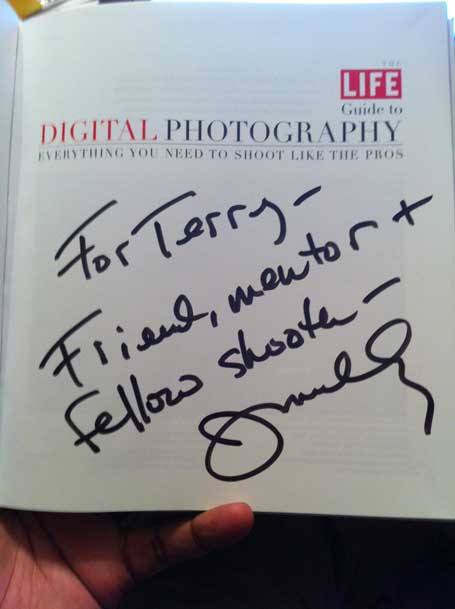
The LIFE Guide to Digital Photography – Everything You Need To Shoot Like The Pros

When Joe McNally sends me an email saying that he wants to send me his latest book, I tend to stop whatever I'm doing and respond to that email. Joe is one of my FAVORITE PHOTOGRAPHERS and he inspires me. Every photographer I know has someone that they look up to and hope to be like some day. For me, Joe McNally is one of those photographers that inspires me to try to do better. Of course I like Joe's photography and lighting skills, but I'm also inspired by the way Joe works with subjects. He is masterful in getting what he wants out of the subject in front of his camera. Every time I'm with him on a shoot or in a class I say "Wow, why can't I do that?"


This really is a book about learning how to shoot like the Pros

One of the things that actually surprised me was that this book is exactly as the title describes it. Don't get me wrong I think Joe is an excellent instructor, but in his other books Joe talks about photography through his life stories and pretty pictures. While there is certainly nothing wrong with that (I DO LEARN from Joe's stories) and I'm in awe of his shots, this book jumps right in and starts teaching you stuff. Go figure ๐Ÿ™‚  The first chapter is called "Part One: Light". It starts off with a basic explanation of how the camera processes light, Exposure and camera settings. Then Joe jumps right in with tips and how and more importantly WHEN to capture the best light. He covers it all. Shooting on a sunny day, sunsets, a beach, a snowy day, etc. etc. and that's just chapter one! Joe then goes on to talk about the lens, Design Elements (I can't wait to finish this one!), Color, Composition and some last minute tips. Wow! This puppy is PACKED with great info and I can't wait to finish it over my holiday break.


The Bottom Line

No matter where you are in your photography skills, you can probably learn something from others. If I was 1/10th as good as Joe I'd be ecstatic, so I'm glad that I can learn from him and others. This is a great read. I'm only half way through it and loving what I'm learning. Thanks Joe for the opportunity to learn from you! I'm forever grateful. 

You can order The LIFE Guide to Digital Photography – Everything You Need To Shoot Like The Pros here on sale.


I Shall Call Him Mini Bridge

httpv://www.youtube.com/watch?v=QjFLCAcfvH4


Every now and then it's much easier to show someone than to try to explain it to them. After a few emails from Beau about how to use Mini Bridge? I just decided to make it the topic of this week's Creative Suite Podcast.


See more of my Adobe Creative Suite Videos on my Adobe Creative Suite Podcast

and get the App here. It features EXCLUSIVE CONTENT that no one else gets to see:

Learn Adobe Creative Suite with Terry White - Wizzard Media


Stuff I’m Selling On Ebay This Month

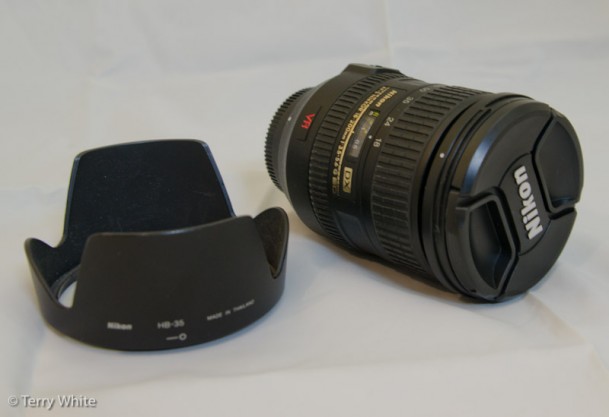
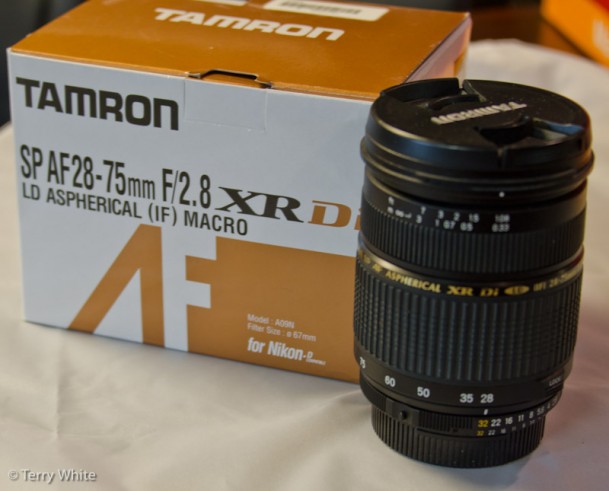
I upgrade my gear on a fairly regular basis. People ask me all the time "what are going to do with your old ________?" Normally I pass the equipment down to a family member or sell it locally to a friend. When there is no one to pass it down to or no local friends that are interested I turn to Ebay next. When I upgraded to the Nikon 28-300mm lens many of you asked about my 18-200mm VR lens that I was selling. I finally got around to getting it up on Ebay and along with some other items

They are all listed here.

Review: The XShot iPhone 4 Case Tripod Adapter

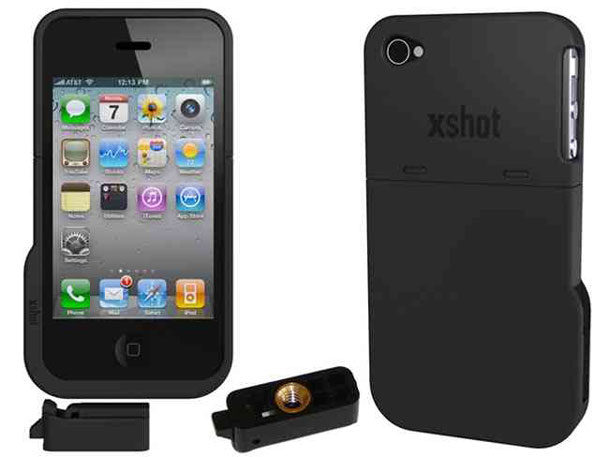
I love it when a company puts a lot of thought into a problem and then comes up with a solution that is so simple you smack your forehead and say "why didn't I think of that?" I've reviewed various iPhone tripod adapters in the past. When XShot asked to send me their new one, my 1st thought was "ok, whatever. sure." I was already in the mindset of "been there, done that." That all changed the minute I opened the box. XShot not only designed the iPhone 4 adapter that many of you have asked me for (one that works both vertically AND horizontally" but they did it in a stealthy way that I didn't even get at first glance. The first thing I thought was "cool". Just put your iPhone 4 in and you can attach it to your tripod in either orientation. I thought that was going to be the end of the review. Problem solved. Moving on… Then it really hit me as to what they did. They didn't just design an iPhone 4 tripod adapter. They designed an iPhone 4 CASE that can be attached to a tripod. 

It's a case stupid

I truly had a "duh" moment. I was thinking that while the adapter was nice I'd have to take my iPhone 4 out of my existing case and put into this "adapter" each time I wanted to use it. It's better than that. This was designed to be an iPhone 4 case first. It's a hard case offering protection to your iPhone 4 and the very necessary cover over the exposed antenna gap. There are two low profile slots on the bottom and the size that allow you to slide on the supplied tripod mount "quick release" clip. AWESOME! You get two clips in the package. This also means speedy changes from portrait to landscape by leaving the clip on the tripod and just sliding the iPhone on or off in the orientation you want. 

Well done XShot! You really were thinking on this one.

You can get the XShot iPhone 4 Case here.

The Online Lighting Diagram Creator

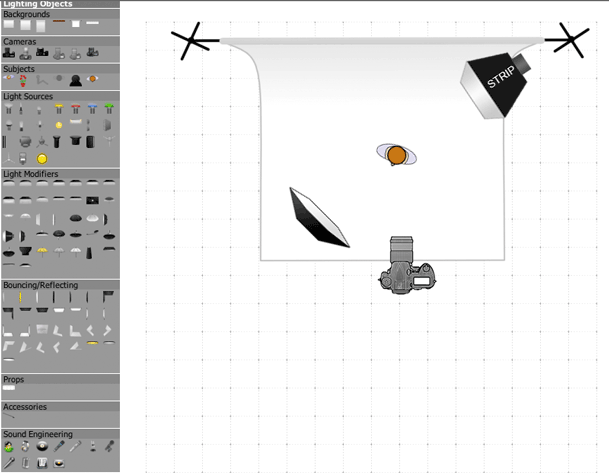
I'm terrible when it comes to documenting how I lit a shot. My lighting setups are not that complex, but when someone asks me how did you light that shot the first thing that comes mind is "very well, thank you." Of course I'm totally kidding here, but I do cringe when I think about trying to explain it to them. Luckily there are a couple of solutions out there now that will make it much easier for me and you to explain the setups that we use to someone visually. 


The Online Lighting Diagram Creator

is a website that gives you drag and drop items from a range of categories to build your diagram right there on the spot. You can then export the image out and send it to someone. This site is free to use for your personal use. If you have a commercial use (you're writing a book or teaching a paid class, etc.) then you should contact them to work out how best to compensate them for use of their technology. The images you export will have their copy right info on the bottom, which I don't have a problem with.

You can try out LIVE below or on their site: The Online Lighting Diagram Creator here.


Strobox for your iPhone


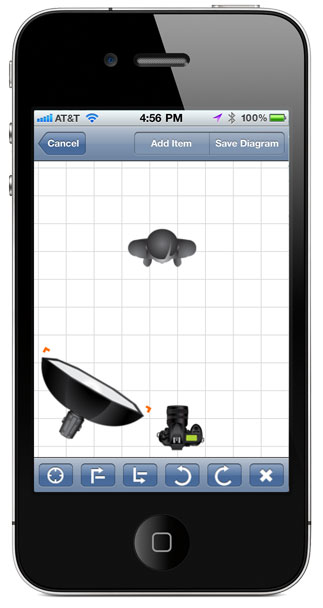
Strobox is another Free solution for your iOS device. Like the solution above it has built-in popular lighting pieces that you can drag around on your display and then save. You can either email the diagram you create directly from the App or save it to your camera roll.

You can get Strobox for FREE here from the Strobox - Janis Lanka


I Just Became An UPstrap Fan

I recently talked about the OPTECH strap that I was using and a few of my photographer buddies suggested that I also look at the UPstrap, so I did. I ordered an UPstrap and finally got a chance to try it out. I gotta say that I was a little skeptical about any strap claiming to not slide off your shoulder. I've heard those claims before. However, I have to say that the UPstrap lives up to its claims. I put it on my Nikon D7000 and no matter what I did (jumping, dancing around, running, etc.) it stayed in place. Wow! While it's not the prettiest strap out there (it's really plain and rubbery looking), it's now my new favorite! Can't wait to do my next photowalk with this one.


Check out the UPstrap here.