Photoshop Elements 9 on the Mac App Store

Aside from already being a great bargain, there's is a side benefit to having Adobe Photoshop Elements 9 on the Mac App Store. Like all Apps from the Mac App Store, you'll now be able to install Photoshop Elements on as many Macs as you own for the one price. That may not mean much for some, but for those that found the license  limit of two computers a bit too limiting, you'll now be able to install Photoshop Elements on each of your Macs. Of course this only applies to newly purchased copies via the Mac App Store and not existing shrink wrap licenses. 

You can get your copy of Photoshop Elements 9 for $79.99 here from the iTunes


Already own Elements?

Here are several free videos on how to use Adobe Photoshop Elements.

How Much Do You Use Keywords vs. Albums/Collections?

I would dare say that the vast majority of my readers are using some app to manage their photos. I was in a meeting at work yesterday and I got into an interesting discussion of the use of keywords vs. albums/collections. While I use both and know the advantages of using both keywords to tag photos and collections/albums to organize photos, I'm guessing that the majority of "every day consumers' DON'T use keywords. However, I could be wrong. So I decided to ask you? Do you use keywords to tag your photos? If so why (yes I know what keywords are for, but I'm curious as to what your reasons are for using them?). Do you just use albums/collections to manage and organize your photos or do you just use a simple folder structure? This is your opportunity to tell me/Adobe what's important to you and your photography workflow and influence the development of new products and features. Let me know in the comments how you tag or organize your photos and why you do it the way that you do. Also it would be helpful to state whether you're a pro photographer or a consumer?

My shoot with Don Pham of DP Slider fame


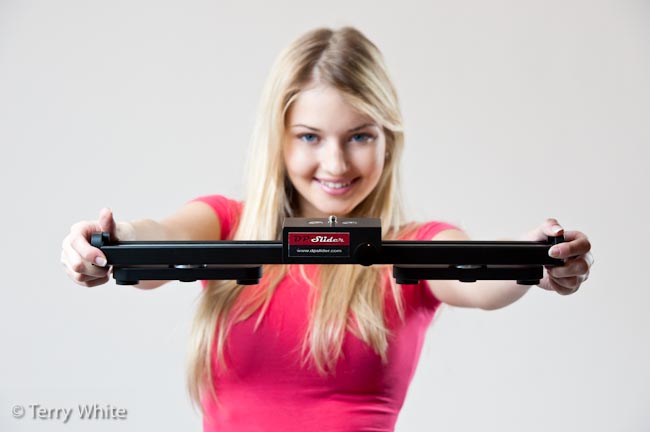
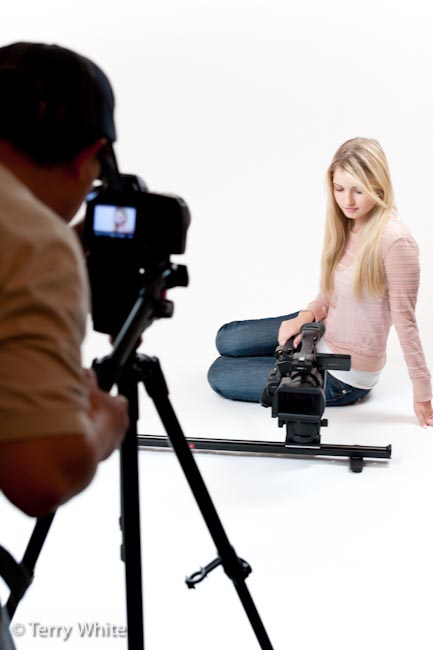
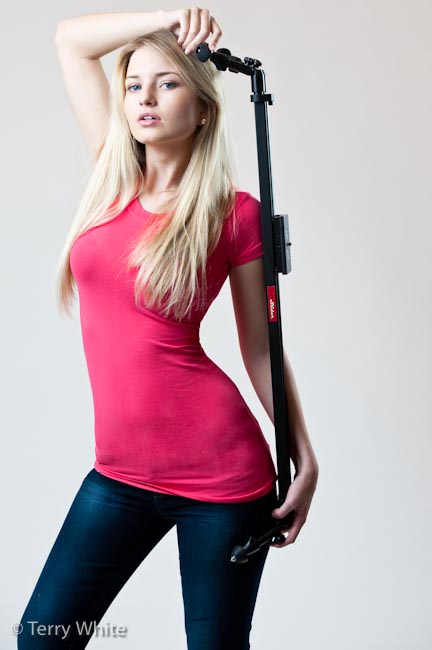
Every now and then I get a break from the beauty and fashion photography that I do as a hobby and I get to do a product shoot. This time it was for my buddy Don Pham. Don has an invention that is a must have for video shooters. It's called the DP Slider. The DP Slider is a glide track for your video camera or DSLR to allow you to record sweeping shots that as smooth as butter. While Don wasn't the first one out of the gate to invent one of these, his is by far the smoothest in operation and most flexible from all the ones I've seen.

Don is an engineer by trade and he spent a great deal of time perfecting his DP Slider. One thing that makes Don different from most engineers that are tasked to create a product is that Don is also a videographer. This means that he knows what the product needs and what it doesn't.

Also Don didn't rest on his laurels with the first one out of the gate. He has come up with new models (the Prime & Mantis) and refined his original concept to make it even better.

Check out the Video that Don shot during our photo shoot:


Prime & Mantis promo for EDU from Don Pham on Vimeo.


Now see a video shot using the DP Slider:


DP Slider from Don Pham on Vimeo.


Get more information, see more pictures and more videos about Don's invention here.

In case you were wondering, yes this entire shoot was lit with Westcott Spiderlite TD6's.

Get lower and shoot higher

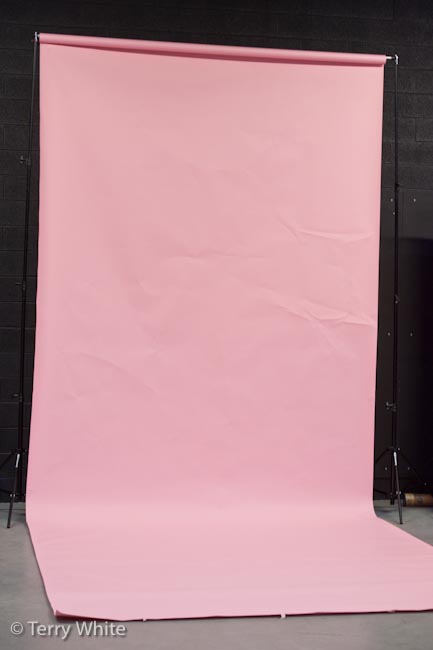
As I mentioned in my post last week, I certainly enjoy having the opportunity to attend seminars and workshops. However, this usually comes at a price. I'm not talking about the price of attending. I'm talking about the fact that I almost always see a piece of gear that I want. Attending Scott's seminar last week was no different. It was actually a piece of gear that he didn't even mention one time during his talk. Although he did talk about shooting at lower angles for fashion, but what I realized was that my current background support system just wasn't tall enough. When the background isn't tall enough and you're down low shooting up you'll more than likely see the top of the background and worse, whatever's above it or behind it.

I asked Brad

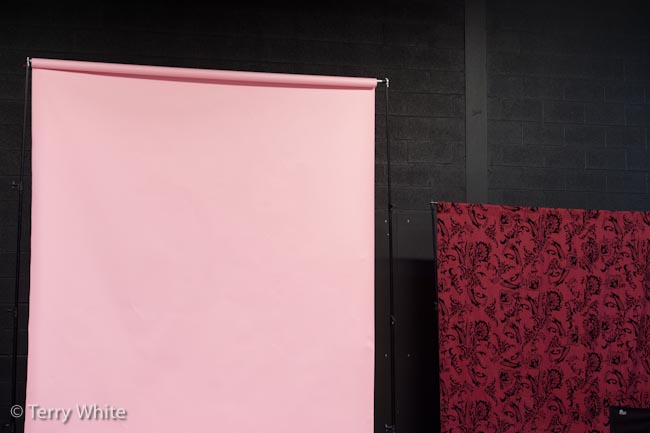
During one of the breaks and while I was helping swap out rolls of seamless paper I asked Brad (Scott's photo assistant) which stands he was using and he told me. I ordered them and set them up side-by-side with my existing stands, both at their maximum height just to compare.

As you can see the Avenger stands go the extra mile enabling you to get lower and shoot upward without the fear of hitting the top of your backdrop.


The stands are here

The crossbar is here.

Thanks Brad! You've cost me money once again 🙂

I bought a New Point & Shoot Camera


I thought my days of buying point & shoot cameras were over. I've written posts here in the past where I stated that I either use my DSLR or my smartphone. I really don't see much of a need to have a point & shoot camera. Recently I discovered a need and a great way to solve it all at the same time. There are situations where you want to take the best photo that you can, but at the same time DSLR or "pro" level cameras aren't allowed in. A classic example of this is concerts. If you walk in with a nice big lens and DSLR, chances are you'll be turned right back around and told that "you can't bring that in." However, you see a sea of cellphones and point & shoot cameras going off all night long. While I have certainly taken my share of concert photos with my iPhone 4 (for my personal enjoyment), I would like something better. This lead me to seek out the smallest, most full featured point & shoot camera that I could find.
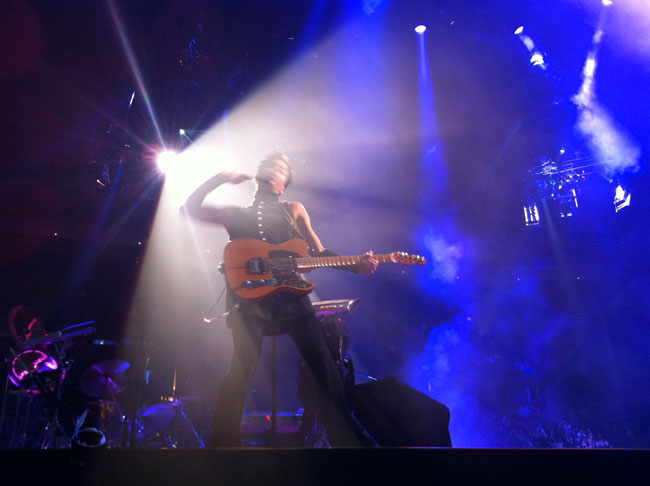
 

This shot of his royalness was taken with the iPhone 4 and while it came out OK, I was sitting there wishing I had something better for this moment.


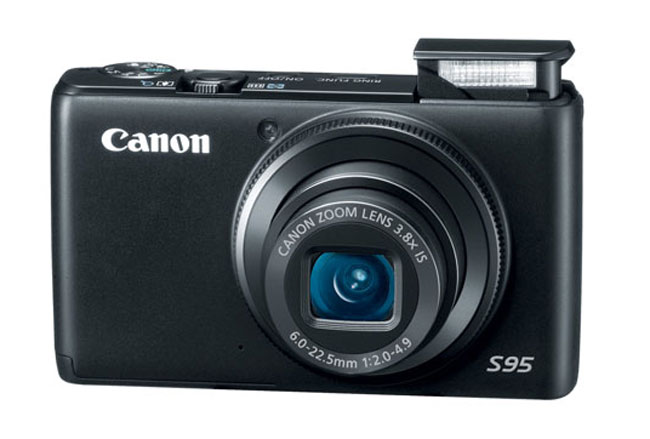
The Canon PowerShot S95

The S95 is one mean little machine. Not only does it offer full manual mode, but it also shoots in RAW. Best of all it can easily slide into a pants pocket without a big bulge. Whoa! Wait a minute, did you say Canon? Yes I did. Does this mean I've switched from Nikon? No it doesn't. As a matter of fact let me answer a few questions now:


Q. Did you switch from Nikon to Canon?

A. No not at all. Actually I've owned and used cameras from both manufacturers for years. With the exception of a couple of Sony video cameras, I almost always went with Canon for my video needs (pre-DSLR video). My DSLRs have all been Nikon and most likely will continue to be. However, I've always liked the feature set of the Canon P&S cameras. So to answer your question, I use the best tool to fit my needs. Neither company has ever paid me a dime, so I don't "have to" use either one or I can use either one.


Q. Wasn't the iPhone 4 a good enough camera?

A. For my day to day P&S needs I'll most likely still reach for the camera that's on my belt and that's my smartphone. However, when I want the image to count, I do want to use a "better" camera and that means either my DSLR or now my S95. 


Q. Why didn't you go with the G12?

A. The G12 is a fine camera and probably beats the S95, the only problem I have with the G11 is that it's about twice the size and does NOT easily slide into a pants pocket. 


Q. How do you think the S95 image quality compares to other cameras.

A. This is more of an announcement post than an official review. The honest truth is that while I've had the camera for a few days now I haven't done much more than charge the battery and set it up. Sure I've taken a test shot here and there to make sure it works, but haven't even looked at the images on my computer yet. So I'll have to do another post once I have some "real" images to look at and then you can be the judge.


Q. Doesn't shooting manually defeat the purpose of a "point and shoot?"

A. Yes if all you want to do is "snap a picture". At that point my iPhone 4 is good enough. However, when the built-in scene modes and program modes aren't capturing the image I want, then I love having the ability to switch to manual and dial in my own settings.


Q. Why do you need RAW?

A. Nice try, but I'm not going to get into a RAW vs. JPG debate here. If you use one over the other great! Use what you want. 🙂 However, I prefer to shoot in RAW for maximum image quality and not having things like white balance burned into the file. While I could have certainly lived with JPG only, having the option of going to RAW is what pushed me to the S95.


Q. What don't you like about the Nikon Point and Shoots?

A. Nikon used to offer a Point & Shoot (the P6000) that shot in RAW. However, they no longer offer that model, nor did they replace it with one that does. Otherwise, their point and shoot cameras are probably just as good. Also even if the P6000 was still around it's more on the same size/form factor as the larger Canon G12.


Q. Seems like you won't be using this camera very often?

A. You're probably right. It hasn't left the table since I unboxed it. However, I like having the option of a better camera than my iPhone if and when the opportunity presents itself. 


Stay tuned for some sample shots. I have a couple of concerts coming up soon!


You can get the Canon Powershot S95 for $399.95 here from B&H and for $393 here from Amazon (note: prices fluctuate on Amazon)
Trip Report: Light It, Shoot It, Retouch It with Scott Kelby


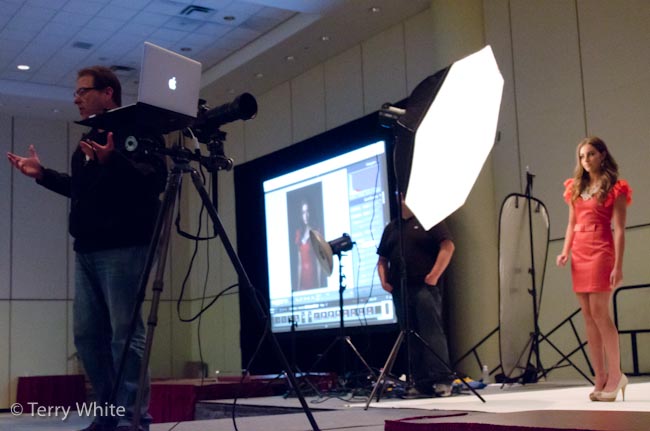
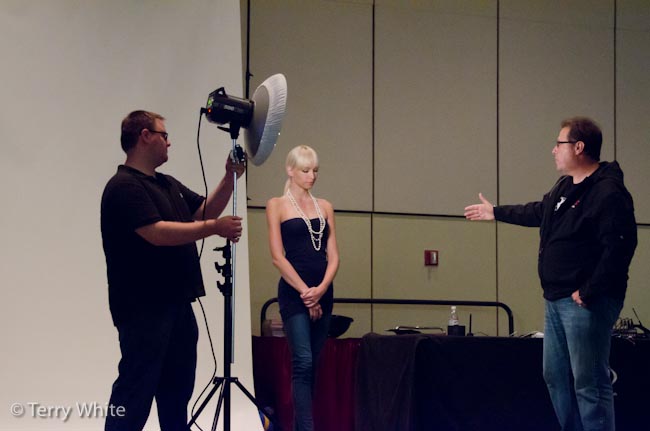
What do I do on my week off? I hop in my car  and drive 4 hours up to Toronto to see Scott Kelby do his "Light It, Shoot It, Retouch It Seminar".

It's not often that I get a chance to actually sit in on someone else's classes. I go to Photoshop World twice a year and I see a list of great glasses, taught by world class instructors and then I sigh because I know that either the class I want to take is happening at the exact same time as one of the classes I'm teaching or I have some other show duty that prevents me from attending.


This means that when I have an opportunity to take another instructor's class, I grab it! 


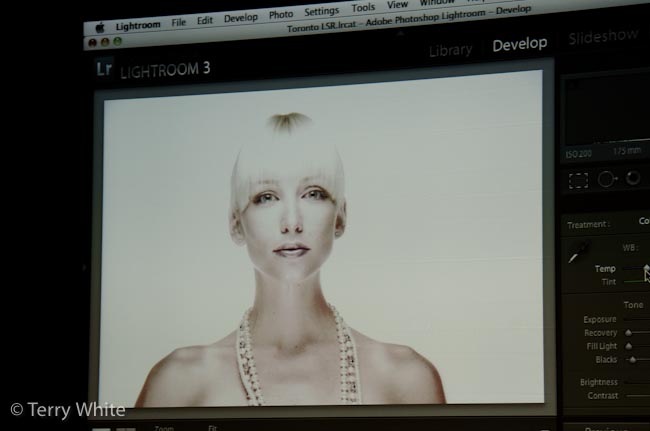
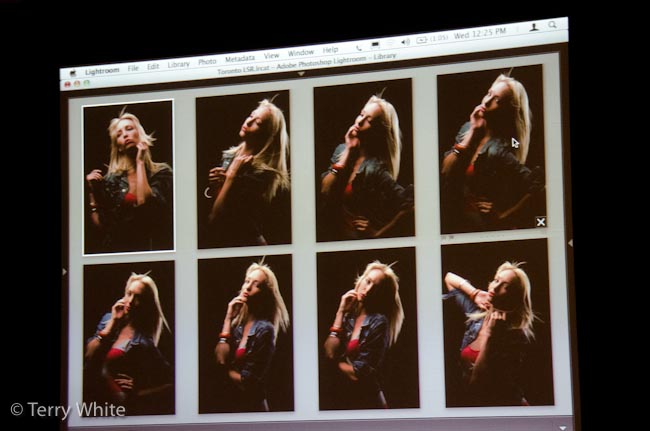
I would dare say that I've learned most of what I know about photo retouching through my buddy Scott over the years and although I'm quite comfortable doing portrait retouching I'm always eager to learn something new.


Continue reading “Trip Report: Light It, Shoot It, Retouch It with Scott Kelby”

Lightroom: Dude! Where are my car photos?

httpv://www.youtube.com/watch?v=eNxh6XC4vtA


In this episode of the Adobe Creative Suite Video Podcast we'll tackle one of things that confuses most new Lightroom users and those switching from Adobe Bridge to Lightroom. The question of "where are my photos and what has Lightroom done with them?" will be answered.

See more of my Adobe Creative Suite Videos on my Adobe Creative Suite Podcast and get the App here. It features EXCLUSIVE CONTENT that no one else gets to see. This episode has a BONUS CLIP that is available only in the App:

Learn Adobe Creative Suite with Terry White - Wizzard Media


When is a photo no longer a photo?


One of the groups I belong to recently held a photowalk and a photo contest for the members that participated. Sadly I was out of town on business the day of the walk, but I was able to attend the meeting that showcased the photos, allowing members to vote and the awarding of the prizes. It all went well but there was a debate that happened afterwards. The debate was mostly centered around "compositing". In other words either taking two or more images from the walk and assembling them or pieces of them together or adding things to the photo that weren't there (on site) to begin with. This got me to to thinking about "when is a photo no longer a photo?"


What do you feel the rules should be if you were entering a contest?

This won't be the last of our photowalks/contests and therefore we'd like to lay down some ground rules for the next one. Yes of course I've Googled "Photo Contest Rules" and got some good advice from the results, but I was curious as to what my readers think about this topic? What's OK and What's Not OK? For example, everyone seems to think that Cropping, Exposure, & Color adjustments are OK and even HDR is acceptable. But what about removing things from the photo such as power lines, trash on the ground, people, lamp posts, etc.? If removing is OK, is duplicating OK? There was only one bird and the person cloned the bird that was actually there and made three more. Is that OK? What about a pano? If you have a wide angle lens perhaps you could get the shot, but if you didn't can you stitch two or more photos together? How much "creative" Photoshop use is acceptable?


Multiple categories

Sure we could simply say that there is a Compositing category and if you want to enter that category composite away! Problem solved. Pro vs. Amateur categories. How do you define them? Is a Pro someone who makes their living as a photographer or would a Pro also be someone who does paid work on the side? Is it the kind of camera/lens they are shooting with?


What do you think?

I'd be happy to hear your thoughts on this topic. Please share your views, comments, experiences, etc. in the comment section below. Have you seen a set of rules that you thought nailed it? Or did you feel that the rules were in some way restricting your creativity? What would be YOUR perfect set of rules for a "digital photo contest"?

Digital Heavens Smooth Skins Actions for Photoshop

Photo Retouching is a large part of the digital photography portrait workflow. People have varying opinions on photo retouching and some will argue that you shouldn't retouch a photo at all. For those that feel that way you can probably stop here, move on to something else and have a nice day. The fact of the matter is that photo retouching happens everyday and I would dare you to pick up a cover of any magazine with a person on it and tell me that it came right out of the camera and went to press. As both a photographer and a Photoshop user I can tell you that portrait retouching is necessary. The reason that I feel that it's necessary is that when we see a photo of a person we see a image frozen in time and therefore our eyes have a chance to see and study every imperfection. However, when you see that same person in real life you would never sit there and stare at them for several minutes while they remained perfectly still. In a photo we see things that we would never pay attention to in real life. The goal of portrait retouching is to make the person look as good in the photo as they do in real life.

While I am a fan of portrait retouching, just like anything you can take things too far. I've learned over the years that less is more. I don't want to spend any more time retouching a portrait than I absolutely have to. I also don't want to do things to a portrait just for the sake of doing things.

My rule for removing things is that I remove things that either wouldn't be there in two weeks such as a pimple, or temporary bruise, etc. One of the last things I look at near the end of a portrait retouch is "Skin Smoothing." This is one of those topics that can easily get people up in arms and all of a sudden the pitch forks come out. This is also one of those areas in digital photography that can easily be and is often taken too far! 


Skin is already smooth

The first thing to remember is that skin is naturally smooth. What makes it look not smooth in a photo is typically the way the subject is lit. Depending on the lighting you will see areas of the skin show more detail in the shadows which causes the skin to look less smooth. A professional retoucher will tell you that the only way to correct for this properly is to go in pixel by pixel removing the areas that are causing the skin to not look smooth. If you think about it, let's say there was an area of skin with 20 pimples on it. If you removed all 20 pimples the skin would be smooth. Your job would be done. This is the "professional" way to do it and the way I would recommend when you have a paying client or you're working on the cover of a magazine. In other words if your work is going to be judged, then take the time and go in pixel by pixel. Unfortunately for most jobs this kind of time doesn't exist. Nor is it justified for every single photo. This is where the arguing usually starts 🙂 I'm not telling you to do it one way or the other, I'm just pointing out the facts. In these cases there are other methods of "skin smoothing." These methods typically involve running filters on the skin and then reducing the effect to allow the original pores to show through. Professional retouchers (the ones that make their money doing this) will crucify you for this technique. At the same time, I would argue that it can be OK if done right. There are several methods for this and people will even argue which Photoshop filter does a better job. I have my own methods that I'm happy with, but I'm always looking at ways to make it better or faster.


Digital Heavens Automates Skin Smoothing For You

The guys over at Digital Heavens have come up with a set of Actions for Photoshop to automate the entire process of Skin Smoothing for you. This is great because they employ several different techniques within the set and let you try them before committing to one or the other. This presents kind of a non-destructive workflow because everything is done with layers and your original photo/background is never touched. If you don't like the look you can simply delete the layers it creates. You start off by doing exactly what I described above. Get all the flaws fixed/removed first. If you still feel the need for Skin Smoothing after you done you can then just run an Action. As always you can control the amount smoothing via Opacity. One of the advantages of Smooth Skins by Digital Heavens is that it's a series of Actions, not plug-ins. That means that it's using the native features of Photoshop and not dependent on having to keep a setup of plug-ins updated. You get 10 Actions in the set. This gives you a wide variety of different techniques to try out and to pick the one you like best for your image. They've also done a great job with providing samples and tutorials to show you how the Actions work.

Here's a sample tutorial video of just one of the Actions that ships with Smooth Skins:

httpv://www.youtube.com/watch?v=3Ej06FtGuIU


A bit of final advice

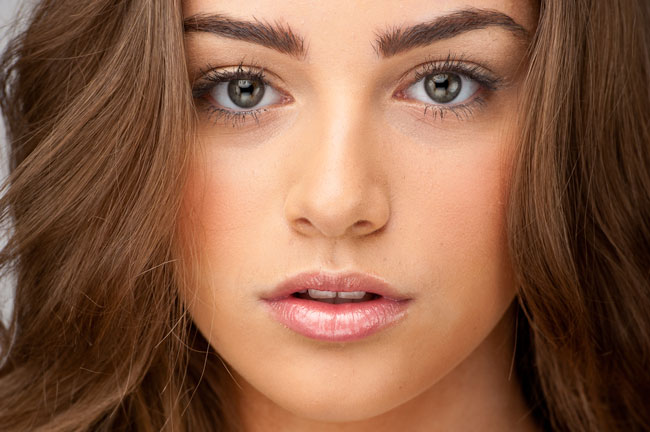
No matter what technique you employ keep in mind the age of your subject. I find that you people (kids/teenagers) rarely need any skin smoothing at all! It makes my day when I DON'T have to do it. For example, the very first photo at the top of this post of Amanda has absolutely ZERO Skin Smoothing applied. I removed 3 pimples. That's it. She's young and already has beautiful skin. With older people you need to show some restraint too. Don't make the person look unbelievably too young. These actions are a great way to save time, try different techniques and have a way out if you don't like it all without having to create them yourself or do it manually each time. We've all seen "bad retouching" I'm guilty of a few bad retouches in my past as well. Another piece of advice is after you're done, close the image and reopen it hours later. Look at it and see if you still agree that it's "done" and not too much?

Before Smooth Skins from Digital Heavens I only had 2-3 different techniques. Now I have 10 New ones!

You can find out more about Digital Heavens Smooth Skins Actions here as well as additional video tutorials and examples.

Nikon ME-1 Mic for DSLR Video


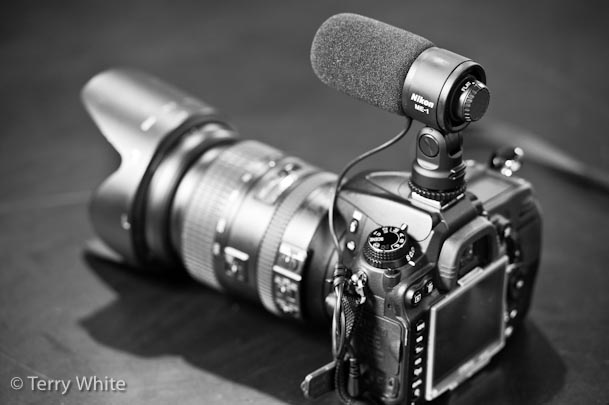
I love my Nikon D7000 DSLR camera. I hate the built-in mic. While the camera takes both great stills and high def 1080p video, the built-in microphone…well um…yeah…sucks! It's barely adequate for an interview and the 11Hz mono audio is pretty much useless for anything else. While I've been happy with my Rode VideoMic and VideoMic Pro, I was intrigued by Nikon's announcement of the NEW ME-1 Mic because of its small size. The ME-1 is about half the size of my VideoMic Pro and that makes it much better for travel. Keep in mind that my D7000 is my travel DSLR. I use it more on the road than I do at home. That means that if I'm I recording a video I'm most likely recording it on the road too. On my last international tour I had no room for the VideoMic and of course as luck would have it I had to do an impromptu video recording in Australia. The video looked great, the audio was…"meh." The whole time I was kicking myself for not bringing the VideoMic Pro. The ME-1 had shipped, but hadn't arrived before I left home to go my trip. 

Note: When you plug in an mic to the Nikon D7000 you get Stereo/Mono audio at 48kHz/16bit. 


ME-1 Pros and Cons

Continue reading “Nikon ME-1 Mic for DSLR Video”