Adobe Shows off Carousel Cloud Based Photo Syncing to All Your Devices

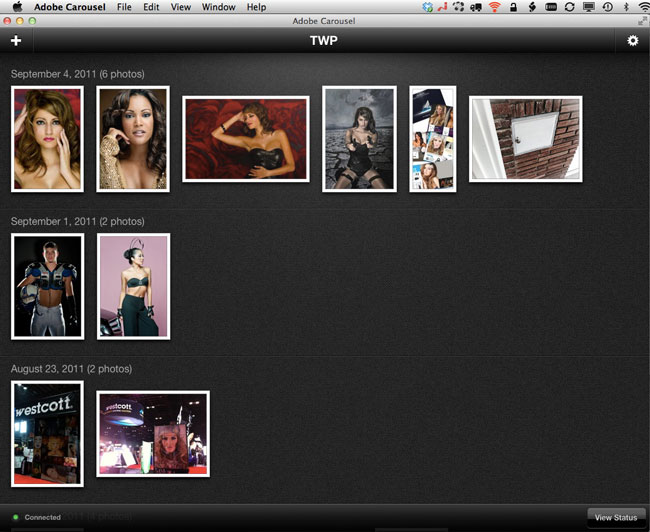
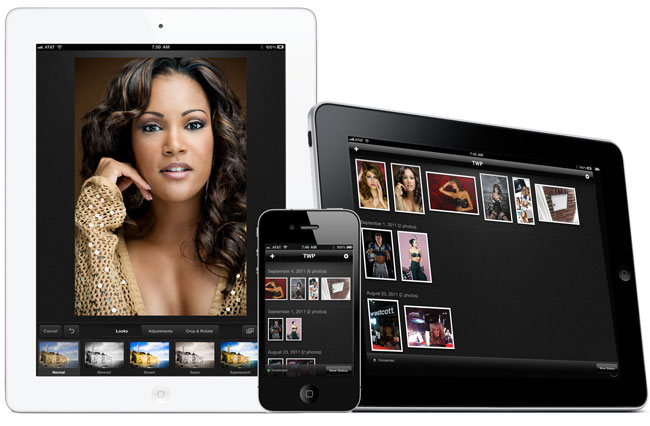
Carousel running above on iPad and iPhone 4

I'm here LIVE at Photoshop World Vegas and during the Adobe Keynote Adobe introduced a new cloud based product called Carousel. With Carousel you can simply drag your images into the desktop client and they are uploaded to the Adobe Cloud in the background. You can also perform non-destructive edits and effects. Think Lightroom Develop Module 🙂 While this is cool, what makes Carousel magical is that the photos are AUTOMATICALLY, simultaneously and wirelessly sync'd to your mobile devices too. 

I've got Carousel running here on my MacBook Air. I took some photos during the keynote and they were sent via my Eye-Fi card to my iPad directly from my Nikon D7000 DSLR. I brought up Carousel on the iPad and added them and now they are on my desktop as well as my iPhone. This means that it doesn't matter where you add the photos or edit them, they will be sync'd to all your devices running Carousel. Once you have the photos in the Carousel app on your desktop or mobile device you can browse them, zoom in and share them. You can also have shared Carousels so that you and your family members/colleagues can share memories instantly.

Carousel will be available later this month (September 2011) for iOS and Mac and for Android and Windows early in 2012.

What I’m Teaching at Photoshop World This Week

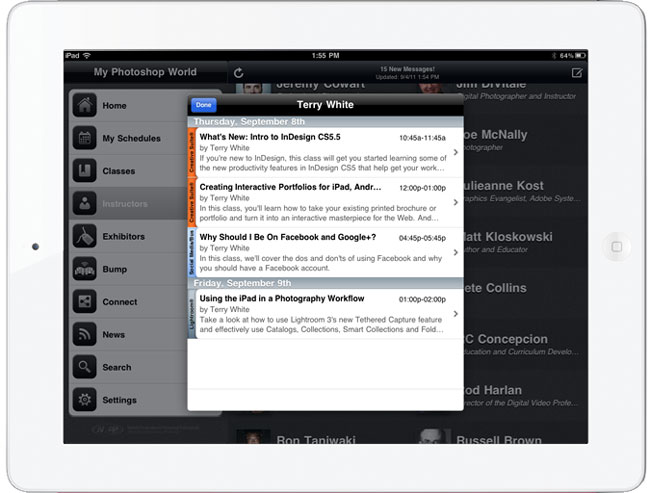
It's time for Photoshop World! It's this week in Las Vegas and I'll be teaching once again at this year's show. I've added two new classes and for whatever reason they didn't make the web schedule (hoping to get them corrected as we speak) I've also updated the information for my Intro InDesign & Facebook classes too.

  • Introduction to Adobe InDesign CS 5.5 
  • Creating Interactive Portfolios for iPad, Android & Blackberry Tablets in InDesign CS5.5 – NEW
  • Why you should be on Facebook (will talk Google+ too) Updated
  • Using the iPad in a Photography Workflow – NEW (this class replaces my Importing Images into Lightroom class that's incorrectly listed on the schedule)

Don't forget to see me on the show floor as well. I have sessions scheduled in the Adobe booth as well as partner booths such as Westcott and Manfrotto. 

See you this week and if you have an iOS device don't forget to grab the free PSW App here from the iTunes

Follow Me on Twitter, Add me on Google+ and Like me on Facebook for my live and up to the minute show updates!


Happy Labor Day!

Tired of the Same Old Backgrounds and Scenes?


I'll be the first to admit that I actually get tired of shooting in the same location time and time again. No matter what studio I'm in, including my new one which I LOVE, there are only so many backdrops to shoot against. This is one advantage to landscape photography as you can always go somewhere you haven't gone before. While I'd love to build sets (and I will), I just don't have the time to build new sets on a regular basis and they can be expensive to buy or have built. It's also funny when I can look at a photo and tell who shot it not, because of their photographic style, but because I recognize a piece of furniture that they always use 🙂

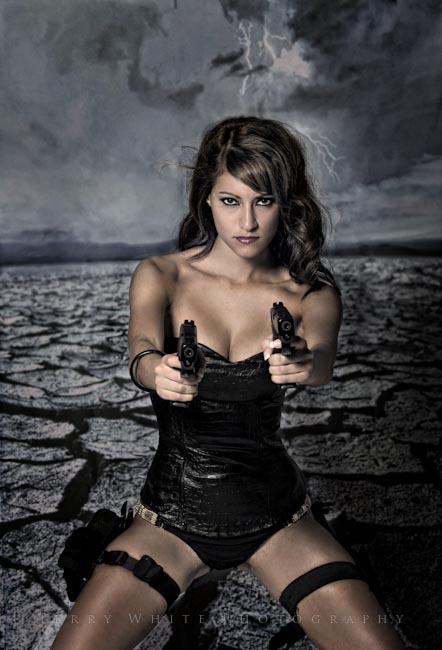
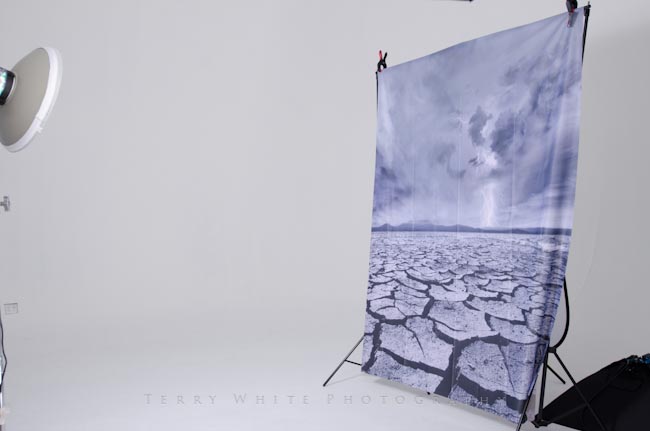
I remember seeing some cool scenes in the Westcott Live Shooting Bays at the last Photoshop World and I thought "Wow, Cool! But, I would get tired of that scene eventually." Little did I know at the time that Westcott actually will "rent" those scenic backgrounds. That changes everything. You can have a change of scenery, shoot it a few times and send it back without getting bored with it. I decided to check out a few of them and I used a couple of them in a shoot yesterday.

The backgrounds ship folded and as you can see you will have to either steam them or Photoshop out the wrinkles in post.

The tricky part is getting the perspective/distance/lighting right depending on the scene. Also depending on the color of the background you will either need to gel your lights or match the color in Photoshop afterwards.

Lastly the backdrops aren't as long as you may need for a full body shot. They come in either 5'x6' or 6'x8' However, you can get away with a seamless effect if the subject is sitting/kneeling or laying down.


If you're looking for a change of scenery but don't want to commit to one particular scene forever, check out the Westcott Scenic Background Rentals here.

Big Beautiful Light for $99.90! – Westcott Parabolic Umbrellas


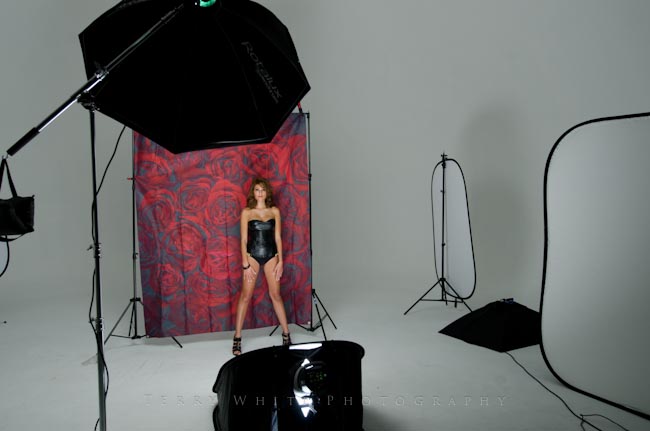
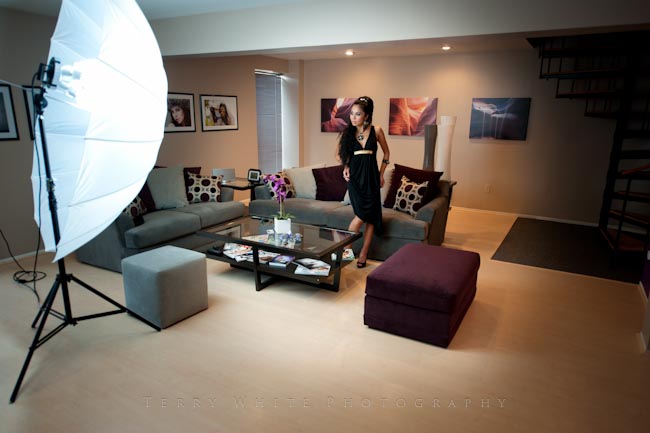
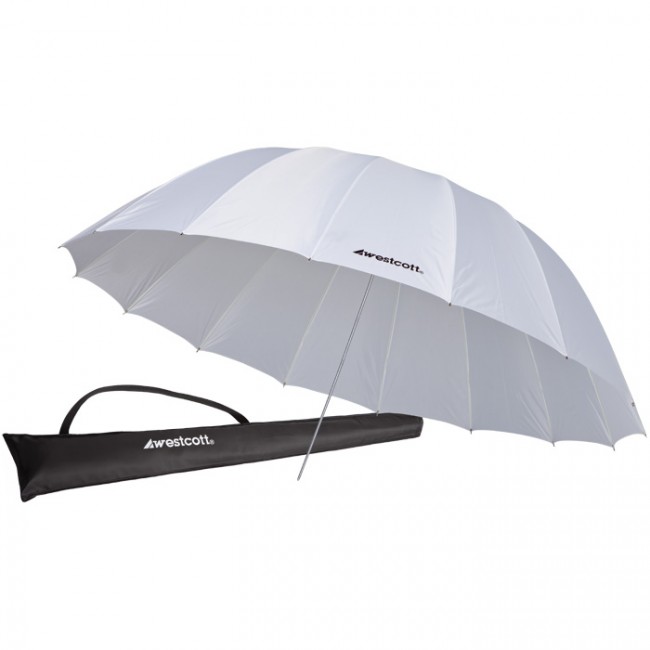
I'm a fan of big beautiful soft light for the beauty and fashion stuff that I shoot. As you might imagine I have a collection of large softboxes. While I love them and use them all the time, sometimes I need something that's large and more portable. Nothing is more portable than and travels as easily as an umbrella. Heck you can even carry an umbrella on a plane (as of today TSA has not banned them). Not long ago FJ Westcott introduced 3 NEW 7 FOOT Parabolic Umbrellas. You can get either a white one with a black cover, silver one with a black cover or white diffused shoot through one. It's a tough choice to make as I like all three for different situations. However, for starters I went with the white diffused one. Since it's a standard umbrella it should fit in any light setup/stand that you have that has an umbrella hole. In my case I used the Spiderlite TD6, which has an umbrella hole right on the included tilt bracket. Unlike the 1st two, you actually aim the light source into the umbrella and the light is diffused out from the other side. With the white and silver models you're bouncing your light source into the umbrella and back out the same way.

The bigger the light source and the closer to your subject, the softer it will be. 7 feet/6 feet curved is pretty big as you can see above in the production shot. The Spiderlites are already pretty soft and shooting though this umbrella makes them even more natural and soft. 

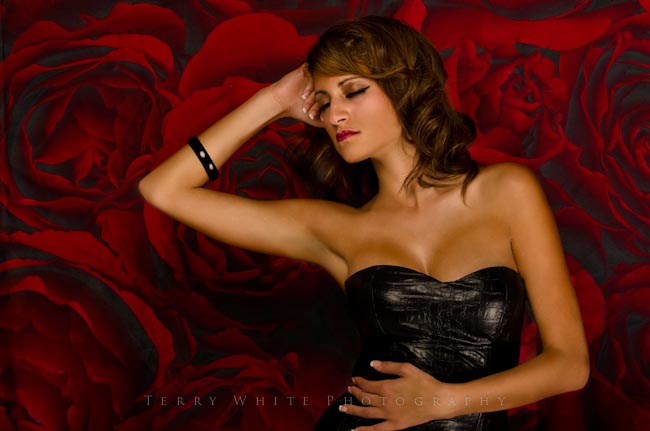
The umbrellas come with a carrying case to store them and make it even easier to travel with. You can use what ever lights you want with them. Like I said above, i used mine with a Spiderlite TD6 to produce the shot below. 

ISO 200, 85mm, f/1.4, 1/80 sec shot with my Nikon D700.

Model: Liz Hoang, Makeup/Hair: Joey Killmeyer


You can get the Parabolic Umbrellas here:

White with Black Cover – $99.90 Amazon or $99.90 B&H

Silver with Black Cover – $99.90 Amazon or $99.90 B&H

White Diffused (the one I used above) – $99.90 Amazon or $96.48 B&H

Spiderlite TD6

Review: OWC Mercury On-The-Go SSD External Drives

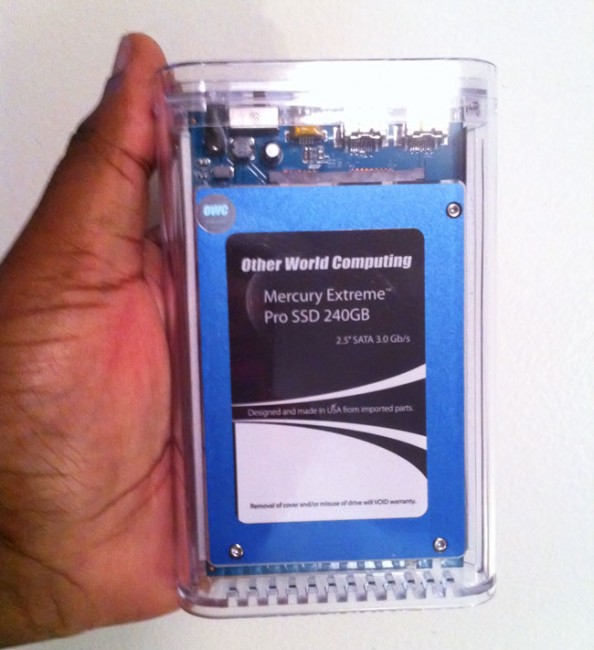
Yes I'm a speed freak. I spent much of the money I made as a youth paying for speeding tickets. This means I also like my computers to go as fast as possible. I moved to SSD (solid state drive) drives with my latest notebooks and while the cost is high, I do like the boot times, application launch times and of course the data copy times (see my original boot time comparison video here). Speaking of data copy this made me think about the drives that I'm copying that data to and from. While it's great having a fast internal drive, I started to look at the external drives I carry around too. This is when I decided to test the OWC Mercury On-The-Go SSD External Portable Drives. The good folks over at OWC sent me a review unit (a 240GB Mercury Extreme Pro). The first thing I wanted to test was copy speeds. The drive comes with a 1.73GB disk image of shareware on it. I figured I'd start my test copying this file back and forth and between drives. 


Copy Times (shorter is better)

To copy 1.73GB disc image from the OTG 240GB SSD Drive

To copy 1.73GB disc image to the OTG 240GB SSD Drive


To copy 1.73GB disc image from the LaCie


To copy 1.73GB disc image to the LaCie


Next up a folder of RAW photos

To copy 3.87GB folder of photos from the OTG 240GB SSD Drive


To copy 3.87GB folder of photos to the OTG 240GB SSD Drive


To copy 3.87GB folder of photos from the LaCie Drive

To copy 3.87GB folder of photos to the LaCie Drive

The OWC SSD drive won in every test and I imagine with larger copies such as backups and clones the time savings would be realized even more.


A Startling Realization – Firewire 800 is not fast enough

After doing just a couple of tests with the new SSD drive and my existing LaCie Rugged Drive I realized that while the OWC SSD drive was faster (see the numbers above), it wasn't night and day faster. I have a theory that the bottleneck is the Firewire 800 bus itself. In other words the data can only go as fast as Firewire 800 will transfer it. 


The Bottom Line

The OWC Mercury On-The-Go with an Extreme Pro SSD drive is Fast, Silent and Portable! It's also likely to be more reliable as there are no moving parts to fail like in traditional hard drives. SSD drives can slow down over time and that has yet to be seen with this model as I haven't had it long enough to know if that will happen or not. The one thing that isn't an advantage right now is speed over traditional drives with FW800. With that said they do offer a USB 3.0 version that will likely yield faster results over FW800 if you happen to have a USB 3.0 equipped computer. However, until we see Thunderbolt based portable drives I don't think we'll see the real speed potential of these SSD drives. With that said, you'd have to weigh the cost of going SSD vs. traditional hard drives for your portable data needs. Having a drive with no moving parts/peace of mind comes at a premium price.

The OWC Mercury On-The-Go 240GB SSD goes for $479.99

Their 320GB 7200 RPM Drive in the same case goes for $104.99.
Video Review: Westcott Shallow Softboxes with the Spiderlite TD6

httpv://www.youtube.com/watch?v=CDv42NWezic


Sometimes it's easier just to show you a product that I use rather than write paragraphs about it. Today is one of those times. I started using the Westcott Shallow Softboxes earlier this year during a workshop that I taught in Texas. I've been enjoying not only the new shallow boxes, but also the size of the new "large" one. 

Advantages of a shallow softbox

You probably wouldn't use one with a strobe because more than likely you'd create a big hot spot having the strobe that much closer to your subject. However, with the Spiderlite TD6 (or TD5), you don't have to to worry about. By having a shallow softbox you can you can get it into to places that normally wouldn't accomodate a deeper one. I have a nice red wall in the hallway of my studio and it's really tight trying to shoot there with my other softboxes. However, with the new shallow ones from Westcott, it's much easier.

The new LARGE one is also ideal for those times when you're doing a portrait of more than one person or you're shooting a larger product such as a motorcycle. 

Here's what I used in the video above:

Spiderlite TD6

72"x54" shallow softbox

48"x36" shallow softbox

If you're looking for a kit, I'd go with this one.

The shots were taken with my Nikon D700 and 70-200mm VRII lens.

ISO 200, f/4 to f/4.5 at 1/50th sec.

Yes, Another Portable Speaker Review – Pop-up Mini Speakers


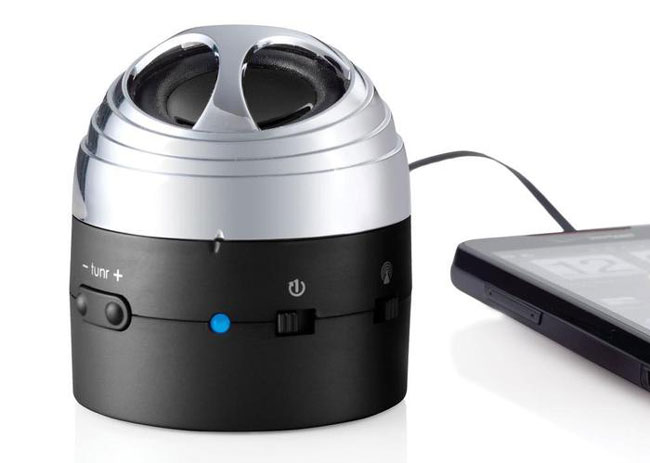
I've reviewed various travel sized speakers here in the past and I really like the ones I've already reviewed. However, my buddy Bruce Mandel was raving about a pair of "pop-up" speakers that he had gotten and he was so sure that I'd like them he loaned them to me. He said, "you have to try these." So i did. The funny thing was that my first experience with them was a test of my AirPort Express and using AirPlay to send music from my office to my studio. These speakers were the most accessible at the time and I decided to plug them in the AirPort Express mainly to see if my AirPlay would work in that location (very far from the main AirPort Extreme up stairs). I Turned on the speakers after plugging them in and walked all the way to the other end of the building where my office is located. When I fired up iTunes and selected those speakers (AirPort Express) I actually didn't expect to hear them until I got back into that area of the studio. I was blown away to actually not only hear them from such a great distance, but to actually hear that they sounded pretty good. 

Pop them up for more bass

During my initial test I hadn't even popped them up yet. When you do you actually get more base response than you do when they're closed. They definitely sound great for speakers this size. The two speakers magnetically attach to each other for travel/storage. When you pull them apart you can then pull out the audio cable from one to plug into the other for stereo sound.  They come with a separate cable for charging and of course there is a cable to plug in to your audio source. The speakers charge via USB. 

What I dont like

You've already heard all the things that I like about them. Small, good sound, battery powered. As far as what I don't like it's really more about the design of the cables, ports, switches, etc. While you certainly need the cables that are supplied, it just seems that they could have done a better job in the way the cables attach. Also I find the audio cable to your computer/iPod, etc. to be a bit short. I'd like the cable be about 6 inches longer. When I tested these the cable was so short that I had to put the speakers on the floor in order to reach the AirPort Express that was plugged in the wall.

While I'm not sure that I'd give up my previous Bluetooth speaker recommendation, these definitely have a better sound to them and I really like the magnetic coupling. I also really like that the cords are retractable right into the unit.

You can get a pair of these here for $49.95 or you can just get one here for $29.95.

Now the question becomes do I give these back to Bruce or not? 🙂

Adobe Photoshop Product Manager Bryan O’Neil Hughes on The Grid Live Today!

My colleague and friend Bryan O'Neil Hughes, Adobe Photoshop Product Manager is going to be LIVE on a special bonus episode of the Grid Today at 4PM. You'll be able to ask him any of your burning Photoshop questions and perhaps get a better understanding of what it takes to create an upgrade to Photoshop. How do they decide which features will go in and when? How do they please such a wide audience with a single product? etc.


You can catch the show at 4PM EDT (GMT -4) at this site.

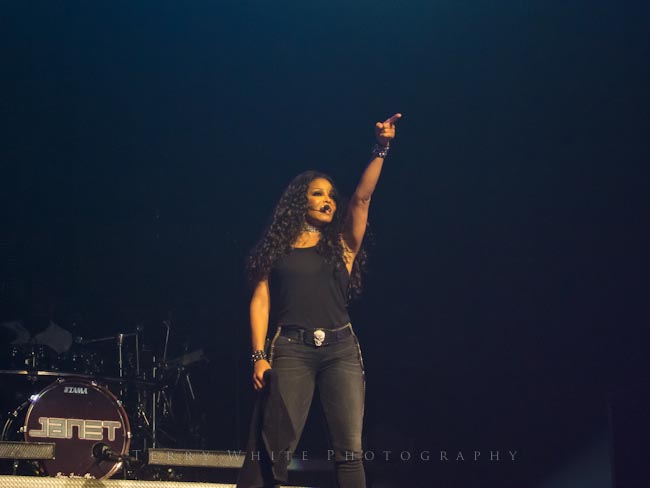
Up Close and Personal with Janet and the S95

I'm back again with some more concert pics taken with the Canon Powershot S95. If you missed my original posts about this camera you can catch up by checking them out here and here. Unlike with the Brittany concert, I've been a fan of Janet Jackson for as long as I can remember!

I knew this concert was coming and it was one of the main reasons I wanted a "concert camera". 


One key component to getting good shots with any point and shoot at a concert is that you have to also have great seats.


Having already shot one concert with the Powershot S95 I felt a little more confident this time around. 

Continue reading “Up Close and Personal with Janet and the S95”

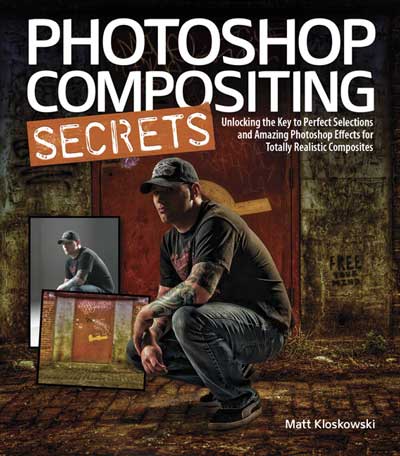
Get Matt’s New Photoshop Compositing Book!

I actually entered the world of photography backwards! I knew way more about Photoshop than I ever did about photography when I started. Over the past 5-7 years I've been spending much of my spare time honing my skills behind the camera instead of saying "I can fix it later in Photoshop." With that said, I kinda left the compositing stuff behind as well. After taking a look at Matt's new "Photoshop Compositing Secrets" Book, my interest in compositing has been reignited. Now that I have a little more photography and lighting under my belt I can begin to look for not only great scenes to capture, but also great opportunities to create composites too. I never used to think about capturing shots of background images to use later in composites. Now I do!


There's an art to compositing

While technically compositing in Photoshop is simply taking two or more photos and putting them together, my goal has always been to make it look "as real as possible." That means that when a composite is done people should either look at the finished piece and not think that it's a composite or they may think it's one but they have a hard time trying to tell. That's when I know I've done it right. Matt's book exposes a lot of short cuts that I wish I had known back in the day, but glad I know them now. 

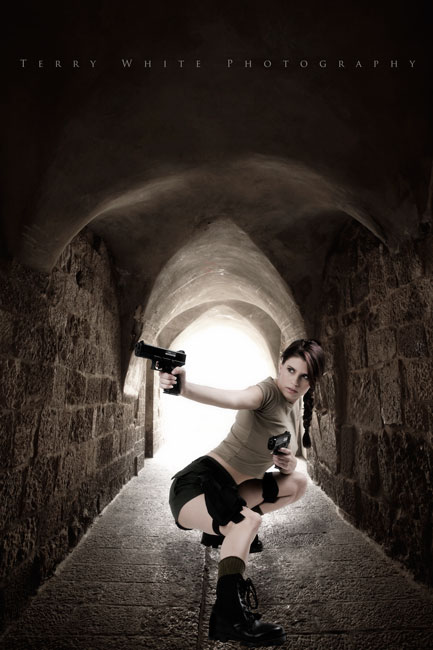
The composites I'm showing in this post are actually some of my "old" ones that I did years ago. The second one I went in and updated the color of the model that I was never quite happy with.  There are always new selection techniques to learn and new workflow steps. If you have any interest in getting better at selecting, cutting images out of the background and compositing them onto other backgrounds, then I highly recommend that you take a look at Matt Kloskowski's new Photoshop Compositing Secrets: Unlocking the Key to Perfect Selections and Amazing Photoshop Effects for Totally Realistic Composites. I have the Kindle version on my iPad and you can get it here in Paper or Electronic form starting at $21.99. Off to do more reading…