Your smartphone probably came with a USB wall charger. Chances are you probably need or at least would find it convenient to have more than one. Perhaps one at your desk, one by the bed and maybe one in your travel bag. A quick check shows that the retail price of an Apple USB wall charger is $19. Of course you could get ANY 3rd party wall charger for half that price or less. However, even at $9 for a good quality generic charger you might want to consider a different option. If you’re buying a charger that’s going to have a permanent home under your desk, behind a nightstand, etc. then why not just get a power strip that also has USB ports on it? This way you could plug in your lamp, computer, speaker, etc. and charge your smartphone and/or tablet as well.
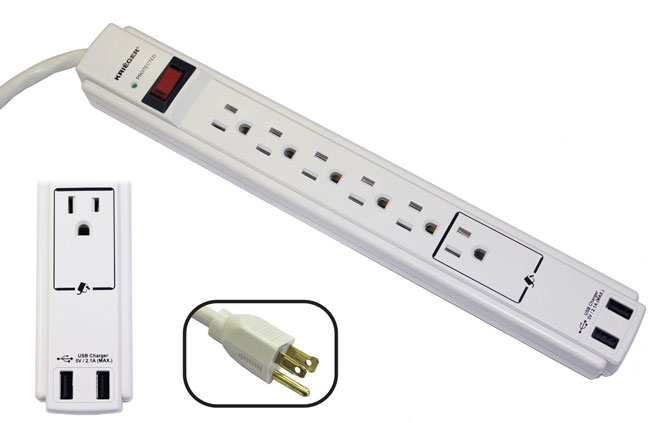
I just bought 3 of these for use around the home and home office. So far they’re working out GREAT! Unlike most power strips/surge protectors this one has a longer than average 6 foot cord. It has a lighted power switch as well as 2 USB ports that can provide up to 2.1A of power, which is enough to charge an iPad. Also the fact that it’s a surge protector as well doesn’t hurt. The only downside is that the 2.1A is shared between the two ports. This means that you can charge two devices or one device at the full 2.1A speed. Yes, you can charge an iPad (or other tablet) and iPhone (or other smartphone) at the same time, just not two devices that both require 2.1A each.
Here’s the best part: This power strip is on sale for only $14.99, which is less than the cost of a name brand single port USB charger. Get this one and you can use the charger that came with your phone as a travel charger.
My other favorite USB chargers
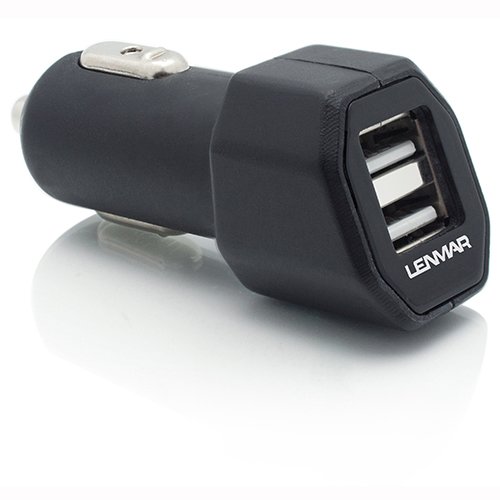
For the car, I like this one.
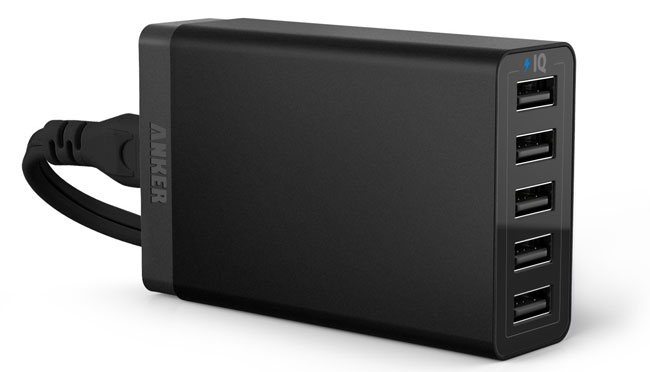
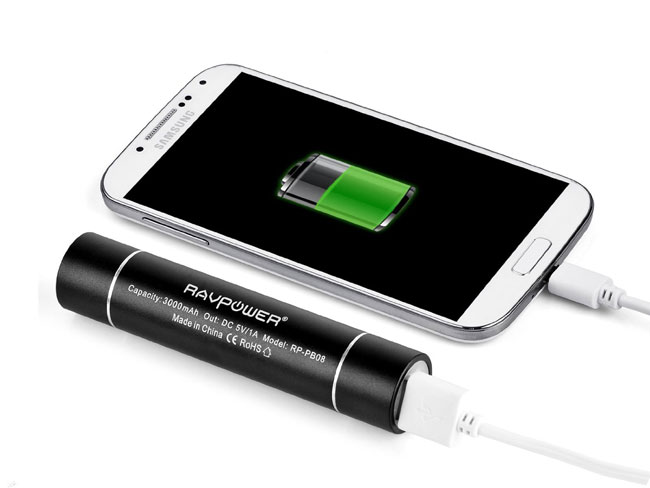
For charging several USB devices at once I like this one.
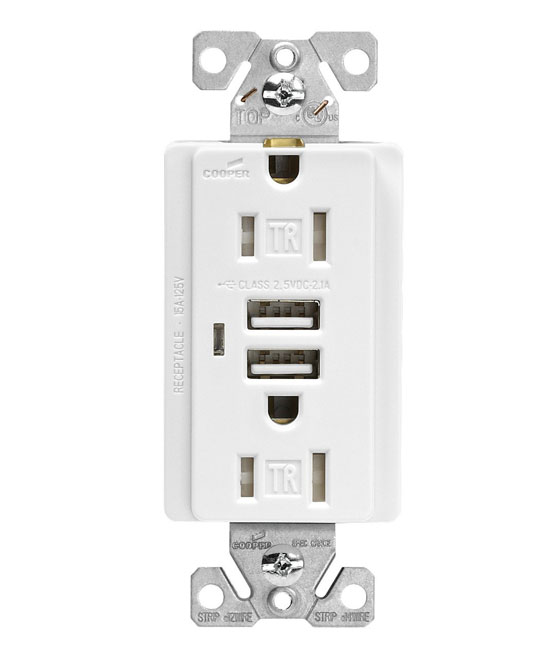
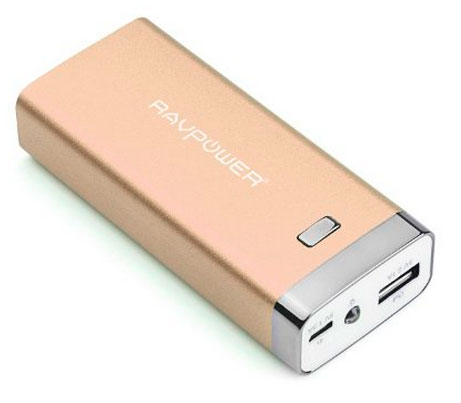
For a permanent installation I like this one.
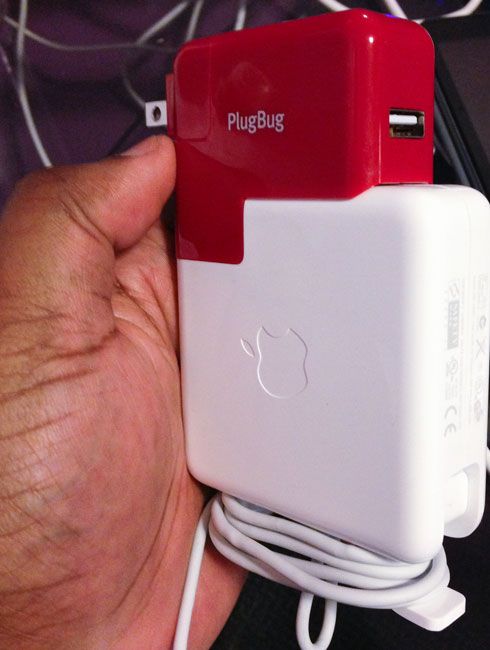
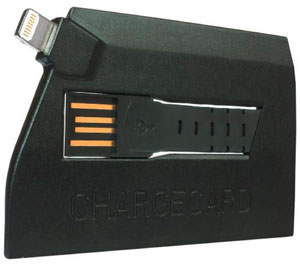
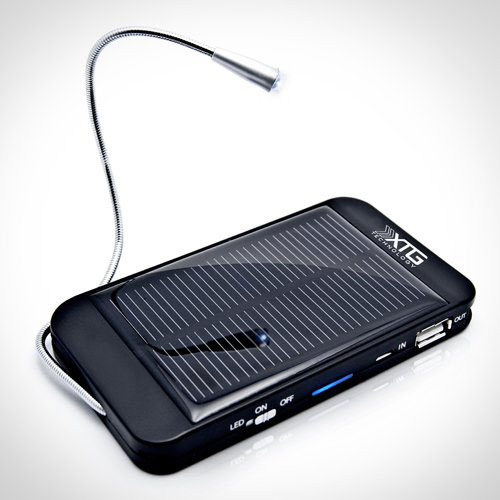
For charging while traveling to hotel rooms with limited outlets, I like this one.