Beautiful Catchlights with the NEW Westcott Eyelighter

wpid13556-KandiceLynn34-0036-Edit_sm.jpg

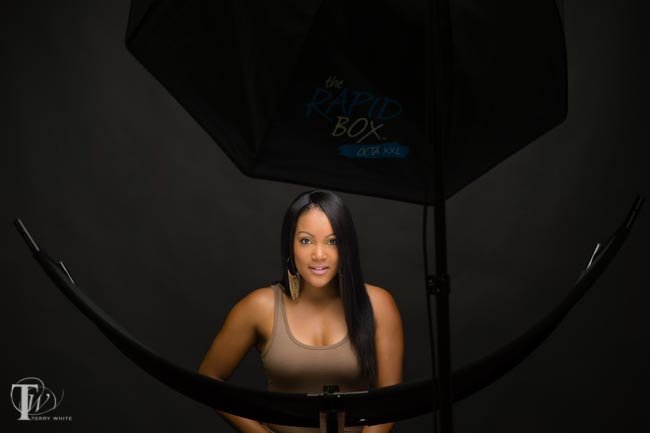
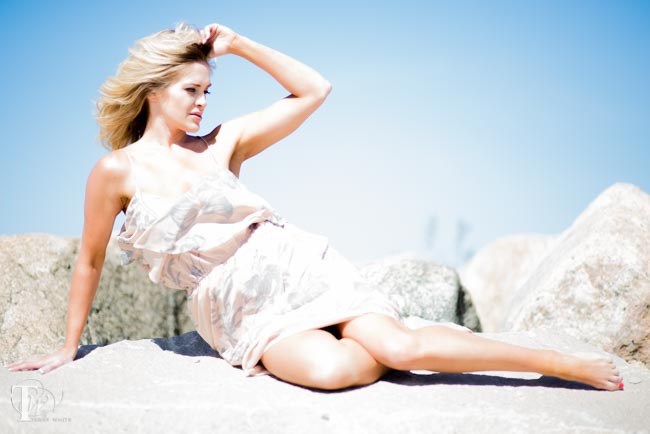
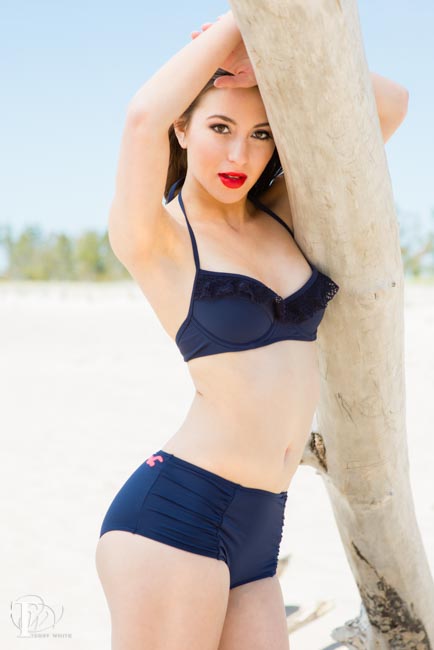
Anyone that knows me knows that I love beautiful light when it comes to photography. Therefore I use quite a few light modifiers. When it comes to interesting catchlights I had been using a Triflector. While the Triflector does create an interesting light pattern as well as providing good reflection backup up to a subject’s chin, neck and chest, it’s a broken pattern. This is due to the fact that it uses 3 reflectors, hence the name Triflector. Westcott has started shipping the long awaited Eyelighter. As you can see from the photo above the Eyelighter is one big continuous reflector that has a nice crescent shape. This creates not only a nice reflection of light under the chin, but it also creates great crescent shaped catchlights under the eyes.

wpid13554-KandiceLynn34-0172-Edit_sm.jpg

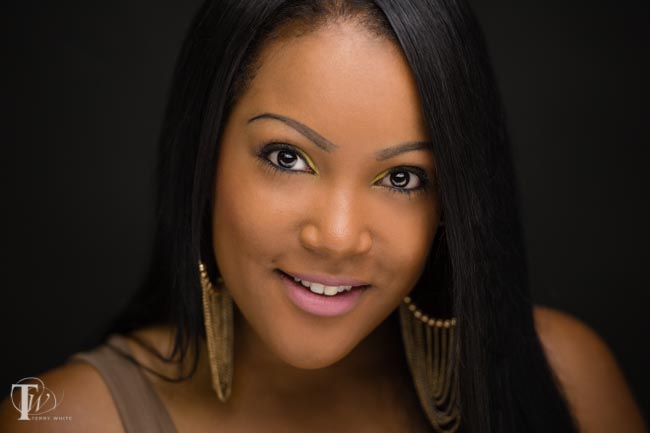
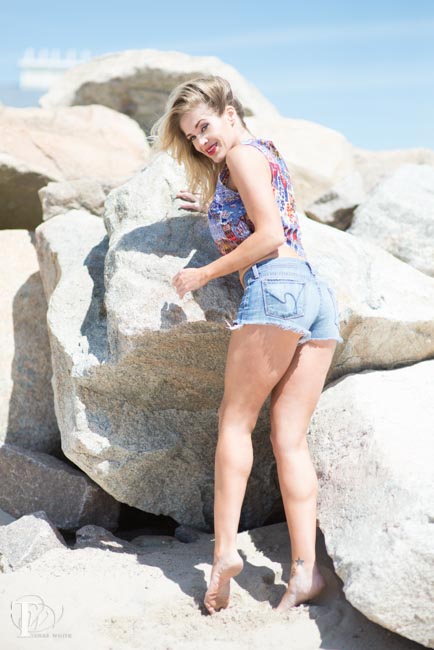
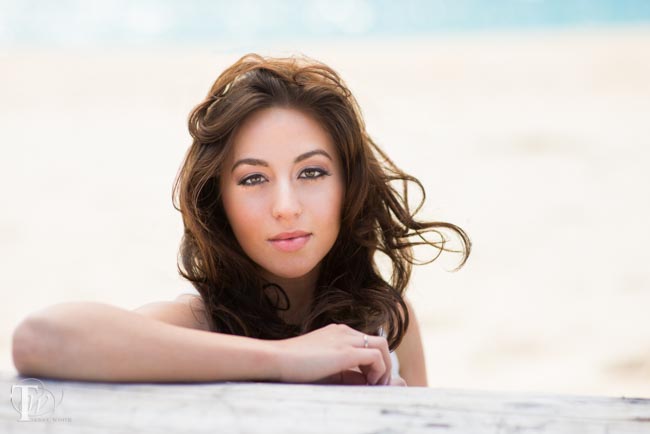
This is why Westcott called it the “Eyelighter” and I LOVE IT. When I first saw it in person at Photoshop World it didn’t seem that large. Even when I received the box the box appeared to be pretty compact. However, once I got it setup I was quite pleased by the size. It provides a very nice soft reflection under the subject. In the photo above I used the one light, a Westcott Skylux continuous LED light with a large Rapidbox Octa XXL softbox.


The Bottom Line

No single light modifier works for every situation. However, since I do a lot of portraits and beauty work, I’ll be using the Eyelighter more than most of my other modifiers. The results exceeded my expectations. You can order the Eyelighter here.


Traveling by plane with your camera gear

Recently a fellow photographer asked me about flying with her camera gear and what was allowed and what wasn’t? Since I fly for a living and I usually have at least one camera with me I’m pretty familiar with the rules and thought I’d share some tips here. First I have to give you a disclaimer in that TSA can decide to search any of your baggage at anytime and ask you  to take out every single item one-by-one for inspection. I’ve had it happen! Now with that out of the way luckily this is not the norm. Let’s go over some quick tips on carry-on vs. checked luggage. I absolutely HATE checking my luggage and only do so if I have no choice. This means that I want to carry both a camera bag AND a computer bag on board and therefore I will check the 3rd piece of luggage containing my clothes. Under no circumstances am I ever ever ever going to check my camera or computer gear. It’s like waving good-bye to it as I feel like I’d never see it again. If I have to check my camera gear, then I’m not going! Most airlines allow you one piece of carry-on luggage such as a roller-board suitcase and a personal item such as a backpack, briefcase or purse. For me that means a backpack.

A Quick FAQ

Q. Do I have to take my cameras out of the bag when going through TSA security?

A. Typically NO, but TSA at any time can ask you to take ANYTHING and EVERYTHING out of your bag. With that said I can’t remember the last time they asked to take my cameras out. It’s been years. This of course goes out the window outside the US. Foreign airport security is a lot less forgiving. Give yourself time as you will likely need to take out each piece of gear and put it in a bin.

Q. Should I just check my camera gear under the plane to save the time and hassle.

A. NO! You may never see it again if you do and the airline will NOT replace it.

Q. What about tripods/monopods?

A. I have been known to travel with a tripod from time to time and I put it in my larger roller-board suitcase with my clothes. This however, is a grey area. Some TSA checkpoints will let it go and others will require that you check it as a tripod could be used as a club/weapon. So be prepared with extra time if you’re traveling with a tripod and have it in a bag that you don’t mind checking (not with the rest of your camera gear).

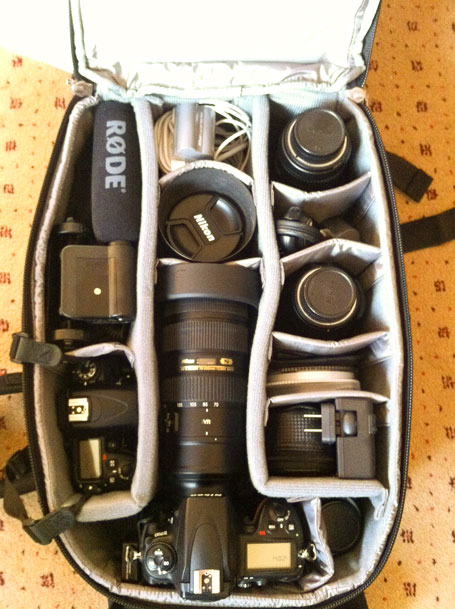
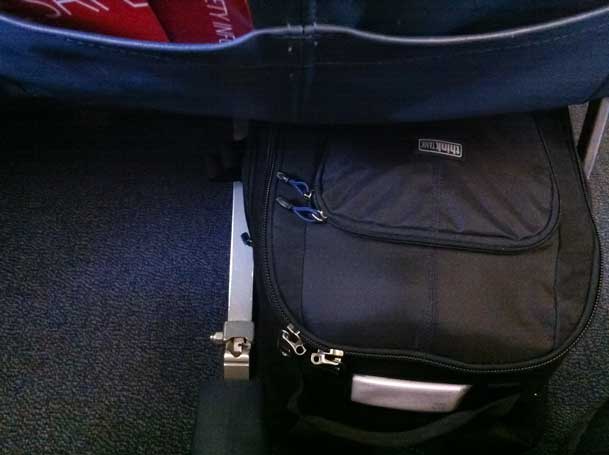
The backpack pictured above is my BIG ThinkTank “Street Walker Hard Drive”  Backpack. This is the one I carry when I’m going on a trip specifically to shoot and I’m going to carry a LOT of camera gear. This one backpack also holds my MacBook Pro 15″ Retina notebook and iPad Air. It weighs a freaking ton once I have I have it loaded, but it still fits under the seat in front of me on a plane and therefore allows me to carry a rollerboard on with my clothes (and tripod) in it.
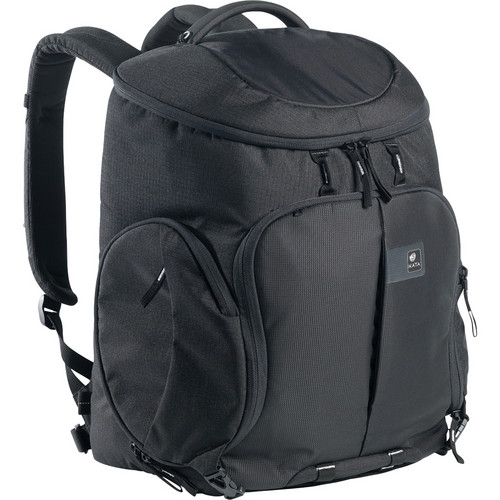
On trips where I’m carrying less photographic gear but still more than two lenses then I carry my smaller “Kata” backpack:
kata

This one will still hold one camera body and 2-3 lenses plus my MacBook Pro. Also since it’s smaller you’ll be less likely to load a ton of gear in it and therefore it will be lighter to carry and manage.

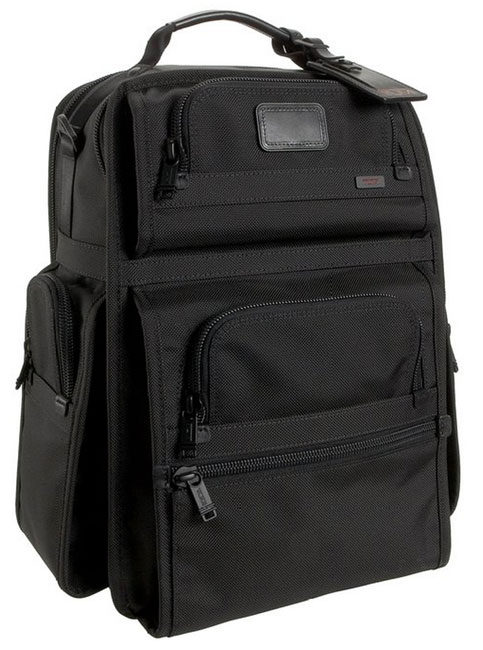
Although both backpacks above  are great for those photo specific trips I go on, neither of them are my “regular” backpacks. Since most of my trips are not photo specific I’m usually carrying only one camera body (my Nikon D600) and one lens (my Nikon 28-300mm) or my even smaller Sony Alpha NEX-3N. My daily/weekly travel backpack is actually my Tumi Alpha T-Pass Laptop Backpack.
tumi_alpha_t-Pass_backpack

I really like this backpack A LOT! The T-Pass stands for “TSA Friendly” in that the back containing your laptop can unzip so that you can lay the bag flat (open) without having to remove your laptop saving you time. Tumi bags are expensive, but they come with a 5 year warranty and are very very very well constructed. I use this bag daily and it shows no signs of wear after one year so far. There is plenty of room in it for my laptop, iPad, camera stuff and just a ton of other little items that I carry. It weighs a ton once I load it up, but it handles the load very well.


The Bottom Line

For the most part you should be fine traveling by plane with your camera gear and carrying it on as long as your carry-on bag meets the size restrictions for the overhead bin or under the seat. TSA sees cameras everyday and while they still require you to take your laptop out and put it in a separate bin (unless you are TSA Pre-Check or you have a bag like my Tumi above), they tend to not ask you to take your camera gear out. The only other thing they can be uptight about is carrying a lot of batteries. So keep your extra batteries to a minimum and spread them across multiple carry-on bags as best you can.
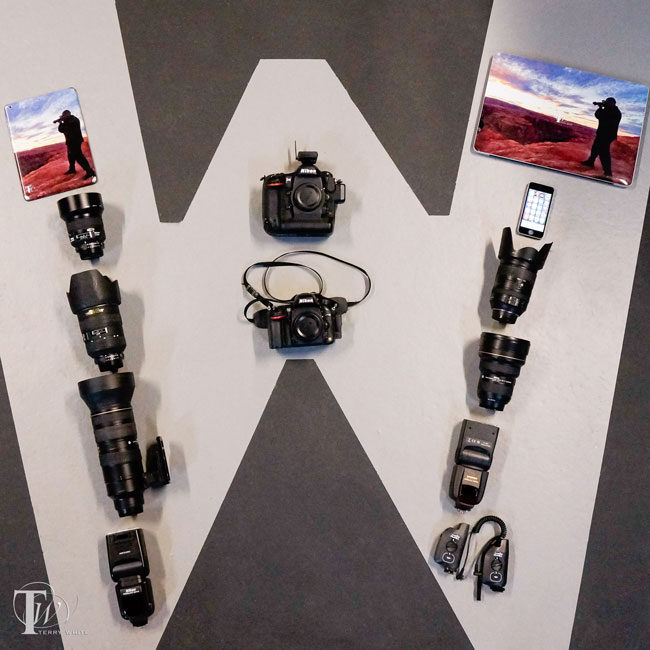
W-camera-gear


Adobe Camera RAW 8.5 for CC and CS6 Release Candidate is Now Available

acr_8.5

The Camera Raw team would like the community to help verify the quality of the plug-in through normal usage as this will ensure that the plug-in is tested on a diversity of hardware and software configurations not available internally at Adobe. If you do experience an issue with this release candidate please report it within the Camera Raw discussion forum.

Download from here.

Adobe Camera RAW 8.5 Features for CC Users

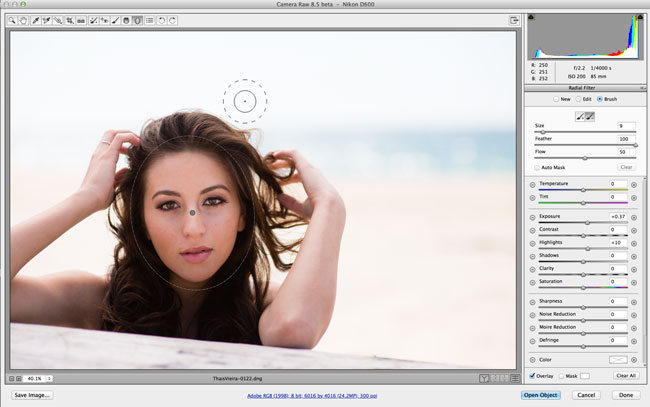
  • Modify Graduated and Radial Filter masks with a brush:
    • After adding or selecting a Graduated or Radial Filter instance, click the new ‘Brush’ mode (next to existing ‘New’ and ‘Edit’ mode buttons) to reveal brush controls that allow you to modify the selected mask.
    • Use the ‘Brush +’ and ‘Brush -’ icon buttons in the brush controls pane to add to or erase from the selected mask.
    • Press the ‘Clear’ button to remove all brush modifications from the currently selected mask.
    • When a Graduated or Radial Filter instance is selected, Shift-K can be used to enter and leave brush modification mode.
  • Mask visualization is now available for the Graduated and Radial Filters. Use the Mask checkbox at the bottom of the Local Corrections pane or press ‘Y’ to toggle the mask overlay.
  • Added new Per-Panel Preview default toggle
    • If the current panel’s settings are not the ACR defaults, clicking the new Per-panel Toggle Button will reset the panel to the ACR defaults.
    • Clicking the button again will restore the previous settings.
    • This is a standalone feature, separate from the new Preview controls
    • The changes are applied to the main view; if you have both the Before and After panes visible, changes will appear in the After pane.

Bug Fixes

  • Fixed issue with Fujifilm X-T1 raw images appearing too bright at high ISO settings when using Dynamic Range 200% and 400%. Unfortunately, this fix may affect the appearance of existing images captured with this combination of settings. It is recommended that you (1) purge the Camera Raw cache via the Camera Raw Preferences dialog, and (2) review images shot at ISO settings higher than 1600 for unexpected brightness changes.
  • Fixed image quality issue (noisy result) when applying spot healing to floating-point (HDR) images.
  • Fixed issue with reading lossless compressed Nikon raw files (NEF files) from the camera models listed below. Previously, some images could be read but would appear as random noise, whereas attempting to open others would result in an error dialog. You will need to purge your Camera Raw cache via the Camera Raw Preferences dialog.
    • Nikon D1
    • Nikon D1H
    • Nikon D1X
    • Nikon D2H
    • Nikon D2Hs
    • Nikon D2X
    • Nikon D2Xs
    • Nikon D100
    • Nikon D200

New Camera Support

  • Canon PowerShot G1 X Mark II
  • Fuji FinePix S1
  • Nikon 1 J4
  • Nikon 1 V3
  • Olympus OM-D E-M10
  • Panasonic LUMIX DMC-GH4 (*)

(*) denotes preliminary support

Adobe Camera RAW 8.5 Features for CS6 Users

Download the RC build here.

New Camera Support

The following new cameras are now supported:

  • Canon PowerShot G1 X Mark II
  • Fuji FinePix S1
  • Nikon 1 J4
  • Nikon 1 V3
  • Olympus OM-D E-M10
  • Panasonic LUMIX DMC-GH4 (*)

Join me on the Adobe Create Now 2014 World Tour!

CreateNow2014-TourBus-Terry-Jason-Paul

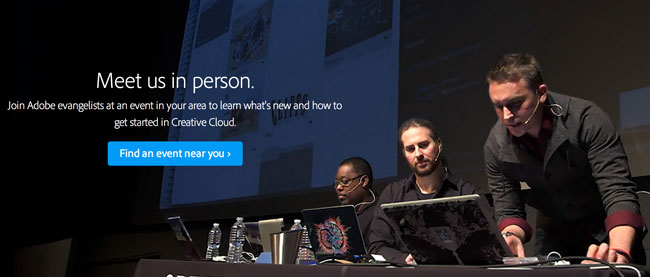
We put the band back together and we’re headed out on tour! Jason Levine, Paul Trani, myself and several other Adobe Evangelists are headed out on the ALL NEW Adobe Create Now 2014 World Tour. We’ll kick things off with a LIVE event in New York that will be webcast worldwide. and then immediately after we’ll be heading to a city (hopefully) near you.

Tune in Wednesday, June 18th, 2014 at 1PM ET to see “What’s Next in Creative Cloud” You can sign up right here.

meet_us_in_person_create_now

Then starting on Thursday, June 19th we’ll hit the road and visit several cities around the globe. This will give us the chance to go deeper in the products and show you even more. You can find out where we’re going and register for the one closest to you right here. If by chance you’re not near any of those major events, we’ll also be doing several more tour stops here. As usual you can see my upcoming events right here on the right sidebar of my blog (or at the bottom of this post if you’re looking at this on a smartphone.

2013-CreateNow-Chicago-2
Paul Trani and myself on stage during the Create Now 2013 Tour in Chicago

I look forward to see you all! This should be a lot of fun (saying that now of course before all the travel. 😉 )

Get a full year of Adobe Creative Cloud on sale here!


5 Things You Need To Know About Your Lightroom 5 Catalog

Lightroom_totem


In this episode of Adobe Creative Cloud TV, I’ll cover 5 important things you need to know about your Lightroom 5 catalog.

Are you missing out on my Bonus Content?

See more of my Adobe Creative Cloud Videos on my Adobe Creative Cloud TV and get the App below. It features EXCLUSIVE CONTENT that no one else gets to see. This episode has a BONUS CLIP that is available only in the App! My iOS App is a Universal App for iPhone, iPad and iPod touch. I also have an Android version on the Amazon App Store:

.


Shooting in bad light doesn’t have to suck!

wpid13463-ChristineJennax-0005_sm.jpg
No matter how good your subject is, bad light can be distracting.

Any good landscape photographer will tell you that you’ll get the best results if you’re up, out, and ready to shoot as the sun is coming up or as the sun is going down. Middle of the day is probably the absolute worst time to be outside shooting. However, if you’re shooting a wedding or other gig you may not have the luxury of having everyone on set before the sun comes up. Sometimes you’re going to be out in bad light. I hate it, you hate it, and we try to avoid it at all costs, but it may happen some day. Luckily if you’ve got the right gear, it doesn’t have to suck.

wpid13461-ChristineJennax-0266-Edit_sm.jpg
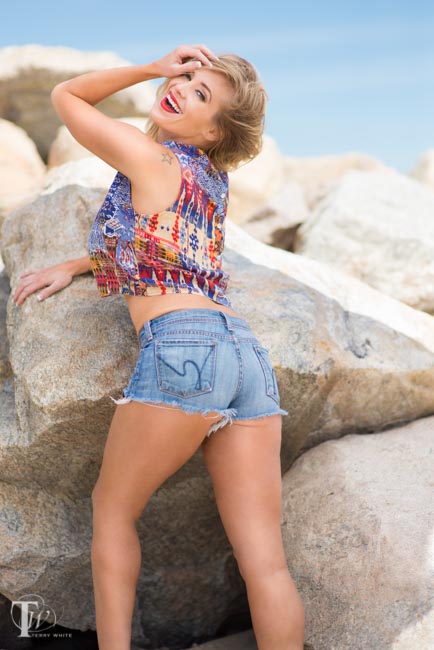
As you can see from the harsh mid-morning sun we have hard shadows and unflattering light.

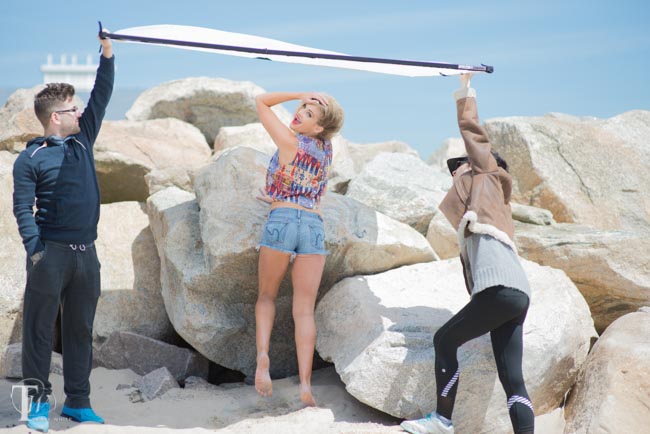
I recently did a beach shoot and I purposely waited until after 9AM to arrive on location. Yep, that’s right I purposely sabotaged my own shoot. I wanted to see if I could still get good results if I used a Scrim Jim Kit. The sun was up and the light was HARSH!

wpid13459-ChristineJennax-0263-Edit_sm.jpg

Any other time I would have turned around and headed back home. Even though it wasn’t noon, it looked like it was. Not only was the light harsh on the subjects, but it was a clear sunny day with no clouds and that meant a lot of squinting on the part of my models. It was just bad all the way around.


wpid13465-IMG_1679_sm.jpg

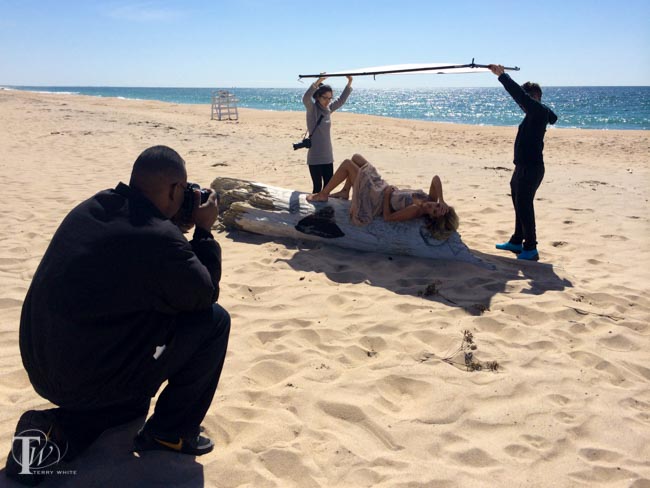
I set up the Westscott Scrim Jim Large Reflector Kit and I had two people to hold it for me over my subject to block the sun. Now instead of the sun being my enemy, the sun turned the Scrim Jim into a giant softbox with nice even light. The only problem was the wind. It was a windy cool morning and it was a challenge for my assistants to keep the large Scrim Jim in place. It was like holding a sail at times. However, they did a masterful job with it and I was able to shoot with sun being my ally instead of an enemy.

wpid13455-ChristineJennax-0075-Edit_sm.jpg
Shot with the Nikon D600, 85mm f/1.4 lens, ISO 200, f/1.8, 1/4000 sec.


The Bottom Line

wpid13457-ChristineJennax-0247-Edit_sm.jpg
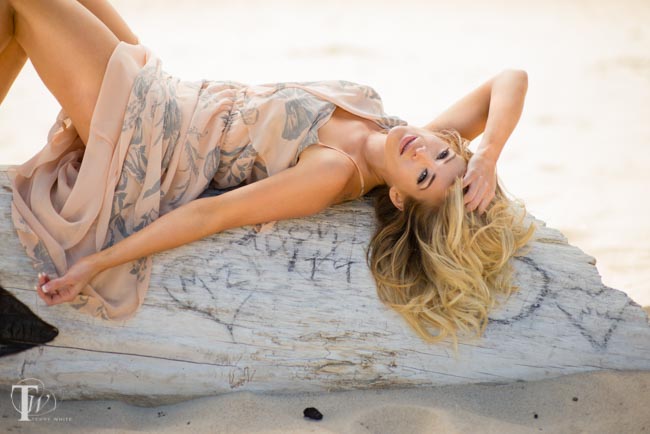
Now with the Westcott Scrim Jim Large Reflector Kit in place the light is much much better.

I still highly recommend that you shoot in good beautiful natural light. However, if the situation is out of your control and you need to be out in harsh lighting conditions, then I definitely recommend the Westcott Scrim Jim Large Reflector Kit.

wpid13453-ThaisVieira-0221-Edit_sm.jpg

Even when you’re not out in bad light you can use it as a reflector. It comes with both a 3/4 stop white diffusion fabric sheet and white/silver reflector fabric sheet and you can quickly attach either one as needed with the built-in Velcro. The frame is quick to assemble and disassemble and it comes in a nice carrying case. If the wind isn’t bad you can also get a stand to hold it for those times when you don’t have an assistant.

wpid13451-ThaisVieira-0102-Edit_sm.jpg

Shooting in bad light doesn’t have to suck! You can get the Westcott Scrim Jim Large Reflector Kit here.


How To Take Advantage of Linked Smart Objects in Photoshop CC

PS_CC_totem


In this episode of Adobe Creative Cloud TV, I’ll show you how to take advantage of linked smart objects in Photoshop CC. Not only can we place files as links in Photoshop now, but they can even be RAW files. See a workflow from Lightroom to Photoshop to InDesign and Muse.

Are you missing out on my Bonus Content?

See more of my Adobe Creative Cloud Videos on my Adobe Creative Cloud TV and get the App below. It features EXCLUSIVE CONTENT that no one else gets to see. This episode has a BONUS CLIP that is available only in the App! My iOS App is a Universal App for iPhone, iPad and iPod touch. I also have an Android version on the Amazon App Store:

.


Photographers: Why DNG?

DNG_logo

A few days ago one of my readers left a comment on one of my posts and he was basically asking why I convert my camera’s RAW files into DNG (Digital Negative) format? He asked if I had a post that I could refer him to about my reasons. I realized that while I’ve talked about converting RAW files into DNG format for years at seminars, training classes and on my videos, I’ve never really done a blog post on it. So here it is – Why DNG?:

What is DNG?

DNG stands for Digital Negative format. The problem with the RAW files that your camera produces is that they are proprietary. Also since every camera manufacturer makes their own RAW format (Nikon .NEF, Canon .CR2, etc.) there is no real standard. Each camera manufacturer does whatever they feel like in their format. This also means that not all software can read every RAW format because with each camera manufacturer and each new camera the software companies have to update their software to be compatible with the slight changes in each RAW format. Notice how your software never has to be upgraded to read JPEG files. That’s because JPEG is a universal, non-proprietary standard. You never have to worry about a company going out of business and therefore not being able to access your JPEG files. Like JPEG, DNG is an open standard. Although it was created by Adobe, it’s an open standard with a published specification. If Adobe did nothing else with DNG the standard would still live on. Some cameras even shoot natively in DNG format now.

Why I convert my Nikon .NEF files into DNG

I’ve been converting my Nikon, Sony, and Canon RAW files into DNG format for several years now. However, as usual the question comes up – why? Why go through the extra step to convert your files to DNG. Here are a few reasons for me:

  1. My images are my memories and can’t be replaced. I never want to worry about a day when I can’t open them up because of a company going out of business or deciding to stop support of a format. With DNG I have that extra peace of mind.
  2. DNG saves me space. On average my DNG files take up about 1MB less space than my original .NEF files. Since there’s no loss of quality I’ll happily take the storage savings.
  3. No XMP Sidecar Files! Since software programs can’t really edit RAW files (it’s the non-destructive benefit of working in RAW), any changes you make are made to a small text file that accompanies the RAW file. These small text files are called sidecar files and it becomes one more thing you have to keep track of. Now instead of a folder of images, you have a folder of images and sidecar files. With DNG the changes you make are written non-destructively right into the DNG file.
  4. Backwards compatibility.  DNG format has been supported since Photoshop 7, so I can hand off a DNG file from a camera that just came out to someone with an older version of Adobe Camera RAW or Lightroom and they’d be able to open it up and work on it.

How To Convert Your RAW files to DNG format

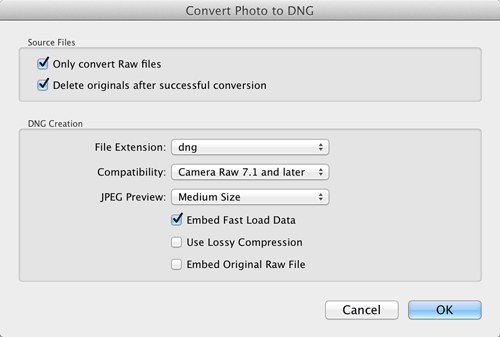
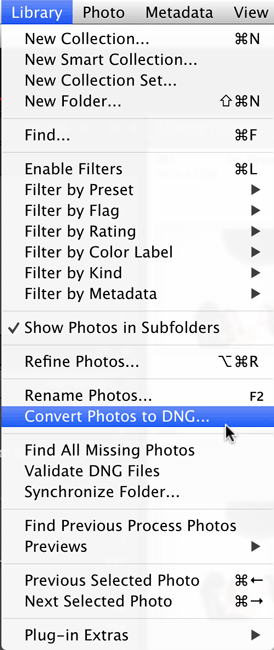
Like I said, I’ve been converting my RAW files into DNG for years now. I do it upon import into Adobe Lightroom. However, if you’ve already got images in Lightroom that are in your camera’s RAW format, you can convert them after the fact by selecting the ones you want to convert and choosing “Convert Photos to DNG” from the Library menu.

convert_to_DNG

If you’re not using Lightroom, Adobe actually makes a FREE stand alone DNG converter. It’s always updated anytime there is a new version of Adobe Camera RAW or Lightroom so that it has support for the latest digital cameras and their RAW formats. You can learn more about DNG and grab the FREE DNG converter for Mac or Win here.

LR_convert_to_DNG_dialog