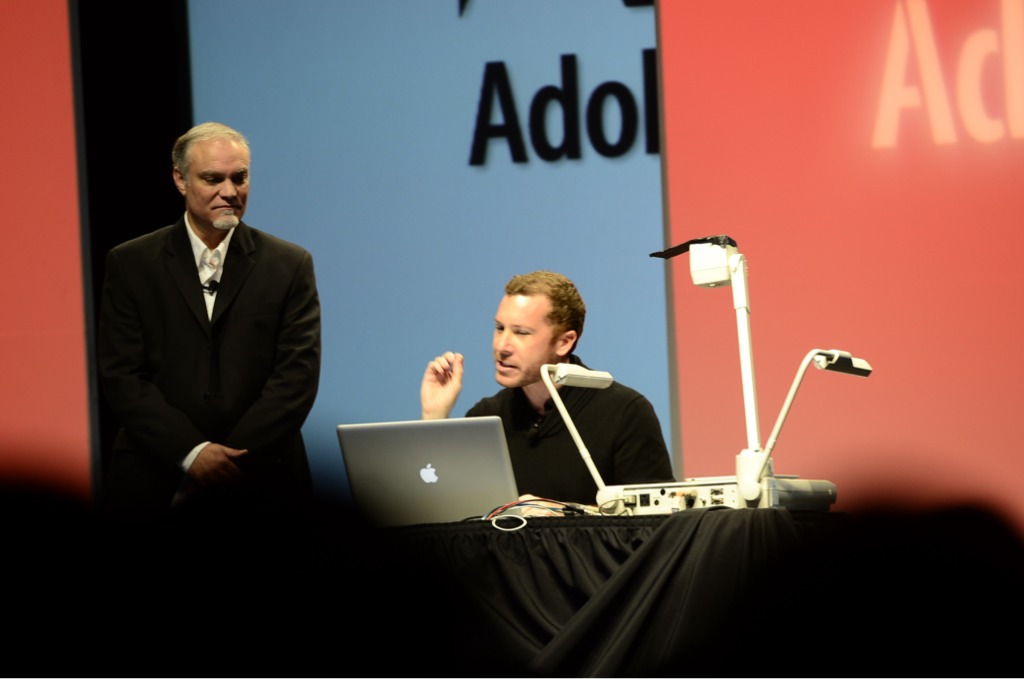
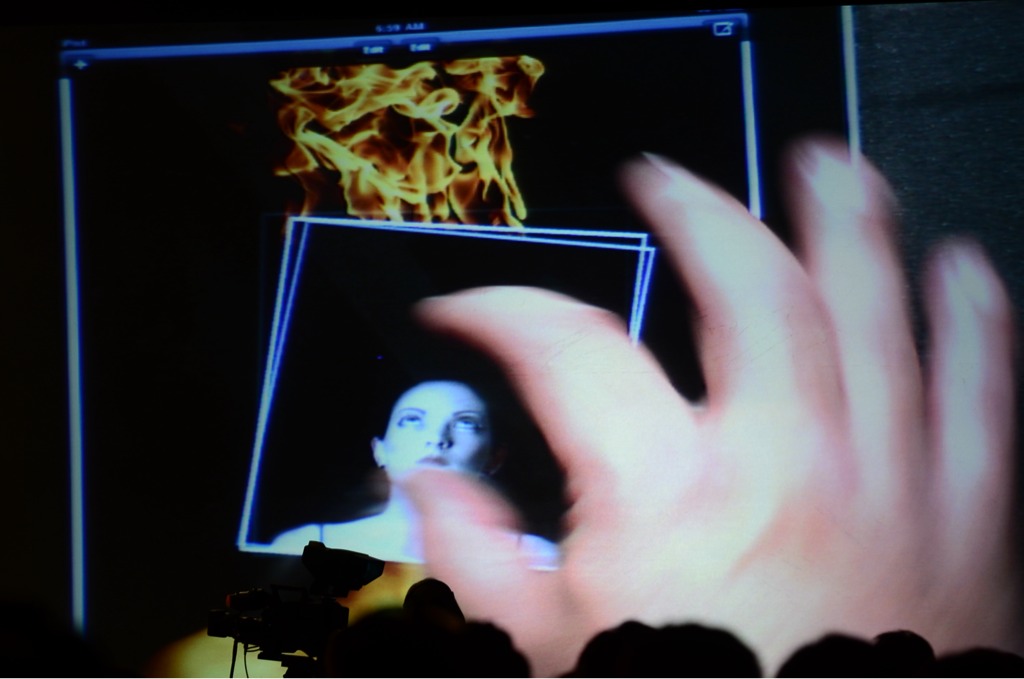
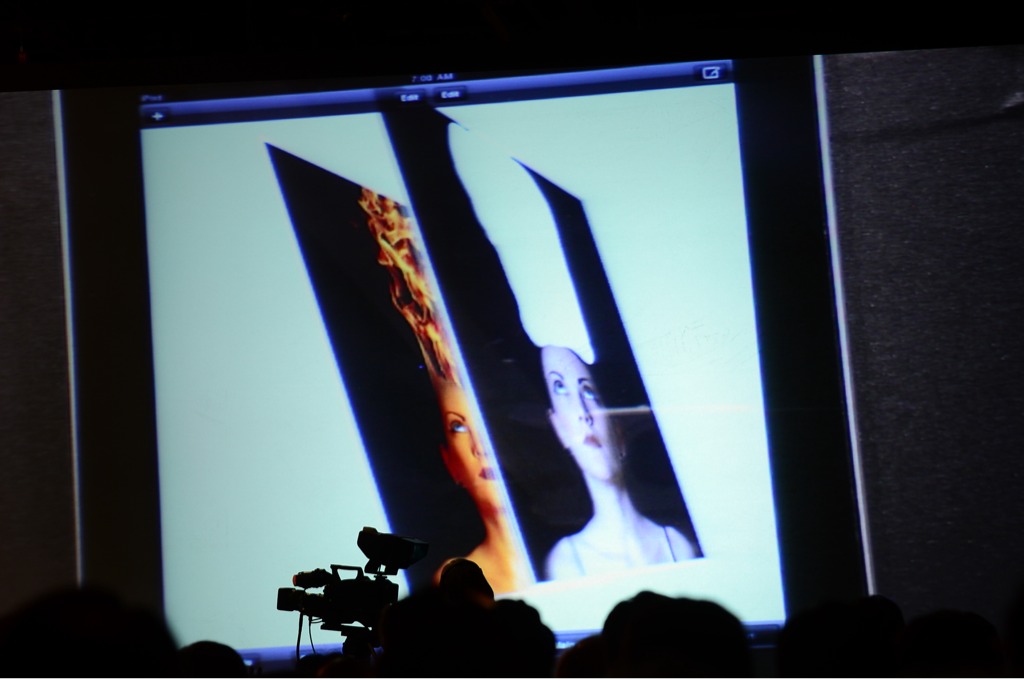
I’m here live at the Photoshop World Keynote where the theme is “Project Photoshop”. Photoshop project manager Brian O’Neil Hughes is showing some hidden gems in PS CS5. He’s also sneaking some cool NEW Tablet based technologies to tie into Photoshop as well as some slick NEW lens correction technologies in the Adobe labs.
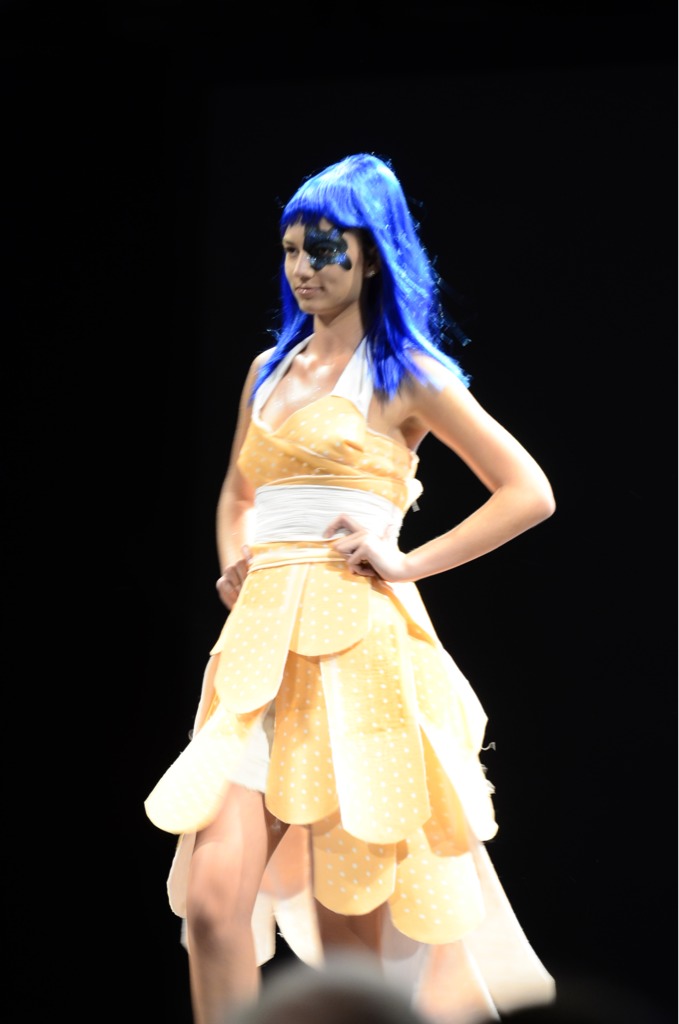
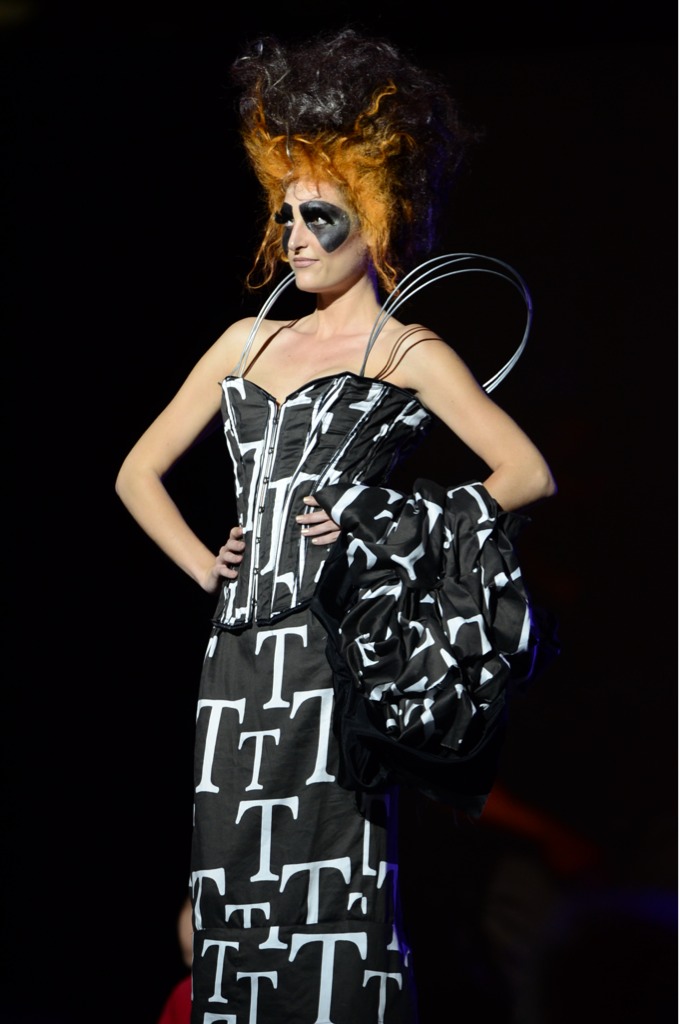
Needless to say, the fashions are Photoshop based 🙂
If you’re a photographer and you own an iPad you probably already know the benefits of showing off your photos on that nice 10″ display. However, chances are at some point you also had a wish to get your images to your iPad either directly from your camera (tethering) or from your computer wirelessly (not having to sync them over via iTunes – even typing it sounds so outdated). There are ways to do it! I’m at Photoshop World this week and I got a chance to try a new combination (new to me anyway) of the latest Eye-Fi Pro X2 SD card and a cool App called Shuttersnitch for iOS. I reviewed the first Eye-Fi a little over 3 years ago. While the technology worked backed then, and like I said in my review at the time, I really didn’t have any use for it. Back then the idea was this card would wirelessly and automatically transfer your images to your computer or a photo sharing site. First of all I have no interest in uploading images to a photo sharing site directly from my camera without some post processing. Secondly even the transfer to the computer was way too slow. You might as well just pop the card in your card reader and transfer them over in a fraction of the time. Lastly back then the card didn’t support RAW files. Yep, it was a non-starter for me. After I did the review I never touched the card again.
3 years later…I have a use for Eye-Fi cards
As with most technologies, they tend to improve over time. While I still have very little interest in the Eye-Fi cards for wireless transfer to my computer (still a bit too slow) or uploading directly to a photo sharing site, I’m intrigued by the thought of shooing wirelessly into my iPad. While there are other tethering solutions for the iPad out there, they tend to all involve using a computer in the middle of the process to tether your camera to and then transmit the images via WiFi to your iPad. This solution doesn’t require a computer beyond the initial setup of the Eye-Fi Card itself.
How does it work?
First you need an Eye-Fi Card. I went with the Eye-Fi Pro X2 8GB card because it’s the only that does support RAW files. If you don’t care about shooting in RAW then you can use one of the less expensive cards. The card comes with a card reader and the software you’ll need to install for your Mac/PC to set the card up. The Eye-Fi card has its own built-in WiFi chip and this latest model supports 802.11n which helps out a lot on the speed! After configuring the card to join your wireless network, you need to disable all other image transfer options. In other words, just setup the card to join your hotspot, but NOT to transfer images to your computer. I shot with my Nikon D7000. For a mobile hotspot, I used my UNLOCKED GSM MiFi 2372 hotspot. It should work with just about any WiFi network as long as both the card and iPad are on the same network. It also should work with the Personal Hotspot feature of the iPhone.
UPDATE: Eye-Fi Cards now support Direct Mode. No need for a hotspot!
Next you’ll need the Shuttersnitch App
The Shuttersnitch App is the App you’ll need on your iPad to talk with your Eye-Fi card. While this App does have native Eye-Fi support built-in, it’s not limited to Eye-Fi cards. It will work with other wireless camera solutions. I hear that David Ziser and his sidekick Damie Tepe are running around here at Photoshop World somewhere showing this with the Canon Wireless Transmitter (instead of the Eye-Fi Card) and getting some SPEEDY transfers (like 1.4 seconds of FINE JPGs) directly, sans the mobile hotspot (probably in an AdHoc mode). I’ve got to check him out and see how he’s doing this?
Once you log into your Eye-Fi account via the App it sends the secret signal over to your selected Eye-Fi card to pair the two together. Now when both your iPad and your Eye-Fi card in your camera are on the same network, your images will automatically transfer over to the Shuttersnitch App so that you can view them right on your iOS device.
This was the big question I had that I couldn’t seem to find an answer on, so of course I had to try it myself. It’s good, but not great! As you might expect RAW files are going to be slowest. It could take anywhere from 20-30 seconds to transfer a 14MP RAW file from my D7000. The story gets much better if you shoot JPEG. When I shoot JPEG I get anywhere from 9-13 seconds depending on the JPEG quality setting I use. Also keep in mind that the images are still on the card too for transferring to your computer later. An even better workflow for my Nikon D7000 is to shoot JPEG BASIC to the Eye-Fi card for the fastest transfer to the iPad and RAW to the second SD card slot. Finally! A reason for me to like RAW+JPEG shooting. LOL, Thanks Jason for the idea.
Here’s an idea of how it works:
What about Compact Flash?
Eye-Fi cards have always been aimed at consumers and like it or not SD is the predominant format in consumer cameras. However, don’t fret my CF shooting pro friends. With this adapter you can can stick an SD Eye-Fi card in your CF based camera. NOTE: This Adapter does NOT work with the newest X2 cards and also keep in mind that this is NOT officially supported. You do so at your own risk!
The Bottom Line
If you’ve got an iPad and an SD based camera, the Eye-Fi Pro X2 card plus the Shuttersnitch App is a nice way to go. If you have a CF based DSLR camera, then you might want to consider other wireless transmitter options.
It’s that time of year again and I’m happy once again to be teaching and presenting at Photoshop World Orlando this week. As a result my blogging schedule will be all out of whack and therefore I’ll be blogging on the go and from different devices.
Looking forward to seeing you if you’re here. Let’s have fun!
In this episode I'll show you how to remove unwanted noise from the audio track of your video. Using Adobe Soundbooth CS5 I can roundtrip the video over, take out the annoying hum and bring it right back to the timeline in a non-destructive manner.
See more of my Adobe Creative Suite Videos on my Adobe Creative Suite Podcast and get the App here. It features EXCLUSIVE CONTENT that no one else gets to see. This episode has a BONUS CLIP that is available only in the App:
There is no easier lighting setup to use than the Westcott Spiderlite TD5's. While these lights are great, everyone that uses them says the same thing. "I wish they were brighter." In other words we all wish they output a little more light. Westcott has answered our wishes with the new Spiderlite TD6's. Instead of 5 daylight balanced fluorescent bulbs you not get to use 6. This means 1200W of output instead of 900W of output on the TD5s and that makes all the difference in the world. In fact for everything but their giant softbox, a 6 foot shallow rectangle softbox <-this softbox is amazing though, I can now shoot at 200 ISO as opposed to 400 ISO.
It's more than just an extra bulb
They also made some additional and welcomed improvements. The switches on the back and now more high quality and professional looking. They also added a much needed cord switch to turn the entire unit on/off without having to climb up on a ladder when you have the lights mounted high. Speaking of the cord it's longer too. Basically the TD6 is improves over the TD5 in just about every way possible.
The Bottom Line
Although I love my strobes, I'm still amazed by the results I get with the continuous lighting the Spiderlites. Life will only be better with the enhancements on the TD6's. They don't get hot and are great to use in workshops/classes where you will have multiple shooters. If you're doing product photography they rock for that too! Thanks Westcott!
You can get a single Spiderlite TD6 here for about $420. My recommendation is that if you have Spiderlites already, then perhaps one TD6 to replace your main TD5. Otherwise, I would recommend this kit if you're starting out. I use a setup like this one for most of the portrait work I do!
It's almost time for Photoshop World! It's next week and I'll be teaching at this year's East Coast show. My classes are the same as they were in Vegas last fall although I'll be adding a few new twists to my Creating Interactive Portfolios Class. I'll also have some updated information for my Facebook class too.
Introduction to Adobe InDesign CS5
Creating Interactive Portfolios in InDesign CS5
Why you should be on Facebook
Importing & Managing your Images in Adobe Photoshop Lightroom 3
Don't forget to see me on the show floor as well. I have sessions scheduled in the Adobe booth as well as partner booths such as Westcott, Elinchrom, and Wacom.
See you next week and if you have an iOS device don't forget to grab the free App here from the
I've had a pack of ExpoImaging Rogue FlashBenders sitting around for a while now. I decided to take them with me to my last workshop at Precision-Camera University. I figured I'd kill two birds with one stone. This way I could teach the class on how to use studio lighting with the NEW Westcott Spiderlite TD6's, but also spend a few minutes showing what I travel with as a very portable speedlight lighting kit. Normally I travel with a Nikon SB-900 speedlight, Westcott shoot-through umbrella and small light stand for off camera flash. I had these elements with me in my carryon and showed the class how to use the umbrella. Then I broke out my Rouge FlashBenders by the same company that gave us ExpoDisc for white balancing our DSLRs.
I was blown away!
They worked way better than I imagined they would. You get 3 FlashBenders in a pack and they are designed to velcro right onto your speedlight. You can then "bend" them to aim the light any way you want. Using the configuration above, I got this shot:
ISO 200, 85mm (Nikon 85mm f/1/4 Lens), f/1.4, 1/125 sec
Next I decided to create a more dramatic look (not something I would do in a beauty setup), but using the medium sized one in a snoot configuration. With it I captured this shot.
ISO 400, 102mm (Nikon VR II 70-200 f/2.8 Lens), f/5.0, 1/80sec
The beauty of these is that they are completely flat when not in use and EASILY fit in the outer pocket of my carryon suitcase. Sure I'll take a giant softbox any day I can get one, but in situations when I'm on the road and taking portraits or lighting other scenes with my speedlights, these are AWESOME!
As a gadget guy I love finding gadgets that are useful but sometimes fly below the radar because they are not by the big named manufacturers. A lot of times there's a gadget out there that fills a need and unless you happen to be in the right place at the right time you may never know about it. Although I had ordered an LED video light from LCD4Video.com in the past, I had no idea that 1) they were located right in my backyard and 2) they have so many other cool little accessories for video and and still photography.
LCD4Video
They sell the usual gear such as cameras, lenses, tripods, cases and lighting equipment, but they also manufacture specialty items under their own brand. I had the chance to visit their location last week to attend a seminar put on by my good friend Mark Astman representing Manfrotto, Lastolite and Elinchrom. I didn't realize the connection between the seminar and the venue until I arrived. During one of the breaks I popped into the show room and before you know it I was buying hundreds of dollars in gear. 🙂
I wanted a small HD monitor that would fit in my hotshow on my Nikon D7000 for doing DSLR video. I also wanted another battery operated LED light for doing video podcasts. These guys had everything I wanted and even the things I never knew existed. George runs a great business and sticks behind what he sells.
I highly recommend that you check out their site and the vast collection of products they offer! It's also always good to support the local dealers when possible.
Like I said in my iPad 2 Review, I really like the new Smart Covers for the ease of taking them off and putting them on and leaving the dock connecter exposed and dockable in keyboard dock as well as the charging dock. What I didn't like was having the back of the iPad completely exposed to scratches. So as soon as Gelaskins.com offered iPad 2 Gelaskins I placed my order. My custom designed Gelaskin arrived yesterday and fits beautifully on the iPad 2. Most importantly it works great with the Smart Covers. These skins don't use glue, they are vinyl decals that use 3M adhesive, which is repositionable. For example, I moved the one from my older MacBook Pro to my newer MacBook Pro in about 30 seconds. Since these skins are vinyl they are really designed for "looks" and scratch resistance. If you drop your device on a hard surface, it will likely get damaged. If that's your worry then get a case (not a cover or a skin).
I've been very happy with my Gelaskins over the years and this new one makes the outside of my iPad 2 complete.
You can get your own Gelaskin for a variety of different devices here at Gelaskins.com
I had the great pleasure of teaching my Digital Photography Lighting and Workflow Session at the Precision Camera University this past weekend. I went into this weekend with quite a bit of trepidation. I was worried that I wouldn't have enough material to fill an 8 hour day (3 days in a row).
Part of my day was spent showing various lighting setups using the NEW Westcott Spiderlite TD6's and the rest of my day was spent showing my workflow from start to finish including everything from signing model releases with Easy Release on the iPad, importing images into Adobe Lightroom 3 and managing them, delivery of the web proofing gallery via the TTG Highslide Gallery Pro plug-in and retouching in Adobe Photoshop CS5. Needless to say by the time I did all of this and allowed time for the students to shoot using the various setups that I did each day flew by.
prepping for a group shot with all the attendees, I stole this opportunity to grab one using my iPhone 4.
It was an honor presenting along side Michele Celentano, Tony Corbell and David Guy Maynard at this event. Also I have to thank the staff at Precision Camera for all the hard work that went into coordinating this 3 day event with multiple simultaneous tracks, location scouting and model/makeup/wardrobe setup.
John Williamson was on hand from Westcott
It was a pleasant surprise to walk in and see my buddy John from Westcott. Westcott was one of the sponsors of the event and I was there on their behalf as well as Adobe's behalf. While it was great seeing John again, he was a huge help in my classes acting as photographer assistent and I imposed upon him to kick each day off explaining the six styles of lighting. I've never heard anyone explain it the way he does and I didn't want my class to miss that opportunity. John also made for a very handsome male model 🙂
Briana, Cheryl-Rose, Jennifer & Sarah
Without the great models this workshop would have been a lot harder to teach!
Thanks!
A Special Thanks goes out to all of my students over the 3 day period. You had a choice in instructors and you chose my class. So I thank you for spending a day with me and hearing what I had to say.