Hey! That’s my work in the Westcott Catalog – Late 2013 Edition

westcott-catalog-v2

As we bring the curtain down on 2013 and as I look back on this year, one of the highlights for me was simply getting better at my photography hobby. One of the things that makes me really proud is to see my work in print with major lighting manufacturers. After all these are the folks actually selling gear to photographers and they are probably going to be pickiest about how their products are represented. I’ve had a good relationship with F.J. Westcott and I was thrilled to see my work represented once again in the Westcott Catalog. Check out their Late 2013 Edition here in PDF. Not only is my work in it, but it’s one heck of a catalog covering all of their gear. See more of my photography here. Also check out my Westcott Terry White Travel Portrait Lighting Kit Here.

Year End Deals

Also check out year end deals on their gear here.

Review: The Rapid Box Strip by Westcott

rapid_box_strip

Here I was completely happy with my Westcott Terry White Travel Portrait Lighting Kit and then I went to Photoshop World Vegas. I brought my 26″ Rapid Box Octa with me and had a great shoot at Red Rock Canyon before the show even opened. However, once I got to the Photoshop World trade show floor and over to the Westcott booth, I noticed a “different” Rapid Box. I had no idea that they had a Rapid Box Strip! I use strip bank softboxes all the time in studio for rim lighting. When I saw the Rapid Box Strip it was pretty much an immediate “must have” situation for me. Now with a couple of speedlights and a couple of Rapid Boxes I could really have some fun on location.

It’s as easy to set up and just as compact as the Rapid Box Octa

rapid_box_strip_2

When I took it out of the box and looked at the carrying case it looked identical to the Rapid Box Octa. It was also just as easy to set up. Basically pop it open, put it on the supplied tilting bracket, put the 1-stop diffusion cover over the front, slide on your speedlight and you’re ready to shoot.

wpid12773-TLW3720_sm.jpg

While I haven’t had a chance to take it on location yet, I did a quick impromptu shoot with Scott Diussa from Nikon who was visiting my studio. He was also impressed by the ease and quick set up. Disclaimer: Scott is not a professional model. He is a professional on the other side of the camera and a great musician 🙂 He humored me as a friend.

The Bottom Line

rapid_box_strip_3

If you’re looking for good quality, easy to set up and use softboxes for travel, I can’t recommend the Rapid Box line enough (no, I don’t get paid a dime by Westcott to review or recommend their products). They’re my primary light modifiers when I’m on the road! I love the “octa” shape and “strip” shape in studio and now I have them on the road too.

wpid12775-TLW3723_sm.jpg

You can get the Rapid Box 26″ Octa here

You can get the Rapid Box Strip 10″x 24″ here

You can get my Westcott Terry White Portrait Travel Kit here.


I made it onto the Westcott Rapid Box Box!

rapidbox-box

F.J. Westcott liked the images from my recent shoot at Red Rock Canyon so much that they inquired about using them on the Westcott Rapid Box 26″ Octa packaging. I was thrilled to work it out with them and once again honored to have my work in print with brands that I admire. PocketWizard was also happy with the results and mentioned them in their “Making Waves” blog post here.

See my Westcott Travel Portrait Lighting Kit here.

See more of my photography here.

wpid12669-KandiceLynn25-0126-Edit_sm.jpg


Taking My Westcott Travel Portrait Lighting Kit Out For A Spin

wpid12577-KandiceLynn22-0054-Edit_sm.jpg

I finally got a chance to really put my “Terry White Travel Portrait Lighting Kit” to the test. I was doing an educational video shoot with Westcott and of course capturing some new images for my upcoming Photoshop and Lightroom tutorials (I can never have too many example images).

wpid12575-KandiceLynn22-0014_sm.jpg

We decided to head to the lake! The biggest problem as you can see above was it was the wrong time of day. Actually it was the worst time of day! High noon.

wpid12579-KandiceLynn22-0055-Edit_sm.jpg

Luckily it was partly cloudy and therefore it was a matter of patience and waiting for big clouds to block the sun. I consider myself to be very LUCKY. This shoot had all the wrong conditions and should have been a bust.

wpid12583-Tania-0027_sm.jpg

The kit performed very well. I used my Nikon SB900 on it and was able to cast just the right amount of soft beautiful light on my subjects.

wpid12581-Tania-0011-Edit_sm.jpg

What I learned

photo by Kandice Lynn

It wasn’t so much what I learned as much as it was what I was reminded of. Time of day is probably the most important factor in doing any kind of outdoor shoot. Especially landscapes since you won’t be lighting them. I was also painfully reminded to make a checklist (I need a better app for this). I packed filters that I forgot to take out and use. I could have wirelessly shot to my iPad and didn’t bother setting that up, yet I complained the whole time about not being able to see the LCD on the back of my camera. I wanted to shoot a little video using my AR Drone 2.0, but both batteries were dead as they had sat for weeks without being used. Yes, I got good images, but in spite of my mistakes. On the bright side I definitely have images to show how to correct in Lightroom and Photoshop 😉

Check out my Westcott Terry White Travel Portrait Lighting Kit here.

TWPworkshopSQUARE


Review: Westcott Skylux LED Studio Light

Skylux

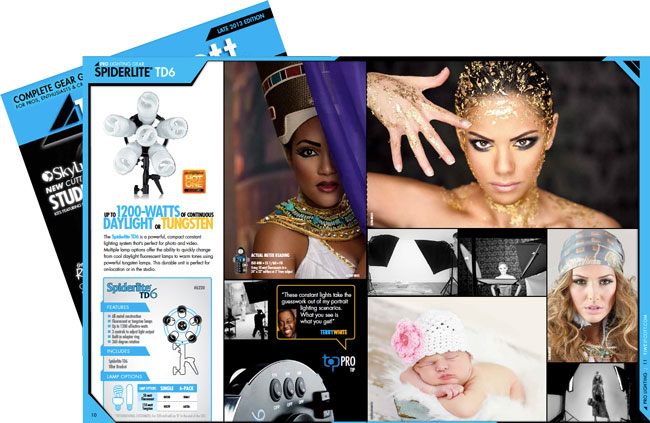
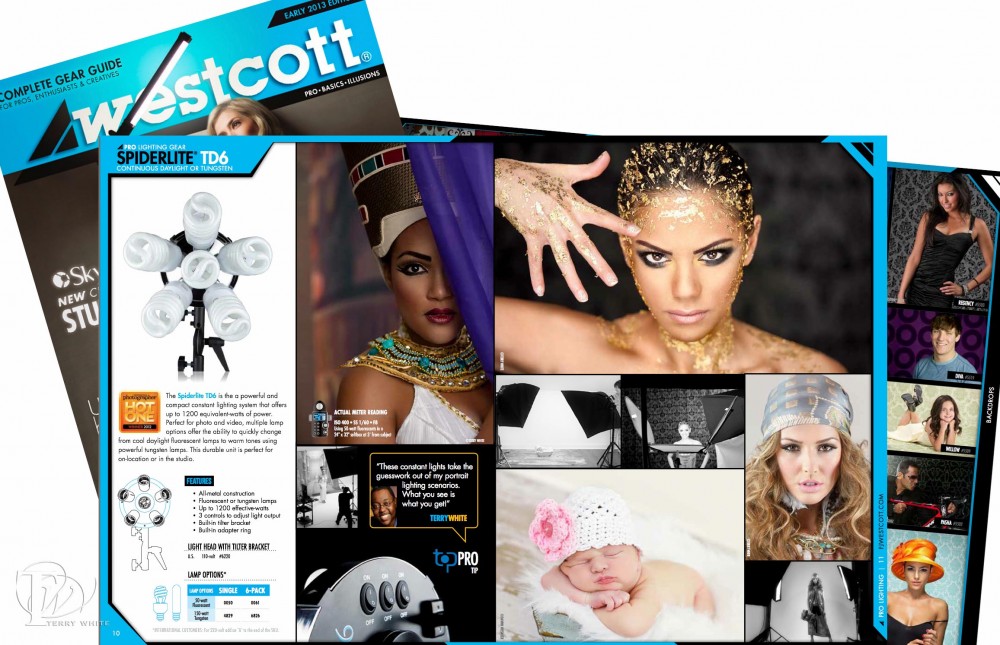
I use both standard studio strobes AND continuous lighting. I pick and choose between the two depending on what I’m lighting and what I think will do a better job. For my continuous lighting I have relied on the Westcott’s Spiderlite TD5 and TD6. The TD6 has really served me well with a better overall design over its predecessor. As nice as the Spiderlites are the one thing you’ll never hear anyone say is that they are “easy” to travel with! With the TD6 you have a fairly large head and 6 individual bulbs that need to be unscrewed and packed in a way that they won’t break. Clearly studio strobes and speedlights have the advantage here. So Westcott thought outside the box and combined the two

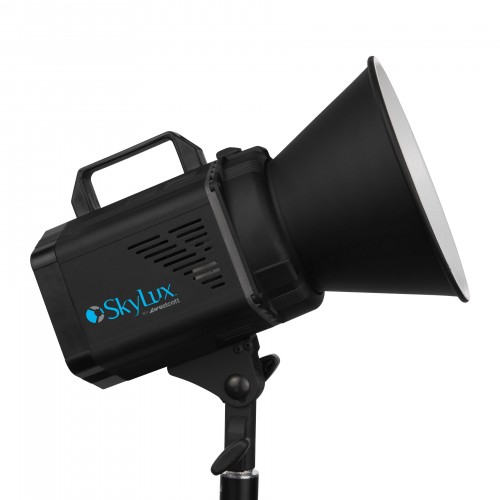
The NEW Westcott Skylux

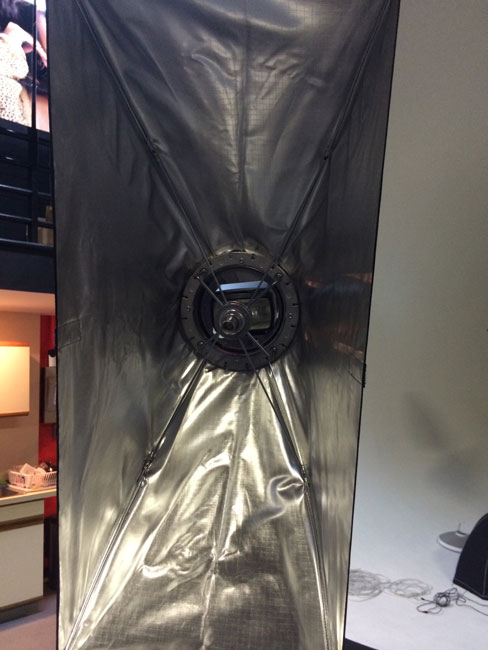
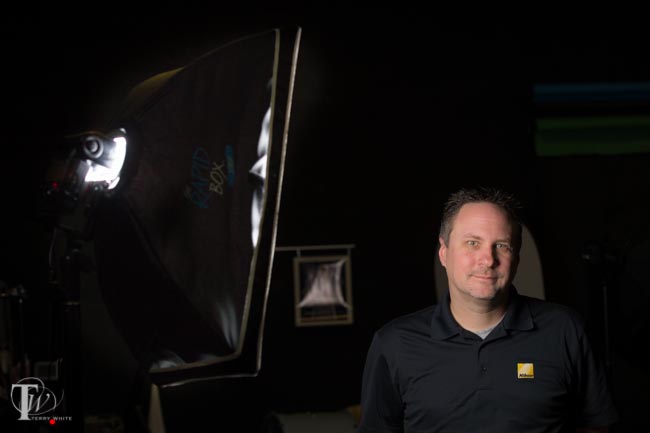
The Skylux is an LED continuous light in the form factor of a regular studio strobe. This is smart for a few reasons. First off they are smaller and MUCH EASIER to travel with. Set up is also faster as it’s just a matter of putting the light on a light stand and attaching whichever modifier you prefer. Speaking of modifiers, that’s the next advantage. You can use virtually ANY light modifier you want. There’s a built-in umbrella mount and you can use a Bowens S-Type Mount Speedring to adapt any of your existing softboxes.

wpid12532-Zahava7-0012-Edit_sm.jpg

The Skylux puts out a 1,000 watt equivalent of soft beautiful light. This puts it on par with the TD6. It also has a dimmer on the back to dial it up or down to give you a 30%-100% range.

wpid12549-skylux-overhead_sm.jpg

The Skylux is 5,500K daylight balanced just like the Spiderlites. This is something that a lot of people take for granted and sometimes go with cheaper solutions only to find out that the color temperature of some of those cheaper products can vary over time.

wpid12538-Zahava7-0096_sm.jpg

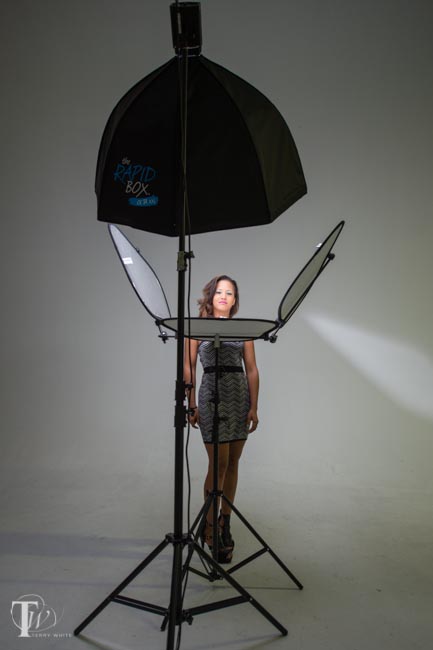
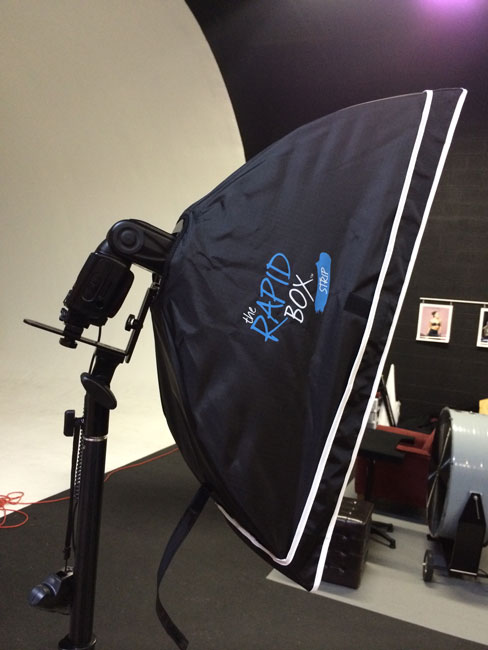
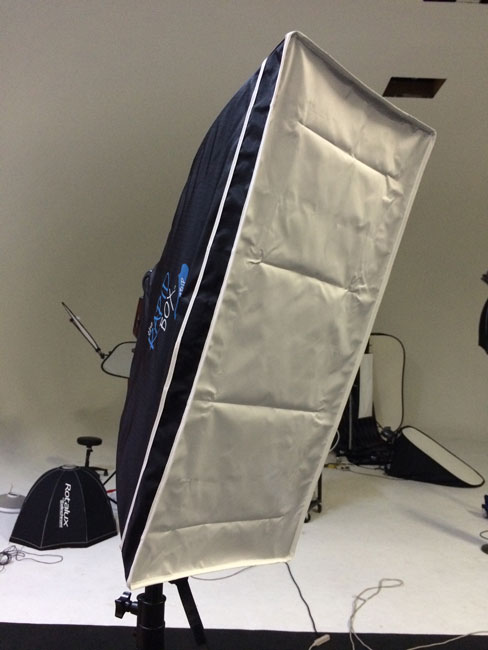
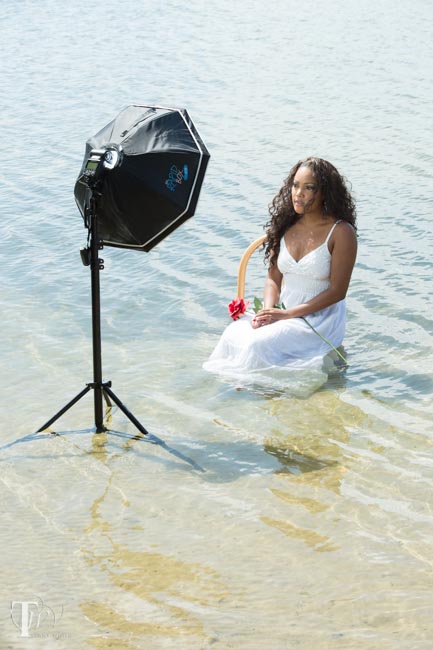
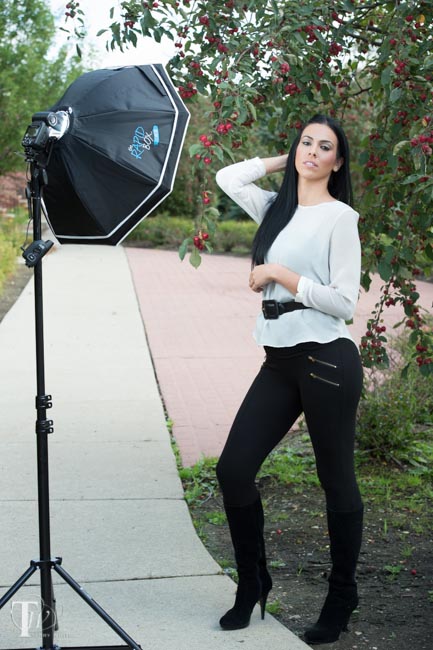
You can buy the Skylux as a standalone light or in a complete kit with a stand and either a 36″ or 48″ deep octa softbox as pictured above.

The Good

wpid12536-Zahava7-0052-Edit_sm.jpg

OK so what do I like about the Skylux?

  • Small compact design that fits right in with my strobes
  • Lightweight and easy to travel with if need be.
  • LED light is cool (low heat)
  • Great for both still photography AND video
  • Low fan noise which is crucial for video
  • Easily adaptable to various modifiers
  • Great catchlights


The “Could Be Better”

wpid12534-Zahava7-0033-Edit_sm.jpg

Like any product the Skylux is not perfect and many of you know that I try to do fair and balanced reviews so here’s the areas where the Skylux could be better:

  • Like the Spiderlites, the light output is good, bright and soft, but strobes will give you more light. This means that in certain situations you’ll either need to lower your F-stop, slow your shutter speed or increase your ISO to expose the shot the way you want. With most modern day DSLRs you can usually go up to 800 ISO without batting an eye, but I like to stay at 200-400 ISO as much as I can.
  • There is a power switch on the back of the Skylux head AND on the power brick. However the dimmer is only on the back of the Skylux head. I’d love to see one on the power brick as well.
  • Speaking of the power brick, it is a BRICK and large. In studio this is no big deal at all, but on the go it does add weight and little more bulk.

The Bottom Line

Westcott is no stranger to LED continuous lighting solutions. See the Ice Light below. The products are great and provide great professional results. I have no problem recommending. However, like most newer technologies there is a price to pay and the cost of LED continuous lighting may be price prohibitive to some. What helps me justify the cost in my head is knowing that these solutions can not only be used for still photography, but also for video work. Since every DSLR being made today does both still photos AND video, video lighting is something that more and more people will want to have. I welcome the Skylux to my arsenal.

Skylux Head

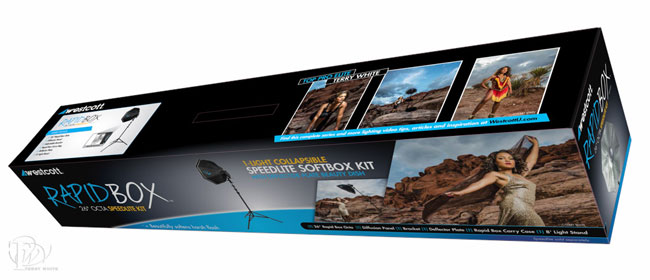
Skylux XL kit with Rapid Box 36″ Softbox

Skylux XXL kit with Rapid Box 48″ Softbox


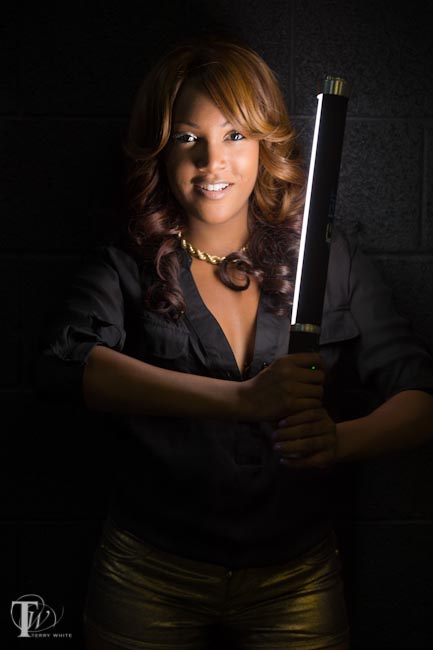
See my original Ice Light Review here.

wpid12530-KandiceLynn21-0008-Edit_sm.jpg

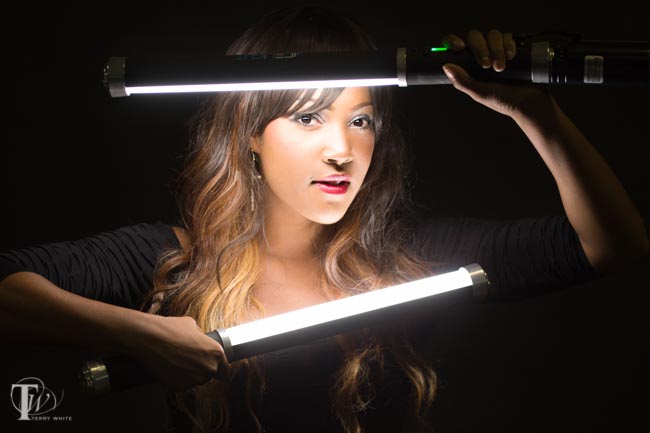
I’m still trying to figure out if I like the Ice Light so much because of being a Star Wars fan 🙂

Continue reading “Review: Westcott Skylux LED Studio Light”

Tripple the Run Time of your Ice Light

I reviewed the Westcott Ice Light last fall and while this is a great, bright LED continuous light for photography, the one thing that hampers its use on location is the relatively short battery life of 60 minutes. If you’re near an AC outlet, no problem because you can just plug it in and run it for as long as you need. However, the point of most portable light solutions is that you can use them in the field on battery and 60 minutes for most just won’t be long enough for an extended shoot. Since the rechargeable battery is built-in there’s no choice but to plug the whole unit in once it goes dead. Westcott has addressed this shortcoming by offering an external battery.

The Ice Light Power Battery Pack

icelightbattery

This optional battery back can more than tripple the battery life of your Ice Light without being so big or so heavy that you wouldn’t want to travel with it. It’s actually quite compact considering the amount of extra juice you’re going to get out of it. Once you charge the battery pack you can use it to either power an Ice Light or charge it. The Ice Light Power Battery Pack runs for 2.5 hours and can give your Ice Light up to 5 hours total run time. Now we’re talking! 3-5 hours is great for the average half day shoot. Also if the AC plug is not right at the shooting location, you can charge the battery pack in another room and walk it over to the shoot in progress as needed.

Sounds great! However, my only issue with the solution unfortunately is the price. The external battery already adds to an already high priced piece of gear.

You can get the Ice Light Battery Pack here

You can get the Ice Light here.

Hey, Speaking of Westcott – check out my work in their New 2013 Interactive Catalog

See it here.

wpid12040-Westcott_WPPI_showguide_sm.jpg

Continue reading “Tripple the Run Time of your Ice Light”

Hey! That’s My Work in Print and On Display at Photoshop World

Photoshop World 2012 Show Guide – Model: Kandice Lynn, Makeup Artist: Houda Bazzi

Nothing pleases me more as a photographer than to see my work in print or on display. At this year’s Photoshop World Vegas my Egyptian themed shot was used in Westcott’s ad in the Photoshop World Conference Schedule/map book and the good folks over at Metal Mural had one of my images on display in their booth. See more of my work in print here.

Metal Mural Booth – Model: Aferdita DreSHaj, Makeup Artist: Renata MUA

I also caught this one!

The Westcott Shootout Contest – My image in the lower right corner

Shoot with a Lightsaber er um Westcott IceLight ;-)

I recently got a chance to shoot with the Westcott IceLight. The IceLight is a portable continuous “daylight balanced” LED light source. It can run on its built-in rechargeable battery or AC power.

Think of it as a portable Spiderlite TDx

The fact that it’s continuous light, like the Spiderlite TD6 means that what you see is what you get. If it’s not lighting your subject properly you’ll see it right in the shot before you take it.  It’s fully dimmable, 1,160 lumen LED rated at 50,000 hours. The built-in battery will last about 60 minutes before needing another charge.

The IceLight creates a nice soft natural light.


I was skeptical at first until I took my 1st couple of shots with it. The IceLight can be hand held by the subject or an assistant or you can mount it on a light stand. When you turn it on you won’t be able to help yourself. You will wave it around like a lightsaber. It’s OK. Go for it. Have fun. Just make sure no one is video recording you or that you right don’t get into a real battle and damage it. After your Jedi workout is over, you can then concentrate on using it for your shoot.

When the model/your subject holds the IceLight they may have a natural tendency to turn the light away from their eyes. After all it is bright! So you may have to instruct them to turn it towards themselves more or do it yourself. This is why it may be better in some cases to put it on a light stand. However, you will then lose the creativity that some subjects may have in how they hold. In fact I encourage you to let your subject hold it the way they want at least for part of the shoot. You’ll get some really interesting looks that way.


The Bottom Line

The IceLight is a great addition to my on-the-go photography gear. I can quickly and easily create different dramatic looks without having to rely on a bunch of different modifiers for my speedlight. It also comes with clips to attach gels. The one suggestion I would have to the engineers at Westcott is to make the “power” button both an on and off button. Right now it only turns it OFF and you use the up/down dim buttons to turn it on. Most people will try to press the power button to turn it on and wonder why it’s not working?

The IceLight is nice but this convenience does come a price though. The IceLight is not cheap. You can get the IceLight here.

New X-Drop Backdrops by Westcott

My buddy and fellow photographer Rynelle Walker posed against a Mist X-Drop


If you’re traveling to do an on location portrait shoot you can either utilize the surrounding area as your backdrop or bring your own. Using a nice location is great, but what if you don’t have one? I’ve done family portraits in hotel hallways and hospitality suites during family reunions and let’s just say that the wallpaper in these venues usually isn’t good enough. However, traveling with a full blown backdrop and support system can be a pain too.

Westcott X-Drop Backdrops

Westcott just introduced a series of 5’x7′ backdrops and a kit to hold them up. When I first saw them I was really only interested in the backdrops themselves. I wasn’t really thinking about a support to hang them since I already have a couple. However, I got a kit and I gotta say that I’m glad I did. First off I couldn’t believe how light weight this thing was compared to traditional pole type support systems. Secondly it goes up in about 5 minutes or less.

Linda standing against the Saffron X-Drop

You have your choice of 6 different colors: Mist, Quarry, Saffron, Serenity, Eminence and Slate. Plus Black, White and Green Screen for a total of 9. The X-drops can either be ordered separately or as a kit with the stand. I highly recommend at least one kit with the color you want and then if you want additional X-drops you can just order them separately and use the same stand from the kit.

Mist Kit, Quarry Kit, Saffron Kit, Serenity Kit, Eminence Kit, Slate Kit, Black Kit, White Kit, Green Screen Kit.

Like most cloth backdrops it will ship folded and therefore you will have to deal with the creases either by ironing/steaming them out or with Photoshop in post. I used a steamer with great fast results. The good news also is that they are machine washable. The kits come complete with a travel bag that would fit easily in the overhead bin or even in a suitcase.

Metal Mural Rocks!

Having your photographs printed on metal is not a new thing. I've seen companies like MPIX and others offer this for a while now. However, like many other printable products, you really take notice once you see one of your own images on it. I remember walking onto the Photoshop World show floor last year and seeing one my images on display in the Westcott Booth. While this is not a new thing for me, it was a new thing seeing my print on metal! The print was done as a tiled 3'x4' metal print. All I could say was WOW! I never made the time to go by the Metal Mural booth and check them out. 

This year I took the time…

At this year's Photoshop World Vegas I spent a little more time on the show floor and I went by the Metal Mural booth. I saw my same print, but on single tile on the table used as a sample. This time I got to touch it and admire the quality. Next thing you know I was placing an order. The show special didn't hurt either 🙂 The way it worked was I place the order and paid for it on the spot. Then once I got back home I used the invoice number to upload the photo that I wanted to have done. They let you download a Photoshop template to use to make sure that the cut lines don't go across anything critical. A few days later I received an electronic proof. It looked good and I gave them the thumbs up to print it.


When it arrived, it was complete with all the hardware necessary to hang it on the wall or suspend it as I did (hanging wire not included, some assembly required). I took one of the tiles out of the box and the first thing I noted was that the color was dead on! The photo above doesn't do it justice. It was probably the most color correct print I've ever received. I did nothing special on my end. They apparently just know what they're doing!

The tiles are UV coated and scratch resistant. 

You can find out more about their products, pricing and configurations here.