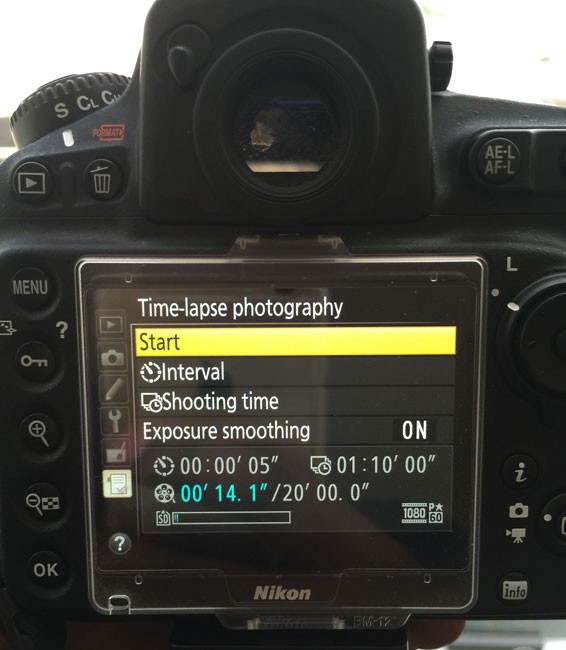
Shooting Time-Lapse with the Nikon D810

nikon_d810_time-lapse_settings

I’m traveling in Asia for the Adobe Create Now/CC Launch tour. My first stop was Auckland New Zealand and my hotel room just happened to have a balcony. Whenever, I have a private balcony that’s an added bonus when it comes to photography because it usually means that I can leave my camera setup for extended periods of time to shoot long exposures and time-lapse scenes. With a beautiful view of the harbor I decided to shoot a time-lapse. Since I don’t shoot time-lapse very often I Googled “best time-lapse settings”. Most of the result offered pretty much the same advice. For your time-lapse to look the best it’s better to use a consistent exposure and shoot in Manual mode as much as possible. This means setting a fixed exposure as well as shooting Manual focus. The reason for this is to keep your camera from changing exposure or focus in each shot, thereby creating a more smooth time-lapse video.

I learned the hard way that this works great except if your scene will change drastically during the shoot. For example, shooting a sunrise means that you will start out shooting in the dark and ending up in the light. The opposite would be the case for shooting a sunset as I attempted above. By keeping the same exposure throughout the scene it went from being properly exposed to completely dark. I salvaged it by combining it with a second one of the same scene after it got dark.

The lesson here is that if the scene is going to change drastically during your time-lapse it’s probably best to shoot it on Aperture Priority mode so that the exposure will be adjusted automatically over time. Learning from this mistake I shot another one in the morning and the results were much better:

The time-lapse above was shot in Aperture Priority and Manual Focus.

Settings and Gear

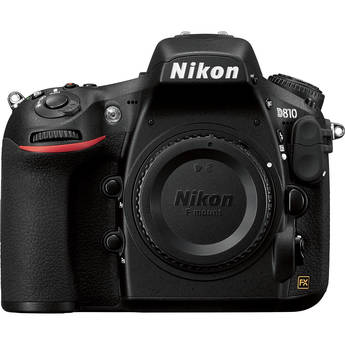
I took my Nikon D810 on this trip because I knew I’d be traveling to places I’d never been before and wanted to have my best camera with me. I also brought my Gitzo Traveler Tripod and Kirk BH-3 Ballhead. No matter which camera you have, you will definitely need a tripod. The camera will be shooting for several minutes or hours. This also means you’ll want a fresh battery. I wish I had brought my battery grip along to double my shooting time.  If your camera can be plugged into AC that would be best. I used my Nikon 28-300mm lens. I shot using:

  • f/11
  • Aperture Priority
  • Manual Focus
  • 28mm
  • Capturing a frame every 5 seconds
  • Duration 40 minutes to 1 hour 10 minutes depending on how long of a video I wanted at the end.

A note about Time-Lapse on the newer Nikon bodies. Shooting Time-Lapse used to mean shooting hundreds of stills and then putting them together in a video editing program afterwards. Starting with the Nikon D4 the Time-Lapse mode creates a video right in camera. Instead of hundreds of stills on your memory card you’ll have the single video. This is great because it makes the process much much easier and frees up all that space on your memory cards/drives. There was one thing I hadn’t figured on when doing my math. I was figuring video at 30fps. However, I had my D810’s video setting on 1080p 60fps. When I brought my first time-lapse into my computer it was only 8 seconds instead of 15/16 seconds. I scratched my head for a few seconds before it hit me that 60fps means that the time-lapse will be half the time. I stretched duration in Adobe Premiere Pro CC to 15 seconds and the results still looked good.

Here’s one that I shot in Hong Kong during the day. Since the exposure wasn’t going to change I could shoot it all in Manual as originally recommended:

The Bottom Line

Shooting Time Lapse videos can be fun. With newer cameras it’s easier than ever. If you’re in a situation where you can set your camera up for 30 minutes or more on a tripod and shoot a scene you’d be surprised by what takes place during that time. Enjoy!

Going to Photoshop World 2015 in Vegas?

PSW-2015-banner

If so you can SAVE $50 by registering here with the Discount Code: TerryWhite50
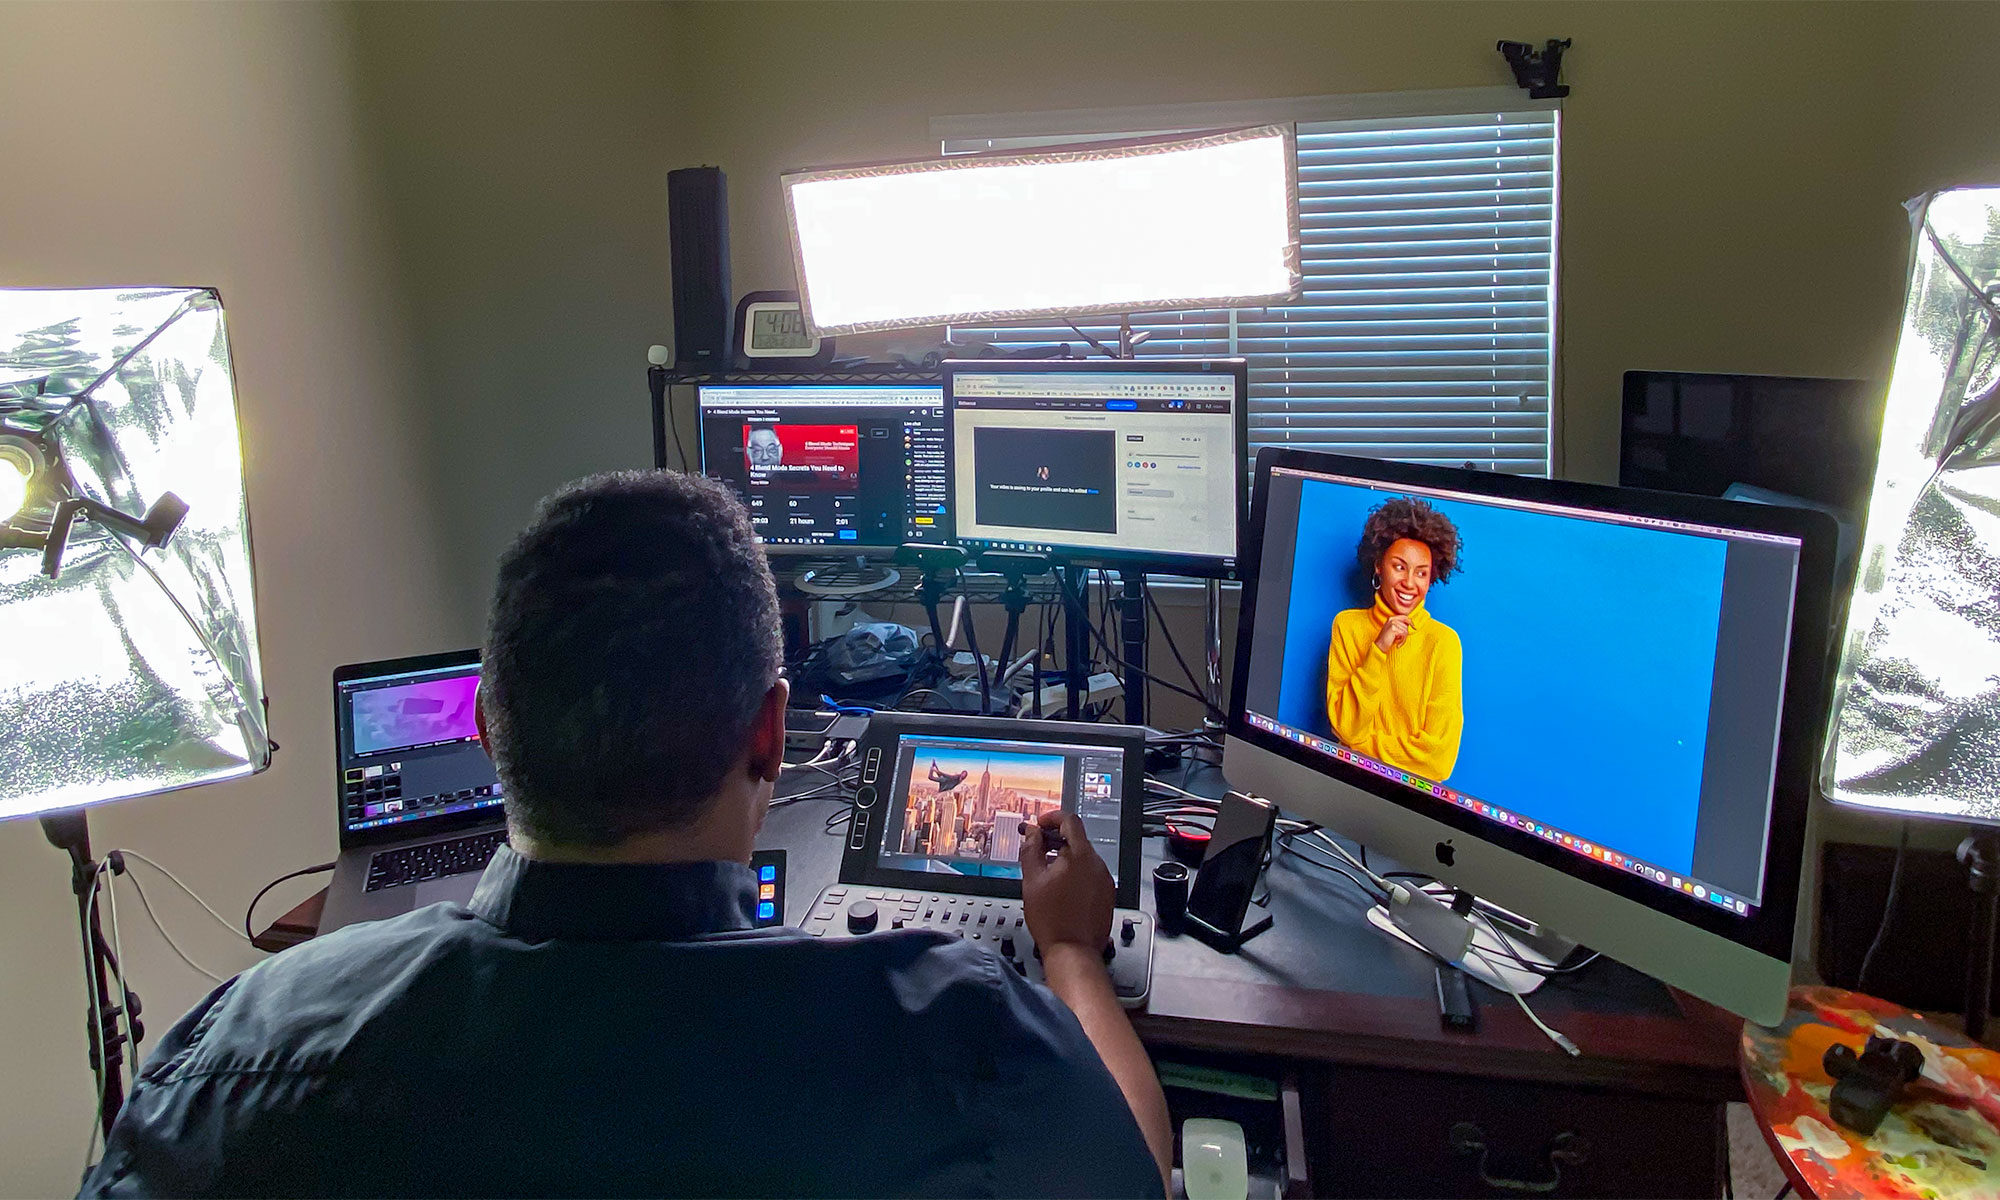


Why I shoot Nikon?

TW-D4

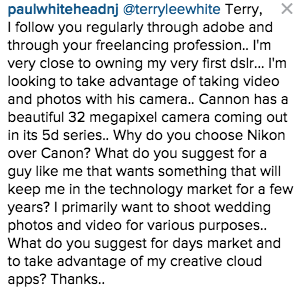
I can’t believe how many times this question comes up. Usually it’s asked by new photographers or photographers that haven’t yet made a decision on which brand DSLR they’re going to go with. Last week I attended a photography meet-up at one of the local studios. Keep in mind that this was just a casual setting and I didn’t even bring my gear (in hindsight I wish I had as there were some shooting opportunities there with new models). Two of the photographers walked up to me and we started talking about photography and videography in general. One of them asked me “so do you shoot Nikon or Canon?” and I said Nikon, his partner high-fived me while he turned and walked away in disgust as if he had just lost another bet or something. It was all in fun of course, but I guess I find it odd that people are so passionate about what tools they work with that if you use a different tool it upsets them. Last night I got asked on my Instagram feed.

Screenshot 2015-06-29 22.06.52

This one was obviously more looking for a recommendation than anything else and I respect that. It prompted me to write this post so that I can answer the question and of course point people to it the next time I’m asked 🙂 So let me get to the answer(s):

Why did I pick Nikon?

Nikon D70

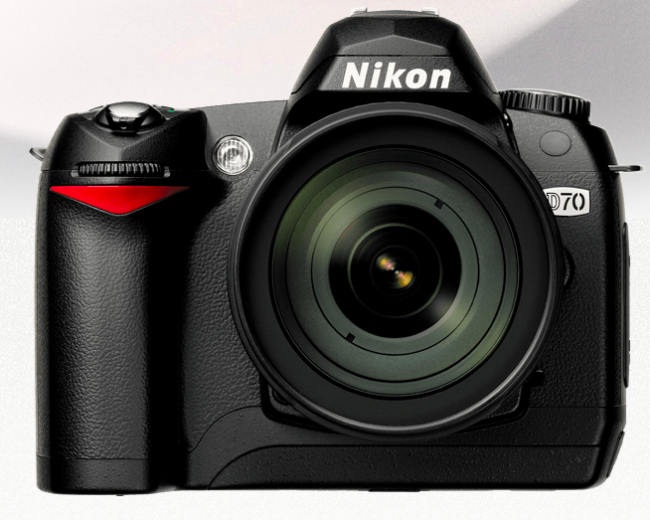
My first DSLR was actually an Olympus E20N. I started to take my hobby more and more serious and while I liked my Olympus camera, it had a fixed lens. It was finally time (2004) for me to upgrade to a DSLR with interchangeable lenses. Having watched the market I knew that I was going to go with either a Nikon or Canon camera. I want to make this part perfectly CLEAR! I had ZERO bias towards either brand (and still don’t to this day!) None of my close friends were photographers. I was making my own choice simply by my budget and the specs. I knew I wanted a camera with a fast start up time. Yes we take for granted now that we can just turn on our cameras and start shooting, but back then it “startup time” was a concern. My budget at the time was around $1,000. That put me in the price range of the 1st generation Canon Rebel. It looked good to me, but the only problem is that that model had been out already for almost a year and while I new a newer model was probably coming, it hadn’t come by the time I was ready to buy. On the other hand Nikon had just introduced the Nikon D70. It was new, and this 6.1MP beauty had all the specs I wanted and was in my price range. That was it. Plain and simple. I went with the newer camera by one of the two brands I was looking at.


Why did I continue with Nikon?

nikon_d810

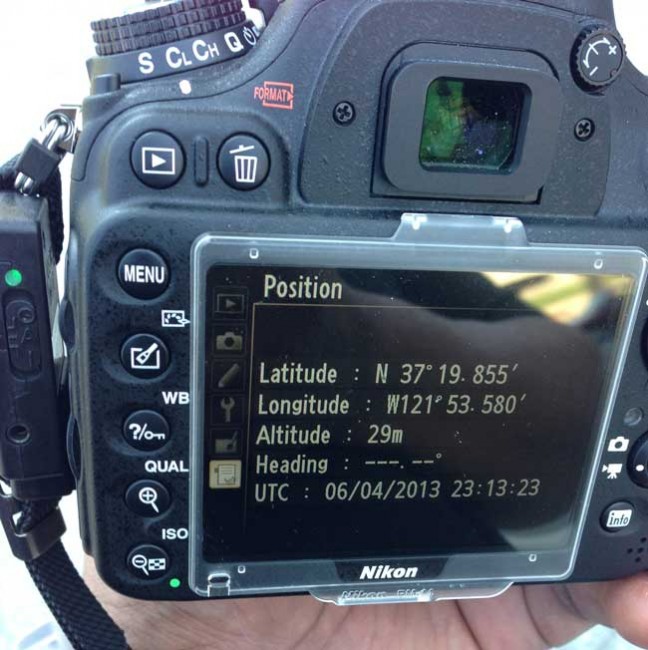
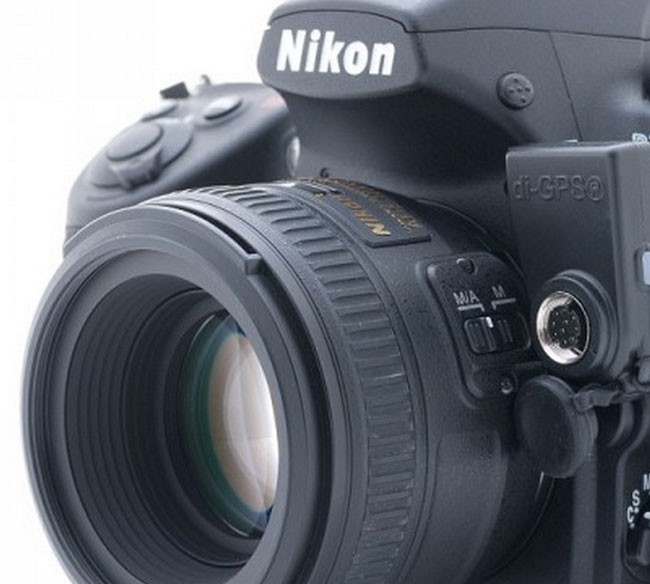
As almost any photographer will tell you, once you start buying lenses you’re not going to switch brands on a whim. There’s always a new Nikon and a new Canon camera coming out. So you’ll always be glancing at the other brand and latest new toys. However, there hasn’t been anything on the Canon side that made me say “I gotta sell everything and switch.” On the other hand for years Nikon has had a couple of features that lacked on the Canon side that made me happy with my choice. For one I was a heavy user of the Nikon Creative Lighting System (CLS) and the ability to fire and control Nikon speedlights from the built-in flash. This wireless control is beyond just a simple wireless trigger and allows you to control the power and groups of flashes. The other long time advantage that Nikon had was built-in GPS support right in the menu of the cameras for years. While you still need to buy an external GPS module (when will you guys build these in as a standard option or least put them in the battery grips?), the support for them is and had been built-in for a very long time. I love having the geotag info go right into the metadata as a I shoot. Now these features that I’m sure Canon probably offers by now, but for years they didn’t.

di-gps-eco-prosumer-Nikon_d600


Did I ever consider switching?

wpid14600-Elena4-0164-Edit_sm.jpg

Yes there was a time. Well I’ll say that I considered ADDING a Canon DSLR back in the days when Canon was ahead on low light/high ISO shooting. Yep, I was drooling big time. I almost pulled the trigger on buying a Canon DSLR a couple of times just to have this capability. However, I waited and the next Nikon to come out had great low light performance and that was the end of my envy. I stepped up to a D700 (from the D300 that had replaced my D80 which had replaced my D70) and used it happily for several years before going to the D4 (D600 backup body, which replaced the D7000 and D5000 backup bodies before it) and now a Nikon D810!


Do I think Nikon is better than Canon?

Model: Kandice Lynn, MUA: Houda Bazzi, Lighting by Westcott
Nikon D700, Model: Kandice Lynn, MUA: Houda Bazzi, Lighting by Westcott

I can see the eyebrows raising as I type this. Let me answer it this way. Both brands produce GREAT cameras and with any two things you’re going to have advantages in one area over the other. So yes, I think Nikon glass (lenses) are better. But keep in mind that’s just from my observations looking over the fence. I haven’t actually spent a lot of time shooting different Canon lenses. It’s just an observation and even something that I’ve had Canon shooters whisper to me on the side. I think Canon does and has done a much much better job with video than Nikon has. There’s no question about it. If you’re looking to do DSLR video then you should probably look at Canon first. Also Canon seems to have the sports shooting market all but locked up. You’ll see more Canon cameras on the sidelines than any other brand in professional sports. Since I never shoot sports this isn’t something that I consider. My Nikon D810 does a great job shooting video too. My primary use for my Nikon camera is shooting portrait work and for that I’ve been happy since day one. Never had a complaint about the quality and my work has been used in print. If you were hoping for a clear definitive one is better than the other. I can’t give you one. It’s because I think they are both great and both have advantages and disadvantages over the other. I never understand why some people feel that in order to be justified in their choice, the other one must suck/fail. It’s a lack of confidence thing I think.

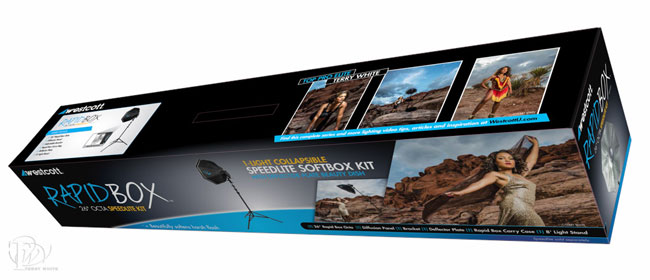
rapidbox-box
Westcott liked the images from my Red Rock Canyon shoot so much that they wanted to use them for the Rapid Box packaging.


Which one should YOU buy?

wpid14604-Justyna2-0228-Edit_sm.jpg

Believe it or not I really don’t care. Last time I checked neither Nikon nor Canon has paid a single one of my bills. So I don’t gain anything if you buy Nikon or if you buy Canon. The best advice I can give you is to buy the one that does what you need it to do. The one that’s in your price range and it probably wouldn’t hurt to buy the brand that your friends use. Huh? What do my friends have to do with it? Think about it this way. If you’re always shooting solo then no, it doesn’t matter which brand you choose. However, if you’re shooting with your buddies on a regular basis then having the same brand means that you guys can swap lenses, batteries and other accessories while you’re shooting. You’ll have a lot more fun and be able to focus on your photography rather than constantly glaring at the fact that he/she’s using something DIFFERENT. Both brands will allow you to capture amazing images, if YOU are up to it.


The Bottom Line

wpid14602-EiffelTower-HDR-Pano-Edit_sm.jpg

I’m not really into  the whole Canon vs. Nikon war that so many of you fight (if you want to have a health RAW vs JPEG debate then I’m all for it – kidding…). I explained my choice above and most importantly I get the results I want from the investment that I made in my tools. I have friends that shoot Nikon. I have friends that shoot Canon. It’s all good (unless of course you shoot Sony! We just can’t have that at all! OMG YOU SUCK! —— Just kidding. LOL my buddy Frank Doorhof shoots Sony. It’s ok. No, really it is.)

Now you know Why I shoot Nikon.

Going to Photoshop World 2015?

Hey! If you’re going to Photoshop World this year that’s great and I look forward to seeing there. So much so that i’m going to give you $50 off your Photoshop World registration simply by clicking here to register and by using discount code: TerryWhite50



A Behind The Scenes Look: LIVE broadcast of my Piedmont Park sunset shoot

wpid14492-Piedmont-Park-ATL-0001_sm.jpg

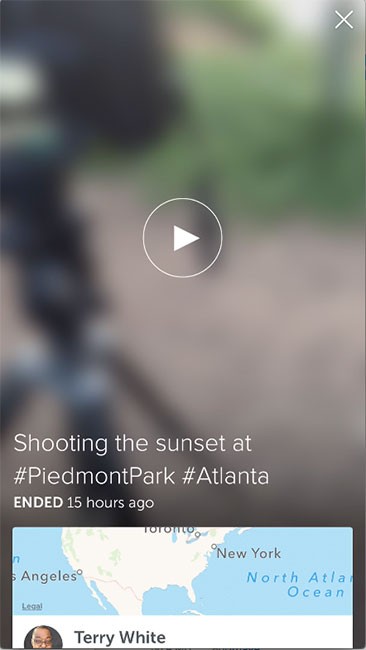
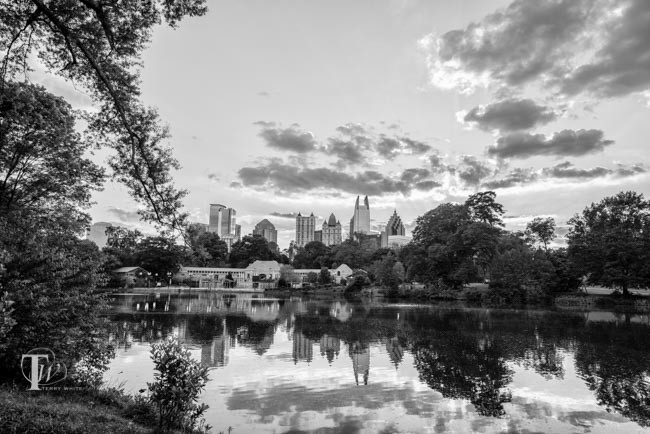
It’s always fun to get out and shoot on my free time. Now with the Periscope App it’s easier than ever to invite people to watch live. This past weekend I did a live broadcast from my sunset shoot at Piedmont Park in Atlanta Georgia. I had over 100 people watching my short broadcast. With Periscope the broadcasts can be uploaded for replay for a 24 hour period. After that they are pretty much history. Sure Periscope allows you to save the video to your camera roll, but that video doesn’t include any of the comments or interactions (hearts) you received during your broadcast. Not to mention the fact that it’s in vertical orientation which really tends to tick people off on YouTube. I figured out a way to keep the video, comments, hearts and reshare it in a landscape view:

1. Within 24 hours of your broadcast you can plug your iPhone into your Mac running Yosemite (Mac OS X 10.10.x) and launch the QuickTime Player. From there you can choose your iPhone as the camera and audio source (see the details how to do this here). Now just press the record button in QuickTime and playback your Periscope broadcast from the Periscope App. This will effectively screen record your iPhone so that you’ll have a movie of all your Periscope interactions.

periscope_video_capture

2. This still doesn’t solve the portrait vs. landscape issue. As of this writing the developers of Periscope are working on “landscape mode” but it’s not here yet. Therefore embrace it, don’t fight it. With Adobe Premiere Pro CC I was able to import my Periscope screen recording and then add other elements to fill up the space. Elements like still photos that I captured during the shoot and other videos such as drone footage.

Here are my results:

While it will be absolutely phenomenal when Periscope offers landscape mode, you can make due in the meantime.

Follow me on Periscope/Twitter @TerryLWhite

wpid14496-Piedmont-Park-ATL-0002_sm.jpg


Having Fun with New Light Modifiers

fstoppers-flash_disc

If you’ve followed my photography over the years you know that I’m always looking at new light modifiers. I can never have too many in my arsenal. Over the past few evenings I’ve been experimenting with some new ones that have made their way into my studio. Let’s take a look at them and some of the results I’ve been getting so far.

Fstoppers Flash Disc

fstoppers-flash_disc-mounted

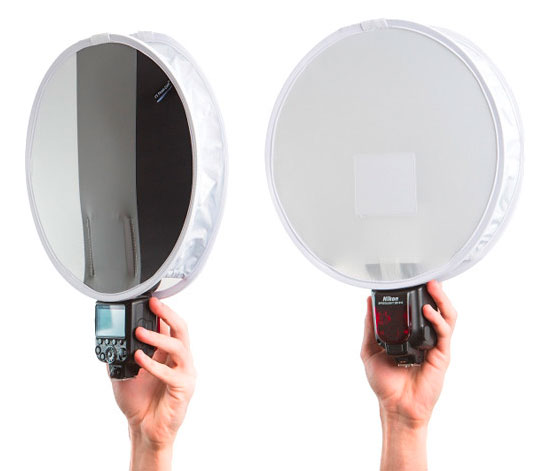
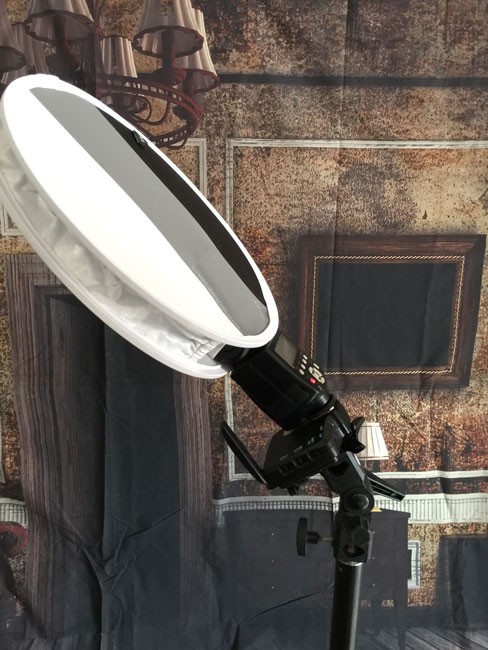
The first one was actually what I call a “checkout line impulse buy”. In other words my cart at B&H Photo had the items I wanted and I still had some money left on my gift card. I couldn’t think of anything else I wanted in the amount that was left over so I decided to add the Fstoppers Flash Disc. It looked cool, very portable (it folds down to a size smaller than the speed light), and I figured if nothing else I could use it as my white balance card.

Before last night’s shoot I decided to take a few test shots so that you can get a feel for what this will do for you. Now keep in mind that the bigger the light and the closer it is to your subject, the softer it will be. Since this modifier is relatively small I was skeptical. However, it did exactly what I expected. It gave me a better light than I would have gotten without it!

wpid14321-Christa-0002_sm.jpg

First up, here is worse case scenario. No modifier at all. Just flat horribly harsh lighting from the speed light using just the little built-in flip down diffuser. (yes I could have bounced it to make it better. Yes I could have turned the power down. Yes I could have done _____., but the point here is to show what small lights typically do straight on).

wpid14325-Christa-0011_sm.jpg

Now with the Fstoppers Flash Disc mounted directly on the speed light. The results are notably better than without it. If you look at the shoulders you see a software light pattern and her face is less blown out and not as flat. Again there are more things you can do to make the results even better, like bouncing the light and perhaps a different position/distance, but again the point here is to see simply what difference it would make by adding the Flash Disc.

Adding in the Westcott Omega

The next modifier I was going to look at was the NEW Westcott Omega 10-in-1 Reflector Kit. The material directly connected to the frame is a one stop diffusion panel. So before getting to my Omega setup I simply added the diffusor to my existing Flash Disc set up to get this result.

wpid14323-Christa-0009_sm.jpg

Same light. Same Flash Disc. However, the results are much much better simply by diffusing the light a little more. Add a reflector for under the eyes/chin and you’re golden.

fstopper-flash-disc-w-Omega

Since the Omega was effectively going to take the light down 1 stop, I increased the power setting on the speed light from 1/8 to 1/4 to compensate.

The Omega 10-in-1 Reflector Kit

westcott-omega

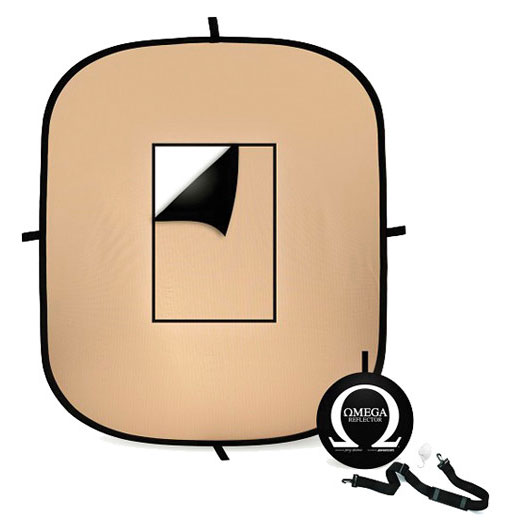
This reflector kit adds one element that I haven’t seen or had in any of my previous multi-use its and that is a “shoot through window”. First off you get a typical 5-in-1 kit right off the bat. You get Silver, Gold/Sunlight, White, Diffuser (built on to the frame) and Black. Now take all of those surfaces and remove the center piece for a 10-in-1 kit.

wpid14331-IMG_7838_sm.jpg

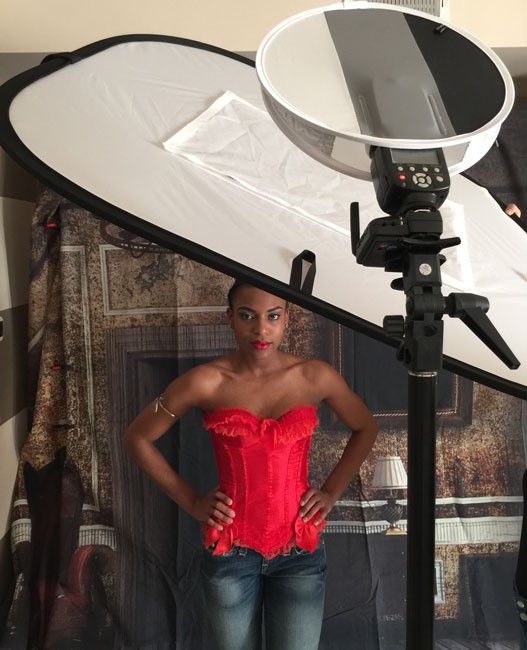
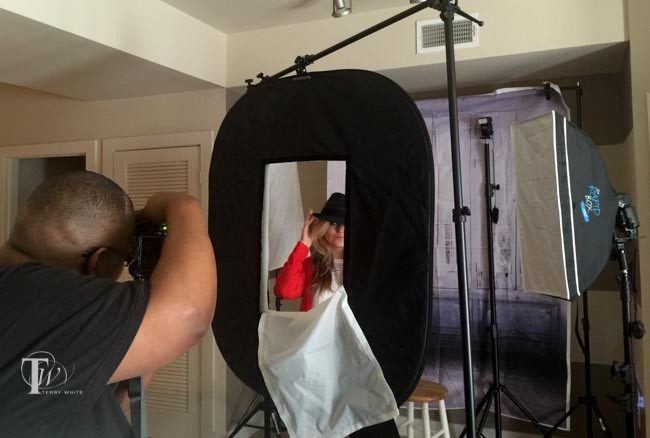
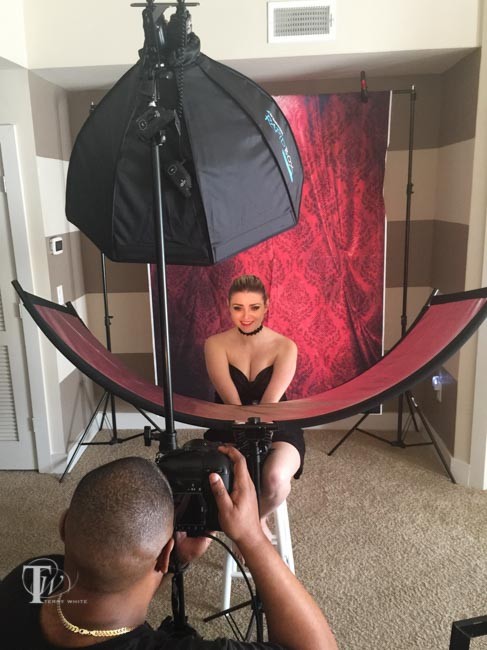
When doing a shoot through setup like this, you kinda have to think backwards as you’ll be using the reflective side facing the subject to light the subject. In the setup above I used two speed lights. The one in back (no modifier) was position up high to act more as a hair light and to add a little fill. The second speed light was mounted in a Rapid Box Strip to provide both a rim light and main light.

wpid14335-Elena-0066-Edit_sm.jpg

I like the results and the fact that this modifier made me think outside my box in ways of setting up lights that I probably wouldn’t have tried otherwise. It’s also ideal for putting up in front of a window either as a diffuser or shooting through the window from outside into the room without blocking the light.

The Westcott Omega 10-in-1 38″ x 45″ Reflector Kit is the one I’ll be traveling with from now on as it provides the basic reflecting, diffusing, flagging functions that I would need, plus the ability to shoot through.

The Rapid Box Duo

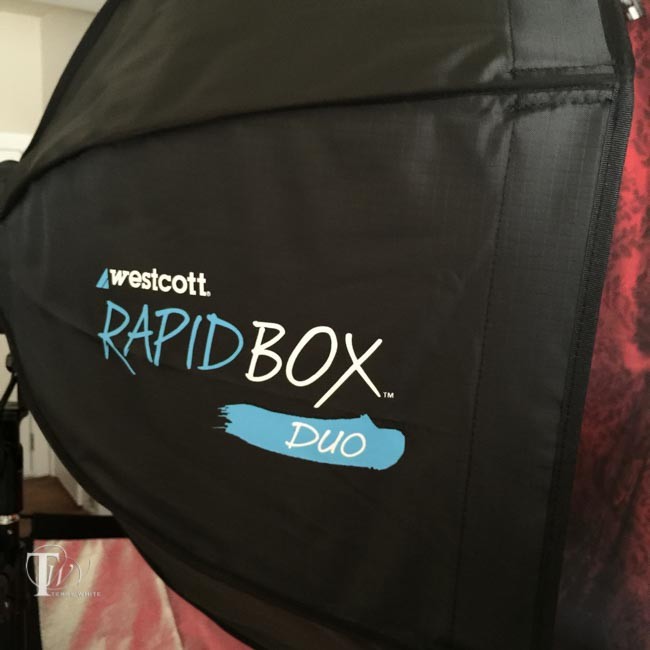
I was already a fan of the Westcott 26″ Rapid Box, which is part of my “Westcott Terry White Travel Portrait Lighting Kit“. So when they announced the Rapid Box Duo, I was intrigued.

wpid14345-IMG_5721_sm.jpg

The big difference here is that this one allows you to mount one or two speed lights to give you more light. It’s also a slightly bigger size at 32″. It still collapses down for travel and comes with all the mounting hardware/angled bracket for mounting your speed lights outside for better triggering.

wpid14343-IMG_5720_sm.jpg


Here I have an Nikon SB 910 and SB 800 mounted.

wpid14337-IMG_7887_sm.jpg

Adding in the Westscott Eyelighter, which is probably my favorite modifier of all time. I get the results on location that I would typically get with more expensive studio strobes.

wpid14341-Christa-0071-Edit_sm.jpg

As I’ve said many times. You can have the most expensive camera in the world, but without great light your pictures are liable to suck.

wpid14339-Christa-0171-Edit_sm.jpg


However, if you have great light you can get good results with just about any camera.

You can get the Fstoppers Flash Disc here. You’ll also want this “tilt mount” to be able to mount your speed light and tilt it down.

You can get the Westcott Omega 10-in-1 Reflector Kit here.

You can get the Westcott Rapid Box Duo here


Best Nikon DSLR GPS

di-gpsoncamera.jpg

It has been a while since I’ve looked at GPS units for my Nikon DSLRs and yes it’s sad that in 2015 we still have to look at external solutions. However, that is the current state of affairs and the good news is that the prices have come down and the units continue to get better. Recently I was debating going with a NEW Nikon D750 vs a D810. When I was leaning strongly towards the D750 I tested my existing GPS unit (the one on my Nikon D600) and realized that since the GPS port was in a higher spot on the body that my Dawn di-GPS Eco model just wouldn’t work.
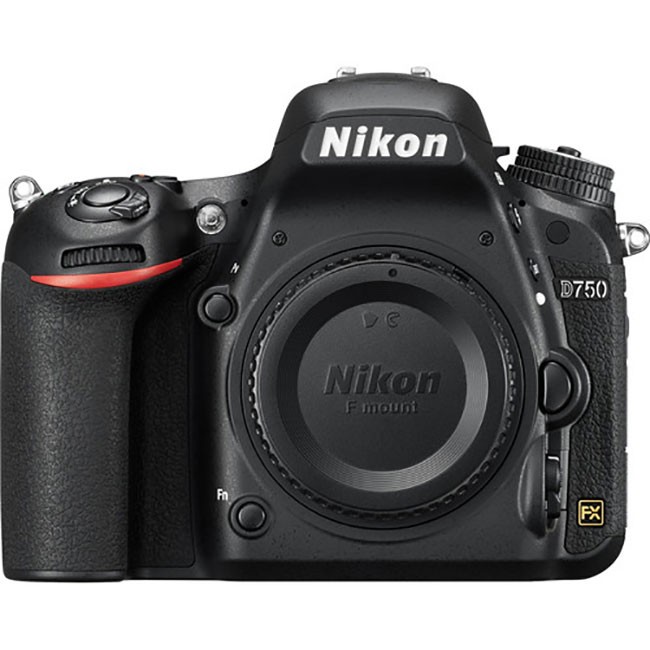
di-gps-eco-prosumer

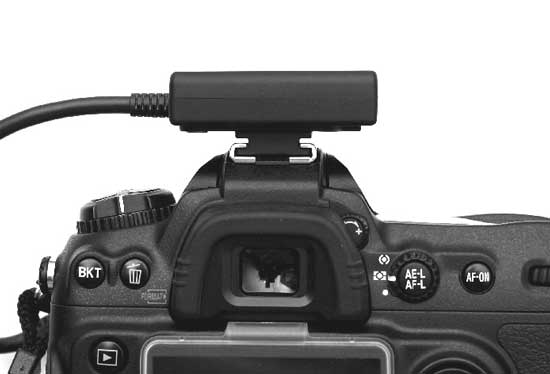
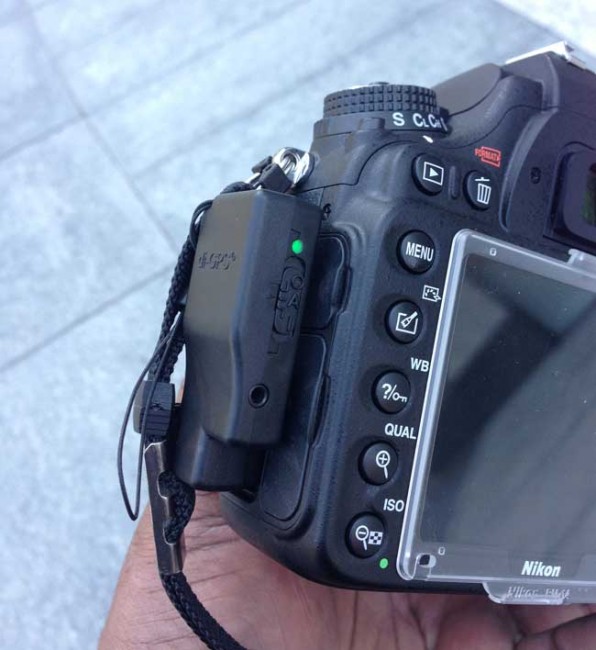
It’s a shame because I really like the flush to the body design of the di-GPS Eco models. I reached out to Dawn Tech to see if there was one on the horizon for the D750 and they informed me that they were working on something, but it wasn’t ready yet. In the mean time I got the UPDATED Mini3 MTK S5. I had worked with the older model in the past and this newer one now includes the “Last Position Memory” function, which is great for those times when you go inside and keep shooting. More importantly it has an even lower power consumption (19mA, less than 1/3 of the current consumption of Nikon’s own GP-1). While it doesn’t have the flush to the body design that I like so much in the di-GPS Eco, it’s very lightweight and can either sit in the hot shoe or attach to the camera strap.

di-gps-eco-pro

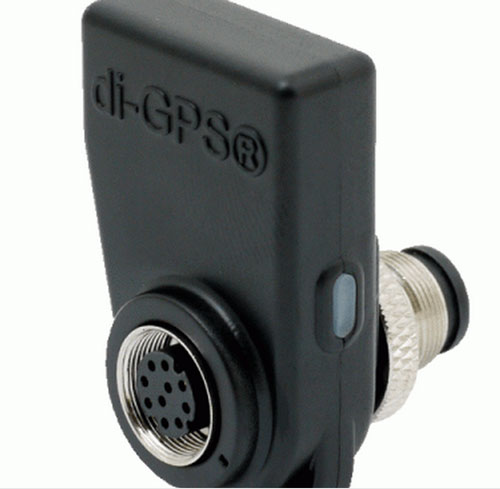
I ultimately decided on and bought the Nikon D810. So this means that I get to use the Eco ProFessional M model. This one has the same “flush” design that I like and it even has the important pass through terminal port so that I can use my cable release or other accessories.

di-gps-eco-pro-detatched

The Bottom Line

di-gps-eco-prosumer-Nikon_d600
Nikon has had GPS support built-in to their DSLRs for years, but still refuses to build the actual GPS receiver in to their DSLR bodies or battery grips.


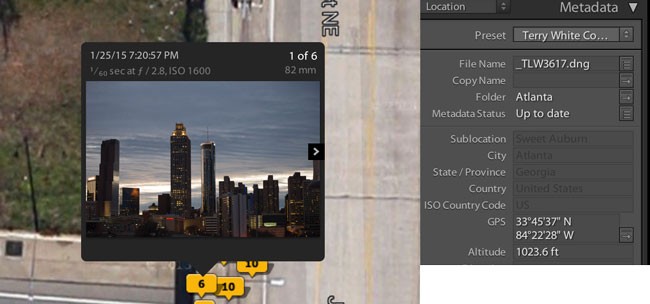
I love geotagging my photos as I take them. I use the Maps module in Lightroom quite a bit for my landscape and travel photos. It’s also easier to answer that “where did you take that shot” question as the galleries on my website also take advantage of this data allowing visitors to see exactly where each shot was taken. Sure there are many solutions and even iPhone apps like this one, but the most accurate and convenient way is to have the GPS data logged right into the metadata of each shot as you take them. While I applaud Nikon for having direct GPS support right in the menu of their DSLRs, it’s a shame that in 2015 we still have to buy “EXTERNAL” modules. As I’ve said many times I’d love to see this either built right in or at least built into an “optional” battery grip. Until that happens The GPS units from Dawn are your best bet.

Lightroom_GPS_Maps_Module
Using the Maps module I can easily see exactly where shots were taken and even copy to GPS data to images that were taken with other cameras that didn’t have GPS.


Review: Nikon D750 and Nikon 20mm Wide Angle Lens

D750

I must admit that when I first saw the specs for the Nikon D750 I wasn’t really too excited. It fits between the Nikon D610 and D810 both spec wise and price wise. However, I decided to go ahead and take it for a spin if for no other reason than to give my opinion about it to my readers. What I didn’t expect to happen was that I would fall in love with shooting with it.

wpid14192-ATLatNight-Edit_sm.jpg

The Nikon D750 functions pretty much just like my Nikon D600. A few of the controls have been moved around, but certainly nothing you couldn’t get used to very quickly. There is definitely a difference in dynamic range or at least to my eye the D750 does a better job as it should.


Thrilled with the built-in WiFi

D750-wifi-menu

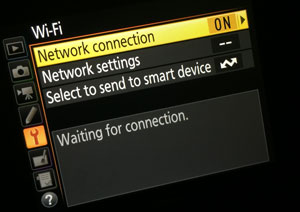
I’ve been complaining for years that DSLRs should have both WiFi and GPS built-in. You can find these features on lower end cameras all day long, but why not the higher end models? My Nikon reps tell me it’s because the alloys used in the pro bodies and I say BS. There has to be a way to have WiFi/GPS AND a metal/weather secure body. It’s not rocket science (we communicate millions of miles with a probe on an asteroid). The D750 answers one of my two wishes. It has built-in WiFi. No need for a small external module. It’s in the camera! Finally! This means that I have a native workflow that I can use to shoot RAW to the 1st card slot and basic JPG to the 2nd card slot. Those small JPGs can be sent to my iPhone or iPad FASTER as I shoot them for review.

D750-shuttersnitch

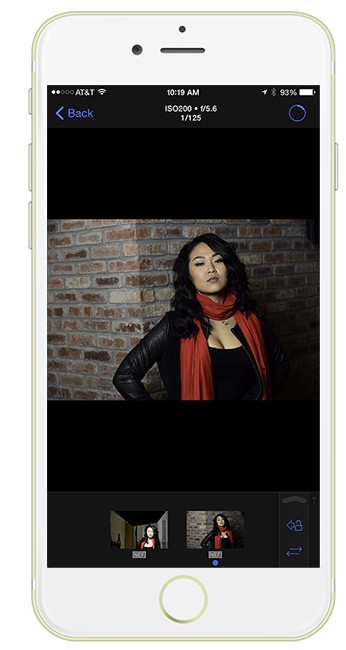
While this feature works just fine with Nikon’s App, I much prefer ShutterSnitch for iPad and iPhone when I just want to shoot wirelessly to my mobile devices.

Get ShutterSnitch here from the .

Get the Nikon WiFi app here from the .


The camera does a great job with skin tones

wpid14188-UniqueT-0187-Edit_sm.jpg

I shoot a wide range of skin tones in my portrait sessions and I’ve always been happy with the results from my Nikon DSLRs. The D750 continues this tradition giving me great results. The EXPEED 4 sensor is a nice improvement over the EXPEED 3 found in my D600.

wpid14184-UniqueT-0047-Edit_sm.jpg

The colors thus far have been spot on with the D750.

Victoria_Park-0131-Edit


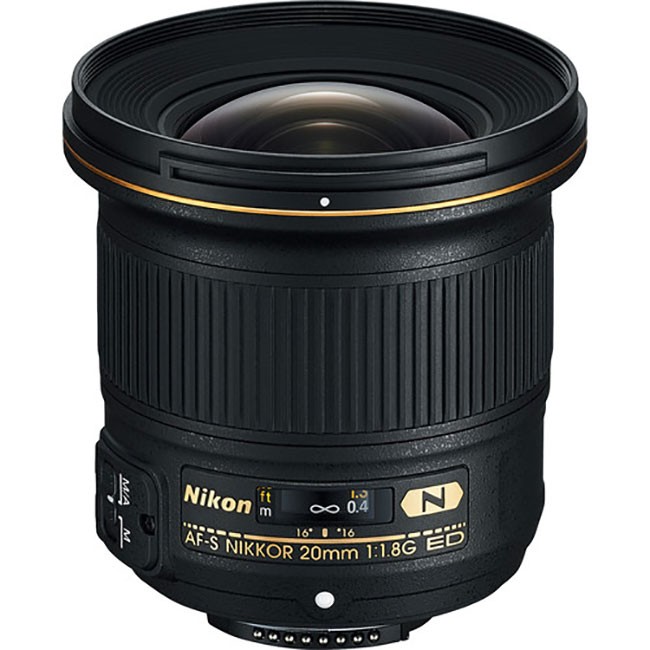
The Nikon 20mm f/1.8 Wide Angle Lens

nikon-20mm

ATL-Hartsfield

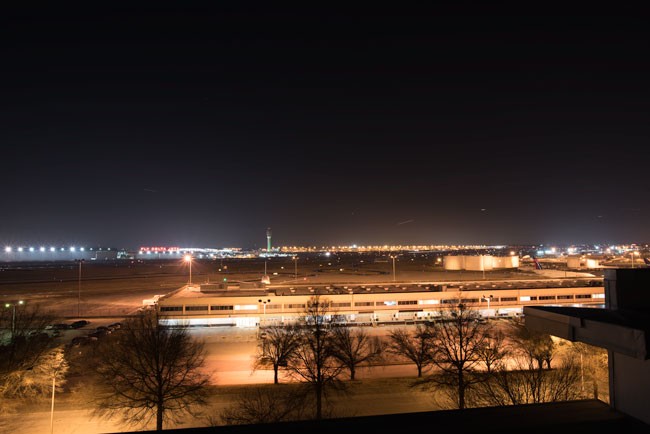
I’m sorry that I don’t have a better subject to show off this lens than the airport at night, but the weather here has been kind of sucky for the past few days. Nonetheless, this is a great lens. I already have the Nikon 14-24mm lens, but this one covers the sweet spot for a lot less money. If I didn’t already have a great wide angle lens, I’d get this one in a heart beat!

It’s a fast f/1.8 lens with no distortion that I can see. No fisheye effect, just great wide angle results and great low light performance.


The Bottom Line

d750-back

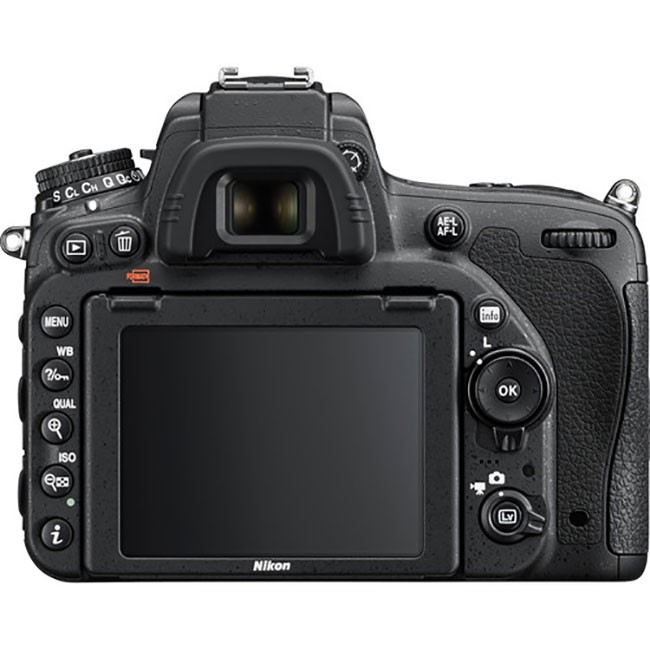
This camera is a solid upgrade for those looking to step into a 24.3MP full-frame DSLR or those looking for something a little better than the D610. It lists for $1,000 less than the D810. It also has improved video specs now doing 1080p video at 60fps (yes 4K would have been even better, but I’ll take the faster 1080p video for now. My only complaint with this model is that for some reason it seems slow when going into the menu. Normally on all my other Nikon DSLRs the menu comes up the moment you press the button, but for some reason the D750 hesitates for a couple of seconds. I’ve debated going to the Nikon D810 and moving up from my D600, but I think I’ll be taking this intermediate step instead. While I love the more “pro” feel of the D810 and the higher dynamic range, I’m still not thrilled with the 36MP RAW files (or smaller sRAW) file sizes that it produces. For my workflow and the way I shoot the D750 is (as much as I hate to admit it) simply a better fit. Of course that doesn’t mean that I ultimately won’t end up with both bodies 🙂

Get the Nikon D750 Body here.

Get the Nikon 20mm f/1.8 lens here.