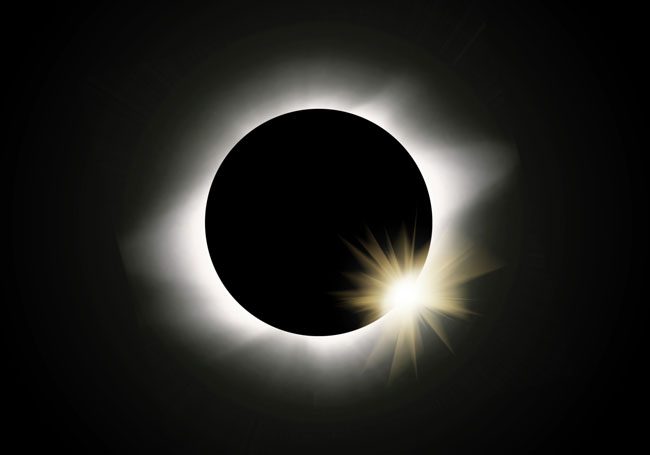
Yesterday I did a live stream on the Adobe Creative Cloud Facebook page outlining what you’d need to successfully photograph or simply enjoy the Solar Eclipse happening Monday, August 21, 2017. Here’s the replay in case you missed it:
There were a lot of good comments and questions during the stream and I thought I’d recap some of the things I talked about here.
What you need to capture the solar eclipse
First let’s recap what you’ll need to capture the solar eclipse
- First check to see that you’ll either be in the area of totality or partial eclipse here and here.
- Next make sure you have ISO 12312-2 rated eye protection. YOU CAN GO BLIND by looking at the sun with the naked eye. I bought these glasses. I can’t stress the need for eye protection enough!
- You’ll need a camera. It doesn’t have to be a special camera, however your results will be based on the equipment that you use. I will be using my Nikon D810 DSLR. But any camera will work. Newer cameras have better sensors and have a higher dynamic range. Also this is one of those times that having a higher number of megapixels will be a good thing, especially if you don’t have a super long lens.
- If you have a telephoto lens, use it. Longer the better. I’ll be using my 28-300mm lens as well as my 70-200mm lens with a 1.4x Teleconverter. Are these lenses long enough? Well not really. I wish I had a 600 or 800mm lens, but you have to use what you have or can rent. However, having a higher megapixel camera means that you’ll be able to crop in and still have decent resolution in post.
- You’ll need a solar filter for your lens! You will BURN YOUR SENSOR OUT if you don’t protect it. I bought this one.
- If you use a smartphone to capture the solar eclipse you’ll need to protect its sensor too! I bought this kit for my iPhone 7 Plus.
- You’ll also need a tripod! You’ll be zoomed in to the max capability of your lens. Therefore the least little vibration can result in a blurry photo. Therefore you’ll also want a camera release/remote trigger (I use this one)so that you don’t have to physically touch your camera to capture your shots. This is a good tripod for your smartphone
.
Now let’s cover the camera settings
- Set your camera to its lowest ISO setting: 100 ISO would be good.
- Focus to infinity. Focus on the farthest thing you can see and then put your camera on manual focus so that it doesn’t change when you point at the eclipse/sun.
- Turn on Live View. DO NOT LOOK THROUGH YOUR CAMERA’S VIEW FINDER. You can damage your eyes. Use your camera’s LCD to compose your shot. Put tape over your view finder so that you’re not tempted.
- Set your aperture anywhere from f/5.6 to f/11: f/11 would be good.
- Set your camera to capture in Raw. If your camera on captures in JPEG, set it to the highest setting.
- Set your camera to BRACKET. Use the maximum number of brackets that your camera can do with 2 stops in-between.
- Use the Mirror lock-up setting to reduce camera shake even more.
- Turn OFF your the Vibration Reduction/IS on your lens. You’ll be on a tripod and having VR on can actually introduce shake if you’re on a tripod.
- Shoot in Manual mode if you’re an experienced photographer or Aperture Priority if you want one less thing to think about.
- Weight your tripod down with a sandbag to make it extra stable.
Don’t Wait till Monday!
Don’t wait until Monday to test your setup. Shoot the sun every day from now till Monday using your glasses and your solar filters. Make sure that you know where your settings are on your camera and you’d be able to find them in the dark! The only time you’d be able to remove your glasses and/or filters is during the totality phase. If you’re not in the range of totality keep your glasses AND filters on the whole time.
Happy Solar Eclipse!


