How To Get Started Building Websites with Adobe Muse (codename)

Get the Muse (code name) beta here as a FREE download.

In this episode of the Adobe Creative Suite Podcast, I’ll show you How To Get Started Building Websites With Adobe Muse (codename). See just how easy it is to build your own website within minutes and without having to write code.

Are you missing out on my Bonus Content?

See more of my Adobe Creative Suite Videos on my Adobe Creative Suite Podcast and get the App here. It features EXCLUSIVE CONTENT that no one else gets to see. This episode has a BONUS CLIP that is available only in the App! My iOS App is a Universal App for iPhone, iPad and iPod touch. I also have an Android version:

Learn Adobe Creative Suite with Terry White - Wizzard Media

Thank You Finland, Sweden & Denmark

I’m currently traveling on the 2012 Adobe Nordic Design Tour. My 1st stop was Helsinki and then I was off to Stockholm and Göteborg. Today I’m in Copenhagen.

The tour has been going great and it’s been fun presenting with my colleague Rufus Deuchler. We’ve been concentrating on tips and tricks as well as new technologies like Adobe Muse (code name) and Digital Publishing Suite Single Edition.

The crowds have been great! Thanks for attending. Also thanks goes to Erik Bernskiold for taking the pics above.

It’s also great being here in beautiful Copenhagen!


Travel Tip: Use Wired Internet instead of WiFi

ethernet port

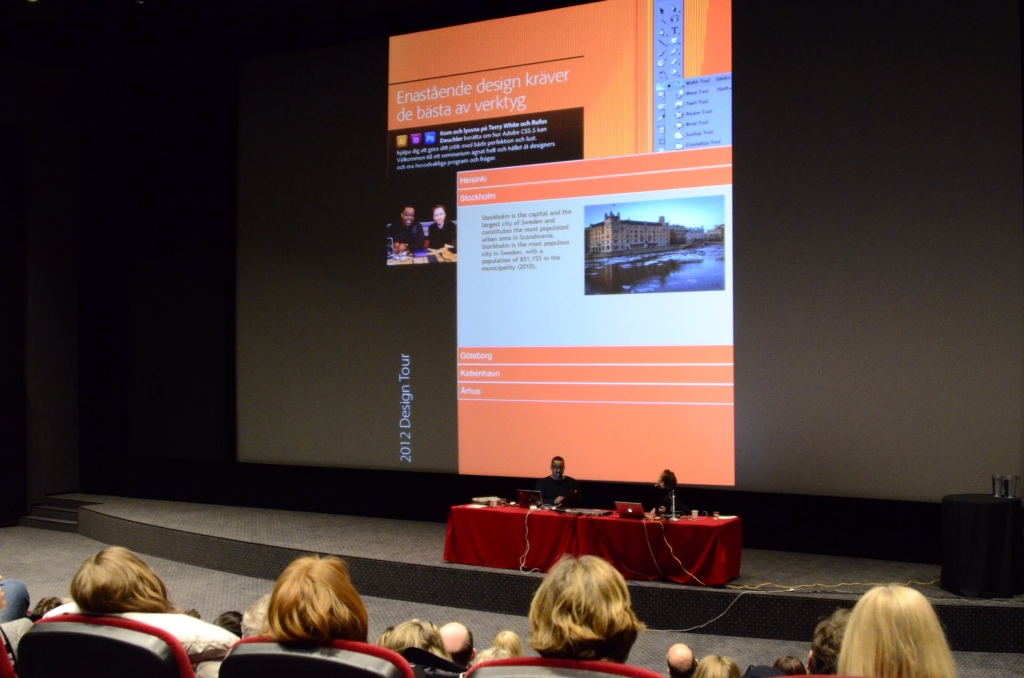
i'm currently traveling on the 2012 Adobe Nordic Design Tour. This means a different hotel each night or so. I spent the weekend in Sweden and my hotel (Radisson Blu) offered FREE WiFi throughout the hotel. All you need to do is confirm your room number, last name and accept the terms/conditions. Great! However, there was one major problem. The internet was almost unusable in the evenings because (and I'm guessing) that it was saturated with hotel guests. My connection dropped constantly and when I could get connected the speed reminded me of dial-up. Sadly, it wasn't until my last night at this particular hotel that I noticed an Ethernet port on the desk under the TV. Lately it has been my experience that when a hotel offers WiFi, that they pull the plug on the Ethernet ports in the guest rooms. However, i figured I had nothing to lose by plugging in and giving it a try. Not only was the port active, but it was about 10-20 times faster than the WiFi network!


Get the SpeedTest.net App I used above here from the iTunes


Yes, I still want wireless!

I carry an AirPort Express Base Station as part of my "always packed" travel gear. I plugged it in and in about 15 seconds I had my own private WiFi network that was way faster than the Radisson one and best of all I could put all my devices on it without having to do the terms and conditions setup, dropped connections, etc. on each one. 

You can get the AirPort Express Base Station Here. You might also want to carry a short ethernet cable as there wasn't one anywhere to be found in my room.


The Bottom Line

If you have the option of going wired vs. wireless, give it a shot. You'll probably get better performance not only because wired is faster, but because most people are going to connect to the public WiFi (overloading the routers) rather than the wired option. By having your own WiFi hotspot you still get the benefits of WiFi too! And yes, the wired connection in my room was also FREE.

The other benefit of a faster connection is faster VoIP calls, FaceTime, Skype, Netflix, Slingplayer, etc.  I was able to get so much more done with the faster connection, not the least of which was this blog post. 🙂

Your Mac is About to Become More Like an iPad


Apple just took the wraps of Mountain Lion – aka Mac OS X 10.8, which is due out later this year. The above video shows a nice walk through of how your Mac is about to become even more like an iPad. Personally I'm looking forward to the AirPlay feature and it's great having the Messages App (now in public beta). What are your thoughts on this direction of the Mac OS? Mac OS X 10.7 Lion left me feeling very underwhelmed, but Mountain Lion looks useful. 

Octava 3 Port HD Switch to the Rescue

When I named my top favorite gadgets of 2011, I also declared my Sony Google TV as the most disappointing gadget that I bought in 2011. One of the things that annoys me the most when I'm just watching TV on it is the overly complicated Input Selection implementation. Instead of simply pressing a input button and cycling through the available inputs, you get a menu on screen and then you have to cycle to the one you want and worse press the Select button to make your choice. While this isn't the end of the world using the supplied remote, it becomes a pain in the butt when trying to train universal remotes like my Harmony One or Harmony Link. The benefit of Harmony remotes is that you can press one button for the "Activity" you want and the remote will turn on/off all the appropriate gear and switch inputs. I was actually considering getting rid of this TV and replacing it with one that has regular Input selections. That's when I remembered my Octava HDMI 4×1 with Toslink switch that I use in my home theater. I wondered if Octava had an HDMI switch that would solve my problem in the room with the Sony Google TV and they did! It's their 3 Port HD Switch. Like all of their HDMI switches, it supports the latest HDMI standards, CDP, 1080p resolution and high speed for things like 3D TVs and Blu-ray players. It also come with an IR remote.

It works perfectly

I ordered the 3 Port HD Switch and got it with a Free HDMI cable. I set it up so that the output goes to the HDMI 1 port on the TV. I connected my TiVo Premiere XL to HDMI IN 1, Apple TV 2 to HDMI IN 2 and Sony Blu-ray player to HDMI IN 3. I had to reconfigure my Harmony One and Hamony Link to know about the Octava Switch. Now I can press one button to switch Activities and the Octava Switch switches to the right source as it should!

Normally I would only use the Octava HDMI switches when I have a shortage of HDMI ports, but this time it solved another problem.

You can learn about the Octava HDMI Switches here.

Join Me Next Week for the 2012 Adobe Nordic Design Tour

It's time to hit the road again! I'm headed to the Nordic region next week for the Adobe 2012 Design Tour. I'll be joined by fellow Adobe Worldwide Design Evangelist Rufus Deuchler. We'll be hitting:

We plan to show the latest advancements in Adobe's design and digital publishing tools and may even do a sneak peek of upcoming technology here and there.  I hope to see you at our events and I'm looking forward to returning to the Nordic region! Register by clicking the appropriate links above.

Review: RCA USB Wall Plate Charger


Last year I reviewed the U-Socket by Fastmac. A year later RCA is here with something similar. If you're like me you have more and more gadgets and mobile devices that charge via USB. With each new device you either get a new USB charger and/or USB cable. While you can usually use any of these chargers to charge any of your devices, it's nice having a "built-in" USB charger whenever possible. This way you can pack your favorite USB charger in your luggage/computer bag and just leave it there for travel. 


What's the USB Wall Plate Charger

The concept is simple. You plug this wall plate charger into any existing outlet and you get an AC plug plus two USB charging ports. The bottom one is higher powered 1.2 AMP for charging tablets such as the iPad. 


What are the Pros?

  • Easy to install – just plug it in
  • Gives you two USB ports (one high powered one) 
  • Still lets you plug in a standard AC plug even with a power brick without blocking the ports


What are the Cons?

  • You lose an AC plug (you go from 2 to 1)
  • It sticks out about an inch
  • You only get one higher powered USB port to charge things like tablets, instead of two


How is this better  or different than the U-Socket?

The U-Socket (pictured above) is more of a permanent install. You or your electrician (please use an electrician if you don't know what you're doing) replaces your existing wall plug with a U-Socket and you get the two AC plugs plus two high speed USB charging ports. Therefore the RCA Wall Plate Charger is only better in that you can just plug it in and remove it whenever you want. You can also take it with you on a trip and use it in places like hotels or vacation homes. 


The Bottom Line

I still prefer the U-Socket over the RCA Wall Charger. However, for something quick and easy it's hard to beat the RCA Wall Charger for its simple "plug-it-in" approach. I wish that it either didn't stick out so far or if it's going to stick out an inch then it might as well have the USB ports on the side. Also not sure why you have to give up an AC plug. Seems like at a minimum they could have done a pass-through to the existing one (I don't have an electrical engineering degree, so I'm not sure what's possible). I would recommend the RCA Wall Charger for anyone that needs an easy or temporary USB charging solution. It's available in either white or almond here for about $15.

Lastly if you're going to have something that sticks out about an inch, then you might consider this alternative one.

The Nikon D800/D800E is Official and I Stand By My D4 Decision

Yesterday Nikon made the long awaited D800 announcement and for the most part the rumors were true in terms of the specs. It's a 36MP camera! Wow! That's awesome for studio photographers, people that do weddings and commercial photographers. It's Nikon's highest megapixel DSLR to date. If you think about it, it's approaching the resolution of a medium format camera at a fraction of the price! While I can certainly understand the benefits for the intended market, (In my Obi-Wan Kenobi voice) this is not the D700 upgrade that I was looking for. Nope, this is a brand new camera aimed at a very specific set of customers. I get it! It's not for me. As I stated when I pre-ordered my D4, that while I don't need a D4 for the type of work/photography I do, I'd rather have the lower megapixel count for my portrait photography.

While I can certainly understand the desire to have more megapixels in terms of potential image quality, enlargements and being able to crop and still have a ton of data, I just don't want every frame I take to produce a file that large. On a positive note (according to the specs) the image size does appear to be selectable. If I'm reading this right you'll be able to choose between (L) 7,360 x 4,912, (M) 5,520 x 3,680 and (S) 3,680 x 2,456. That sounds great! In theory you would be able to dial up or down the MP count as needed. However, for me that would mean having it dialed down to "M" the majority (99%) of the time as I can't think of too many occasions where I would ever dial it up. The "M" setting would be a 20MP image, which is still larger than I need and "S" would be around 9MP, which is less than I'm used to now. Also knowing the way things work, I'd have that one magical shot at the lower setting and wished I had had it dialed up for that shot. While this is all theoretical for me at this point, I stand behind my decision to go with the D4. Once the D800 is out in the wild and the reviews (and sample images are in at the various sizes) are in perhaps my opinion will change. If that did happen I could always sell my D700 and go up to a D800 as a second/backup body to my D4. For now I'll be watching the D800 from the sidelines. Cheers to those who have been waiting for and dreaming of a 36MP DSLR!

One more thing… I should also point out that the D800 has two card slots (something I really wanted). CF and SD. That means that having an Eye-Fi card in the SD slot for wireless transfers to your computer, iPad, Android or iPhone while you're shooting is a possibility. I would shoot RAW to the CF and basic JPEG to the Eye-Fi card. The client could be reviewing shots off to the side as I take them. Sweet!

You can pre-order a Nikon D800 here or here You can pre-order a Nikon D800 (low pass fiter with anti-aliasing removed!) here or here.