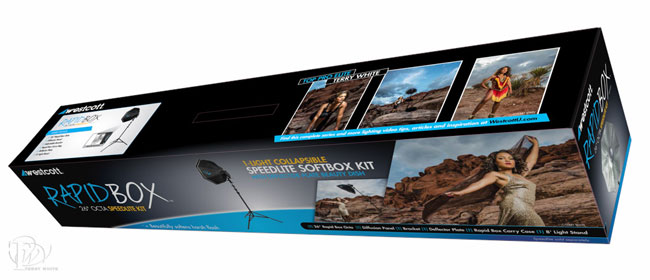
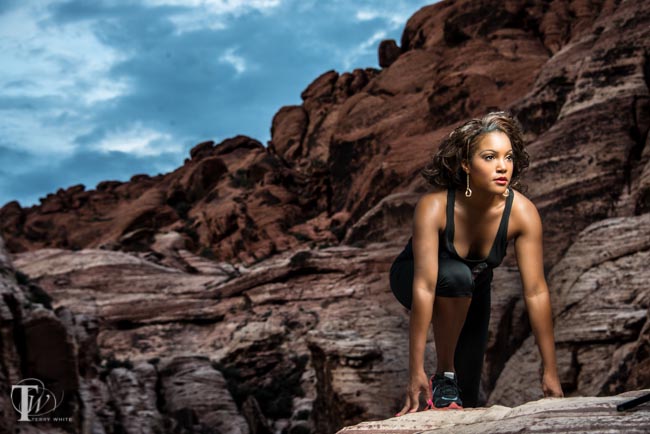
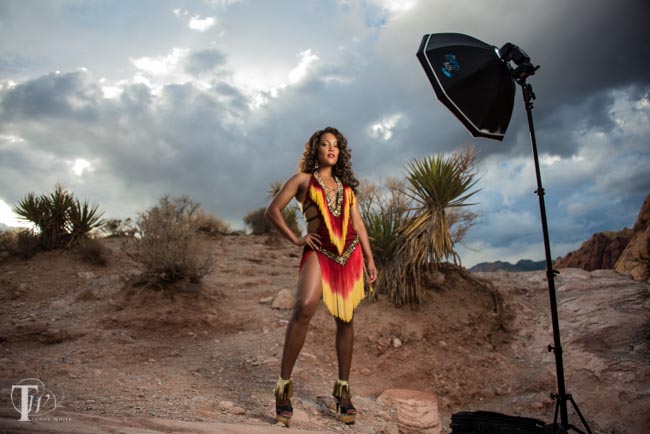
F.J. Westcott liked the images from my recent shoot at Red Rock Canyon so much that they inquired about using them on the Westcott Rapid Box 26″ Octa packaging. I was thrilled to work it out with them and once again honored to have my work in print with brands that I admire. PocketWizard was also happy with the results and mentioned them in their “Making Waves” blog post here.
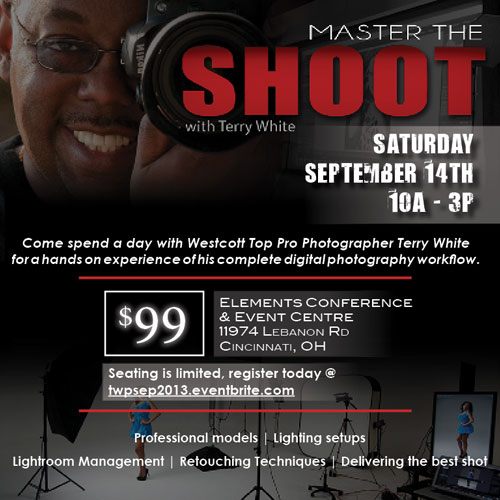
That’s right! You can join me in Cincinnati for an end-to-end digital photography workflow workshop. We’ll light, we’ll shoot, and then we’ll go through my entire digital photography workflow from memory card, through Lightroom and Photoshop ,and out to the final images.
We had a blast a couple of weeks ago in Michigan and now it’s time to do it again, but in Cincinnati, Ohio. There are still seats left, but it is filling up fast. Don’t miss this opportunity to learn how to streamline your workflow. You can register here.
In this episode of Adobe Creative Cloud TV, I’ll show you how to use the “Generator” feature in Photoshop CC (14.1 update). With Generator, Photoshop CC can automatically generate web optimized graphics from your layered Photoshop Files.
Are you missing out on my Bonus Content?
See more of my Adobe Creative Suite Videos on my Adobe Creative Cloud TV and get the App below. It features EXCLUSIVE CONTENT that no one else gets to see. This episode has a BONUS CLIP that is available only in the App! My iOS App is a Universal App for iPhone, iPad and iPod touch. I also have an Android version on the Amazon App Store:
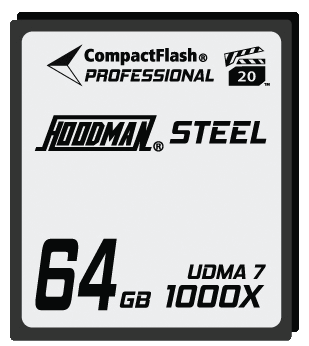
When it comes to memory cards I have a variety of different brands. I’ve used SanDisk, Lexar, Transcend, and Sony. No problems to date with any of them. I usually buy the ones that are on sale at the time that I’m in need of new cards. With that said, there is something to be said for going with products that are trusted by the photographer community. While at Photoshop World in Vegas I was introduced to the folks at Hoodman by my friend Robert Vanelli. Sure I’d heard of Hoodman and stopped by their booth before at previous Photoshop Worlds. However, I hadn’t really paid that much attention to what they were really offering and how they differentiate their products from the others. One of the first products to catch my attention on this visit was the Hoodman Steel. First off they come with a lifetime warranty. Secondly they claim that they have the fastest camera burst rates and quickest download times (UDMA 7 at 1000x). Lastly they actually have steel in them to make them more durable. I was also impressed by the sheer number of photographers that I admire who use and vouch for these cards (many with video testimonials). By the way Hoodman isn’t sponsoring me or paying me in any way. I’m genuinely interested in their stuff.
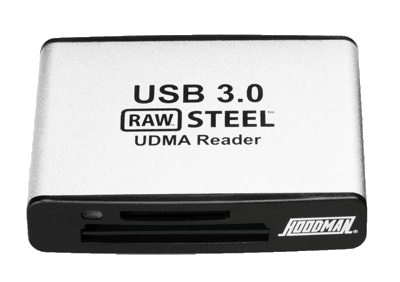
The next product I was interested in was their USB 3 Card Reader. This card reader is not only fast at USB 3 UDMA transfer speeds, but it’s durable because it’s made of steel. It’s also about the attention to detail. The CF slot has a door that opens automatically as you insert the card. This keeps the pins protected and dust free when not in use and when bouncing around in my bag. It handles both CF and SD cards.
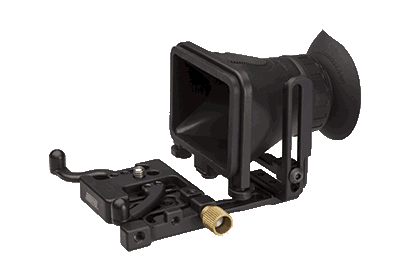
Lastly I was very interested in their loupes for viewing the LCD screen outdoors in bright light and for shooting DSLR video. I checked out the Custom Finder Kit. I already have a good loupe for still shooting and pro version for shooting DSLR video by another company. However, I couldn’t help but notice how much cheaper the Hoodman versions are. So I decided to give this one a try.
I can’t say that this will be the last manufacturer that I use for these kinds of products. However, I’ll be using Hoodman memory cards and other products from here on out until I find a reason not to. I’m impressed by what they offer. I look forward to trying more of their product line and reviewing the results here.
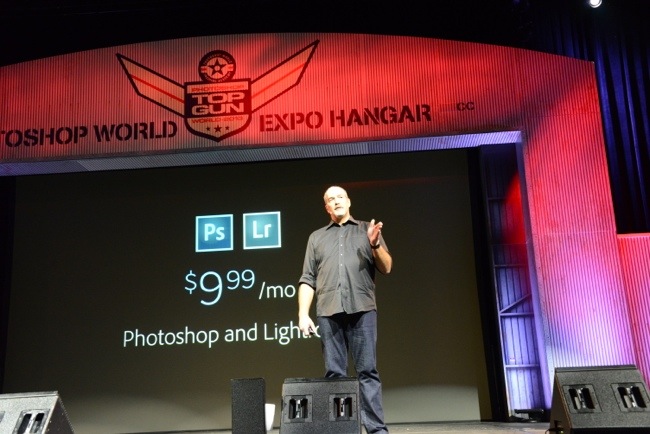
Adobe Creative Cloud makes a lot of sense for a lot of creative users. More than 700,000 paid members have joined Creative Cloud since its introduction and they enjoy the benefits of having access to all the Apps, Services and regular feature updates. However, we’ve heard and listened to the feedback from Photographers and one common request was a solution specifically tailored to this market. A solution that would give them both Adobe Photoshop CC and Lightroom 5 for a more reasonable monthly cost. I’m pleased to announce that at Photoshop World Las Vegas we’re announcing a special offer for our loyal Photoshop customers. Beginning today, customers who own Photoshop CS3 or higher are eligible for a special Creative Cloud membership offer that includes all of the following for just $9.99/month!:
Photoshop CC
Lightroom 5
20 GB of online storage
Behance Prosite
Access to Creative Cloud Learning Resources
Ongoing feature upgrades and updates
To be clear, $9.99 is NOT an introductory price. It is the price for those who sign up by December 31st, 2013. This offer will be at the same time we release the new version of Lightroom 5.2 in a couple of weeks. Check back here or follow Photoshop and Facebook or Twitter to find out when the offer goes live.
For general questions about Creative Cloud, please see the Creative Cloud FAQ
Q: What is the Photoshop Photography Program Offer?
A: This offer includes access to Photoshop CC and Lightroom 5, plus feature updates and upgrades as they are available, 20GB of cloud storage for file sharing and collaboration, a Behance ProSite, and access to the full library of video tutorials in Creative Cloud Learn.
This offer is available to customers who own a previous version of Photoshop or Photoshop Extended product, version CS3 or later (CS3.x, CS4, CS5.x, or CS6). Suites do not qualify. Requires annual commitment, billed monthly.
Offer valid through December 31, 2013 and is available in countries where Creative Cloud is purchased directly from Adobe.com. This offer is not available in China, Vietnam or Turkey.
Q: Can I get Adobe Bridge CC with the Photoshop Photography Program Offer?
A: Yes. Bridge CC is available for download and use as part of your Creative Cloud membership.
Q: I am already a Creative Cloud member; do I qualify for this offer?
Existing Creative Cloud members who wish to transition to this offer must own a previous version of Photoshop or Photoshop Extended product, version CS3 or later (CS3.x, CS4, CS5.x, or CS6). Suites do not qualify.
Those who meet the qualifications have two options:
Creative Cloud Single App members for Photoshop CC who already completed the qualification process when they originally signed up for their membership will be automatically transitioned to this new program when it ships, with the additional benefits and lower ongoing price.
All other Creative Cloud members who meet the qualification requirements may contact Adobe Customer Service to discuss transitioning their membership to this new offer.
Q: I own an earlier version of Lightroom but not Photoshop. Do I qualify for this Photoshop Photography Program offer?
A: Only customers who own a previous version of Photoshop CS3 or later qualify for this offer.
Q: Will the cost of my membership increase?
A: This price is not a special introductory price for your first year only; it is the standard price for this level of membership. Customers who sign up by December 31, 2013 will be able to continue their membership at the same price. But if you cancel your membership in the future, you will not be able to re-join at this special price.
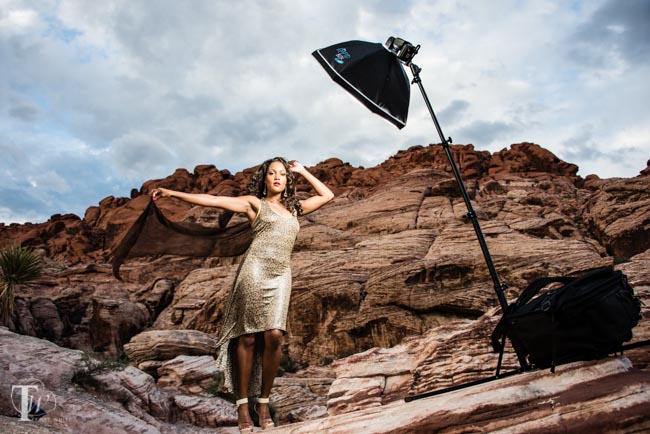
I was headed to Photoshop World and knew that I would arrive early enough to do a quick photo shoot with one my favorite models (Kandice Lynn) who was in Vegas on vacation. I wanted to shoot at Red Rock Canyon and I was only going to have enough room in my luggage to bring my Nikon SB 900 speedlight as my only/main light. I also brought along my Westcott Terry White Travel Portrait Lighting Kit with one minor tweak. My kit includes two standard PocketWizards to wirelessly fire my speedlight. However, I wanted to tryout the PocketWizard Flex TT5 and Mini TT1 for Nikon combination.
What sets the Flex TT5 and Mini TT1 apart from all other PocketWizards is that they are specifically designed for Nikon’s (or Canon’s) TTL (through the lens) metering system. When you mount your speedlight on top of your camera, your camera can control the speedlight based on the metering, focal length, F stop, etc. that your camera is set to. This is great until you want to use your speedlight off-camera. Normal triggers simply fire the speedlight on whatever manual setting it’s on.
The Flex TT5 attaches to your Nikon or Canon (model specific) speedlight and makes it believe that it’s on top of the camera. As you make adjustments on the camera, those adjustments are reflected wirelessly to the speedlight. This means that you can get great exposures without doing a bunch of manual tweaking. I was floored by how well these worked on location. The range is incredible — about 800 feet in i-TTL mode. While I wasn’t that far away from my subject, the triggers fired every single time without any hiccups. One thing I had to compensate for is that in i-TTL mode the speedlight (by default) still assumes that it’s on top of the camera. So if you put the light right next to the subject, but you are far away from the subject shooting telephoto, you will have to make some adjustments to compensate for the disparity in light to subject ratio.
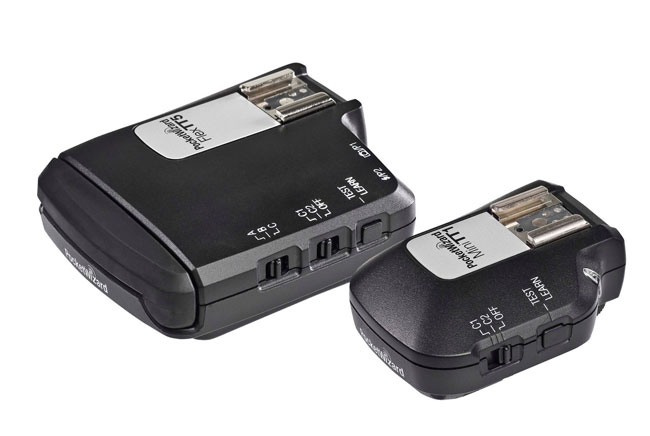
The Flex TT5 is both a transmitter and receiver and the Mini TT1 is a transmitter. I like the size of the Mini TT1. It’s much nicer on top of the camera than the full sized PocketWizards. Both the Flex TT5 and Mini TT1 are backwards compatible with older PocketWizards and they offer “Hypersync” (high speed sync) at up to 1/8000th of a second!
It was a great learning experience and I can’t wait to get a set of these. I want to thank Phil Brandon over at the MAC Group for not only loaning me these units for review, but also rushing them to me so that I’d have them for Photoshop World.
You can get the PocketWizard Flex TT5 here for Nikon | Canon
You can get the PocketWizard Mini TT1 her for Nikon | Canon
Let’s do it again. Time for me to head to Photoshop World West, which takes place this week in Las Vegas Nevada. I’m looking forward to seeing you all there and I’ve got some new classes on tap that I’m excited about. I’ll be teaching two classes on the conference track. The 1st is my usual “Intro to InDesign” and I’m doing a new class on my “Lightroom Workflow from Start to Finish”. I’m also doing a new class that is being added as we speak called “Easy Website Creation”, which is focused around Adobe Muse CC and as usual I’ll be in the Adobe booth from time to time giving sessions on Creative Cloud (Wednesday thru Friday). Based on the huge success of my “How To Create Websites with Adobe Muse” from the Orlando show, they’re repeating it this year again on the show flow in the Kelby Theater on Thursday at 4PM.
I’ll also be in the Westcott booth from time to time. So I’ve got a pretty packed schedule, but it’s one of the few conferences each year that I really really look forward to. Be sure to stop by and say hello. Also be sure to grab the newly redesigned Photoshop World iOS App for your iPhone, iPad and iPod touch complete with iCloud syncing.
It’s time to hit the road again! However, this time most of the stops will be right here in the USA and Canada. Join me, Jason Levine, Paul Trani and other Adobe Evangelists as we hit many US/Canadian cities with our Adobe Create Now US Tour covering Design, Photography, Web and Video presentations. While I personally won’t be at every single event, I will be at most of them. Stay tuned to my events listing in the sidebar of my blog to know which ones I’ll be at personally.
In this episode of Adobe Creative Cloud TV, I’ll show you what’s new in the August 2013 Adobe Muse CC update. There are updates to the way it handles active states of anchor links as well as a New Scroll Motion Panel. One thing I forgot to show in the video was that the Scroll Motion effects now work on iOS Devices such as iPhone and iPad.
Are you missing out on my Bonus Content?
See more of my Adobe Creative Suite Videos on my Adobe Creative Cloud TV and get the App below. It features EXCLUSIVE CONTENT that no one else gets to see. This episode has a BONUS CLIP that is available only in the App! My iOS App is a Universal App for iPhone, iPad and iPod touch. I also have an Android version on the Amazon App Store:
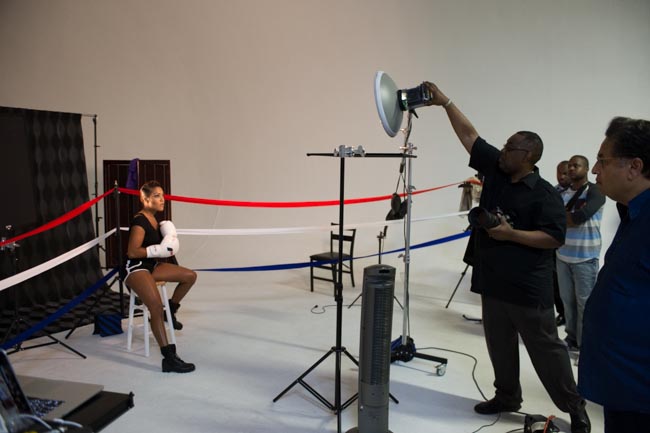
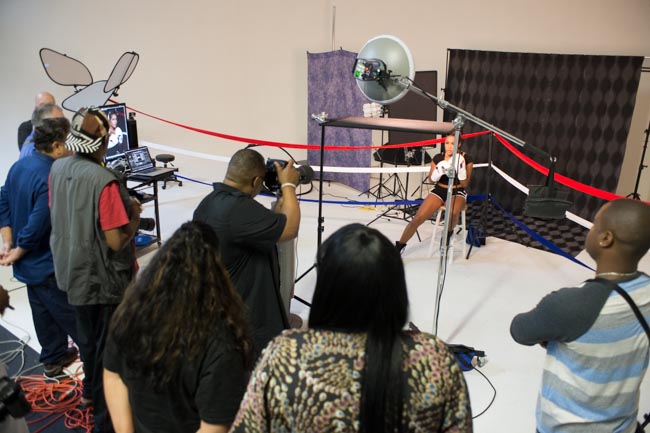
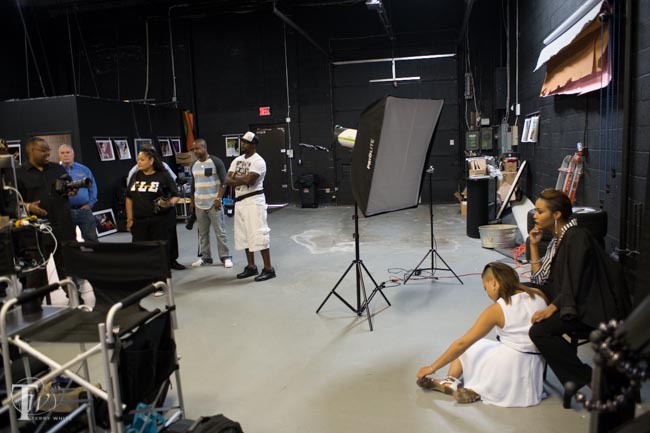
I held my Master the Shoot Digital Photography Workflow Workshop this past Saturday in my studio. We had a great turnout and a great time shooting and exploring my digital photography workflow. During the workshop and on our third shoot I decided to give the Priolite MBX500 a shot. I had just received this kit to review and quite honestly after setting it up and testing it only to make sure it fired, I hadn’t actually used it in a real shoot yet. I figured what better real world testing than during a live shoot in front of a room full of other photographers. Yeah the pressure was on, but as I always say it will either work or it won’t. It worked!
Photo by Jason Lykins
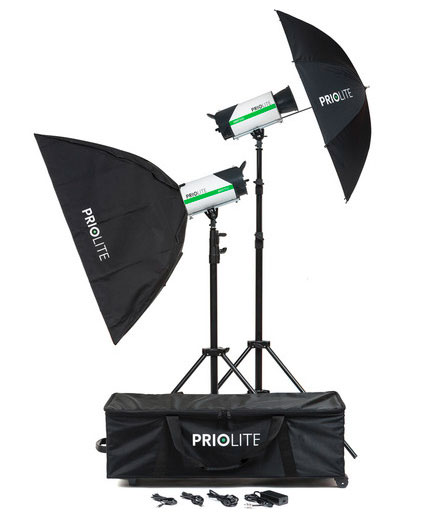
What’s a Priolite MBX500?
The Priolite MBX500 looks like a standard studio strobe at first glance. What makes it special or different is the fact that it has a removable/exchangeable battery pack built right in! That’s right, you can go completely wireless. This means that these are not only great studio strobes, but they also double as on-location lighting.
What I liked
The Priolite MBX500 strobes are very easy to set up. I didn’t receive a manual with my review units, but I was able to figure out everything I need to know on my own.
They were easily adaptable to my existing softboxes with the supplied speed ring.
Having full powered strobes that run on a removable/exchangeable battery is KILLER
Not having a battery pack dangling from them is also great.
Being able to leave them plugged in while in studio means uninterrupted shooting.
The LED modeling light is another nice benefit
What I wasn’t thrilled about
It’s really hard to find anything wrong with this solution, but here are a couple of things that I wish were better.
The strobes are larger/heavier than the average strobe. Not the end of the world and that battery has to go somewhere.
The only other issue for some will be the price. They are a bit pricier than other studio strobes, but if you were to combine both on-location lighting and studio lighting, then you’d probably come out ahead with the Priolite MBX500 kit.
Would I recommend them?
Absolutely! Here’s the real kicker. For anyone looking to make an investment in quality lighting gear, it’s hard to go wrong with the Priolite MBX500. The reason is that you’re getting two lighting solutions for the one price. You’re getting a great studio strobe AND you’re getting location lighting too. Having paid for BOTH studio strobes AND on-location lighting I can testify that I spent more than the Priolite kit costs.