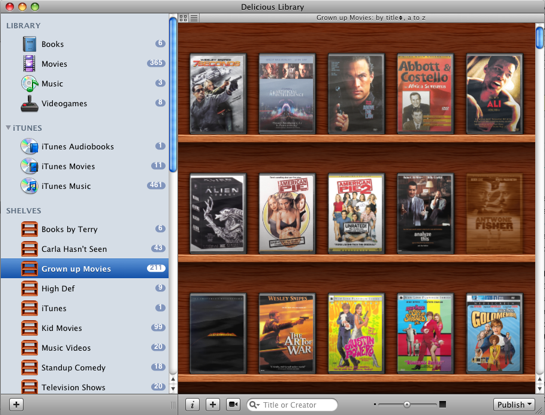
Although I don’t buy movies like I used to, I do have a 350+ DVD collection. As I get older I often times don’t know which movies I have and which ones I don’t. That’s where Delicious Library comes in. My colleagues turned me on to Delicious Library a few years ago and I’ve used it ever since to catalog my DVD collection. The one thing (as a gadget junkie) that really turned me on to it at first was the ease of entering your info about your stuff. You simply scan the barcode! Yep, that’s it! Using your iSight camera (it’s a Mac only app), you scan the barcode on the back of your book, DVD, game, etc. and it does a look up on Amazon and pulls down the title, artwork and description. I was able to catalog my entire collection in an evening. The other thing I really liked about Delicious Library is that it also keeps track of stuff you loan out. I would loan out DVDs all the time and forget about them until I went to go watch them myself. Then I would think, "who did I loan that to?" I have even been known to call around looking for something I’ve loaned out. Delicious Library integrates with Address Book and to loan something out, you simply drag the item to the contact you’re loaning it to. Then it even sets up a proposed reminder in iCal as to when the item is due back.
Although I use Delicious Library primarily for DVDs, it’s not just for movies. It can keep track of your books, video games, music CDs and just about any other media you have.

The most Mac like app outside of Apple
Delicious Library has to be one of the most Mac like apps I’ve ever used outside of Apple’s own apps. It looks and feels like an app from the iLife package. Delicious-Monster prides themselves on taking advantage of as many features as they possibly can in Mac OS X. Version 2 goes even deeper and takes advantage of Mac OS X 10.5.3’s core services to the max.
What’s new?
Delicious Library 2 (DL2) has taken things up a notch or two. The interface has been refined and sped up quite a bit (Version 1, could be a dog with a lot of items in it). This new version is much snapier. They integrated directly with iTunes now. So your iTunes items such as movies, audio books and music show up right in DL2. See an album you want to play, click on it right in DL2 and it will start playing it in iTunes. It even works with your Apple Remote.
DL2 also sports a new web publishing feature that allows you to take your catalog (or specific shelves) to the web. It works directly with .Mac or iWeb and can upload directly via FTP or simply publish to a folder. The FTP upload feature didn’t work for me. I put in all my FTP info and every attempt to publish just sits at 0% complete with no progress bar or errors. So I just published to a Folder and used my favorite FTP app, Transmit to publish my DVD collection here. If you have an iPhone or iPod touch, they’ve even put in the extra code to take advantage of the mobile version of Safari on those devices. It’s pretty impressive! This way if you were out and about and were about to buy a movie or CD that you may already have, you could whip out your iPhone and check right there on the spot. Don’t have an iPhone? No worries, they also do exports and syncs to regular iPods too.

DL2 also incorporates one of the features I’ve wanted for a while and that’s Library Sharing. This allows others on your local network to use their copy of DL2 to see your Library. I keep my main Library on my iTunes iMac and now the family can see what we have from their Macs.
DL2 introduces "Smart Shelves"
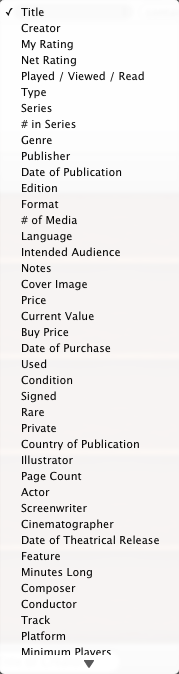
I haven’t quite figured out if and how I’m going to use this feature yet. Like iTunes’s Smart Albums, Smart Shelves allow you to set up criteria such as "Actor contains "Denzel Washington" and any movies you have with Denzel in them will automatically populate the shelf. That’s just the tip of the iceberg. You could do book authors, genres, formats, etc. etc. There’s a mile long list of Smart Shelf criteria to use.
All and all, this update is well worth the $20 upgrade ($40 entry price). As soon as I get my FTP upload working, I’ll be 100% satisfied (I know, I know)! To see a complete list of features or download the trial, go to Delicious-Monster.com.