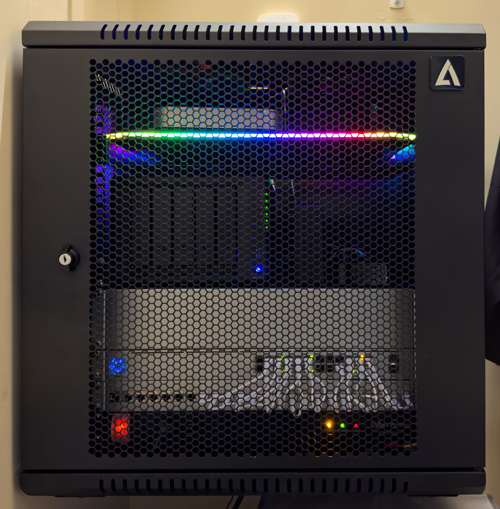
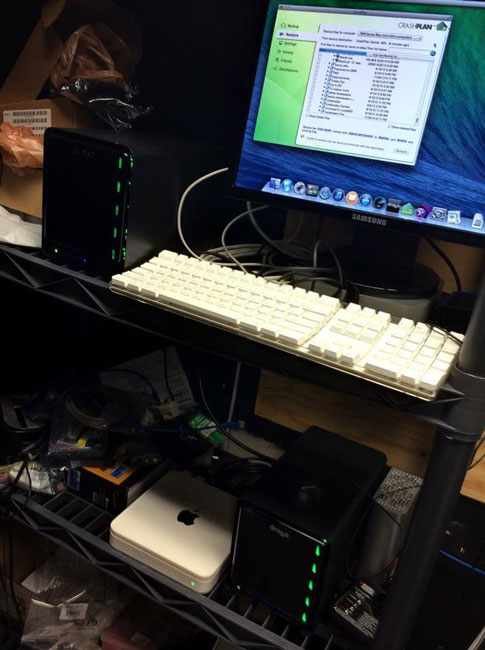
Now that my network upgrade is complete (see my Networking gear guide here to see every item I put into my new server racks), it’s time to focus on something I’ve been putting off for way too long. It was time to replace my 2012 Mac mini Server and Drobo 5D. During the COVID-19 pandemic Drobo went M.I.A. They had no products in stock, and it was reported that calls were largely unanswered.
While my Drobo and Mac mini running Mac OS X Server Sierra 10.12 was working fine, I knew I was living on borrowed time. I feared that getting a replacement would be difficult or impossible if my Drobo had some mechanical failure.
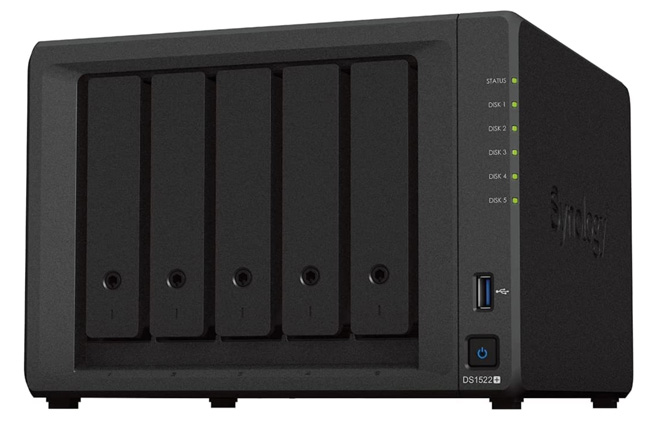
Time to upgrade to a NAS (Network Attached Storage)
I had been researching solutions from Synology and QNAP. As much as I pride myself on being tech-savvy, it wasn’t easy trying to distinguish which one was better and which product in their respective product lines would be best for me.
The one thing I never hear anyone complain about is having too much available storage space. No matter how big your hard drive is, you’ll likely fill it up at some point. My everyday work computer is a MacBook Pro 15″ Retina Display with a 1TB SSD and I’m always having to manage the space on it. If I had a 2TB drive at some point I’d need to manage the space on it. This usually means moving older projects, photo shoots, demo files, etc. off of it onto my network file server or trashing stuff I just don’t need anymore. Then I can usually breathe for a while before having to repeat the process. Sure I have a few external USB 3 and Thunderbolt drives I can plug in in a pinch, but there are times where that’s not feasible due to the ports being used for other devices or being in a mobile situation where having a hard drive dangling (not really dangling) off the side doesn’t work either. Apple builds the drives into the logic boards of MacBooks these days. Therefore replacing the internal drive with a larger capacity is not possible.
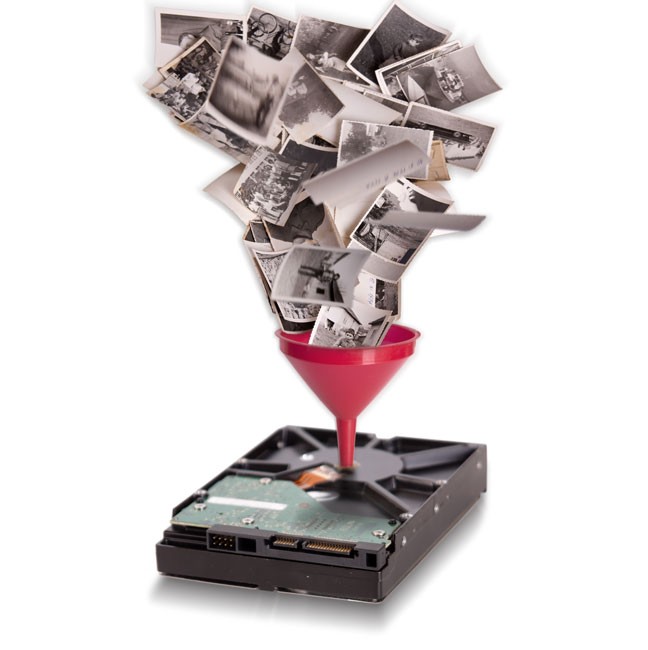
While having dinner with friends the conversation came up about running out of space on a laptop. I asked my friend who is retired and travels for pleasure most of the time, how he backs up his photos? He told me at first that he had merely moved some photos onto a “USB stick”. I dug a little deeper (knowing that my friend knows a lot about computers) and found out that he does have a backup strategy that involves multiple drives and offsite backup. Whew!! However, that got me thinking about the question I get a lot from new photographers, “how do you backup your photos?” Unlike your regular documents, chances are you have photos “everywhere”. You have photos on your memory cards. You have photos on your hard drive. You have photos on your “other” hard drive. You have photos on your smartphone. You have photos on your tablet. You have photos online. Worst yet the problem will continue to grow as you take more photos every day and you acquire more devices. There is nothing else you have electronically that will likely be in so many places and continue to grow. Music and videos can be a mess too, but generally you’re shooting more photos than you are videos and acquiring new music.
How to Backup Your Photos
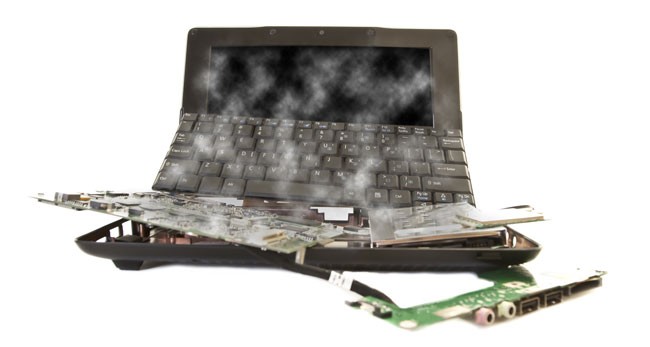
This post is really not about a specific piece of hardware or software. Sure I will share the specific hardware and software that I use, but I really want you to focus on a simple rule first: “Always have your photos in at least three places with one of those places being offsite.” No matter what software, hardware or even cloud based solution you have, the worst mistake you can make is relying on ANY one thing/service. No matter what hard drive you buy, computer you use, service you backup to, etc., they are ALL SUBJECT TO FAIL! Nothing manmade will last forever. So don’t rely on any one thing to be the sole location for your precious memories. If you follow the simple rule above, you’ll be in a lot safer position than the average person out there.
What’s my workflow and how do I backup my photos?
Since this is a question I get on a regular basis I’ll share with you exactly what I do and how I backup. Keeping the rule in the previous paragraph in mind I know that my photos need to be in at least three places with one of those places being offsite. In that case let’s walk through one of my shoots:
Location #1
I either shoot on location to a memory card(s) or in studio tethered directly to my MacBook Pro. In the case of being on location the images are captured to the memory card first and that’s the first (temporary) location of my images by default. When I shoot tethered my images go directly to my laptop hard drive (yes you can use an external, but I don’t since they won’t be there for long.)
Location #2
If I shot on location then I import the images into a folder on my MacBook Pro drive and from there into Adobe Lightroom 5. Since the images are still on the card this becomes location #2 by default. However, if I shot tethered then the photos are already in a folder on my drive. Since I’m on the Mac, I have TWO Time Machine Backups setup that AUTOMATICALLY alternate backing up every hour. This is the real location #2 (Location #1 = MacBook Pro and Location #2 one of two Time Machine Backup drives on the network).
Location #3a
This one doesn’t really count as Location #3 because the photos are ultimately “moved” from my MacBook Pro onto a Drobo 5D which is attached to my Mac OS X Server (Mac mini). In other words the photos from my recent shoot are on the MacBook Pro hard drive while I work on them, retouch them and then finally deliver them. Once I’m done with them I move that folder from my MacBook Pro hard drive to my Drobo hard drive. So technically this is still location #2 as the photos will either be on the MacBook Pro OR the Drobo, but not both. I put this location in because it is part of the workflow.
Location #3b
Not only were my photos being backed up to my TWO Time Machine backups within 1 to 2 hours after being on my home network, they are also being backed up OFFSITE to CrashPlan.com. CrashPlan works in the background and immediately starts backing up any new files added to my pictures folder on my MacBook Pro. However, let’s say for the sake of argument that I move them to the Drobo before CrashPlan has a chance to back them all up. What happens then? You guessed it, the Mac mini connected to the Drobo is also backing up to Crashplan.com. In either case the photos will either get backed up offsite from the MacBook Pro or from the Mac mini if not both.
Location #1 AGAIN
It’s important to note that the Mac OS X Server (Mac mini with the Drobo 5D) ultimately becomes my archive. It’s where ALL of my photos eventually end up. It’s where my Lightroom catalogs point to for photos taken in years past. This means that the Mac mini/Drobo 5D technically becomes location #1 at some point in the digital life of my photos. So what now?
Location #2 AGAIN
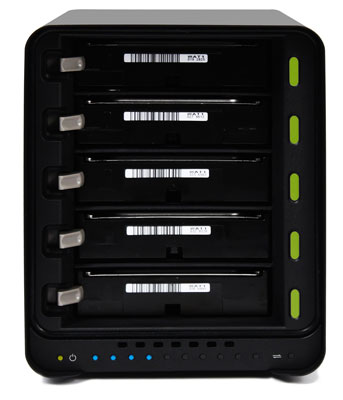
The Mac OS X Server is backed up via Time Machine to ANOTHER Drobo. A networked Drobo 5N. This ultimately becomes location #2.
Location #3 is still Location #3
The Mac OS X Server is backed up offsite AUTOMATICALLY via CrashPlan.com. I could even setup CrashPlan as an App on the Drobo 5N so that it’s backs up the backup offsite.
Bonus Backup Locations
If all I had was the above strategy/workflow I’d feel “pretty” comfortable, but I’m a paranoid kinda guy when it comes to my data. So I have some bonus backups. Since Time Machine can backup automatically to as many drives as you add to it (automatically alternating between them), I backup on the go to small WD 2TB My Passport Wireless Drive. This one is the one that I travel with. Since I shoot out of town from time to time I can’t chance that my photos won’t be backed up before I get home. Therefore the memory cards become Location #1, the MacBook Pro hard drive becomes Location #2 and the WD My Passport Wireless Time Machine backup becomes location #3 on the road. Not to mention that if my internet connection is fast enough that CrashPlan is doing it’s thing in the background too. As far as just my data goes in general I have yet another backup of my entire drive. A “clone” backup (using either SuperDuper! or Carbon Copy Cloner) to another 1TB G-Drive Thunderbolt/USB 3.0 portable drive. This backup is less about photos and more about the day that my computer or OS gets hosed and I need to boot immediately and continue with my presentation/work. In other words for those scenarios when I don’t have time to do a Time Machine restore.
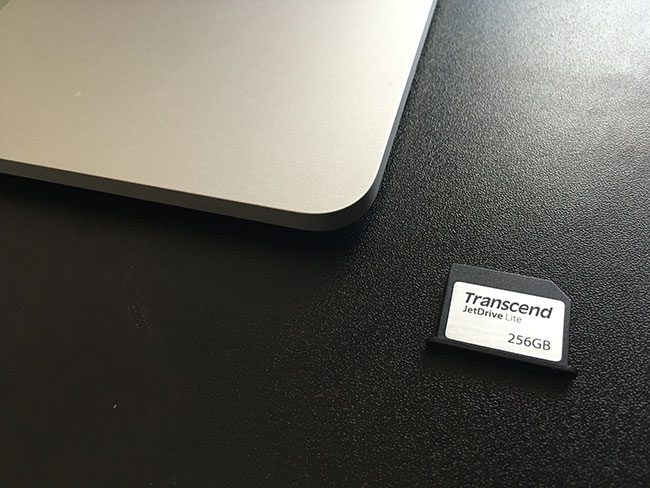
Since I now have a 2TB WD My Passport Wireless Drive with a built-in SD slot. I can make a backup of the card(s) in the field before I even get back to my computer.
The Never Ending Need for More Storage
Like I said in the opening, you’re going to be taking photos from here on out for the rest of your life. This means that you will always be ADDING files to your hard drives. Most users think that once their “main” drive fills up, just go buy an external drive. Yes, that works but it’s something you’re always going to need to do. Sure you can buy a bigger drive next time and copy everything from the first external onto the new external and that’s what I used to do. That was until copying everything got to the point that it was taking 18-24 hours to copy.
I knew years ago that I was going to need an “scalable” storage system and that’s why I went with Drobo way back then. They’re Beyond RAID technology allows me to swap out/or add a drive in my Drobo with a larger one without having to stop working or even reboot. As I need more space I just put in more/larger drives. If one (or even two drives fail at the same time) fails my data is protected. This doesn’t mean that I don’t need to backup. Remember what I said about everything manmade will eventually FAIL? Drobo or any other RAID system can fail at any time. However, I must say that to date I’ve had no major issues with my Drobo hardware and it has protected me on more than one occasion from drives that have died.
One day I came home to an email alert from my Drobo letting me know that one of the drives had failed. It safely protected the data with no data loss. I replaced the drive and kept right on working! Also feeling at ease knowing that I had a BACKUP!
I know that Drobo (or any other storage solution) can and will fail at some point, but that’s why I backup! That’s why I never depend on ANY one thing being the sole location of my precious data/photos.
Q&A
Q. Do I have to do what you do?
A. Nope, you can do whatever you want. They’re your photos.
Q. What about SSD drives? Aren’t they crash proof?
A. A common misconception about Solid State Drives (SSD) is that since they have no moving parts, they won’t crash. While I would agree that this makes them “less” crash prone, it doesn’t mean that they can’t die or have an issue that results in the loss of data. As a matter of fact I have first hand experience with losing data that was on a NEW SSD. See that story here.
Q. I don’t trust cloud services. Do I have to use CrashPlan?
A. Nope! The main thing is that you have at least one copy of your data OFFSITE. What good is a backup that sits right next to your computer if someone breaks in and steals the computer AND the backup drive or if you have a fire, flood or other major loss? I know many people that simply have two or more backup drives that they rotate between a friend/relative’s house or a safe deposit box at the bank. As a matter of fact this was my method for offsite backup before I started using CrashPlan. My server would do a clone backup to an external drive each night. I would take the drive to the bank and swap it about once a week. That’s how it started anyway. Then once a week became twice a month. Twice a month became once a month. Once a month became “I can’t remember the last time I swapped backups.” I use CrashPlan because it’s one less thing I have to think about. It works in the background and backs my photos/data up to their servers without having to think about it. It has already come in handy. Also on a side note you can still use CrashPlan without backing up to their servers! That’s right, you can download their software for free and set it up so that it backs up your computer to another computer (say at a friend’s or relative’s house) over the internet. You still have an offsite backup that’s automatic, but you control the location of the data. Provided you trust your friends or relatives 🙂
Q. CrashPlan sounds great! Why not just use that (or a similar service)?
A. You still want a local backup for a few reasons. #1 if something does happen it’s a whole lot faster to restore from a local backup then it is from the cloud. #2 CrashPlan doesn’t backup their servers! That’s right, they openly state that their servers are NOT backed up. Why? Because they know that they are your only backup.
Q. What do you get out of telling us all this?
A. What I hope to get is the peace of mind knowing that I helped at least one person protect their data and I will not have to hear one more person’s story about how they lost everything because of hardware failure or a virus. Drives are SO CHEAP now that there is NO REASON not to have multiple backups.
Q. I upload my photos to Facebook, Flickr, 500px, Smugmug, etc., is that a backup?
A. When you share your photos on social media it’s usually designed to be a one way trip. In other words most sites are not designed to share the original quality of the photo, store it and let your download it again. When you upload a photo to Facebook, that version is highly compressed and looks worse than the original. While having your photos online is better than nothing, it’s not a backup and there is no guarantee that the online entity will allow you to keep them there forever or even be around forever.
Q. You mentioned smartphones. Yes I have photos there that aren’t anywhere else. How are you handling those photos?
A. I look at my iPhone as another camera. I shoot with it and it’s true I don’t always download them to my computer right away, I do want them backed up. Luckily Apple let’s you do this for FREE. iCloud backup is free (5GB of YOUR data) and built-in to iOS. My iPhone 6 Plus gets backed up every night automatically. I also use Lightroom Mobile. I have a Collection in Lightroom Mobile on my iPhone and my iPad set to “Auto Import”. As soon as I launch Lightroom Mobile on my iPhone it imports any new pictures from my camera roll and syncs them to the cloud. These photos appear in Lightroom on my desktop (MacBook Pro) right along side my other photos. My MacBook Pro is being backed up as outlined above. Lightroom is the center of my photo universe. If it’s an important photo to me then it’s in my Lightroom catalog and the actual digital file (RAW or JPG) is in a folder on my server and two other places.
The Bottom Line
My goal is to always have my photos in at least three places! As you can see from the above workflow I’m cover 99% of the time. Even with what I do above there are still chances for loss. For example, a memory card can go bad before the pictures are ever transferred to the computer or copied to another card in the camera. If recovery software/services can’t retrieve them, they’re gone! What if all your camera equipment is stolen while you’re still out of town? There’s no way to be 100% safe, but at least with a workflow like the one above you’d be covered for the most common situations.
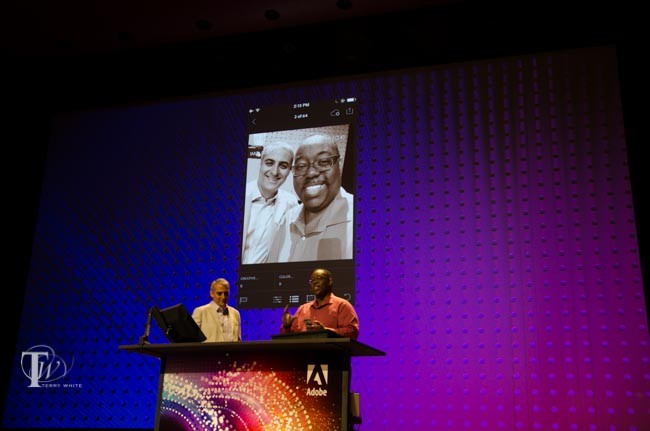
In this episode of Adobe Creative Cloud TV, I’ll show you two ways to move your Lightroom photos to another hard drive/NAS. This is one the questions I get most and I decided to dedicate a video to it and share some tips as well.
Are you missing out on my Bonus Content?
See more of my Adobe Creative Cloud Videos on my Adobe Creative Cloud TV and get the App below. It features EXCLUSIVE CONTENT that no one else gets to see. My iOS App is a Universal App for iPhone, iPad and iPod touch. I also have an Android version on the Amazon App Store:
A while back I did a guest post on Scott Kelby's blog about my photography workflow. In that post I also talked about backup and offsite backup. At the time my offsite backup method was simply rotating two external hard drives to/from my safe deposit box at the bank. While this method certainly works, it does require me to actually make the trip to the bank. As much as I would have liked to do this on a weekly basis it was turning more into a monthly or bi-monthly trip. Although an old backup is better than no backup I wanted something a little more automated. It was suggested in the comment section of that post that I look at cloud backup, so I did. The first company I looked into at the time was Carbonite. However, Carbonite was a non-starter for me because of their stupid policy (at the time) of not allowing you to backup an external drive from a Mac. Really? Seriously? What difference does it make if the data is on the internal drive or an external drive? Charge for the amount of data being backed up and be done with it! I confirmed this stupid policy with their customer service and ended up going with CrashPlan instead.
CrashPlan gets it right
My initial experience with CrashPlan was excellent. I had no problem getting setup with their CrashPlan+ Family Unlimited Plan. This allows me to backup every computer I own and there are no silly limits on which drives the data has to be on. I knew going in that backing up TERABYTES of data over the internet would take a long long long time and well it did! It took MONTHS to backup my two servers. These two Macs (with Drobos attached) contain all my photos, music, movies, documents, etc. In other words, my digital life.
How long did it really take?
I signed up for CrashPlan on January 13, 2011. I set it to backup both computers, but I did limit the bandwidth that it uses AND I set it to only run at night while I was sleeping. This way it would have no impact on my day to day internet use. By having it run only half the day and at a limited bandwidth, it took about 6.5 months to complete the backup of 1.7TB. Now I have it backing up another computer now that the main backup is done.
There are other options for the initial backup and restores
I was in no hurry for this backup to complete because I already had an offsite backup solution in place. However, if you want your initial backup to not take weeks or months then you could pay for them to send you an external hard drive. This way you could backup your data in a matter of hours instead of days,weeks or months. Once you return the drive to them they will add your data to their servers and give you instructions on how to connect your account to that data for continued backup.
What's the advantage of cloud backup?
Now that my initial backup is done, my new/changed files are backed up every night automatically and OFFSITE. If a disaster strikes my home (flood, fire, theft, etc.) I would be able to get my important data back once I'm up and running again on a new computer/hard drive Yes they offer the ability to send you a drive with your data on it so that you can be backup and running sooner). Another advantage is having web access to ALL of my files no matter where I am in the world. If I need an import file off my server at home I could of course access my server via the internet because I have remote access setup. However, even if I didn't have remote access available I could always log into my CrashPlan account via the web and download any file that I want.
The Bottom Line
There is no such thing as being too backed up when it comes to irreplaceable files such as digital photos. I backup my computers internally with things like Time Machine and SuperDuper!, but I also like having a backup that is offsite too. CrashPlan offered the most bang for the buck with unlimited data plans and no restrictions on where my data had to be stored in order to back it up. You can find out more about CrashPlan here.