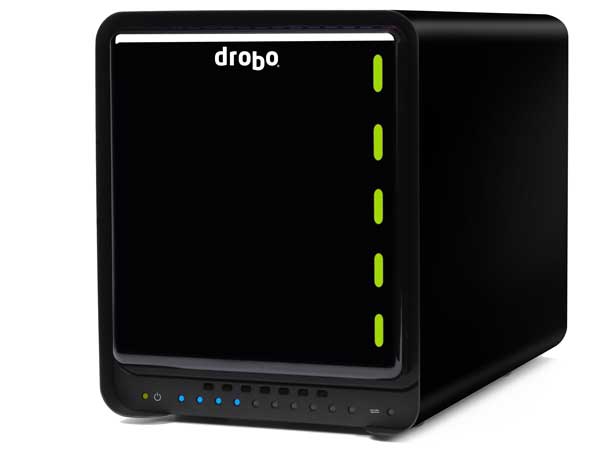
I've been a happy Drobo user since October 2008. My main Drobo 4 Bay Firewire 800 unit is being used as the main storage on my Mac OS X Server in my home office. My second Drobo 4 Bay Firewire 800 unit is being used on my dedicated media server (an iMac running iTunes) and it houses all of our music, movies, TV shows etc. I love Drobos because you can easily increase the storage capacity by swapping one or more drives for larger ones without having to start over and reformat. I also love the fact that the drives don't have to be the same capacity. While my Drobos have been relatively trouble free from a hardware standpoint, I did suffer from a directory corruption problem once back in February 2009. Luckily I knew better and had my data backed up. While Drobo is GREAT at protecting you against drive failures there's is no magical protection against accidental file deletions, viruses, or directory corruption. In my current setup I have each Drobo being backed up on a nightly bases to external large capacity drives via SuperDuper! This all works great, but it does still leave me exposed to one problem.
An Oops Moment
We all have those oops moments. Those moments where we do something that we wished we hadn't. It could be deleting a file that you thought you no longer needed or doing a Save when you meant to do a Save As, etc. If that happens to me and I catch it right away, no problem I can restore from yesterday's backup. However, if that happens and I don't realize it right away then I could lose the file completely after the new file gets backed up during the next evening's backup. In this case Time Machine really shines. As a Mac user I have Time Machine right in the OS. I use it on my MacBook Pro and other computers around the house. So no worries if this problem happens on one of those computers because i can just go back in time and grab and older version. However, if the file is on my Sever then I don't have that protection. Same goes for my iTunes collection. If I delete something there without realizing it, it will be gone for good after the next backup.
Drobo FS to the rescue
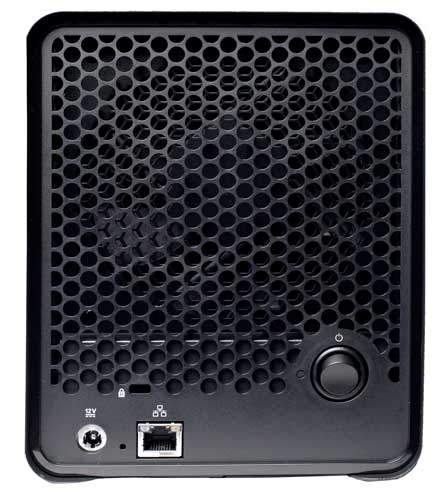
While I can pretty easily clone my Drobos to nice big 2TB and 3TB drives, it becomes more challenging using Time Machine for that much data on a single backup drive. The drives would fill up quickly and I would be no more protected than I was with a clone. In this case I wanted to use Time Machine but I would need something as large as the capacity of my Drobos and actually significantly larger if I want to go back further in time. The solution was clear – another Drobo. With another Drobo I could put large drives in it and it would not only have the storage I needed to backup one Drobo, but both Drobos. Since the two computers are not in the same room, I needed a network solution. This lead me to the Drobo FS. While I could have put another Drobo on my Mac mini server it would mean having to daisy chain it via Firewire and I also have limited space in that area of my office. The Drobo FS is a 5 bay unit that connects directly to your network via Ethernet. This means that it can be anywhere in my house including a closet or storage room. The 5bay FS doesn't cost that much more than a directly connected Drobo model.
Setting up the FS
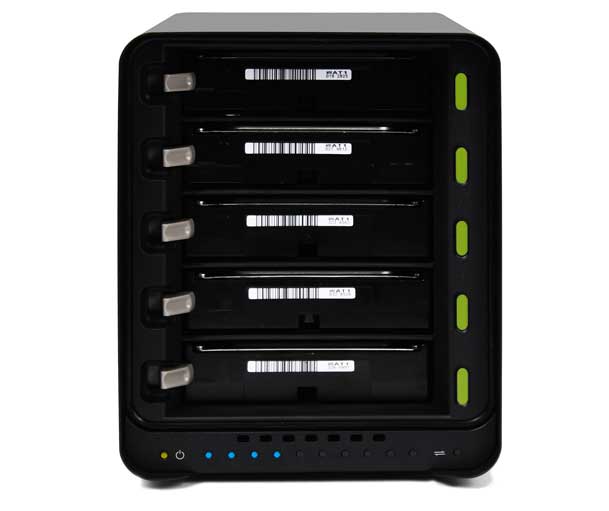
I love it when all the instructions that you'll need to setup a new device fit on a single card. The Drobo FS is that easy to setup. install the software. Insert one or more hard drives (2 or more is best for protection) and they don't even have to be the same capacity. Plug in your Ethernet cable (gigabit ethernet if you want performance) and turn it on!
The Drobo automatically formats itself and in a few moments shows up in the Drobo dashboard of all your networked computers. At that point you change the administrator username/password and create the "Shares" you want to be seen on the network. Add your users/passwords and you're done.
Using it for Time Machine
Since I already have a Fileserver that I'm happy with I didn't really need to setup any shared folders beyond the one for my network Time Machine backups. You create a share and then just enable the Checkbox so that this new Share can be used and seen by Macs as a Time Machine volume.
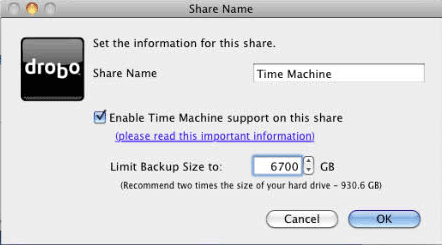
Unfortunately you do need to install the Drobo Dashboard on each of the Macs that you want to backup to it via Time Machine. It's not the end of the world, I just dont' like installing any more software than I absolutely have to. Once the Drobo Dashboard is installed on a Mac that you wish to backup, you mount the Share and then choose it in the Time Machine System Preferences. For now I've decided to use it for all of my Desktop Macs including both servers and another iMac and Mac Pro. I've completed the backup on a couple of these Macs as of the writing of this review. The big ones are going to take a day or two to complete because if you've ever tried to backup 1.5-2TBs of data you know that it can take a while.
The Bottom Line
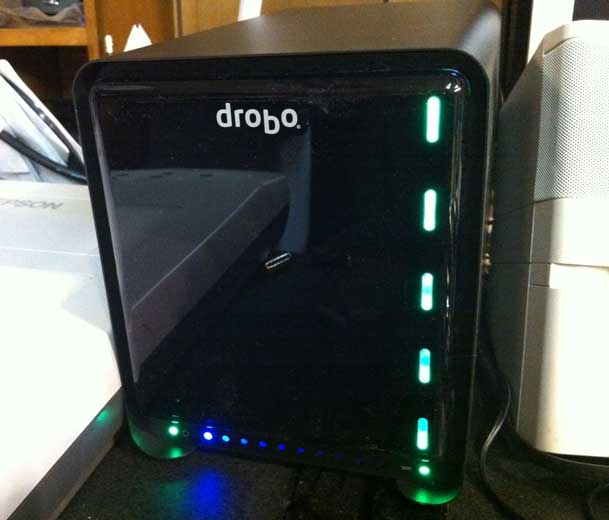
The Drobo FS is a great solution for any home or small business looking to setup a File Server/NAS or Network backup that is painless and has built-in redundancy for protection against drive failure. If you are going to use one in a File Server capacity keep in mind that while Drobo protects against drive failure, you should still back it up too! That goes for any drive solution. Also if you are going to use it as a File Server you can enable the Drobo Apps so that you get File Server type features such as web serving, ftp, etc. I didn't enable these as again, this isn't my main server.
The fact that the Drobo FS connects directly to my network instead of requiring a host computer is huge for me! I would hate it if the day comes that I restore an entire Drobo from a backup because it would take a while. I would hate it even more if the day came that I needed to restore a large amount of data and I didn't have a backup at all.
You can get the Drobo FS enclosure for less than $615 from B&H Photo and Video
You can get 2TB SATA Hard Drives here for $75. The price of storage has never been cheaper!
You can use the Drobo Storage Calculator here to figure out how much storage you would have based on the drives that you put in it.
