Guest Review by Jason Lykins: Saberstrips

One thing that I’m always looking for as a photographer is new ways to stay ahead of the pack. Whether that is with a new lighting style, a new editing technique, or a new piece of gear that allows me to do something different, I’m always looking for that edge. Recently Scott from Saberstrip sent me a couple of his unique modifiers to try out, and I immediately knew I had to add a few to my speedlight kit. Not only do they do something different than any other light modifier that I currently own, but also it’s a look that not many people are getting with speedlights. The ease of use, durability, and unique design make them well worth the investment.

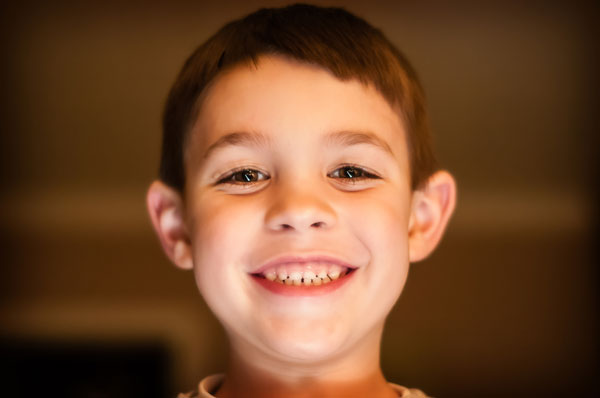
Immediately after receiving them I set one up and grabbed my closest subject, which happened to be my son who was playing a video game. Being my son, he’s used to standing in as a model while I test out new gear, so he was willing and happy (or at least he faked being happy). I brought the light in close and used it to light his face like I would do for a headshot, and I couldn’t have been happier with the light quality.  I gelled the flash to match the ambient in the room and the output was beautiful.


What You Get

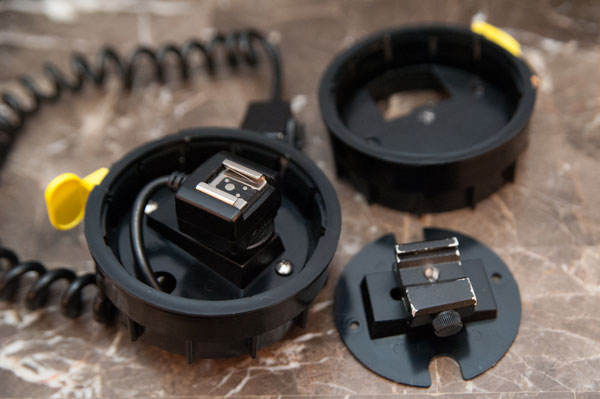
The Sabertrips arrives in a carefully packaged box, individually wrapped in plastic and bubble wrap. Each Saberstrip is a roughly 3foot long tube with a cap on each end. The middle section is cut out and covered with diffusion material. On the removable end you will see a wing nut type of fastener that allows you to loosen the cap to remove it.  Once the bottom cap is removed you will see two screws holding the mounting plate down and a ¼-20 screw protruding from the mounting plate. If you look into the tube you will see at the very top (the end away from the base plate that you removed) is a reflector plate mounted to the top cap.  That’s pretty much it. Other than a cold shoe or TTL cord (I’ll get to those in a minute) that’s all that you need to get started using your new Saberstrip. There are a few things that Saberstrip recommends to use when mounting your modifier, however they aren’t required. To see a list of those recommended items visit the Saberstrip website.
 

Setup

Setup is easy with the Saberstrip. Once the bottom cap is removed from the modifier you remove the two Phillips screws holding the base plate in place and the plate comes free. Once you have the plate removed you have access to the ¼-20 screw to mount your flash. Here you have to make a decision. Depending on how you’re going to trigger your flash units, you will need to attach one of two things to the mounting plate. If you’re using Pocket Wizard Flex units, or the Radio Popper TTL triggers, you will need to mount a TTL cable to the plate. If you’re using standard Pocket Wizards or any other kind of “dumb” triggers, you will need to attach a cold shoe adapter here. Personally I am using the Pocket Wizard Flex units so I attached the TTL cable to the base plate.  (One note here, at first I had a little trouble getting the TTL cable through the hole in the bottom cap but it finally went through with a little twisting of the connection part of the cable) Once you have your cold shoe or cable attached, you can reinstall the two Phillips screws to reattach the plate to the cap. Attaching your flash to the base plate is done by either sliding the hot shoe connection into the TTL cord, or tightening the screw on the side of the cold shoe like you normally would.  Once you have your flash attached, you need to remove the diffuser cap (if equipped) and zoom the flash to its maximum zoom. This causes the flash to bounce off of the reflector at the other end and distribute the light evenly across the diffusion material.  Mounting the Saberstrip itself is easy. The bottom cap accepts a ¼-20 screw/stud (like most common speedlight accessories) so you can attach it to most standard light stands and booms. I used them with all sorts of stands and never had a problem mounting them with no extra equipment needed.


Uses
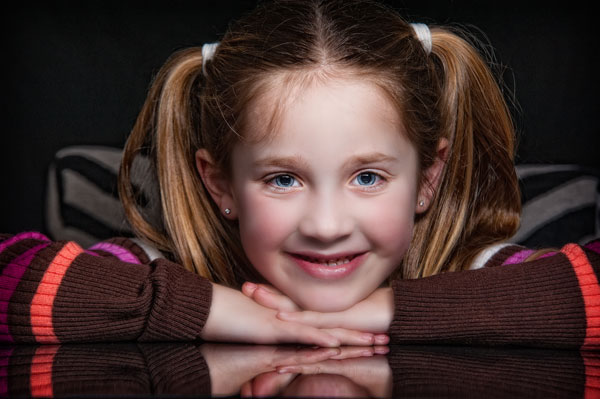
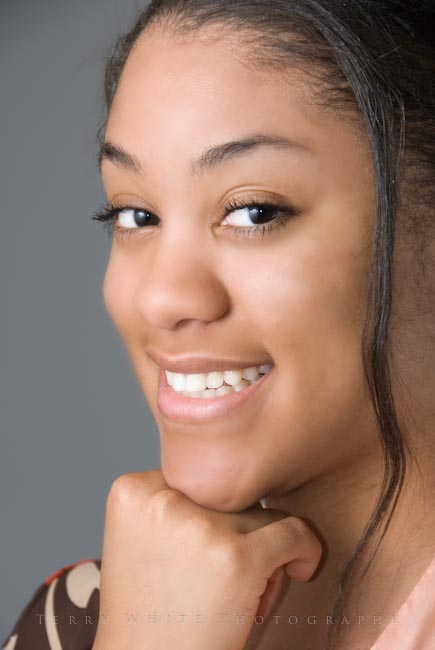
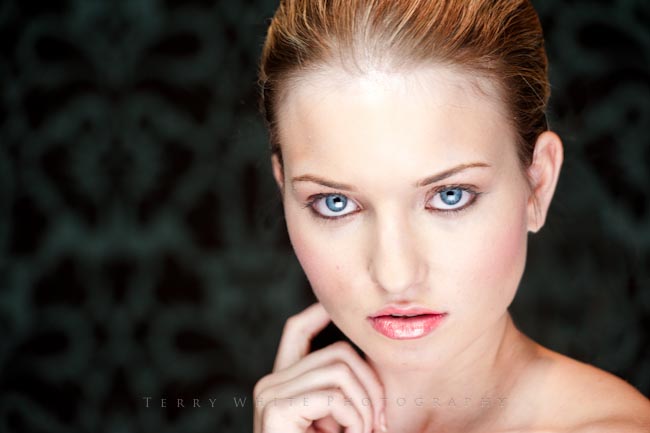
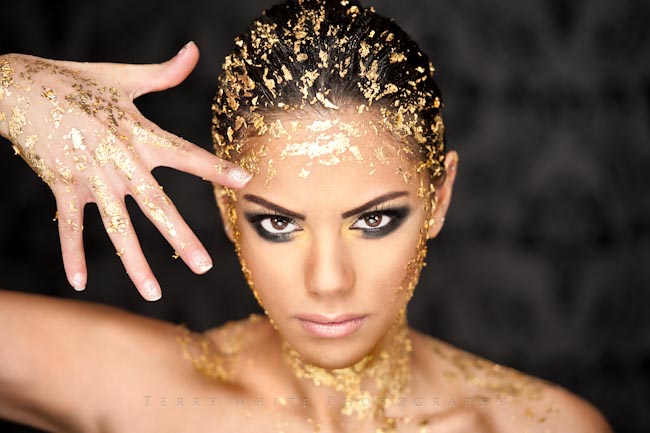
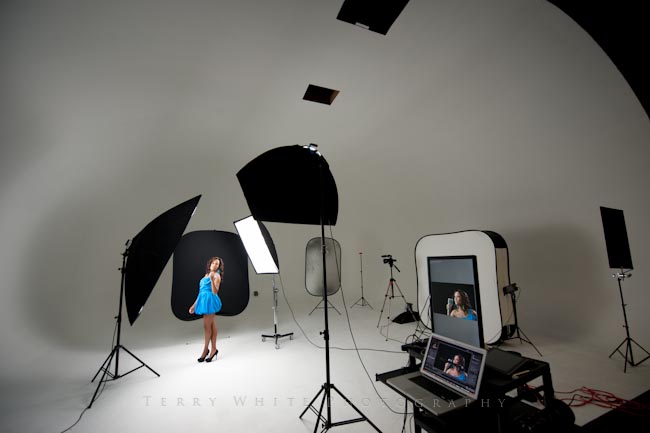
I found a few different “favorite” ways to use the Saberstrip. Since the Saberstrip is similar in shape to a conventional strip box, the immediate thought is to use them as rim lights. I used them like this as well, but I wanted to try them out in different ways. In the shot I did of my daughter I placed the Saberstrip on a boom horizontally and lowered it until it was just out of the picture. I then placed a piece of Plexiglas below her arms on a posing table. The design of the Saberstrip allows the light to be feathered off of the subject, which is exactly what I did in this situation by simply rotating the whole unit so that the diffusion material was pointed more towards the ceiling than directly at her. The modifier worked really well for this shot because it kept an even source of light across the entire reflective area as well as her face. The quality of light was soft and made for a beautiful portrait.
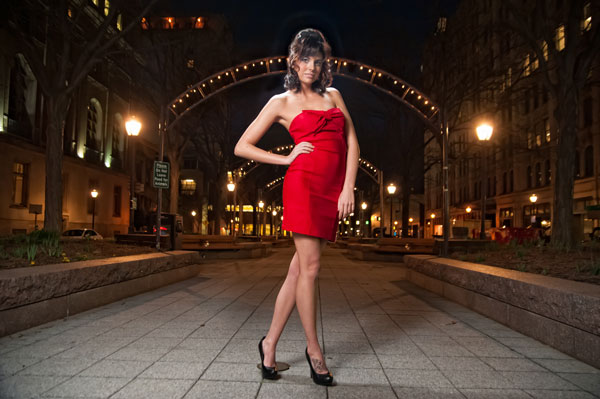
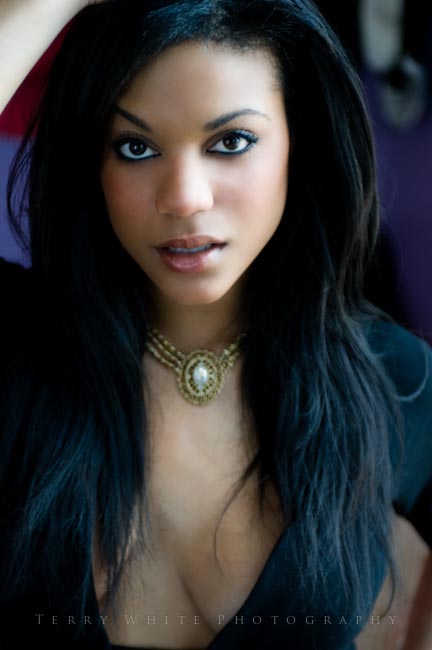
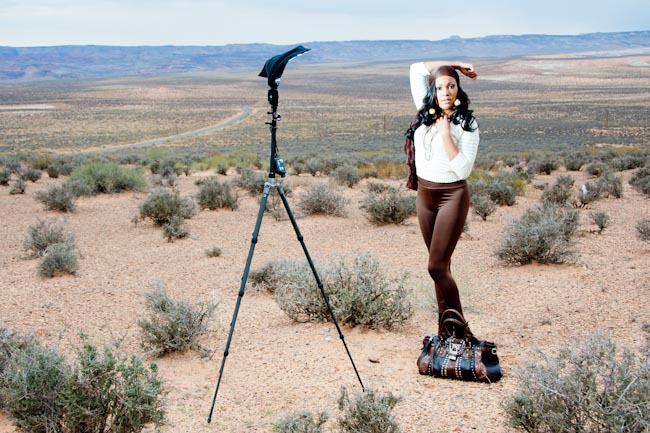
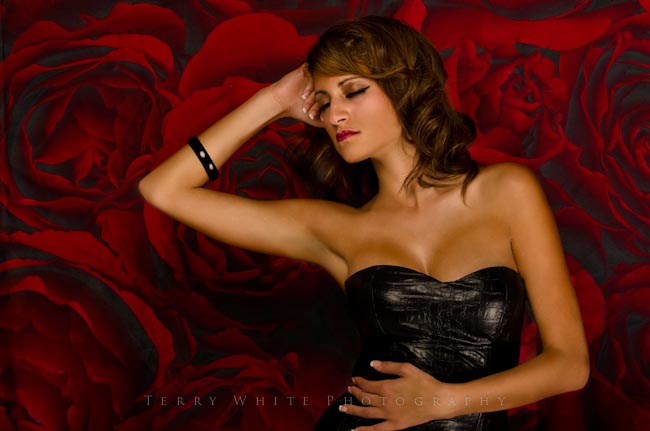
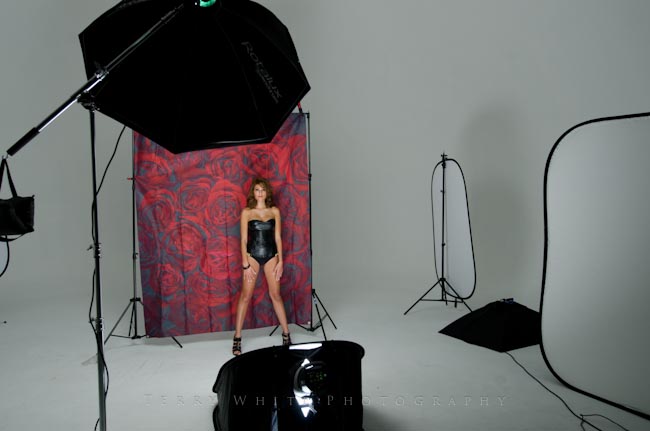
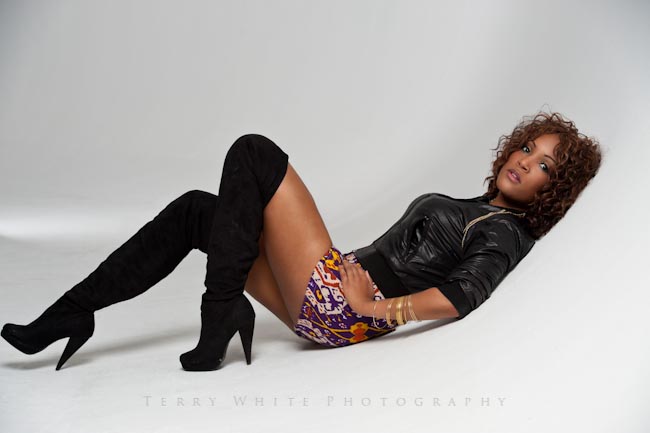
The next way that I found myself using the Saberstrip quite a bit was as a hair light. I found myself placing it on a boom above and behind the subject’s head in a horizontal position. I liked it this way because it puts a nice soft light on not only the subject’s head but on the shoulders as well. It creates great separation from the background and really makes the model “pop”. I used it with Dawn in the shot above, but because you can see so far above her head in the frame it’s actually a composite. I had the camera on a tripod and I told the model to remain still after the first shot. After I took the first shot I removed the boom and hair light, returned and took a second shot without the hair light in the photo.  I then combined the two in Photoshop to make the image you see above. The main was a Qflash through a Zumbrella camera left.

The bottom Line

For me it comes down to creativity. I absolutely love the ability to control, contain, and shape my light to my liking. Adding speedlight powered strip lights to my mobile lighting kit is just one more way that I can separate myself from the pack making my images that are different than the rest. The Saberstrip is reasonably priced. For $135.00 you get a mobile strip light that can be used not only as a rim light, but also as a hair light, main light, fill light, and more!  It’s a great value and a great product! To find out more, or to order your Saberstrip visit http://www.saberstrip.com.

Add A Macro Lens to Your Smartphone Easily


My iPhone has become my point & shoot camera for the most part. It's a good camera and while I do own "better" point & shoot cameras, my phone is always with me. Therefore it wins by default. I've also seen several attempts at adding lenses to smartphones and in most cases I'm left scratching my head trying to understand why anyone would want to do this? After all If I'm going to carry big lenses or if the photography is that important to me, then I'm also going to carry a decent camera body to go with those lenses. I recently made one exception to this rule. 


The Easy-Macro Lens for Smartphones

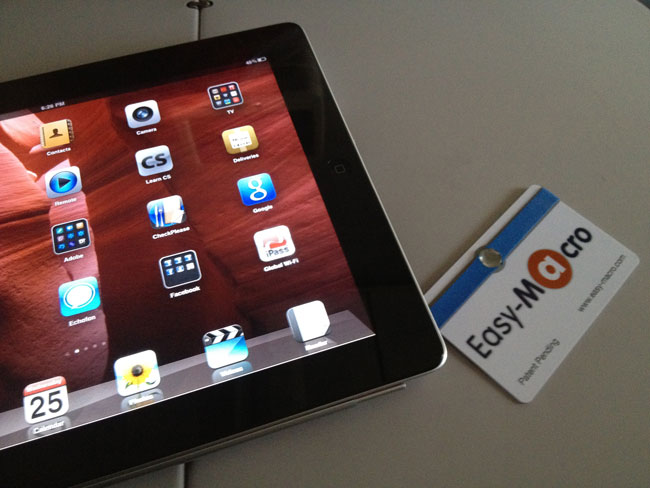
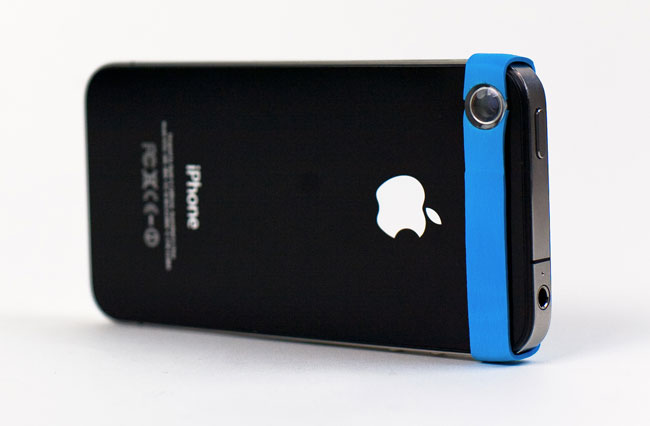
We often use point & shoot cameras and smartphone cameras because they are CONVENIENT and self contained. However, if I can carry a Macro lens and it adds no extra weight or fuss then I'm interested. The Easy-Macro is just such an accessory. The easiest way to describe it is that it's a Macro lens on an elastic (rubber) band. When not in use you can carry it on the supplied card in your wallet or purse. I got this lens a couple weeks ago, stuck it in my wallet and forgot about it. Last night while on the plane I noticed it and decided to give it a spin. It installs in two seconds. Just stretch the band around your phone and position the lens over your built-in lens. That's it. You're ready to do a little Macro photography. 

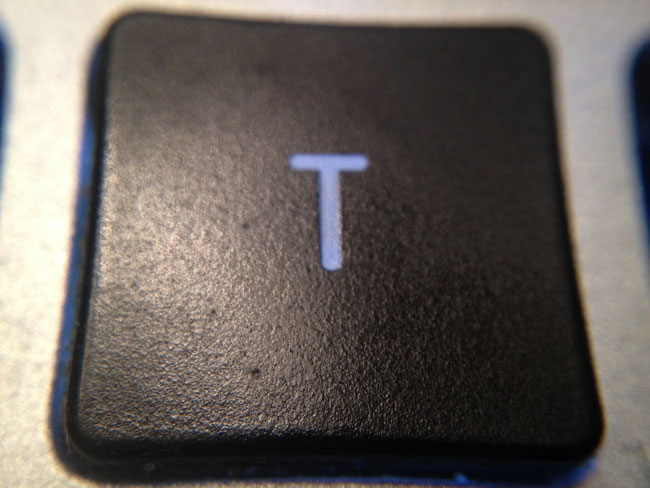
Shot taken up close withOUT the Easy-Macro


shot taken up close WITH Easy-Macro


The Bottom Line

The Easy-Macro won't replace any of my Nikon DSLR lens any time soon, but for quick up close detailed shots with a smartphone it's easy, low cost and nice to have.

You can get the Easy-Macro here for $15.

A Look Back At My First “Solo” Portrait Shoot in 2007

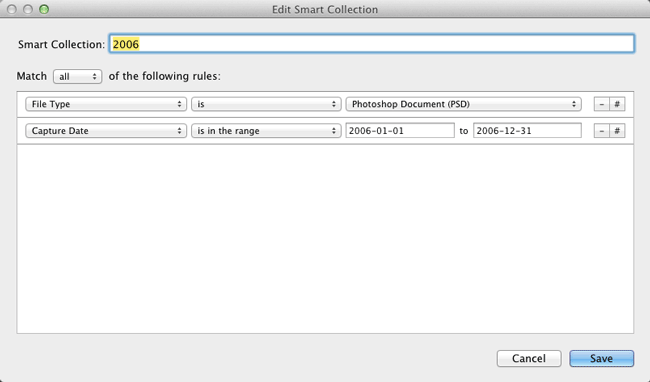
I get asked the question "how long have I been doing photography?" all the time. Even though I get this question regularly I have to pause and think about it for a minute because it depends on what the person is referring to. I've always had an interest in taking pictures ever since I was a kid. So do I count my Kodak Instamatic experience complete with flash cubes? Probably not what the person is thinking. I then answer for about 5 to 6 years. Last night I spent some time in Adobe Lightroom 4 Beta and while I don't organize my folders by year, I can certainly see why someone would want to use that method. Instead I organize by the folder for a particular shoot. If I do a shoot with Jane Doe, then that shoot goes into the Jane Doe folder. If I do another shoot with Jane Doe then it goes into the "Jane Doe 2" folder. That has worked well for me as I'm usually looking for a picture of a person, not necessarily a year that I took it. With that said, I was curious to see what photos I took when and since I have one catalog for my "Model" Shoots containing every "edited" picture I've done, I decided to create "Smart" Collections to separate them out by years:

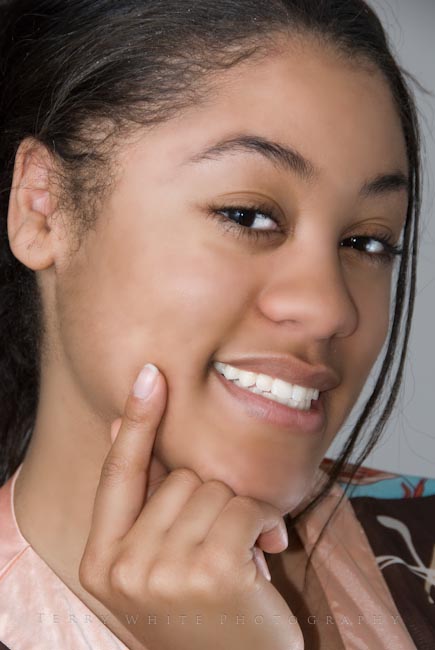
It was really fun taking a trip down memory lane! Some of the photos I looked at and cringed and others I said, "hey that wasn't bad for a beginner." The photo above of Mya was my first "solo" shoot. I say it that way because it wasn't my first shoot ever. I had actually started shooting portraits in 2006, but back then I was merely tagging along on other photographer's shoots. My first shoot ever was along side Scott Kelby. Scott visited me back in 2006 and he had set up a shoot for his upcoming iPod Book at the time (I was technical editor). We rented Andy Greenwell's studio here in Michigan and Andy setup the lights, Scott found the model and I just basically observed and got a shot here and there. The reason that I don't really count that as my first shoot is because I didn't do any of the work. I just pointed my camera and fired after I asked "hey what settings are you using?"


Going Solo

I finally got up enough nerve to try my own portrait session in 2007. My sister recommended that i use Mya (friend of the family) and Mya agreed to let me photograph (experiment with) her. I had no studio, no professional lighting and a consumer grade DSLR. The shoot took place in my living room. I had a Nikon D80, 18-200mm Nikon lens and an SB 600 speedlight. I also used a Westcott pop up background. My SB 600 speedlight was mounted on a stand and shooting through a diffuser. Quite honestly I had no idea of what I was really doing from a settings stand point. I just kept adjusting things until I got a half way decent image. That session showed me that I had a LOT to learn!
 

Renting a Studio in 2008

In 2008 I decided that I needed a larger space than my living room. So I did a timeshare with other photographers. I also started buying more gear including lighting. According to Lightroom I shot more portraits in 2008 than any other year. This probably due more to being less selective about the number of images I kept vs. doing more shooting. 
 

2009-2011

Between the years of 2009 and 2011 I would say was the timeframe that I learned most of what I know.


Not only did I improve my photography skills and lighting skills, but I also improved my editing skills in post.

I'm always learning from the photographers that I admire. Videos, seminars, books and group shoots are ways that I learn the fastest.

The number one lesson that I can say that I've learned and constantly remind myself of is "Less is more – Only show your best work." This is one that I have to credit Scott Kelby for. He basically beat it into to me and I finally got it. I now limit my galleries to 24 images. If there is a new image that I want to put in,  then it has to be better than one of the ones that's already there and it replaces it.


Today

Although I have my own studio now and a few years of shooting under my belt, I'm always learning something new just about every time I pick up my camera. I invite you to go back through your work and feel free to share some links in the comments below. Tell us your experiences over the years and perhaps some of the things you've learned.

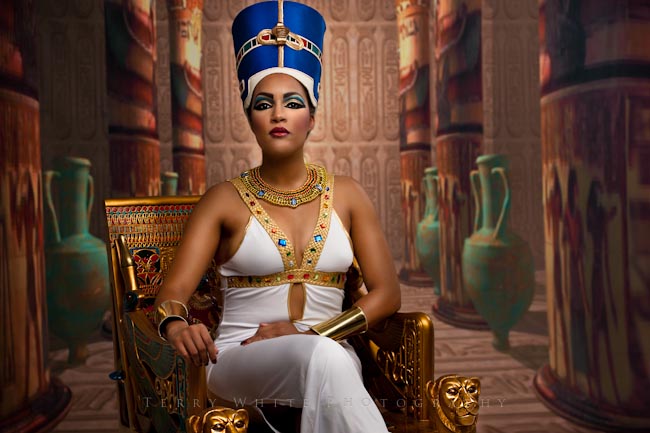
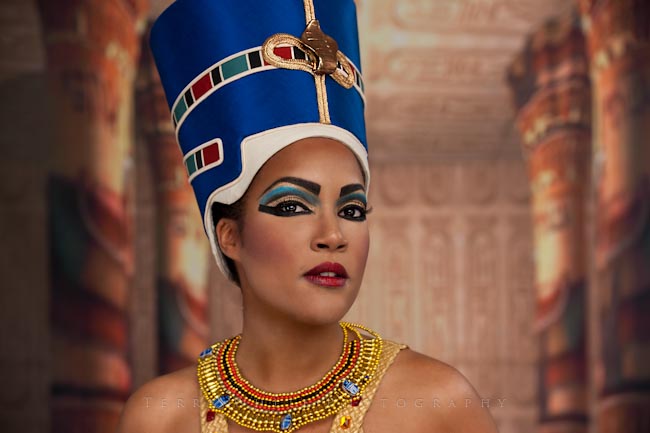
The Making Of My “Queen Nefertari” Egyptian Themed Shoot

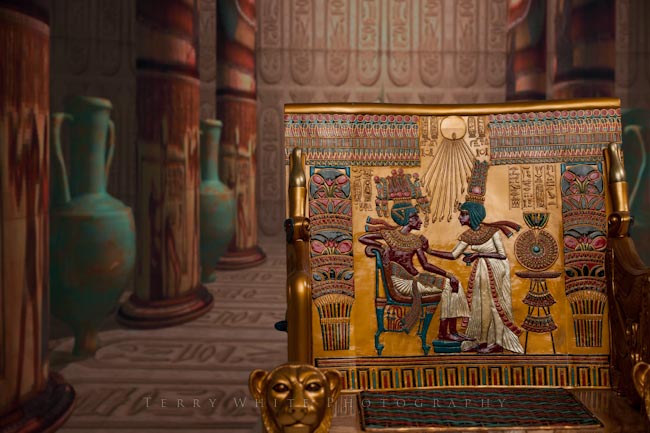
While I don’t consider myself to be an artist, I can certainly relate to having a vision or concept in my head that just won’t go away until I try to execute it. That’s been the case for the last two years. I had this concept of doing an Egyptian Queen “Nefertari” themed shoot. I’ve always had a fascination with Ancient Egyptian culture. I first toured Egypt in 1990 and it left a lasting impression on me. I also went back for a short business trip last year while on the Adobe CS5 Tour. Now that you know how long I’ve been thinking about this, let’s start putting the pieces together.


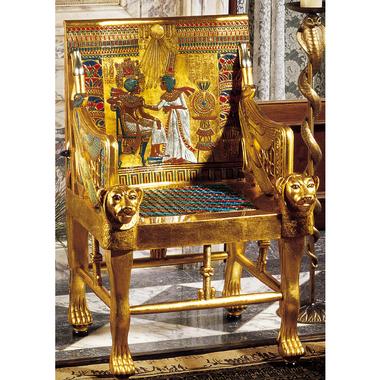
I saw the first piece of this puzzle in a Skymall catalog. It was an authentic looking King Tutankhamun throne. I ripped the page out of the catalog and kept looking back at it saying “one day.”

I decided that this was the year to try to pull this off so that meant finding the right model. I immediately turned to my favorite model Kandice Lynn and asked if she would be up for and of course being the superstar that she is, she agreed. She immediately began working on the wardrobe selection and jewelry.


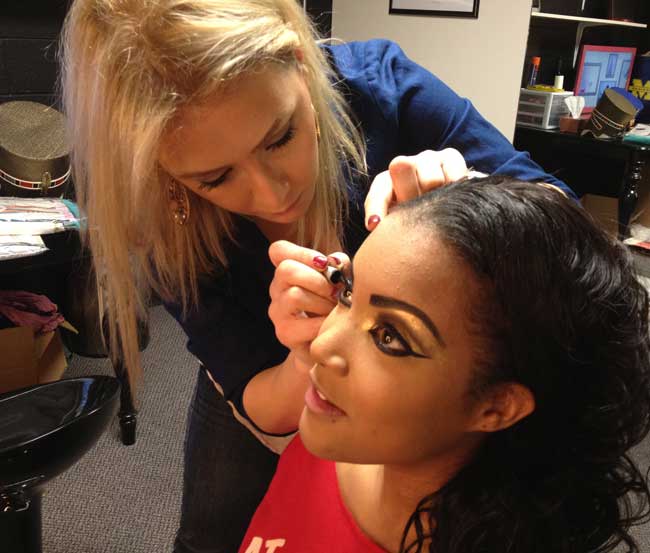
The next piece of the puzzle was having a good makeup artist. For this project we turned to Special Effects Makeup Artist Houda Bazzi. She was just as excited about the concept as I was and her wheels started spinning. We were shooting pictures back and forth via picture messaging for the next few days.

Continue reading “The Making Of My “Queen Nefertari” Egyptian Themed Shoot”

What’s In My Studio?

Updated: June 6, 2022

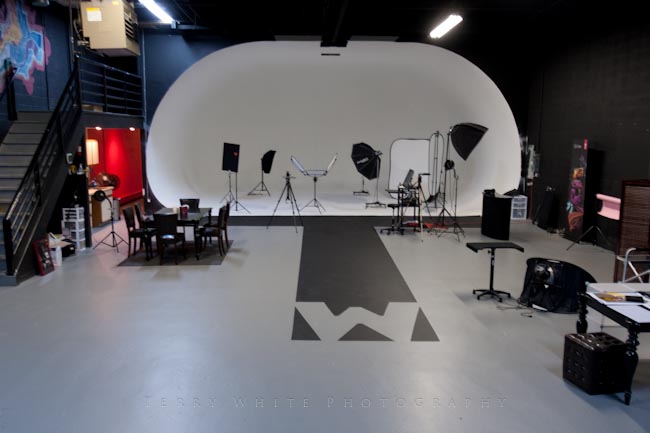
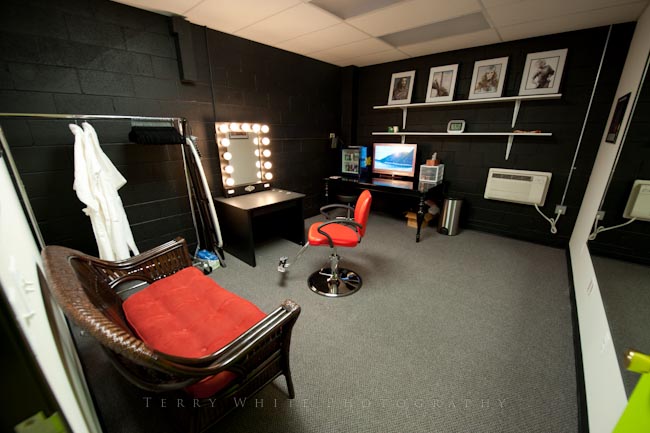
I remember when I first started out in photography and wanted to get serious about it, I had lots of questions about what to buy? No one wants to make a  large investment in the “wrong gear”. I often get questions from New Photographers or Photographers looking to set up their 1st studio, asking what equipment should they get? That’s a hard question to answer without knowing what you plan on shooting the most, your space, and your budget. My primary focus is Portrait – (Beauty, Fashion & Glamour). Rather than trying to address every single situation individually, I thought it would be easier to share with you the equipment I use, and then you can take it from there. I had a 4,800 sq foot studio space and yes I LOVED IT! If you see something you think you’d like to have in your studio then you can just go ahead and get it.

Cameras

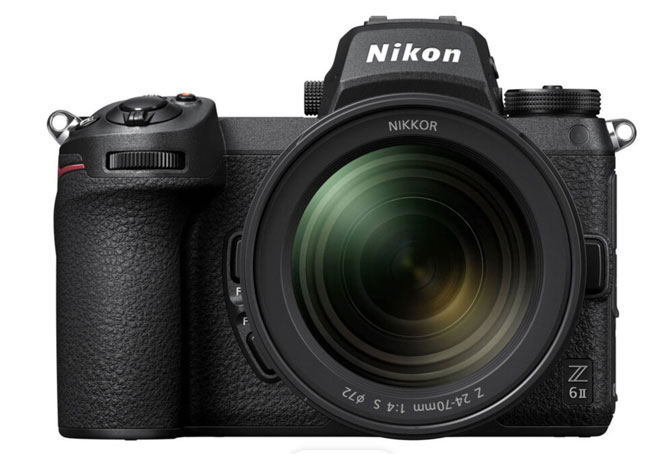
Nikon Z6 II Mirrorless

Camera Straps

Your DSLR/Mirrorless most likely came with a camera strap and in big bold print, it advertises the brand and model of your camera. It’s like saying to the world, “Hey, I’ve got an expensive camera right here. Come steal it!” I prefer something a little less flashy and more versatile.

Black Rapid R-Strap – I like this one for photo walks and when I’m using longer lenses, or heavier bodies.

Up Strap – I like this one for travel and photo walks as it will NOT slip off your shoulder.

OP Tech Super Classic 3/8 – I also like this one for travel.

Point & Shoot Cameras

I simply don’t use Point & Shoot cameras anymore. If I don’t bring my Mirrorless, then I’m shooting with my iPhone.

iPhone 13 Pro – Yep, I use this one almost as much as my Mirrorless because it’s always with me. I even created an “iPhone Photography Portfolio” here.

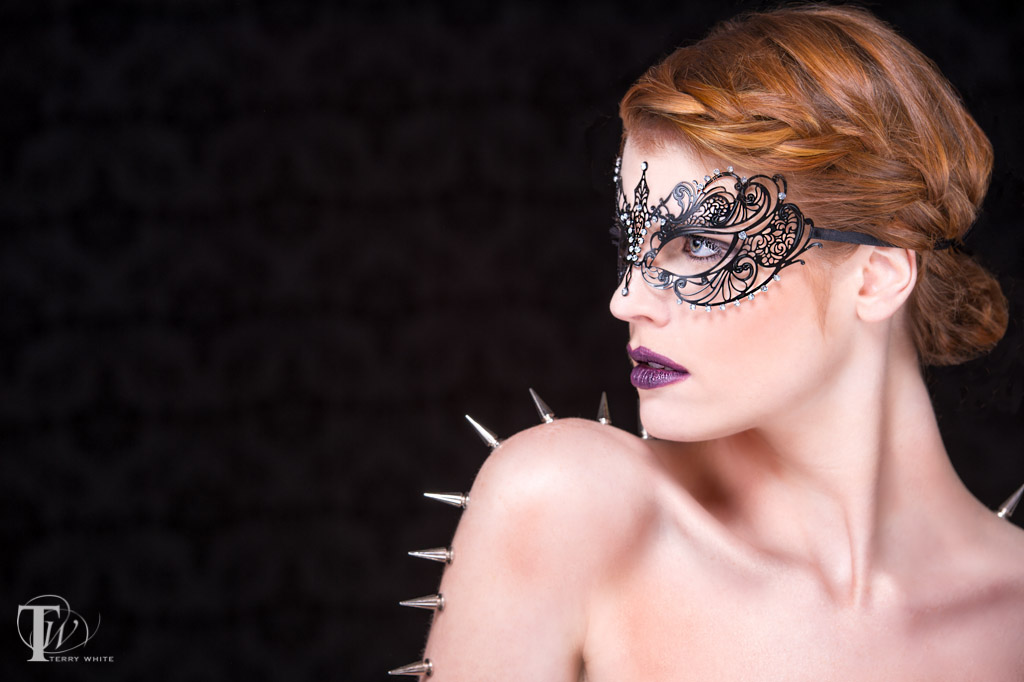
Spiked

Lenses

Mirrorless Z Mount Lenses

Nikon Z 70-200mm f/2.8

Nikon Z 28-75mm f/2.8

Nikon Z 24-70 f/4 S

Nikon Z 85mm f/1.8 S Lens

Nikon Z 105mm f/2.8 Macro

Nikon Z 14-24mm f/2.8

Nikon Z 14-30 mm f/4

Nikon Z 24-200mm f/4-6.3

DSLR F Mount Lenses

Tamron 150-600mm f/5-6.3 Lens – Great for when I need more reach.

Lighting & Light Modifiers

I used to use Elinchrom strobes for the first 10+ years of my photography journey. However, in February 2021 I made the switch to Westcott’s new lighting system.

3 Westcott FJ400 Strobes – these are awesome because I can use them in the studio AND on-location because of the built-in battery packs.

1 Westcott FJ-X2m Universal Wireless Trigger System – this trigger works with both the strobes and speed lights. It’s a game-changer.

1 Westcott Rapid Box Switch Octa-M Softbox

2 Westcott Rapid Box Switch 1×3 Stripbank Softboxes

Lastolite Kickerlite Floor Level Softbox – 3×4′ (91x122cm)

2 Westcott Spiderlite TD6 2 Light Perfect Portrait Kit Deluxe (110V) – For Portrait and Product shots – Continuous Lighting

I still have some Westcott Spiderlite TD5’s continuous lighting that I primarily use for video or backup.

2 Westcott Solix continuous lighting

1 Westcott Flex light – 10″x10″ panel

1 Westcott Flex light – 1’x3′ panel

Westcott Ice Light – used for portraits and creative lighting.

1 Westcott Eyelighter – My favorite reflector for portrait work!

1 Westcott Shallow Softbox 54 x 72″ (137 x 183 cm)

1 Westcott Shallow Softbox 36 x 48″ (91 x 122 cm)

1 Westcott FJ80 Speedlight – This is my new speed light that works with the same system as my new strobes.

wpid11853-TLW4651_sm.jpg

1 Westcott Terry White Travel Portrait Lighting Kit <- Yes it’s named after me! Woot!

1 Westcott Rapid Box 26″ Octa for Travel

2 sets of ExpoImaging Rogue FlashBender Kit for Travel

2 Matthews 24×36″ Flags

Westcott 7′ Parabolic Umbrella (White Diffusion)

1 Westcott Reflector – 48×72″ – Gold, White (white on one side, gold on the other)

1 Lastolite HiLite Illuminated White Background (6 x 7′) – for high-key fashion work. I put the cheapest strobe that I could find in it and set it to slave.

2 Lastolite TriGrip Diffuser, Two Stops – 48″ (1.2m)

A variety of different light stands, but I did invest in a couple of good ones on wheels: Avenger A5033 Folding Base Wheeled Studio Stand

and a great 40″ Boom Arm

Tripods and Mounts

Manfrotto Tripod (mine is discontinued, this one is the closest to what I have – Manfrotto 055CXPRO4 4-Section Carbon Fiber Tripod Legs (Black)) – This one stays in the studio, but I rarely shoot portraits with a tripod.

Gitzo GT1542T Series 1 Traveler 6x Carbon Fiber 4-Section Tripod w/ G-Lock – This is the one that I travel with for landscape shoots/long exposures. It also doubles as my light stand in a pinch.

Manfrotto 131DDB Tripod Accessory Arm for Four Heads (Black) and Gitzo G065 Laptop Platform – Laptop stand/support on the road when shooting tethered.

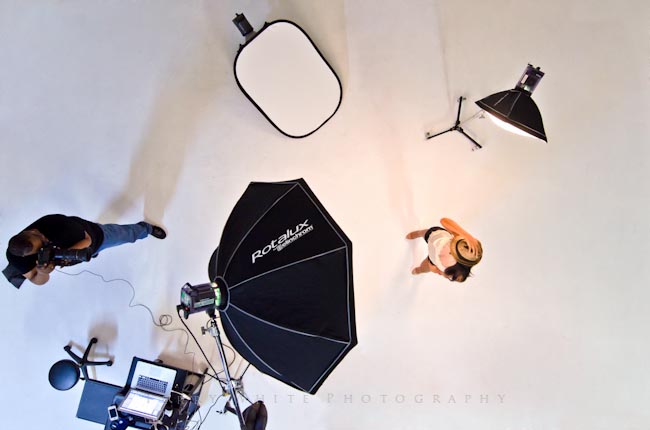
Arkon Clamp Stand for DSLR Camera, Tablet, or Phone this arm is simply amazing because it’s strong enough to hold my DSLRs/Mirrorless cameras so that I can get those shots straight down on top of my subject.

Kirk BH-1 Ballhead with Quick Release – Supports 50 lbs (22.6kg) – the one I use in studio (Although the Kirk Ballheads are top notch, today I’d probably go with The Really Right Stuff ballheads because most of my friends use these and therefore it would be easier to use a buddy’s tripod that’s standing next to me.)

Kirk BH-3 Ballhead with Quick Release – Supports 15 lbs (6.8kg) – the one I use for travel

Really Right Stuff BH40 Ball Head with Full Size Lever Release Clamp, I really like this one and will probably buy from this maker going forward.

Platypod Max tripod alternative

Platypod Ultra Essentials Kit with Oben BA-111 Ball Head and Square Jellyfish Jelly Grip Tripod Mount for Smartphones

Arkon 11″ Tripod Phone Mount – iPhone photography and video work

Pocket Tripod Pro – This thing is amazing and folds down to the size of a credit card. Therefore I always have it with me in my wallet.

Backgrounds

Westcott 5501 Modern Vintage Background (9 x 12′, Onyx) I have all 6 designs, but I use Onyx the most.

Westcott Masterpiece Collapsible Reversible Background – 6×7′ – Black / White

4 Westcott X-Drop Backdrops and Stand

X-Drop High-Key White

My custom scenic backdrops like this one below come from Vision Bedding

wpid9386-KandiceLynn10Egypt-1_sm.jpg

6 Rolls of Savage Seamless Paper  (Fashion Gray, Canary Yellow, Blue, Coral-Pink, Black & Cocoa) Savage Seamless Background Paper (107″ x 12yds, #56 Fashion Gray), Savage Seamless Background Paper (107″ x 12yds, #38 Canary), Savage Seamless Background Paper (107″ x 12yds, #31 Blue Jay), Savage Seamless Background Paper (107″ x 12yds, #3 Coral), Savage Seamless Background Paper (107″ x 12yds, #20 Super Black), Savage Seamless Background Paper (107″ x 12yds, #80 Cocoa)) – these are permanently mounted on the walls of my studio

Camera Bags

ThinkTank International Airporter – my main on-location travel bag

ThinkTank Streetwalker Hard Drive Backpack – my larger backpack for air travel to hold my camera gear and computer gear as a carry-on

Kata R-103 – My smaller backpack when I don’t need to travel with as much gear.

I have a variety of smaller bags, but the 3 above are the ones I use the most.

Studio Music System

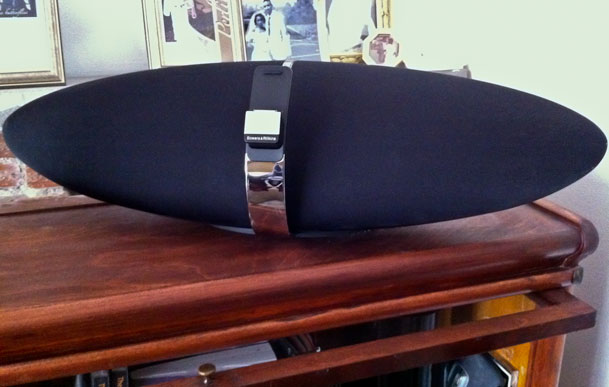
Music is a very important part of my shoots, therefore, the sound has to be good (sometimes loud) and able to be heard throughout the building. Therefore I stream the same music via my Bose Soundtouch 20.

Misc. Gear

Adobe Photoshop Lightroom Classic – I couldn’t imagine doing photography without it!

Adobe Photoshop for all my retouching and compositing needs.

Long USB Cables for Tethering – A good stable connection from the camera to the computer makes all the difference in the world.

Vello Wireless ShutterBoss III Remote Switch with Digital Timer for Select Nikon Cameras – this wireless remote is great for shooting products or in situations where touching the camera would cause unwanted vibration.

DJI Mavic Air – for aerial photography/4K Video and behind the scenes shots

WD 1TB My Passport Wireless SSD for in-field backups and mobile editing workflows.

Apple TV 2 Set-top boxes – My photography is on display throughout the studio both in print and electronically via HDTVs and Apple TVs driving them.

Apple The New iPad Pro – I use it for portfolio display, image review, model releases and variety of other tasks. See how it fits into my workflow here.

Apple 2019 16″ MacBook Pro Retina Display Notebook Computer

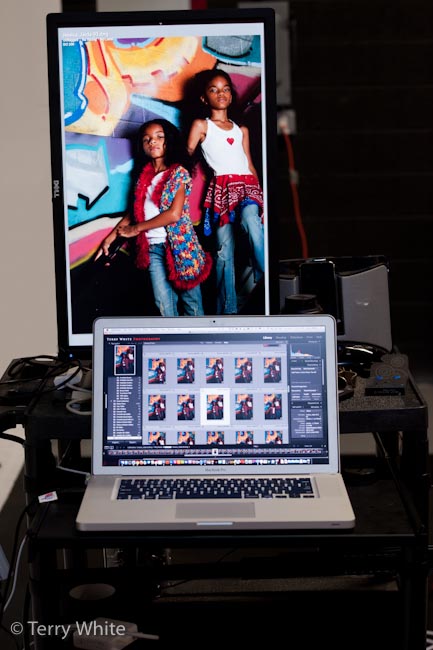
Dell U2412M 24″ FLAT WIDESCREEN LCD MONITOR – used when I tether and it rotates to either portrait or landscape orientation.

Wacom Cintiq 27QHD My main display/tablet for retouching.

Wacom Intuos Pro Small Wireless Digital Tablet

AV Cart on Wheels – My studio tethering setup is on this cart with a long enough extension cord to reach any of my shooting areas.

2 BlowIt Fans – great because they mount on light stands

Fog Machine – Do I need to explain this? 🙂

Mac Mini Mac OS X Server with a Drobo 5D attached. There’s also a Drobo FS on the network for additional backups of the main Drobo – Network backups for every shoot I do before I leave the building

ExpoImaging 72mm ExpoDisc Digital Warm Balance Filter (Portrait)

Trampoline for those high jump shots

Zacuto Z-Finder 3 – Great for shooting DSLR video and keeping things in focus by giving you a great view finder.

X-Rite ColorChecker Passport

Iron, Ironing board,  & a steamer.

A variety of props and furniture.


The Bottom Line

The list above represents equipment that I’ve acquired over the past 4 years. By no means do you “need” all of it, especially if you’re just starting out. Take from it what you will and keep in mind that I didn’t start with it all on day one! That’s the thing about photography, “there’s always something to buy!” No one ever told you to get into photography because it would be a “cheap” hobby! 😉

See more of my photography here.

Why I Don’t Want More Megapixels


Yesterday I told you about how I broke my Nikon D700 again via a tethering accident. What I didn't mention was that I still had another shoot to do while the D700 was being repaired. I went to my backup body, which is a D7000. I love my D7000, but this was the first time that I actually used it during a studio shoot. I had no real issues with the camera or setup, but what I quickly realized was that there is a disadvantage to having more megapixels. The D7000 is a 16.2 MP camera, while my D700 is a 12.1 MP camera. If you do the math (it's not hard) there's a 4 MP increase in the image captured. What this translates to is that my RAW files on the D700 are about 10.4MB (average) in size and my D7000 DNGs are about 16MB (average) in size. This means that every shot is going be roughly about 6MBs larger than the ones coming from the D700.


Why is a larger file/higher megapixel image a bad thing?

The first thing I noticed that shooting tethered was taking longer. It makes sense. I'm used to a certain rhythm from the time I fire the shutter till the time image is displayed in Lightroom. There was a noticeable lag. The second problem was that my drive was running low on space and during the shoot I got a warning from the OS that I was basically out of space. I had to make some room right then and there. My shoots can range anywhere from 300-1,000 images. While I could have run out of space with either camera, the point is I probably ran out of space faster with the larger files coming from the D7000.


The Bottom Line

I'm not saying that camera manufacturers shouldn't build cameras capable of capturing more megapixels. What I am saying is that more megapixels no longer influences my buying decision. While I await the rumored Nikon D800 and D4, I cringe at the rumored specs of 38 Megapixels! Imagine having every photo you take be significantly larger in size whether you need it or not. I would much rather these guys build a 38MP camera (one model) for the guys that really need it and leave the rest of the line at a more reasonable/manageable MP number. 

Less is more 🙂


Added note for clarification: I would welcome the larger MP images if the camera manufactures would also add the faster transfer technologies (ie. USB 3, 802.11n, Thunderbolt, etc.) into the bodies as well. What I'm saying above is that I don't just want more megapixels and nothing else. If you're going to make the files bigger then also make the transfers faster too!

Tired of the Same Old Backgrounds and Scenes?


I'll be the first to admit that I actually get tired of shooting in the same location time and time again. No matter what studio I'm in, including my new one which I LOVE, there are only so many backdrops to shoot against. This is one advantage to landscape photography as you can always go somewhere you haven't gone before. While I'd love to build sets (and I will), I just don't have the time to build new sets on a regular basis and they can be expensive to buy or have built. It's also funny when I can look at a photo and tell who shot it not, because of their photographic style, but because I recognize a piece of furniture that they always use 🙂

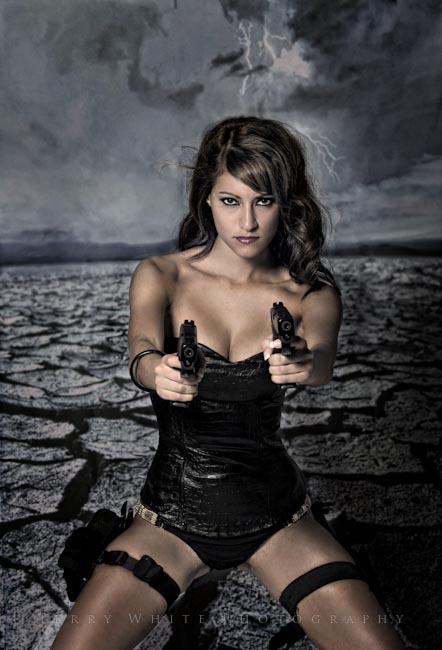
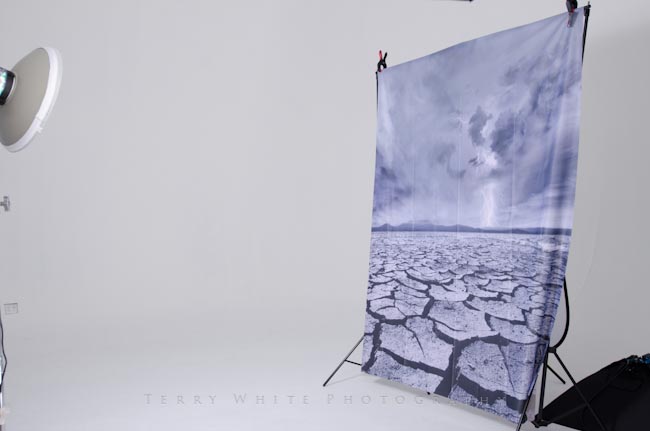
I remember seeing some cool scenes in the Westcott Live Shooting Bays at the last Photoshop World and I thought "Wow, Cool! But, I would get tired of that scene eventually." Little did I know at the time that Westcott actually will "rent" those scenic backgrounds. That changes everything. You can have a change of scenery, shoot it a few times and send it back without getting bored with it. I decided to check out a few of them and I used a couple of them in a shoot yesterday.

The backgrounds ship folded and as you can see you will have to either steam them or Photoshop out the wrinkles in post.

The tricky part is getting the perspective/distance/lighting right depending on the scene. Also depending on the color of the background you will either need to gel your lights or match the color in Photoshop afterwards.

Lastly the backdrops aren't as long as you may need for a full body shot. They come in either 5'x6' or 6'x8' However, you can get away with a seamless effect if the subject is sitting/kneeling or laying down.


If you're looking for a change of scenery but don't want to commit to one particular scene forever, check out the Westcott Scenic Background Rentals here.

Video Review: Westcott Shallow Softboxes with the Spiderlite TD6

httpv://www.youtube.com/watch?v=CDv42NWezic


Sometimes it's easier just to show you a product that I use rather than write paragraphs about it. Today is one of those times. I started using the Westcott Shallow Softboxes earlier this year during a workshop that I taught in Texas. I've been enjoying not only the new shallow boxes, but also the size of the new "large" one. 

Advantages of a shallow softbox

You probably wouldn't use one with a strobe because more than likely you'd create a big hot spot having the strobe that much closer to your subject. However, with the Spiderlite TD6 (or TD5), you don't have to to worry about. By having a shallow softbox you can you can get it into to places that normally wouldn't accomodate a deeper one. I have a nice red wall in the hallway of my studio and it's really tight trying to shoot there with my other softboxes. However, with the new shallow ones from Westcott, it's much easier.

The new LARGE one is also ideal for those times when you're doing a portrait of more than one person or you're shooting a larger product such as a motorcycle. 

Here's what I used in the video above:

Spiderlite TD6

72"x54" shallow softbox

48"x36" shallow softbox

If you're looking for a kit, I'd go with this one.

The shots were taken with my Nikon D700 and 70-200mm VRII lens.

ISO 200, f/4 to f/4.5 at 1/50th sec.

Scott Kelby’s Worldwide Photowalk 2011 is Here

It's time to signup for Scott Kelby's Annual Worldwide Photowalk! The 2011 Walk will happen this October 1st & 2nd. Once again I plan to lead a walk here in the Metro Detroit Area. Since this is the first time he's done this in the Fall I've chosen the Franklin Cider Mill as our photowalk location as the fall colors should play very nicely for some great shots.

More details to follow, but don't wait! Sign up here now as my walk usually fills up the 1st day!

Get lower and shoot higher

As I mentioned in my post last week, I certainly enjoy having the opportunity to attend seminars and workshops. However, this usually comes at a price. I'm not talking about the price of attending. I'm talking about the fact that I almost always see a piece of gear that I want. Attending Scott's seminar last week was no different. It was actually a piece of gear that he didn't even mention one time during his talk. Although he did talk about shooting at lower angles for fashion, but what I realized was that my current background support system just wasn't tall enough. When the background isn't tall enough and you're down low shooting up you'll more than likely see the top of the background and worse, whatever's above it or behind it.

I asked Brad

During one of the breaks and while I was helping swap out rolls of seamless paper I asked Brad (Scott's photo assistant) which stands he was using and he told me. I ordered them and set them up side-by-side with my existing stands, both at their maximum height just to compare.

As you can see the Avenger stands go the extra mile enabling you to get lower and shoot upward without the fear of hitting the top of your backdrop.


The stands are here

The crossbar is here.

Thanks Brad! You've cost me money once again 🙂