Guest Review: If All Hardware Installs Were This Effortless…


By Jason Levine


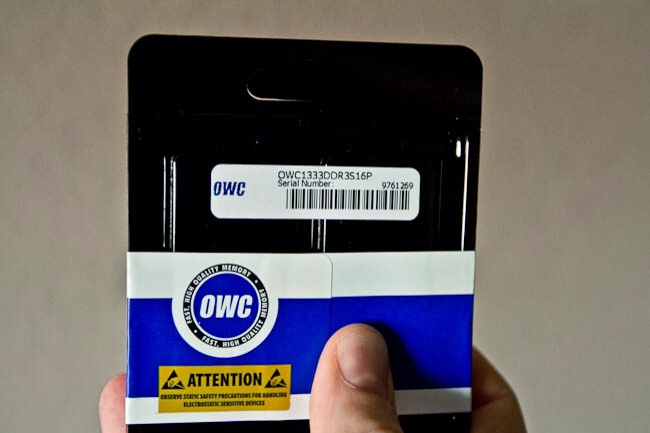
16.0GB (8GBx2) PC3-10600 DDR3 1333MHz SO-DIMM 204 Pin CL9 SO-DIM


You know, having built more PC machines than I care to remember, I think my 'fear' in doing RAM upgrades stems from those fateful salad days, when a RAM upgrade meant a number of things:


1) Is this really the proper RAM for this particular (OEM, non-OEM, generic/custom) motherboard;

2) Will I have to go into the BIOS and make changes?

3) Will the machine recognize this memory at all;

4) Will I have perpetual BSOD and wind up re-installing the old RAM again, wasting money and time. 


I'm sure many of you have been there, and despite the fact that we're now in 2012, I still get those same vibes every time I prepare for the inevitable 'upgrade'.


Well, I'm happy to say that the current offering from OWC gives your 2011 series MacBookPro an unbelievable boost in speed and power, one that you're likely to notice almost instantly…especially if you've got an internal SSD drive and, even moreso, if you work across multiple 64-bit Creative Suite applications (like Lightroom, Photoshop, Premiere Pro, After Effects and Adobe Media Encoder).


The two, 8GB sticks arrived in small, simple packaging in less than 24 hours. I placed the order around 4pm Central Time on Thursday, and literally had it in my hand before 1pm on Friday. Gotta love that.  Crack open the seal, and there, atop some pink foam, were the keys to my new editing bliss… <insert pics however you see fit>


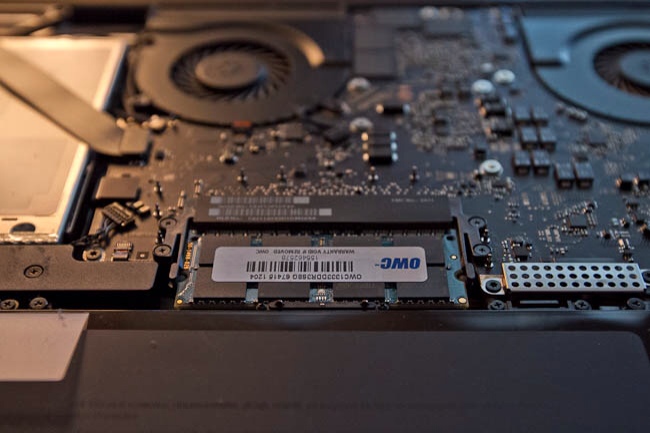
Curiously, or perhaps not-so-curiously absent were any kind of installation instructions. Again, I've done this for every MBP I've ever purchased, so I wasn't too concerned. A simple Google search yielded exactly what I needed, and just as I remembered…9 simple screws (for my 'early 2011 17" MBP) was all it took to reveal the RAM slots; pop it in, pop it out, you're done. Even as I began to remove the back cover, I thought to myself, "Do I have to ease it out? Any special tricks?" But again, it literally pops off, easily, and you just apply  a little pressure (so that the edges are flush) when you're replacing the screws. 


The key to doing this quickly is lining up those screws! I always place them, visually on the table, in their exact layout. Apple uses different size screws, so it's key that you return them where they belong. Not doing this, however, will lead to enormous frustration. I don't even want to go there!


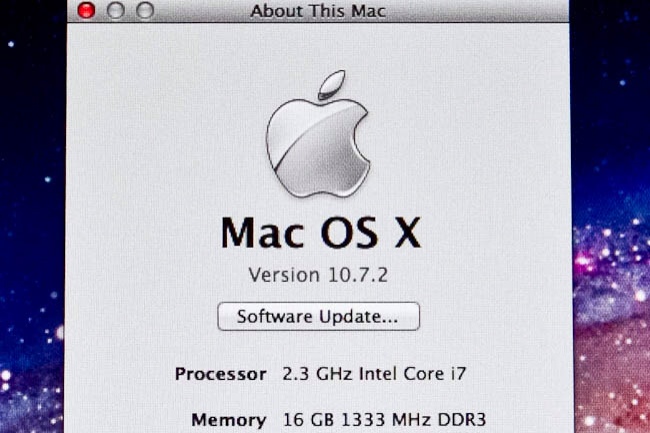
Within seconds of closing the back cover, I powered on the machine and literally, in about 5.5 seconds, I was greeted with the LogIn screen; a happy place to be! I logged in, quickly went to "About This Mac" and lo and behold, there it was….  I ran the machine for about 9 hours following the install, and everything seemed great. Fast, responsive, and ultimately, stable.  Today I'll be diving into some deep editing/rendering, so that'll be the more definitive comparison test (having spent the better part of the year working with 8GB).


Now, I wanted to share this little tidbit. I had ordered this RAM when it was first made available (or rather, 'announced') sometime last March.  In fact, it was my dear friend and fellow road-warrior Terry White that sent me the OWC link in the first place.  At the time, the 16GB RAM upgrade was selling for $1600 . Steep indeed…but for mobile video editing, it would be a game-changer and a no-brainer on my part. I quickly made my purchase and awaited the goods.  


Well, tragedy struck Japan, and the industry was immediately impacted by this unprecedented natural disaster. As such, I was immediately made aware by OWC that the part was 'on backorder' and would be shipping in approximately '6 days'.  A second email, about two weeks later indicated "20 days"; I received two more emails and one final communication at the end of April indicating, "Backordered Indefinitely".  Understandable, clearly…and I just assumed it wasn't meant to be. 


Now, my only complaint in this whole process was that OWC never contacted me again to let me know it was back in stock! And moreover, it was nearly 1/6 the cost! (with shipping, the total was approximately $266 USD). I found out, via several Twitter friends, that they were already using the 16GB upgrade and I had no idea it was even readily available.  Since it was OWC who ultimately cancelled my order, I would have thought they would have contacted me to let me know it was once again available. They didn't. So really, this is just a little 'wrist slap' to say, "Hey…I wanted to give you my money…and you could have had it sooner!" 


All in all, this was the best (and most smile-inducing) RAM upgrade I've ever done (this being my sixth or seventh MBP). Time will indeed tell, but from where I'm sitting, it's all looking up…and with 16GB of fast RAM…in my laptop. 


You must be getting paid!

In 2010 I wrote a post titled "Fanboy or Hater" and it was written to take a look at the range of people's loyalties to various products and brands. It stil amazes me that if anyone writes favorably or often about a particular product or brand,  more than likely there will be a comment along the way to the effect of "You must be getting paid!" 

Why is it that if someone writes favorably about a product/service or brand that you don't like, then they must be getting paid? Yet if you like it then it's perfectly OK for the writer to like it too? At that point no one is getting paid because you and the writer agree. High fives all around.  Wow! Let me ask you something. Do you like anything, say a favorite movie, restaurant, car, etc.? Do you tell your friends about how much you like it? Are you getting paid to go on and on about it by the movie studio, chef, car manufacturer, etc.? 

Adobe Launches Renovated Design Center


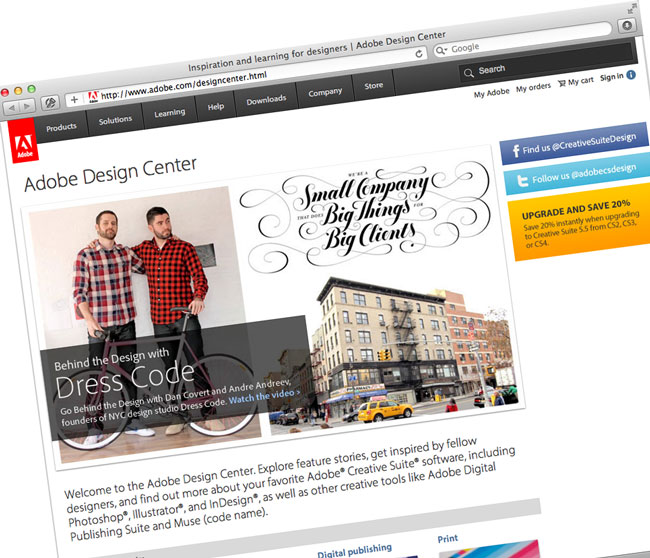
Adobe just launched the renovated Adobe Design Center. The site offers a behind the scenes look at some of the most talented designers and creative minds doing some amazing work. Hopefully you'll be able to gain some tips and techniques for products such as Photoshop, Illustrator and InDesign as well as new tools like Muse and the Digital Publishing Suite. The plan for this site is to updated it more regularly as opposed to the old site.

Lightroom 4 Beta – Enhancements

My colleague Julieanne Kost has been doing a daily series on her blog where she's been outlining the small, but important enhancements in Lightroom 4 that could easily be overlooked. These are the kind of enhancements that would probably never make the brochure, but will impact our use of Lightroom 4 everyday. I thought she did such a fantastic job that I copied them and posted them below. 🙂 However, you shouldn't let that stop you from checking out her blog directly. She has a TON of Lightroom and Photoshop information there. See Julieanne's blog here.


Enhancements to the Library Module

• In the Folder panel, you can now move and/or delete multiple folders at one time.

• In the Collection panel, Option -drag (Mac) | Alt -drag (Win) a collection to duplicate it. More specifically, if the collection is loose (it’s not in a Collection Set), Option -drag (Mac) | Alt -drag (Win) until a thicker line appear between two items (indicating that the collection will be duplicated), and release. To duplicate a collection within a Collection Set or to duplicate the collection into a different Collection Set, Option -drag (Mac) | Alt -drag (Win) the collection on top of the Collection Set icon (watch for the highlight) and release.

• Stacking is now available in Collections.

• At the top of the Filmstrip bar, the selected image’s folder or collection is displayed. (This is really handy when in other modules.)

• The Flag attribute is now global.

Terry's Soapbox WARNING! – If anyone has ever attended one of my Lightroom sessions at Photoshop World or other workshops you'll know that I've made it a point to say that "I didn't like the way Flags worked in LR 2 and LR 3." If we go back to LR 1 when you flagged an image with a Pick Flag, that flag would be present no matter where that image went (say you dragged it into a collection for example). In LR 2 (I think it was 2)  the Pick flag behavior got changed so that the Picks would only be present in the location that you assigned them. For example if you Flagged an image in a folder and then dragged that same image to a collection the Pick Flag would NOT be there in the collection. I thought this was a bug at first and complained about it to the LR team repeatedly. Eventually someone explained to me that this "new" behavior was intentional and that Picks should be local. I got the logic of this as it gave the user the ability to have Picks in one place that were different than another place. Although I got it, I never really liked it! I always felt that a Pick is a Pick and that at a minimum it should be a preference "Picks are Local or Global". For this reason I started using Color Labels more because they were Global! It would appear that this decision has been reversed in Lightroom 4 and now Picks are back to being Global again ala LR 1.  Woot! …stepping down from my soapbox now.

• You can filter and/or search images based on their Metadata status. Images will be assigned one of several different statuses including Changed on Disk, Conflict Detected, Has Been Changed, Unknown and/or Up to Date).

• You can also search/filter on Map Locations and GPS Data (GPS Location or No GPS Location).

• That folder structure that you carefully crafted in the Develop module to hold your presets is now maintained both in the Import dialog box as well as the Quick Develop panel.


Enhancements to the Develop Module

• Snapshots now auto name with a time/date stamp.

• The White Balance Selector Tool’s sample area is dependent on zoom level. (Zoom in to sample a smaller area.)

• Noise reduction adjustments are always displayed (regardless of the zoom viewed).

• The Navigator panels in both the Library and Develop Module have two new options for zooming 1:8 and 1:16.

• This one isn’t new, but when using the Adjustment Brush, clicking on the disclosure triangle to the right of “Effect” displays an amount slider to increase/decrease all of the adjustments applied to that adjustment at one time.


Enhancements in the Output Modules

• Settings in the output modules (Book, Slideshow, Print, and Web) are “sticky”. When you leave a module and come back to it – even if you change the folder of images – the settings will remain as they were the last time you visited the module. This is an excellent addition if you’re working with one set of photographs and then move to another set of photographs and want the same output settings.

• In order to save output settings with a set of photographs, click the Create Saved Book, Slideshow, Print etc. button in the bar at the top of the creation’s preview area.

• Flash Galleries in the Web Module are now color managed.


Enhancements to the Export Options

• When exporting files, in the Metadata section, you can choose to Remove Location Information. Note: this option is only available when choosing either “All” or “All Except Camera and Camera Raw Information” as it doesn’t make sense with the other options.

• It is now possible to export images directly to Adobe Revel to be used on your mobile phone or tablet device. Use the “Export To” pull-down menu at the top of the Export dialog.

• Export to DVD is now available on 64-bit Windows machines.

• In the External Editing Preferences, you can now choose to “Stack with Original”. Or not. : )


Enhancements to Publish Services


• In the Lightroom 4 Beta, only the Facebook and Flickr plug-ins are installed in the Publish Services panel by default. However a button has been added directly underneath them to easily “Find More Services Online”. Although it might seem like added work to have to install a plug in, there is an advantage – if a plug-in is not baked into the application, it can be updated by the developer at any time.

• Publish Services (collections) can now include video.

• After making small changes to images (such as adding a keyword  etc.) in Publish Services (collections), you may not want to republish the images, If you do not want to republish, simply select the images and Control -click (Mac) / Right Mouse -click (Win) and select  “Mark as Up-To-Date”.


Additional Preferences


• On Mac, in the General preferences, you can now choose your preferred Language.

• Under Presets, several features have options to Restore Presets and Templates to their defaults. This may be very useful in teaching environments.

• In the External Editing preferences, you can now choose to “Stack with original”.

• Under the File Handling Preferences, be sure to keep the “Embed Fast Load Data” checked on for DNG. This can enable DNG files to load up to 8x faster in the Develop module and will only cost you approximately 200K per image!


You can download your copy of the Lightroom 4 Public Beta here for FREE

Continue reading “Lightroom 4 Beta – Enhancements”

Overpriced?

Rarely will you hear me complain about the price of anything. I feel that companies and individuals have the right to charge whatever they want and we as consumers have the right to buy it or not. Ultimately if no one buys a product then the company will either fail or adjust accordingly. I saw this product recently and I thought "COOL!" That was until I reached the price point. My eyes opened wide for a bit, but then I remembered my rule. Don't complain. You don't know what it cost to develop the product?You don't know what it cost to manufacturer the product? You don't know what ti cost to distribute the product, etc. 


How much would you pay for the world's only Flash Drive for iOS Devices?

A nifty product for sure. On one end it has a standard USB plug like any other flash/thumb drive and on the the other end it has a 30pin dock connector. Plug it into your computer, copy files to it and then plug it into your iPad, iPhone or iPod touch and copy files from it using their App. Sounds great! I could actually see using one of these from time to time especially when getting files from others. However, for me I can't quite justify the price (starting at $99.95 for 8GB). I can get an 8GB flash drive for $8 all day long. I can even get a 32GB flash drive for $27. Wait, that's not a fair comparison. These low priced thumb drives can't plug into your iDevices. Right! OK, I can sign up for a free Dropbox.com account and transfer up to 2GB's of files back and forth all day long for Free between my computer and iDevices. Wait, that's not really fair either. You need an internet connection to make that work and if you're wanting files from someone else then you got to do some setup work on their end to get the files into your Dropbox. True! Well can't you just download an App that lets you transfer files between computer and iDevices wirelessly? Yep, there are tons of them and here's a cool one called Air Sharing. Alas, it's not as simple as a physical flash drive either and these apps either require an internet connection, WiFi connection or Bluetooth connection. Yes, it would appear that this is a unique product offering a unique advantage and perhaps it can command a uniquely high price too. This product will be especially attractive to those who are now carrying their iPad most of the time instead of a laptop. The market will ultimately decide!

You can get an iFlashDrive starting at $99.95 for 8GB here.

How To Create Scrolling Slideshows For Your Digital Tablet Publication with InDesign CS 5.5

httpv://www.youtube.com/watch?v=UNKmcXI-hRU


In this episode of the Adobe Creative Suite Podcast I'll show you how to use the recently updated Digital Publishing Suite (DPS) tools to create scrolling slideshows that can contain pictures, captions and even movies. 


Are you missing out on my Bonus Content?

See more of my Adobe Creative Suite Videos on my Adobe Creative Suite Podcast and get the App here. It features EXCLUSIVE CONTENT that no one else gets to see. This episode has a BONUS CLIP that is available only in the App! My iOS App is a Universal App for iPhone, iPad and iPod touch. I also have an Android version:

Learn Adobe Creative Suite with Terry White - Wizzard Media


Add A Macro Lens to Your Smartphone Easily


My iPhone has become my point & shoot camera for the most part. It's a good camera and while I do own "better" point & shoot cameras, my phone is always with me. Therefore it wins by default. I've also seen several attempts at adding lenses to smartphones and in most cases I'm left scratching my head trying to understand why anyone would want to do this? After all If I'm going to carry big lenses or if the photography is that important to me, then I'm also going to carry a decent camera body to go with those lenses. I recently made one exception to this rule. 


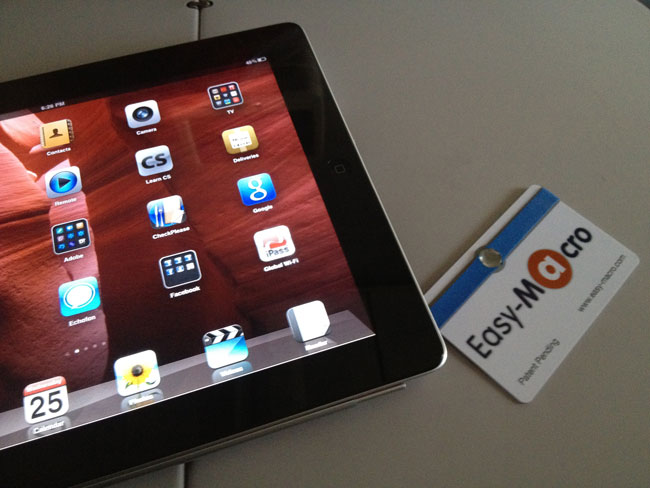
The Easy-Macro Lens for Smartphones

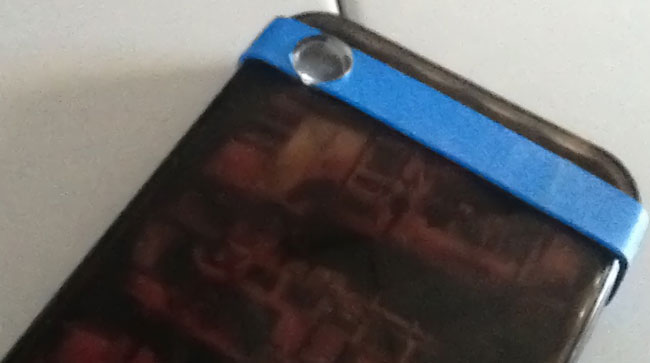
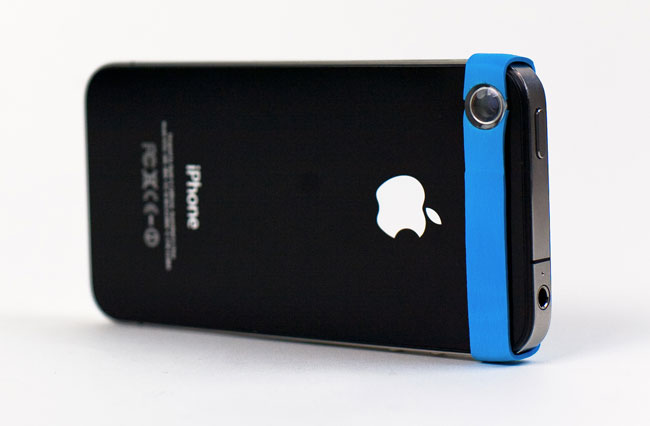
We often use point & shoot cameras and smartphone cameras because they are CONVENIENT and self contained. However, if I can carry a Macro lens and it adds no extra weight or fuss then I'm interested. The Easy-Macro is just such an accessory. The easiest way to describe it is that it's a Macro lens on an elastic (rubber) band. When not in use you can carry it on the supplied card in your wallet or purse. I got this lens a couple weeks ago, stuck it in my wallet and forgot about it. Last night while on the plane I noticed it and decided to give it a spin. It installs in two seconds. Just stretch the band around your phone and position the lens over your built-in lens. That's it. You're ready to do a little Macro photography. 

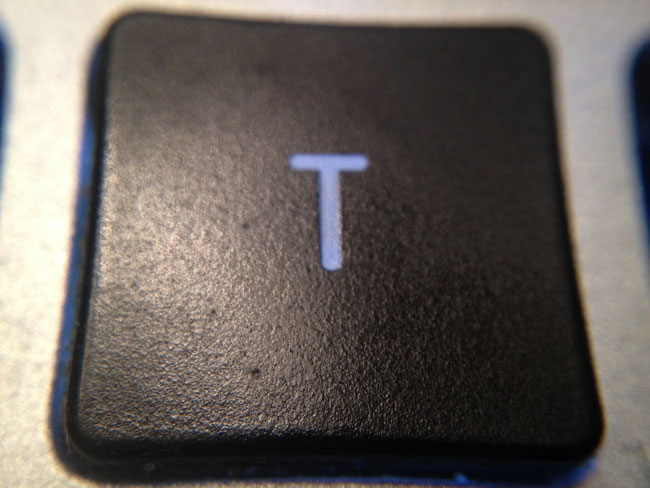
Shot taken up close withOUT the Easy-Macro


shot taken up close WITH Easy-Macro


The Bottom Line

The Easy-Macro won't replace any of my Nikon DSLR lens any time soon, but for quick up close detailed shots with a smartphone it's easy, low cost and nice to have.

You can get the Easy-Macro here for $15.

My 1st Adobe Lightroom 4 Photo Book

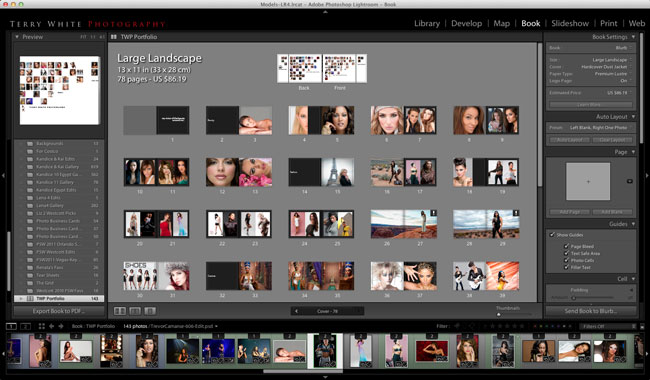
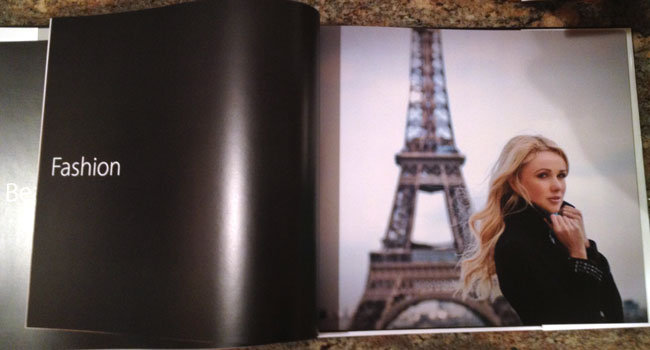
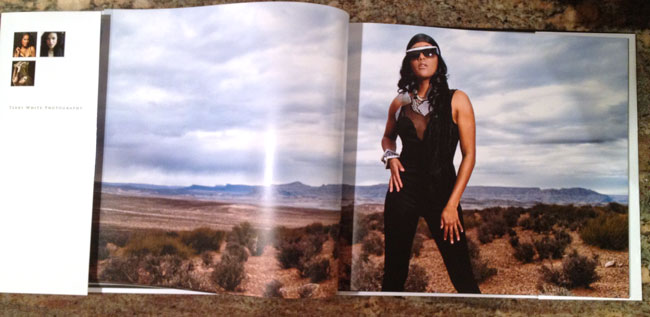
I’ve been creating Photo Books in other applications for quite some time now. While I’ve always gotten the books printed that I wanted, it was always a chore managing the photos in my App of choice (Lightroom) and then exporting/importing them into another App or Service just to layout a book.  That all goes away for me with the introduction of the Adobe Lightroom 4 Beta. One of the books that I do/update on a regular basis is my “Portfolio” book. People are always impressed when I show them my Portfolio as an actual professionally printed book. Since my photos are all in Lightroom I decided to recreate my Portfolio book in using the New Lightroom 4 Book module. Laying the book out was pretty straight forward and once I got into the swing of switching layouts between single photo pages and 2 up photo pages (the two formats I use the most), I got the book laid out pretty quickly. One of the things I appreciated over other methods and software that I’ve used in the past was the ability to use “typography”. I had access to all my fonts and the same typography controls over size, leading, tracking, kerning, etc. as I would in Photoshop or Illustrator.

After the book was laid out I had the option of sending it right up to Blurb for printing or exporting it as a PDF. I choose to have it professionally printed as with my previous versions. I got the books back pretty quickly. Even though Blurb is based out of California, my books were printed in New York and once shipped arrived at my door two days later.

As far as cost goes they cost about what I was paying for my other books even though I added more pages this time and went with a hard cover vs. a soft cover.

The quality and color is what I expected it to be and very on par with with my other books.

Saving a few bucks – you have the option of turning on or off the Blurb logo page in the back of your book. If you leave it on your printed book will cost less. The difference was about $19 for my books. It wasn’t worth the savings since these books are for me. However, if I were doing a book for a client I’d pay it not to have the Blurb advertising in it.

All in all I’m very happy with the results of my 78 page Portfolio Book and I’m glad that the Lightroom team built this feature in (finally!) Download the Public Beta of Adobe Lightroom 4 here and give it a spin.

Use Blurb Promo Code: LR4BOOK for 20% off your next Lightroom Photo Book now through 12/31/2012!