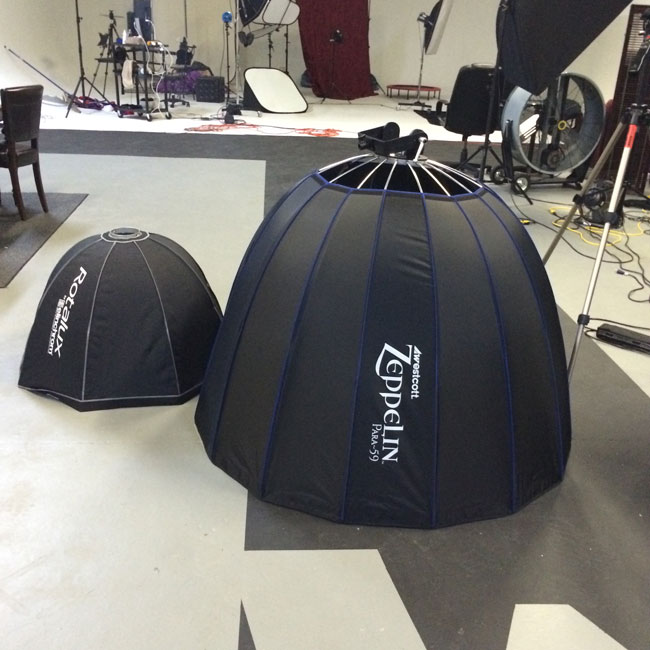
The bigger the light and the closer to your subject, the softer it will be. I’ve always been a fan of BIG softboxes. So when I saw that Westcott had just introduced three new Zeppelin deep parabolic softboxes and the largest one being 59″ I was delighted to take it for a spin. First off, I already had an Elinchrom deep octa softbox, but as you can see below the Westcott Zeppelin dwarfs it!
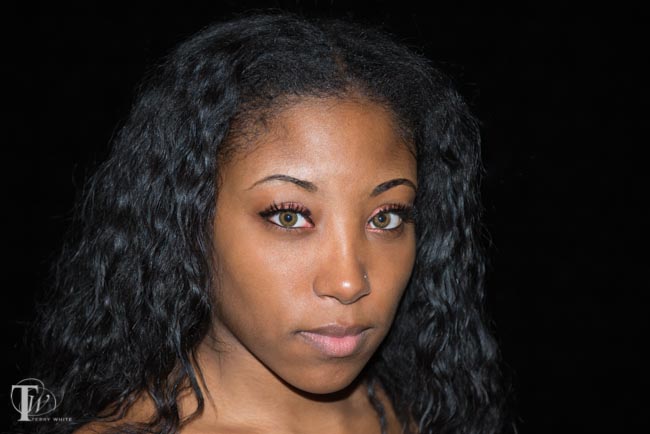
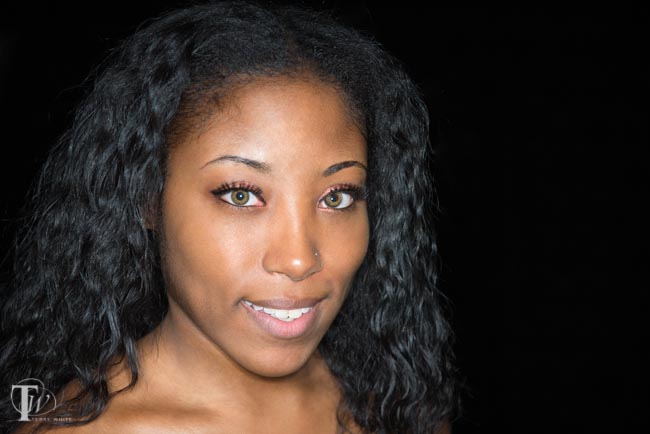
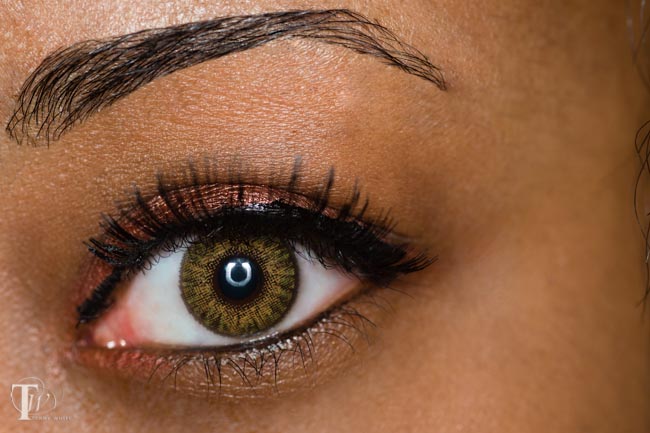
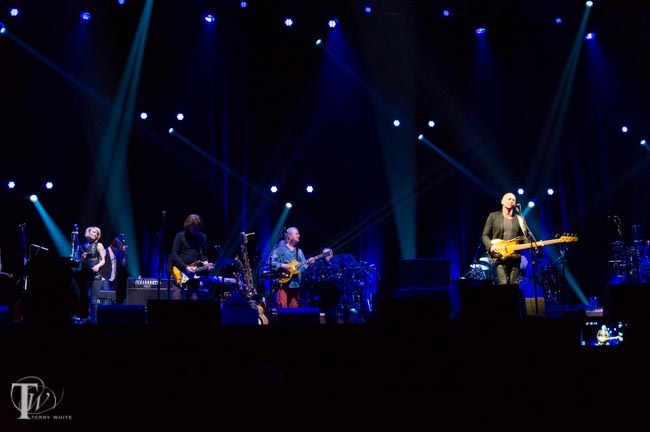
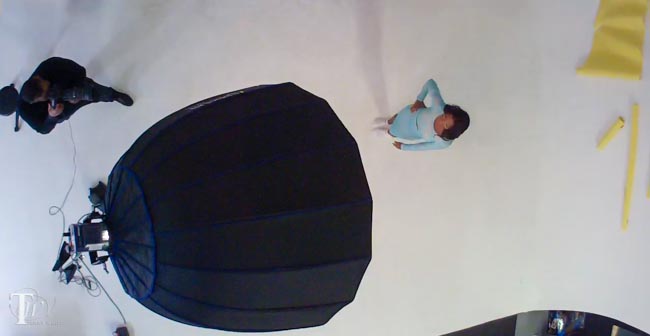
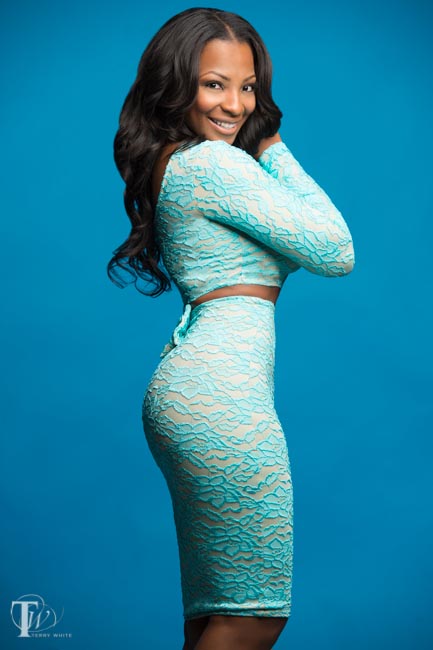
This is a beast and that means big beautiful quality light wrapping around my subject. I do mostly beauty, portrait and fashion work and the nice thing about deep softboxes is that you get a nice fall off of the light. Having the new larger 59″ size means that I can light more of my subject easily as well as multiple subjects more easily. I took it for a spin and really liked the results:

It’s really hard to argue with the results. While you can get these in two smaller sizes, I immediately opted for the largest one because I already have smaller sized modifiers.
It’s almost a little intimidating when you take this thing out of the box. Luckily the design of the mount/speed ring was well thought out. Since this thing is so big it could easily be a strain on your strobe. So the bracket/mount is designed to hold your strobe instead of the other way around.
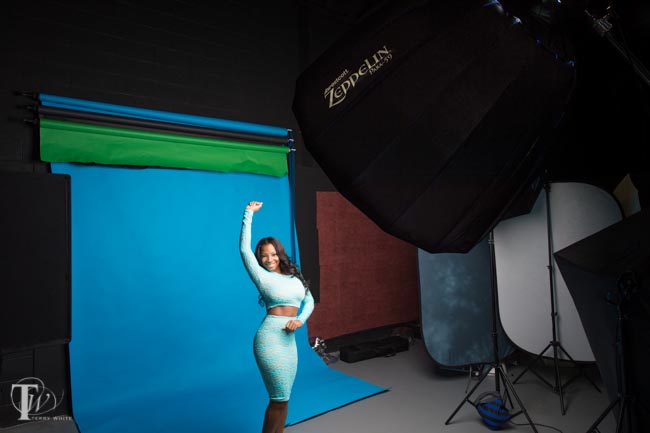
This design also helps balance it better on your light stand. Once I got it all set up it was quite easy to mount my Elinchrom strobe to it and put the whole thing on my stand, which I weighted down with sandbags. There is an optional deflector plate that you can get for it and although I had it, I actually forgot to install it. The purpose of it is to deflect the light away from the center point creating a more even lighting pattern and therefore reducing potential hotspots. I’ll be using it from now on for sure. Westcott liked my results so much they requested the use of my images for one of their new ads.
The Bottom Line
These new Zeppelins are sure to be a hit! They are well constructed and the light is gorgeous. Having the mount bear all the weight of the Zeppelin AND the strobe makes me feel a lot better about using it as I know there will be no additional stress on my strobes themselves. This will undoubtedly be my new go-to softbox for the majority of my studio work.
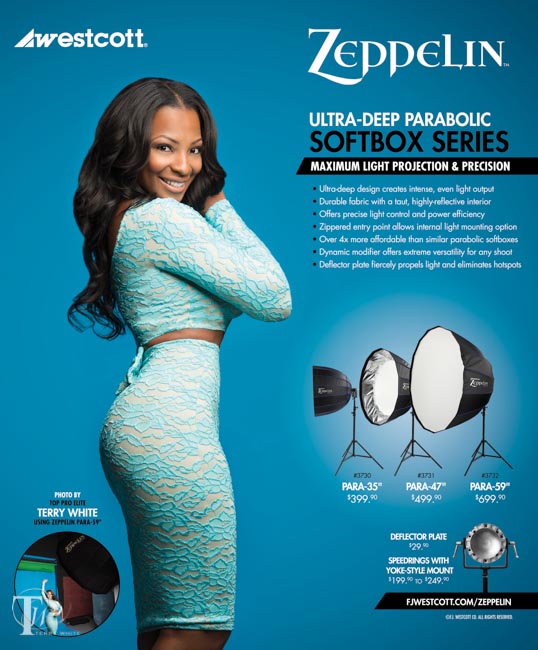
You can get the Westcott Zeppelin Deep Parabolic Softboxes here:
Westcott Zeppelin Para-59″
Westcott Zeppelin Para-47″
Westcott Zeppelin Para-35″
Westcott Zeppelin Deflector Plate
You will also need a speed ring & bracket adapter for your brand of strobe. Here are the ones they make:
Adapter/Speed ring for Bowens
Adapter/Speed ring for Elinchrom
Adapter/Speed ring for Profoto
Adapter/Speed ring for Balcar