

Updated 4-13-2020
Live streaming continues to be a big part of my life. I live stream multiple times per week as part of my job at Adobe. I stream live Adobe tutorials regularly to YouTube, Facebook, Twitter/Periscope, and now LinkedIn and Behance as well. Since this is what I do for a living I wanted to continue to improve my production values.
I have been tweeking my dedicated live streaming studio since 2016. Being a photographer I’ve setup a few photography studios and no matter how you equip your studio you can always find more gear that you want and ways to improve it. I’ve been building out this live streaming studio since May 2016. I have everything I “need” to do my streams, but I’m always looking out for ways to improve upon what I have or make it easier to do my streams.
Like a photography studio, your streaming setup can be very basic or very elaborate
If someone asked me what they needed for a photography studio I would say: you need a good camera and a dependable light source that you can replicate on demand. Those are the minimum requirements to a photography studio. From there it’s a matter of adding the things you want/need to allow you to take better pictures or work more efficiently.
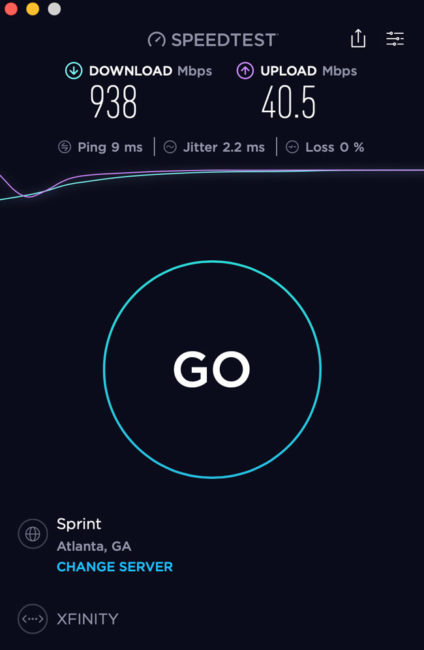
The same goes for a live streaming setup. You would need a computer and a decent internet connection (5mbps up/down minimum).
You can add a USB mic for better audio. You can add an external webcam for better video. So forth and so on. If I only streamed occasionally then I probably would have a more basic setup. However, since I do this daily for work I wanted to have the best setup I could do.
I don’t have a staff or crew
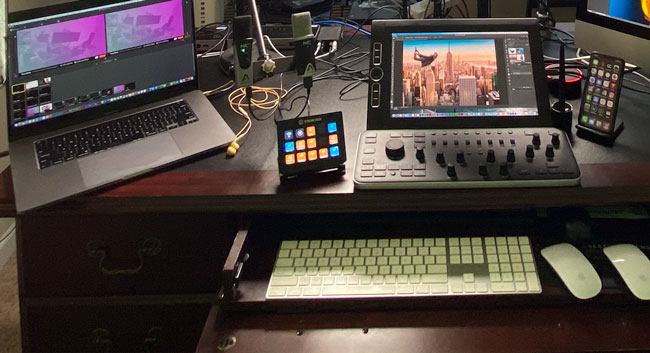
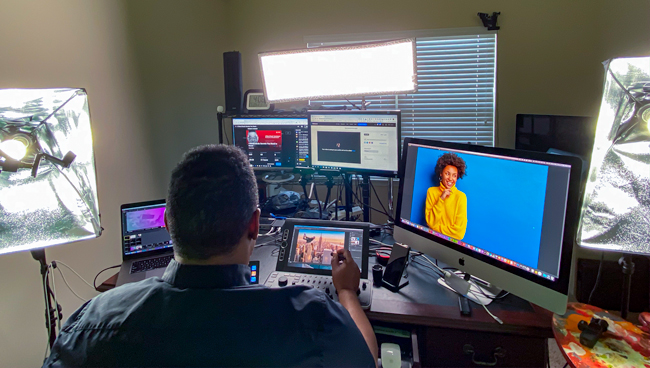
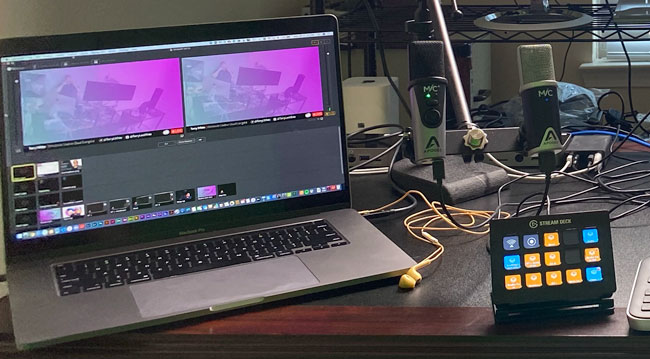
Since I’m usually doing my streams solo that means that I have to have all the controls within arms reach. I have to start and stop my own streams. I do my own switching between cameras/scenes. This means not only being the on-camera talent but also being the camera operator and control room operator. If you have an assistant then your setup can be more spread out. One of my newest additions is the Elgato Stream Deck. This has been a lifesaver for “visually” switching. It’s a lifesaver!
What’s in my Live Streaming Studio and why?
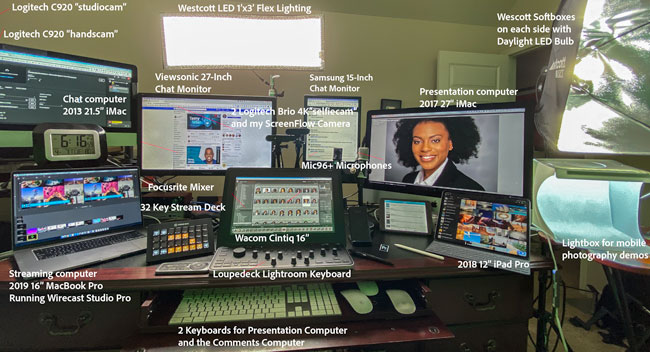
You’ll need a computer: To live stream from a desktop/laptop computer you’ll need either a Mac or PC. I prefer using a Mac for my demos and tutorials. I use a Mid 2017 27″ iMac 64GB RAM/2TB SSD. For a basic setup, you can certainly do it all from one computer. When I started streaming I did everything from one computer. Since I’m often demoing high-end applications such as Adobe Photoshop, Premiere Pro, etc. I decided that a two computer setup was the best way to go. I could run the streaming software on one computer and my iMac would then run at full speed for the demos. Unfortunately, if you plan to do a two computer setup, your streaming computer will still need to be a pretty fast system too. Honestly, if you plan to stream at 1080p or even 720p you’ll want an Intel Core i5 processor minimum. I really recommend a Mac/PC with a quad-core Intel Core i7 processor and a decent video card. I use a MacBook Pro laptop as my streaming computer (the one that runs the streaming software). It’s a 2019 16″ MacBook Pro 16GB RAM, Eight Core i9 processor. I just plug it in in either my live streaming studio or my photography studio and I’m ready to stream. Boot it up and launch Wirecast Studio Pro. If you have to make a choice in a streaming computer, get the one with the most processing cores and the most RAM on your video card.
Having a beefy streaming computer enables me to have three cameras, my desktop (presentation computer), my iPad Pro all connected and switchable at the same time. This also enables me to simulcast to three or more platforms at the same time. I stream to Facebook, Twitter/Periscope and YouTube simultaneously.
You will want a second monitor or video capture card: As I said above you can certainly stream with one computer. If you do, I strongly recommend at least attaching a 2nd display. Since you’ll likely be sharing your desktop on the stream you’ll want to put the window for the streaming software on the 2nd display so that it doesn’t show on your stream. This doesn’t have to be a fancy monitor. Virtually any display will do. If you want a two computer streaming setup like the one I use then you’ll need a video capture card so that you can take the video out from your presentation/demo computer and see it/capture it on the streaming computer.
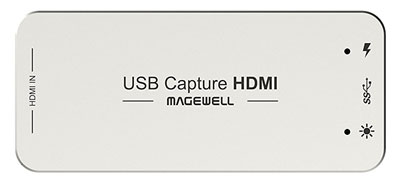
I use a couple of USB 3 Magewell HDMI Capture Card

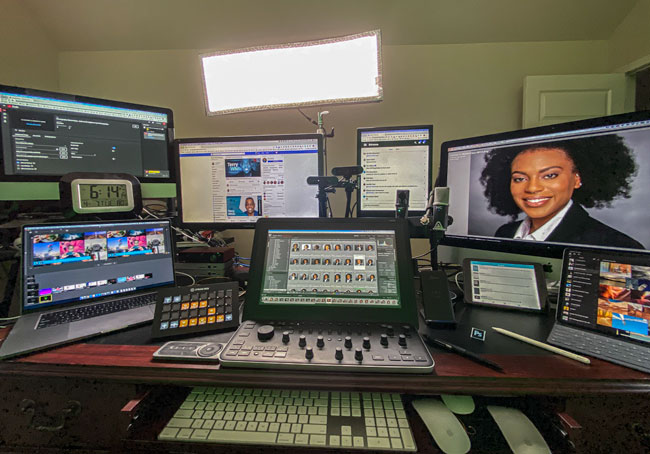
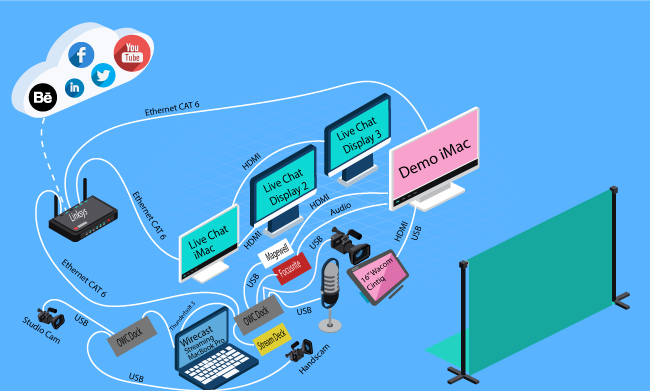
I Connect These Eight Devices to My Streaming Computer to Do My Streams
- 2 Magewell HDMI Capture Cards
- Logitech Brio 4K Main Camera
- Logitech C922 Studio Camera
- Logitech C920 Hands Cam
- Apogee Mic Plus USB Microphone
- Focusrite Audio Mixer
- Elgato Stream Deck
These eight devices are connected to my MacBook Pro Streaming computer via two OWC Thunderbolt 3 docks.
You’ll need streaming software
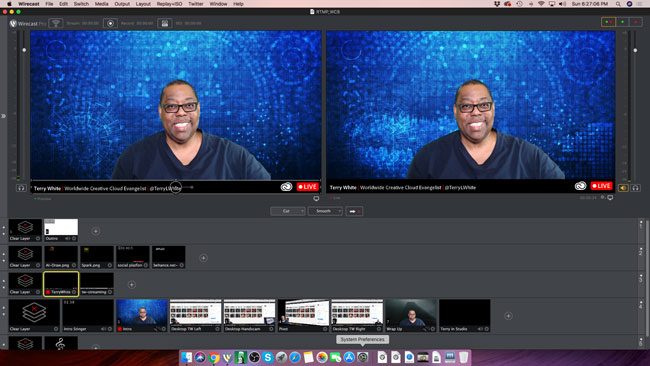
I use a pro-level streaming solution called Telestream’s Wirecast Pro 13. It’s not cheap. However, there is a very good solution used by thousands of streamers every day. It’s called OBS (Open Broadcaster Software). Best of all it’s FREE. You can run OBS on your presentation/demo computer, but as I said above I recommend running it on a separate computer. It’s available for Mac, Windows, and Linux. You can download OBS Studio here. To help you get started I’ve recorded this series of videos on setting up and using OBS to stream to the 4 most popular platforms:
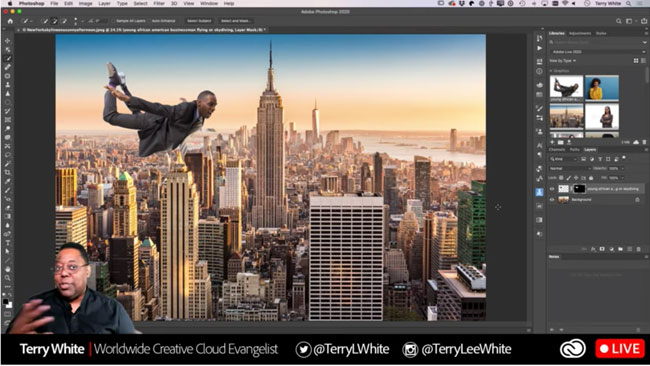
While OBS is definitely a capable solution I prefer to use Wirecast 13 Pro

With Wirecast Studio I can stream to multiple platforms at the same time and it has several other professional features that I have implemented such as Rendezvous, which allows me to bring remote guests into my stream.
Cameras
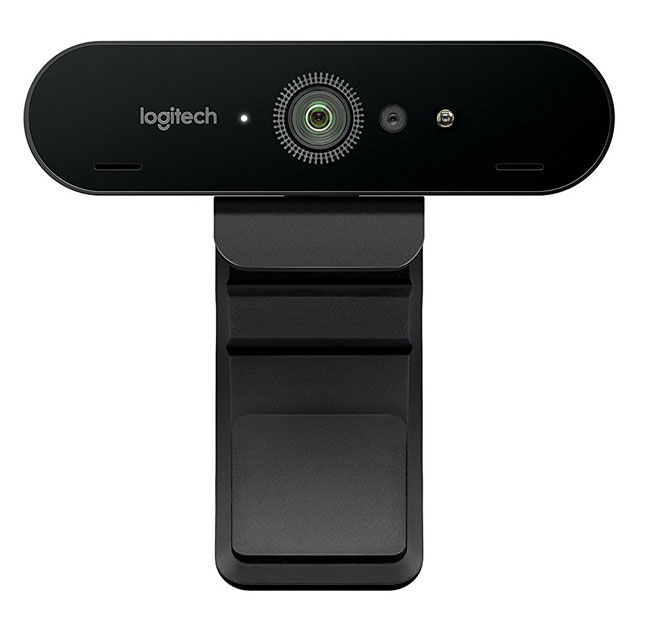
One of the benefits of streaming from a desktop/laptop computer is that you can use other cameras besides the webcam that’s built-in to your laptop. You can basically use any camera that you can get attached to your computer. My main camera is currently a Logitech Brio 4K
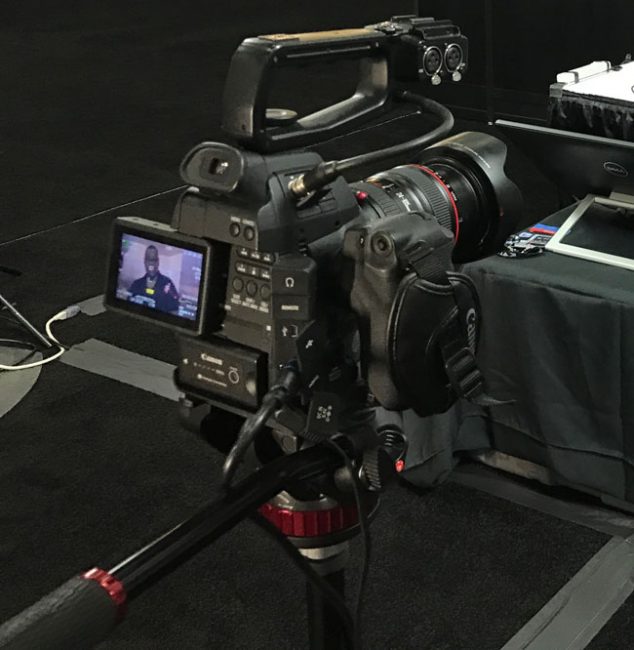
However, if you want to use a more pro-level video camera/DSLR then you’ll need another video capture card like the Magewell


I use a second camera. A Logitech C920
Let’s Switch! 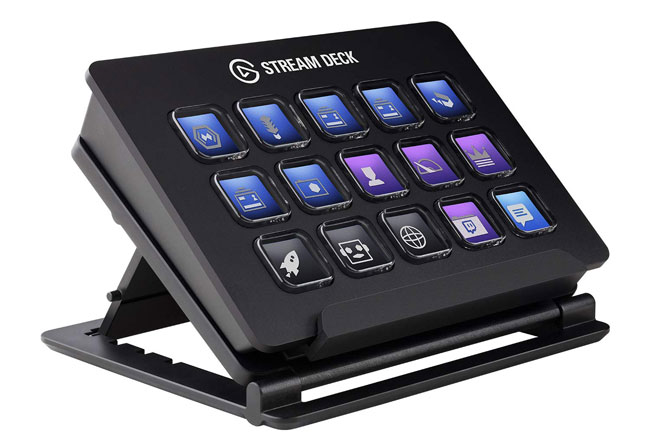
Like I said above, one of my favorite new pieces of gear is my Elgato Stream Deck. This USB connected switcher has 15 fully configurable keys (I recently upgraded to the 32 key model). Once you install the driver you can set it up to switch scenes in OBS or Wirecast. Since I do my own switching, this has made things so much easier.
Let’s talk audio
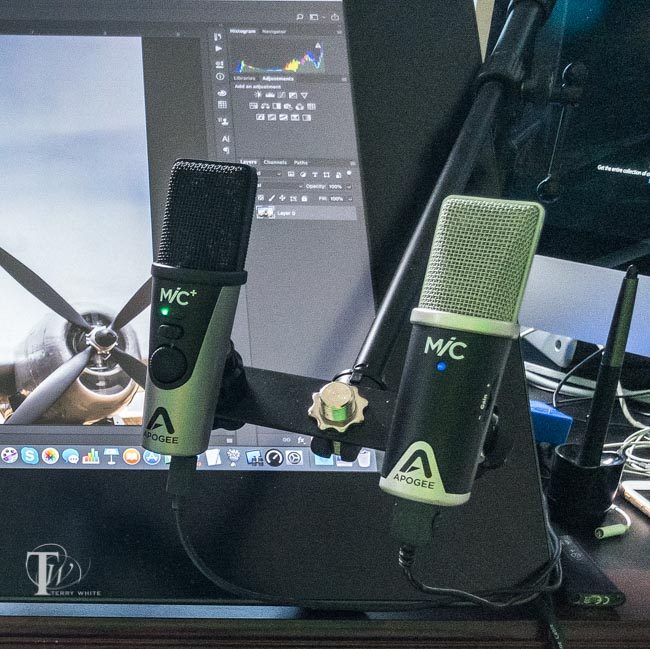
They say that people will tolerate bad video, but they will absolutely NOT tolerate bad audio. I highly recommend that you use an external microphone. The one built-in to your computer will work in a pinch, but it won’t be the best quality. I use the Apogee Mic Plus. This USB mic can work with both your computer and your iOS devices.
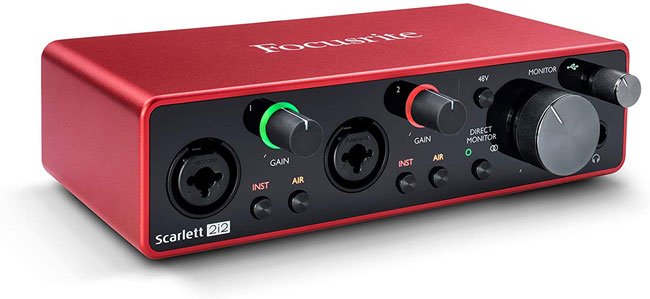
Taking it up a notch: A USB mic will handle capturing your voice for your streams and that’s great. However, if you want to be able to bring in other sound sources and use other/professional microphones then you might consider adding a USB mixer. I recently added a Focusrite Scarlett 2i2 (3rd Gen) USB Audio Interface to my streaming studio. This mixer allows for 2 different inputs (my lav mic and background music). I also invested in a Shure MX184 Condenser Microphone – Super Cardioid lavaliere
The benefit of using a lav mic is that you don’t have to worry about it obstructing the view of your onscreen talent/guests. Since I’m using a separate computer running the streaming software I have the mixer plugged into that computer. This means that audio coming from my Mac or iPad has no way to get into my streams without the mixer. This is crucial if you want to show off anything that has audio in it. Now that I have the mixer and the Shure lave mic the Blue Yeti is currently on used as a backup and is currently unplugged.
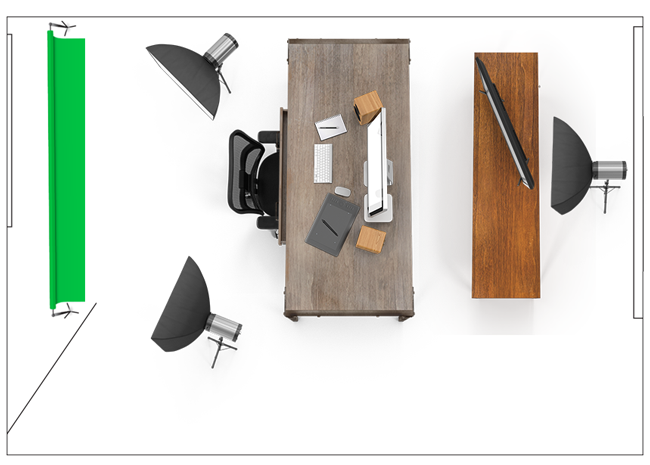
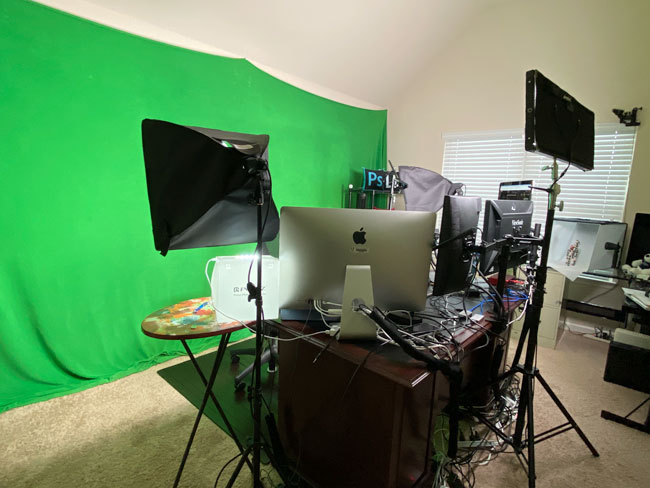
Lighting and green screens
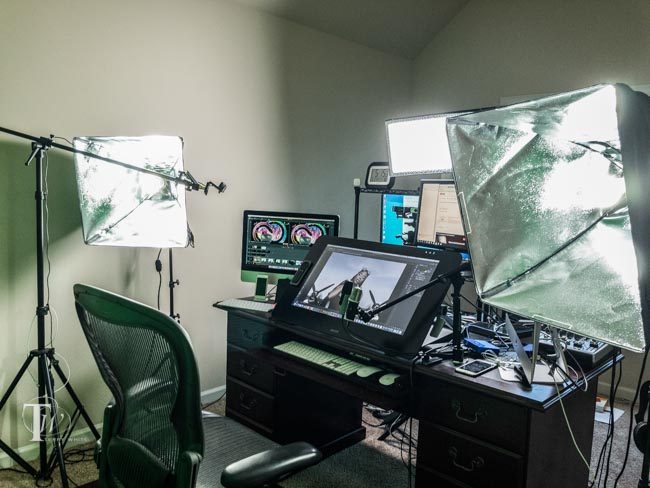
I have three lights in my setup. The main light is the one directly in front of my desk above. It’s a Westcott Flex 1′ x 3′ Daylight Mat. I love the light quality that I get from this mat and the fact and the intensity can be adjusted with a dial. The other two lights light me from the side and mainly the green screen behind me. This is all sold as a kit: Westscott uLite Green Screen Photo Lighting Kit. This kit comes with the two lights, stands and the green screen. The only thing I added was a backdrop stand
Other (OPTIONAL) gear to consider
The Live Chat iMac is on this stand and the monitors are connected to this arm.
As I’ve said all along, you can have a very basic setup or you can have a very elaborate one. The stuff I listed above are what I considered to be the minimum requirements for the kind of studio I wanted to create. However, as always you can have less or more and still do a great job streaming. Here are a few more (optional) items in my setup:
Run everything on Ethernet and plug everything into a UPS: While it’s possible to stream over WiFi, having an ethernet connection to your router is faster and less prone to disconnects while streaming. WiFi is not reliable for maintaining a stream for long periods of time. My streaming studio has an ethernet drop in it that runs to my server closet and an ethernet switch

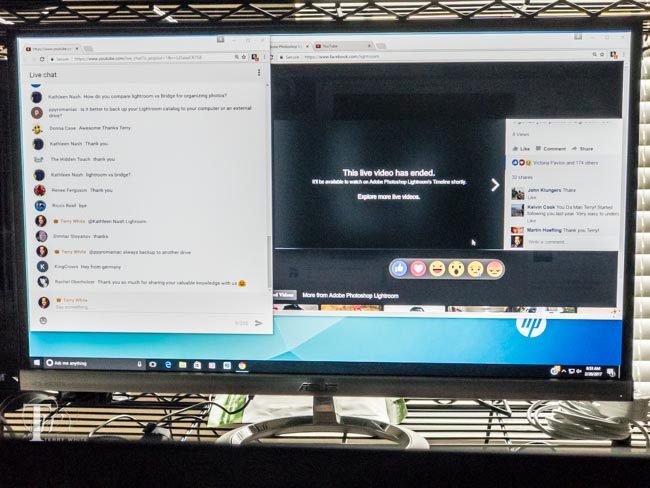
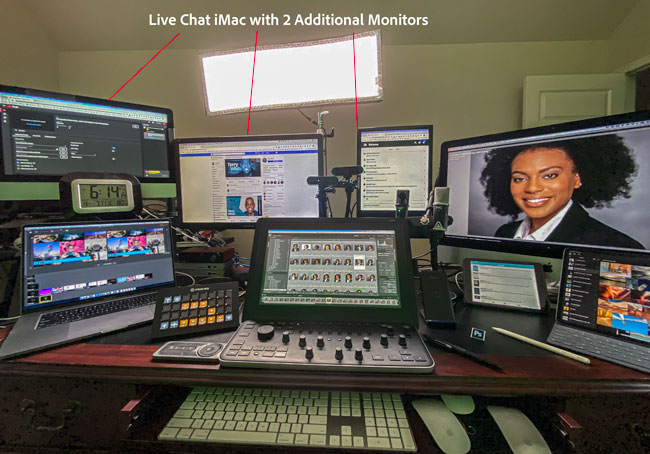
I have a separate “live chat/comments computer”. This is probably the most optional piece of gear in my setup. However, it’s very nice to have. It’s a Mid 2013 21.5″ iMac. I think I got it used for about $900 on eBay (when I wanted a dedicated stream computer). I have a 27″ Viewsonic monitor

Lightboxes for Mobile Photography Demos
`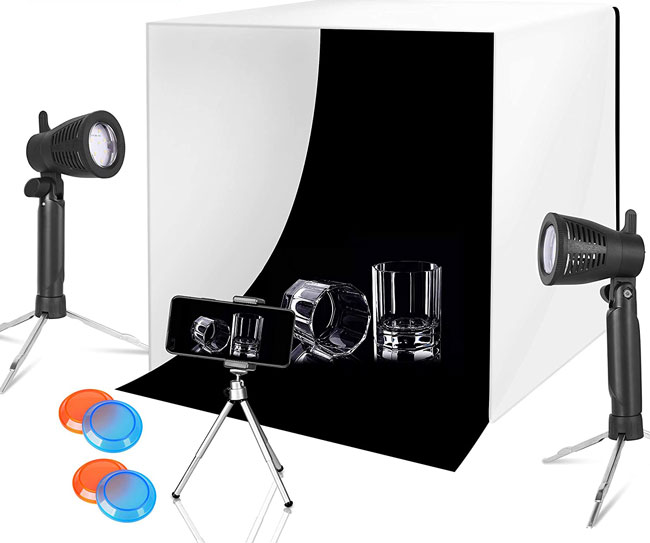
Sometimes I need to show photographing something during a live stream. I need to do it right there on the spot and therefore I need something well lit and close by. I use these two lightboxes that work perfectly for these shots. I use this small one. I also use this larger one.
A clock: Yep just a simple digital clock
What’s next?… I can always think of more things to add. I’d love to have soundproofing panels on all my walls. Perhaps an “I’m Live” light above the door outside the room? A remote control camera crane/jib for my main camera would be nice too for a sweeping opening. I could go on and on, but I think you get the point. It never ends!
The Bottom Line
Live streaming from your desktop can open up a whole new world and way to make professional presentations to your social media following. I enjoy talking with many of you on a regular basis. You can catch me LIVE on the Creative Cloud YouTube channel and the various Adobe product Facebook Pages: Adobe Creative Cloud, Adobe CC Design, Lightroom, InDesign, Adobe Spark, Adobe Stock, Adobe Students, and others. Also check out my streams now on Behance and LinkedIn. Of course, you can also see my live streams on my YouTube channel, Facebook Page and Periscope/Twitter feed. Be sure to subscribe/like the pages above to be notified as to when I’m live.
Join me LIVE!
One Reply to “My Live Streaming Studio Setup – 2020”
Comments are closed.