This is probably my third or forth Logitech keyboard for iPad and this one by far is the closest one to being perfect. The Logitech Type+ is a both a bluetooth keyboard and protective case. What makes this one better than the previous models is that Logitech made it even thinner so that it doesn’t add much bulk to your nice new iPad Air 2.
The keyboard layout is also better. With the previous mode I was constantly hitting the the home key (returning to the home screen) when trying to type a 1. They moved the home button up to the row at the top on this layout (thank you!). Lastly I love the way that they integrated the ability to lay the iPad flat over the keyboard when you just want to use the iPad without using the keyboard without having to remove it from the case.
Actually the keyboard is activated when you put the iPad in the “stand” position where it magnetically held in place right above the keyboard. The only thing keeping this case from being “perfect” is that you cant’ use it if you want to stand your iPad up in the vertical position. Sure you can hold it vertically, but you wont be able to stand it that way.
If you have an iPad Air 2 this is the best keyboard case I’ve seen. You can get it here.
If you have the original iPad Air, then I’d recommend this one.
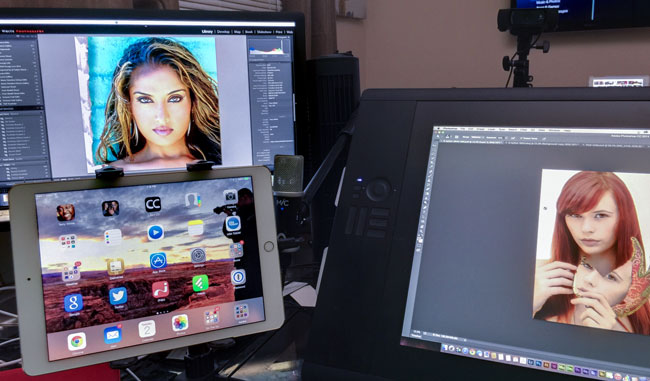
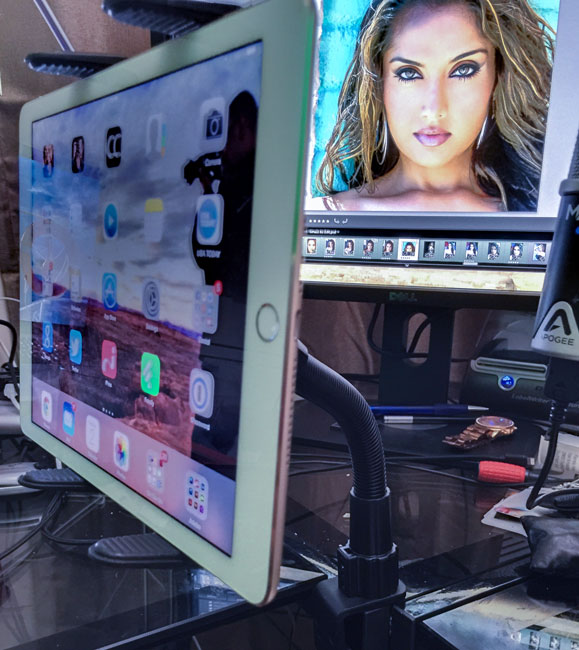
At my desk I work with three displays and usually my iPad Air 2 is within arm’s length. The problem is that when I want to use it I have to either turn away from my main display or pick it up and put it on my lap as there is little available desk space left in front of me. What if my iPad could just “float” in midair almost at eye level and always be there when I need it? That’s what the Arkon solutions provide me. Arkon makes a variety of mounts for your smartphones, tablets and cameras. Many pieces within their product line work together to allow you to build the right system for you.
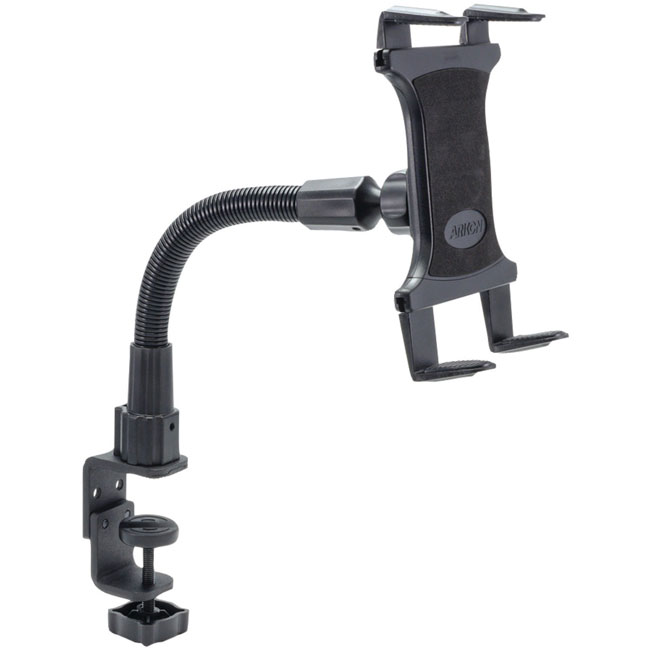
This holder comes with different “feet” to allow you to configure it for any full size iPad or Galaxy Tab. It comes with a Heavy Duty Gooseneck arm.
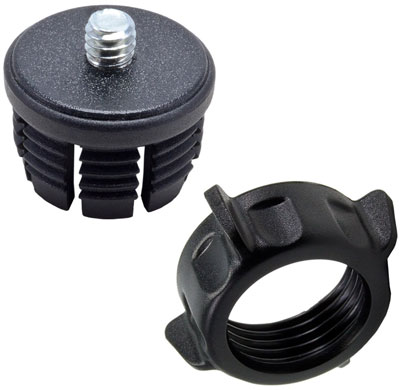
This thing feels as if it can hold up a car. Once you put it in the position you want, don’t worry it won’t move! Now keep in mind that this gooseneck can be used for more than just holding your tablet. If you add their low cost Camera Head Adapter kit it will hold your camera too. Yes even your heavy DSLR!
CORRECTION: I was told by Arkon that the camera mount I listed above is too small for this gooseneck. So if you want to use this for a camera then you should order this model instead.
The Bottom Line
Arkon makes mounts to mount just about anything on anything. However, this is definitely one of my favorite solutions for mounting stuff in my office or home. If you’re looking for the best iPad mount, this is it!
In this episode of Adobe Creative Cloud TV, I’ll show you how to use the NEW App, Adobe Brush CC to create custom brushes for Photoshop CC, Illustrator CC and Adobe Photoshop Sketch right on your iPhone or iPad. You can download Adobe Brush CC for FREE here from the .
Are you missing out on my Bonus Content?
See more of my Adobe Creative Cloud Videos on my Adobe Creative Cloud TV and get the App below. It features EXCLUSIVE CONTENT that no one else gets to see. My iOS App is a Universal App for iPhone, iPad and iPod touch. I also have an Android version on the Amazon App Store:
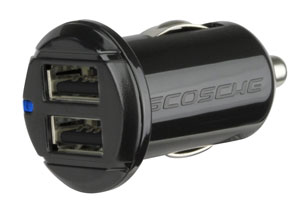
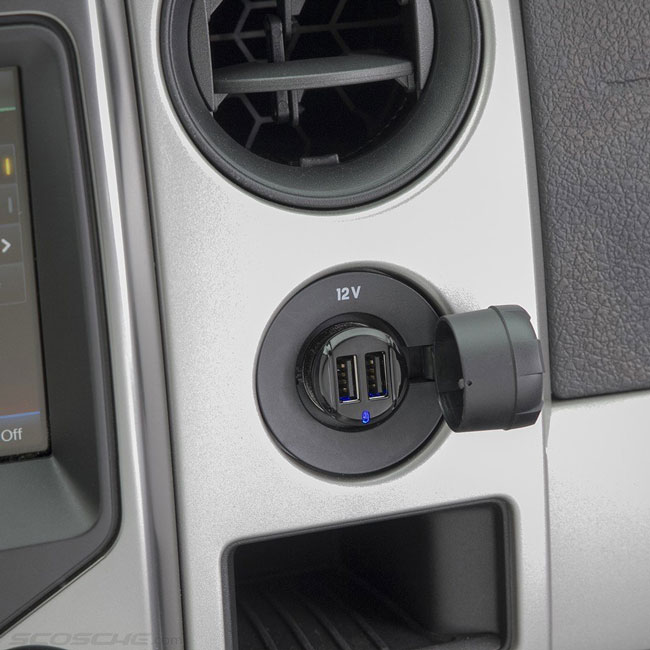
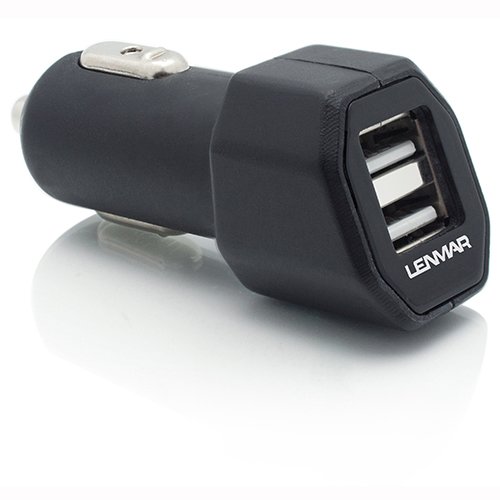
Every time I turn around there seems to be a new, better car charger than the one I’ve been using. I actually started with this Scosche Dual Charger over a year ago. It worked great, but the thing that I didn’t like about it was that only one of the ports charged at the faster 2.1A speed. Then I discovered this one by Lenmar. It gave me what I wanted, TWO ports both charging at 2.1 AMP/10 watts each. Perfect! Well it was perfect until I discovered that Schosche released a dual 12 watt charger! If you have a newer iPad 4th generation or iPad Air you might have noticed that Apple now includes a 12 watt wall charger instead of the 10 watt charger included with previous models. Now you can charge your iPad Air in car at full speed or speed charge a smartphone. Since we usually aren’t in our cars for hours at a time each day, speed matters. You might be able to get back up to a full charge faster on a shorter commute. I also figure why have just one port when you can have two? This way you can charge your phone and another device such as a tablet or a passenger’s phone.
I also like the low profile fit. The original Schosche I used back in the day stuck out of the socket quite a bit. This one almost fits flush with the 12V socket. Even if your car has a built-in USB port I’m going to go out on a limb and say that it doesn’t provide 12 watts of power. In most cases it’s probably a 5v 1A USB port. As far as I can tell this is one of the fastest car chargers on the market.
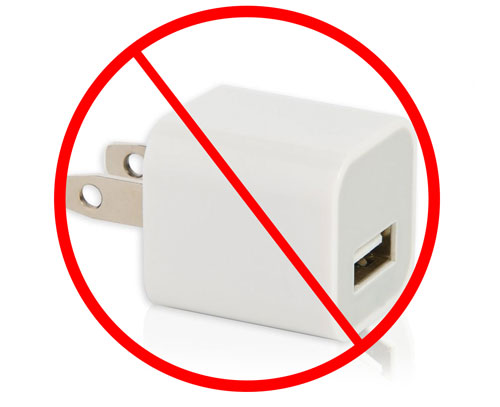
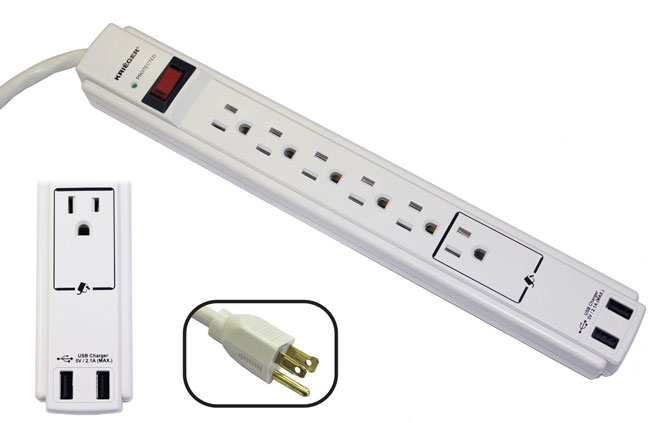
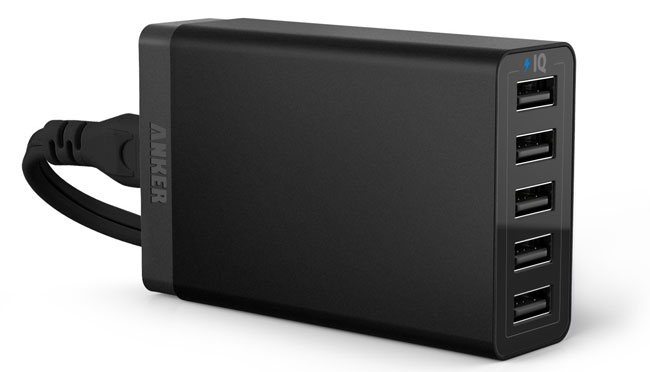
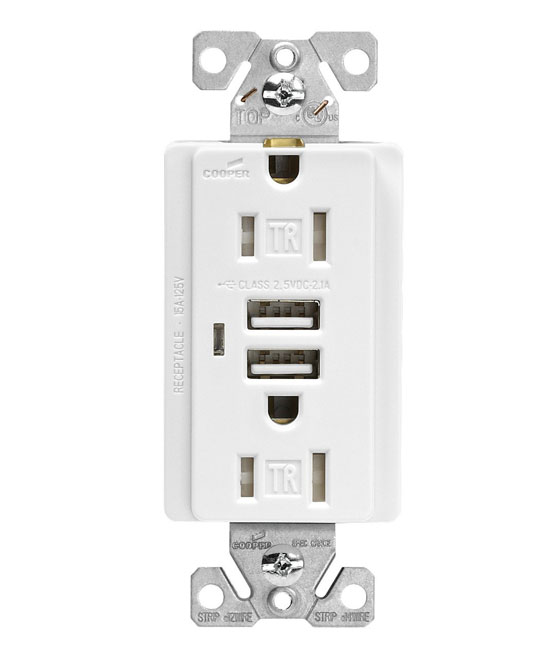
Your smartphone probably came with a USB wall charger. Chances are you probably need or at least would find it convenient to have more than one. Perhaps one at your desk, one by the bed and maybe one in your travel bag. A quick check shows that the retail price of an Apple USB wall charger is $19. Of course you could get ANY 3rd party wall charger for half that price or less. However, even at $9 for a good quality generic charger you might want to consider a different option. If you’re buying a charger that’s going to have a permanent home under your desk, behind a nightstand, etc. then why not just get a power strip that also has USB ports on it? This way you could plug in your lamp, computer, speaker, etc. and charge your smartphone and/or tablet as well.
I just bought 3 of these for use around the home and home office. So far they’re working out GREAT! Unlike most power strips/surge protectors this one has a longer than average 6 foot cord. It has a lighted power switch as well as 2 USB ports that can provide up to 2.1A of power, which is enough to charge an iPad. Also the fact that it’s a surge protector as well doesn’t hurt. The only downside is that the 2.1A is shared between the two ports. This means that you can charge two devices or one device at the full 2.1A speed. Yes, you can charge an iPad (or other tablet) and iPhone (or other smartphone) at the same time, just not two devices that both require 2.1A each.
Here’s the best part: This power strip is on sale for only $14.99, which is less than the cost of a name brand single port USB charger. Get this one and you can use the charger that came with your phone as a travel charger.
Today is iPhone 6 and iPhone 6 plus day as well as many of you upgrading to iOS 8. I though I’d share 8 of my favorite iOS 8 Tips and Tricks that may not be obvious to many.
In this episode of Adobe Creative Cloud TV, I’ll show you how to use Adobe Photoshop Generator to make webclip icons for your website so that when people bookmark your website to their home screens on iPad, iPhone or iPod touch they’ll get your custom icon.
Are you missing out on my Bonus Content?
See more of my Adobe Creative Cloud Videos on my Adobe Creative Cloud TV and get the App below. It features EXCLUSIVE CONTENT that no one else gets to see. This episode has a BONUS CLIP that is available only in the App! My iOS App is a Universal App for iPhone, iPad and iPod touch. I also have an Android version on the Amazon App Store:
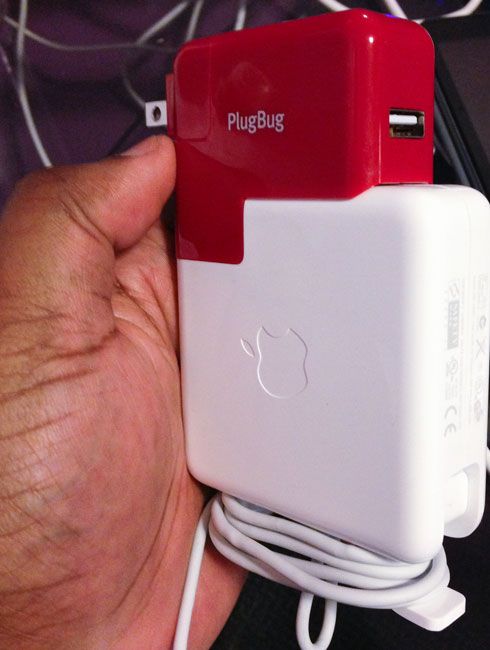
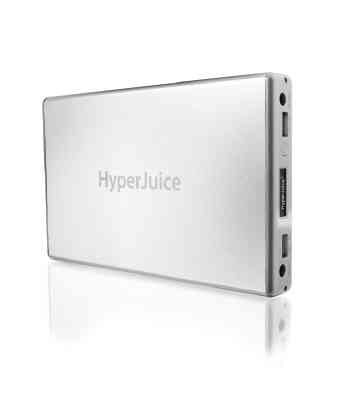
There I am at my desk at 5PM on a Sunday and I can hear the rain outside. Next I hear the wind really whipping by and bam, there go the lights. After a few seconds the lights came back on and then after a few more seconds they went off for good! Sure my APS UPS Systems kept my Server and Internet Router going for a while before they eventually ran out of juice. Since I was headed out of town the next morning I just decided to relax and take it easy for the rest of the evening. However, the one thing that I definitely wanted to keep charged and running the entire night was my iPhone. I have a battery that I keep in my backpack which is good for a couple of charges, but I had never tried to go all night with it. Also while I was sitting at my desk I hadn’t plugged my phone in so it was already down to around 40% battery left. That’s when I remembered my HyperJuice battery that was also in my office and fully charged!
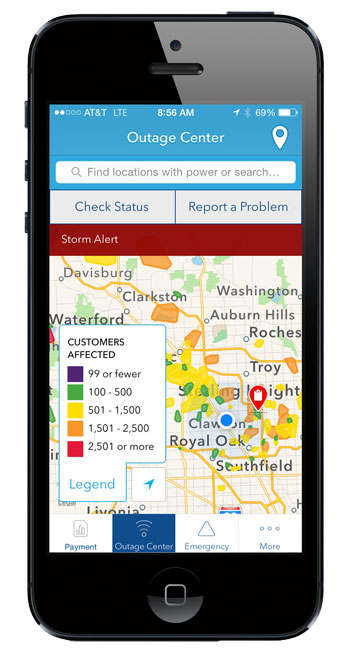
I commend DTE Energy for having a nice App to not only report the outage, but get status updates and see what other areas are affected:
This battery is really designed to power your MacBook for long periods of time when AC power isn’t readily available. However, it also has a USB port for charging/powering phones and tablets. I plugged my iPhone into the USB port and not only did I wake up fully charged 8 hours later, but the HyperJuice still had plenty of juice to top off my MacBook Pro as well! When I originally bought this battery it was for long flights and being at seminars where there were no plugs nearby. I hadn’t carried it in a while and never thought that I’d be using it to get me through the night because of a power outage.
Lightroom has allowed for USB tethered capture from popular Nikon and Canon cameras for several years now. However, I can’t tell you how many people have asked me about tethering directly to an iPad pretty much since the 1st shipped in 2010. Four years later, while there are several shoot to iPad solutions out there, there still isn’t a way to plug your camera directly into an iPad and shoot tethered like you do with your computer and Lightroom.
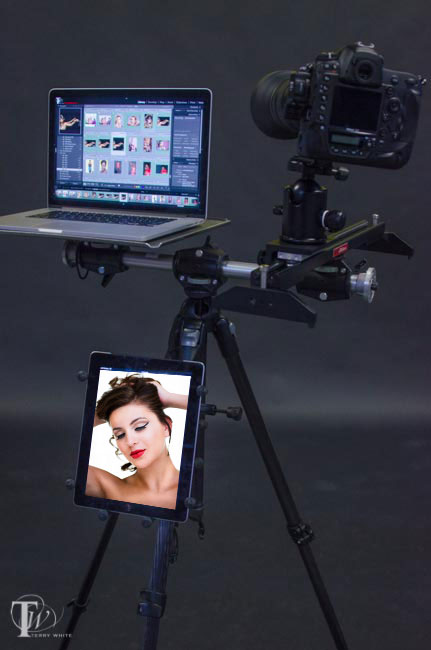
Here’s what’s in my Tripod Rig Setup Above
RAM-B-121-UN9U The RAM X-Grip Universal Clamping Cradle and Clamp
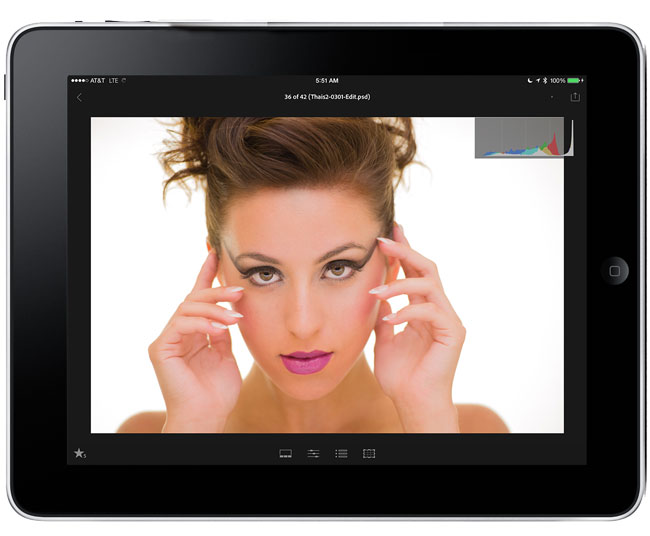
I personally use an Eye-Fi card when I’m out in the field and my iPad then becomes a nice big 10″ display to preview my shots. The Eye-Fi cards create their own ad-hoc network and therefore no hotspot is required. The images wirelessly transfer from my camera to my iPad. Now that Lightroom mobile is here, the question becomes can I shoot tethered into Lightroom mobile and the answer is yes! However, even though the answer is yes, it still involves your computer as there is still no way to connect your camera directly to your iPad via a USB cable and shoot tethered like you do with your computer. In studio I’m shooting either tethered directly to Lightroom via a USB cable, to my computer from my Nikon D4 via Ethernet or via the Nikon WT-5A Wireless Transmitter to a folder where the images are auto imported into Lightroom. There are two ways to shoot tethered to Lightroom mobile:
Before we get into the methods you’re going to need Lightroom 5.5 and a Creative Cloud membership. The Creative Cloud Photography program is affordable at only $9.99/month and includes Photoshop CC, Lightroom, and unlimited syncing to Lightroom mobile.
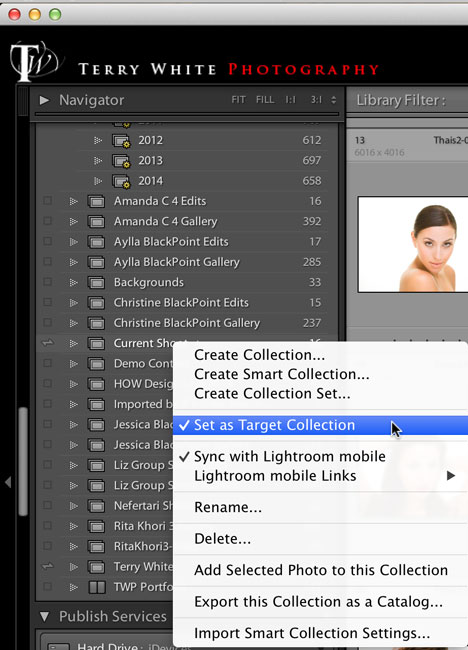
Recently Scott Kelby did a post “My First Studio Shoot Using Lightroom Mobile” during this shoot he was shooting tethered from his DSLR to his computer running Lightroom 5.5 desktop. However, he did a very clever thing. He had a collection marked to sync with Lightroom mobile and his creative director was holding his iPad. He made that collection the “target collection” (a Lightroom feature) so that as he saw images coming in from his camera that he really liked all he had to do was hit the letter “b” on his keyboard to add those images to the collection that was sync’d to Lightroom Mobile. Now the creative director could see the images on the iPad from any location and help direct the shoot, make changes to the wardrobe, etc. Since Lightroom mobile is a two-way communication between the iPad and the desktop version of Lightroom she could also flag or star rate images on the iPad and those flags and ratings would appear in Lightroom on the desktop for Scott to look at further and tweak if needed. This is an awesome way to work and it allows you to show only the BEST images to your client, director, assistant, etc. However, it does require more interaction on your part as you have to hit “b” for each image you want to be added to the collection. I had never thought of using the Target Collection in this way and it makes total sense. This got me to thinking if perhaps there was a way to automate this so that each image would just go into a collection as they come in to Lightroom via tethering? Currently Lightroom mobile doesn’t support Lightroom’s Smart Collections. So I began to look at 3rd party plugins….
The next method “Tethering to Lightroom mobile”
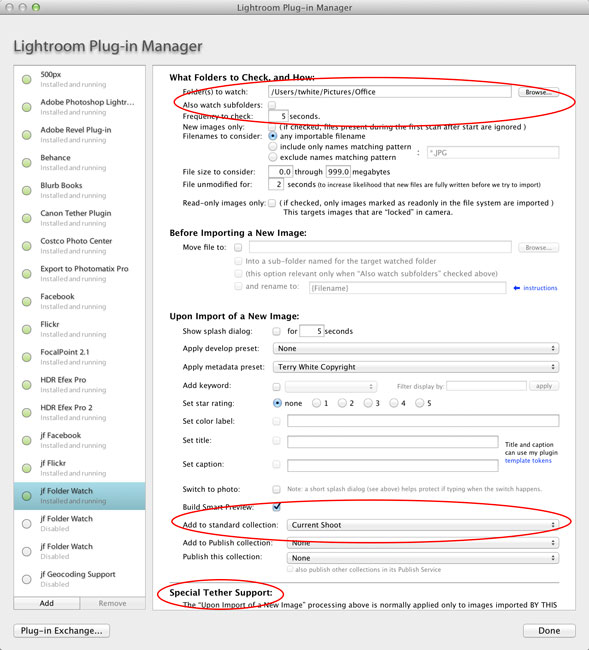
Like I said above, I wanted a way to bring in all the images I’m shooting so I wouldn’t have to touch the keyboard every time I wanted an image added to the iPad/Lightroom mobile. After looking at Scott’s method above this definitely has some downsides to it. As you know not every shot is good. Sometimes the strobe doesn’t fire or the image is out of focus. Sometimes the model isn’t ready or you capture an awkward frame. Chances are you don’t want your client seeing this frames. If that’s the case you’re better off using the “Selective Tethering” method above. However, if it’s you and say an assistant or other person on set that needs to be able to see what you’re shooting via the iPad then you probably don’t care as much if a few bad ones get in. As a matter of fact if it’s an assistant they could be helping by “rejecting” the bad ones for you! My search for a 3rd party solution started and ended with Jeffrey Friedl’s “Folder Watch” plug-in.
This plug-in was originally designed as a more full featured alternative to Lightroom’s Auto Import (what we used before native Tethering) feature. Sadly after I downloaded it I realized it wouldn’t work with Lightroom’s Tether Capture feature because it needed to do the import before it could add the images to a collection.I reached out to Jeffrey and told him what I wanted it to do and guess what? He immediately added the feature for me! Now with this “donationware” plugin you can shoot tethered into Lightroom as you always do and designate a collection to add the images to as you shoot. All you do once you create the collection is sync it to Lightroom mobile.
Share with REMOTE viewers too. On ANY platform!
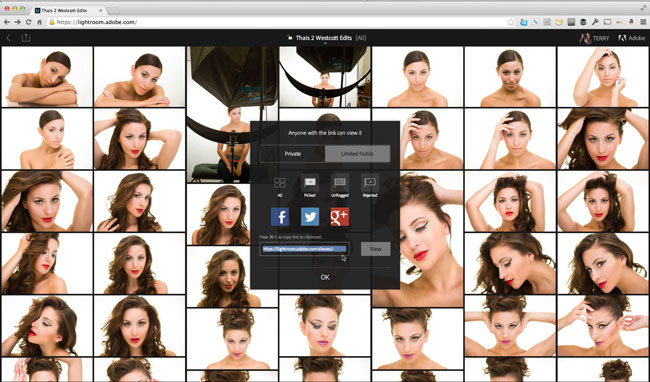
One of Lightroom mobile’s best kept secrets is that it’s not just for iPad and iPhone. There’s also a web component. If you head to lightroom.adobe.com and sign in with your Adobe ID you can all of your Lightroom mobile collection right in a web browser. You can click on any of your collections and grab the link for it and share it with whomever you want to be able to view that collection. This means that you can have a large audience watching your shoot and they will see your new images as you take them (by hitting refresh in the browser) pretty much on ANY platform.
Lastly don’t forget that Lightroom is also on iPhone now
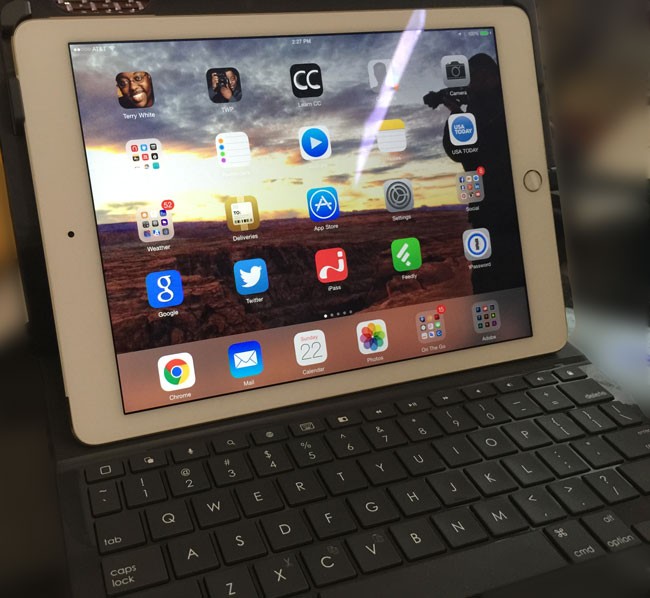
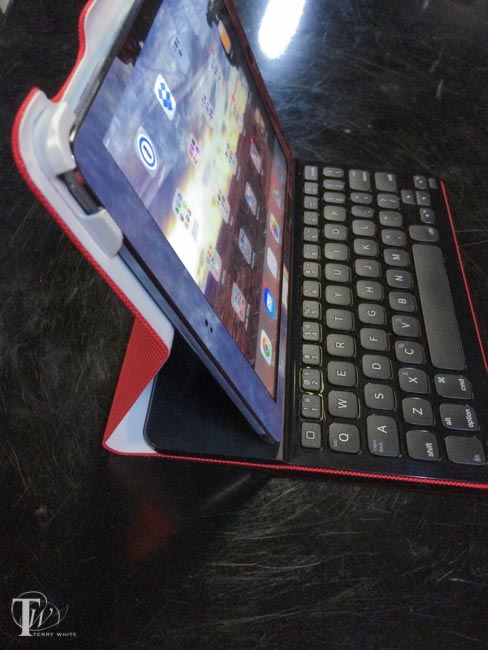
Having been a fan of the Logitech Ultrathin Keyboard Covers for my previous generations iPads, I was more than just a little interested in their new additions. I didn’t even know that this new had come out until my buddy Jason Levine got one for his new iPad Air. I spent a few minutes with his and I could easily see how much of an improvement it was over the older design. While the older designed magnetically attached to your iPad, it really offered no protection to the back whatsoever. This new “folio design offers scratch protection to all sides of your iPad Air (or iPad mini) and gives you a nice Ultrathin Keyboard to boot. The reason I went with the Ultrathin Keyboards from the beginning is because I felt all other keyboard cases were just too bulky and unattractive. The Ultrathin Keyboard Folio feels nice in my hands and is not too thick.
How does it work?
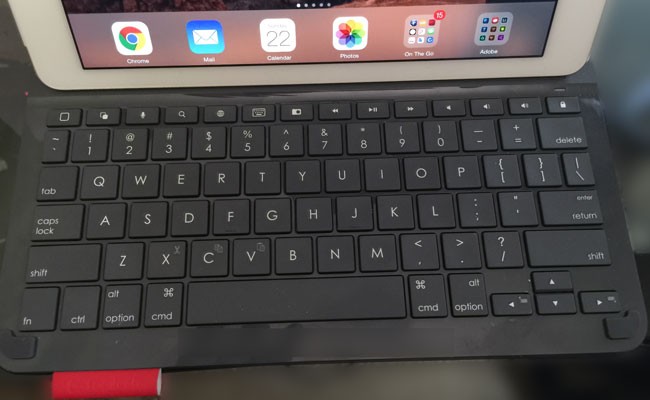
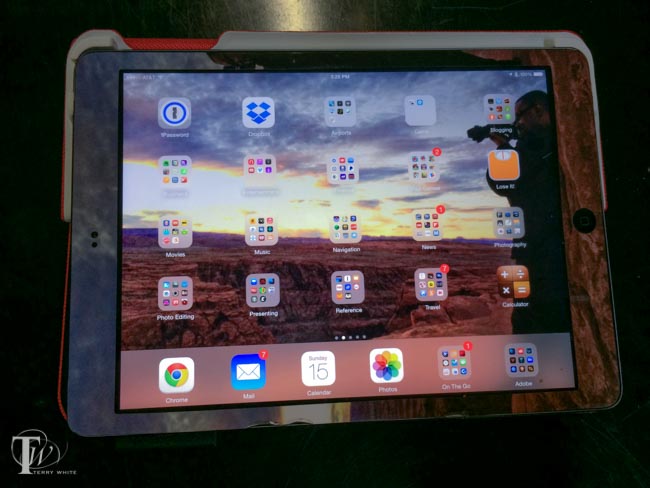
You simply snap your iPad into the Keyboard Folio and turn it on. Mine showed up immediately in the iPad’s bluetooth settings and connected. That’s it. When you stand the iPad up it magnetically snaps to the keyboard and can begin typing. The keyboard keys are layed out about as comfortably as I would expect and gives me the all important Shift key on both sides that many iPad keyboard lack. The number keys also serve dual duty with the Fn button allowing you to do things like change the iPad volume and fast forward or rewind movies. You can even use the Command key as you would on a Mac for things like Command-C to copy or Command-V to paste.
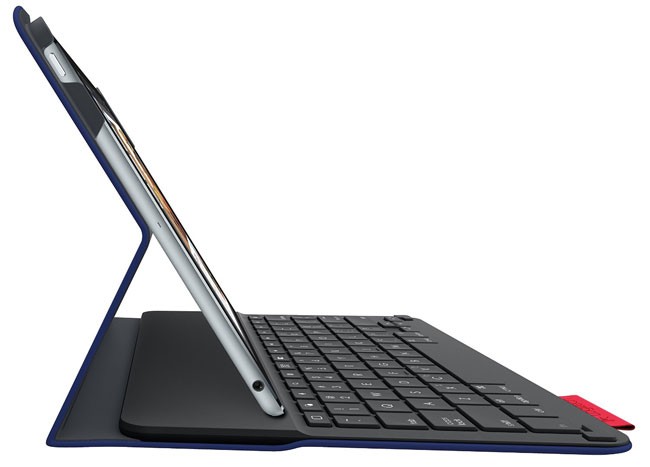
I love the fact that you can lay it down on top of the keyboard for those times when you want to play a game or draw on the iPad and you don’t need a keyboard. With the old Ultrathin cover there was no way to do this other than disconnecting the keyboard and laying it aside. There’s even a holder for a stylus built right in. The battery life is rated at 3 MONTHS per charge! That’s with an average of 2 hours per day of use.
Good, but you can’t have everything
One thing I do miss with the older model is the ability to stand the iPad up on the keyboard in portrait/tall orientation. There’s no way to do that with this folio model.
Did Logitech address a potential design flaw?
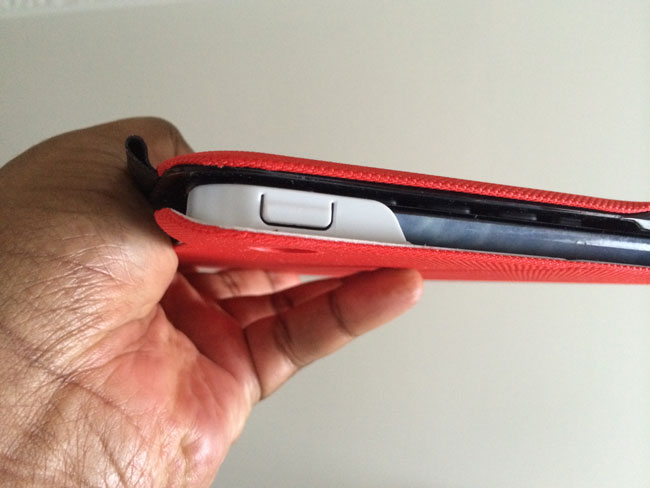
If you go to Amazon and read the reviews you’ll find several that complain about the the upper left support cracking after a short amount of time. I noticed that on some the upper left support is “cut out” revealing the iPad power button (see the very first picture in this post). I’m guessing this is the “newer” model because it’s the one that Logitech features/pictures on their site.
The older perhaps flawed model has a complete cover over the iPad power button. This is the one I have, so I’ll be monitoring it closely. Clearly there are two versions of this model and I’m guessing the one with the cutout (picture’d below from the Logitech site and at the very top of this post on a friend’s cover) is the newer one that solves the problem. There doesn’t appear to be a problem with the version for the iPad mini.
Note the stylus holder on the right in the image below.
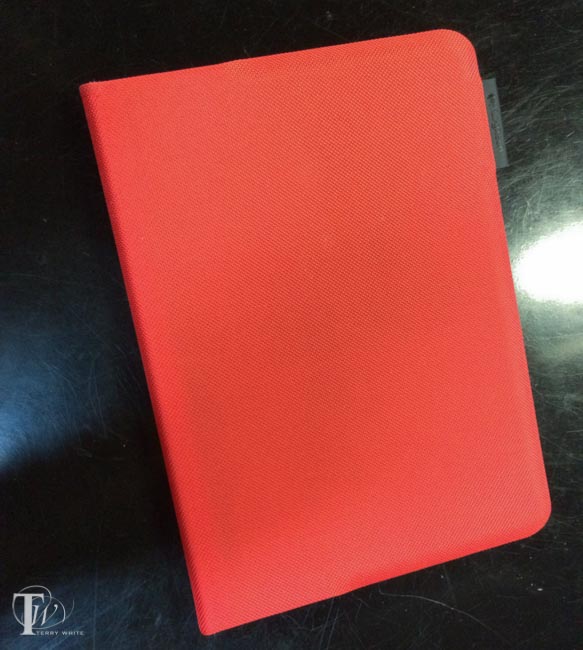
They are available in multiple colors.
You can get the Logitech Ultrathin Keyboard Folio for iPad Air here.
You can get the Logitech Ultrathin Keyboard Folio for iPad mini here.