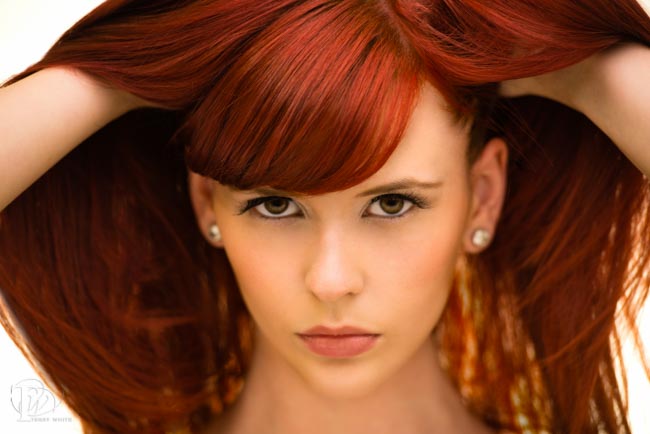
When I initially gave a first look at the NEW Westcott Eyelighter a couple of weeks ago (here), one thing I failed to do was to show a before and after comparison
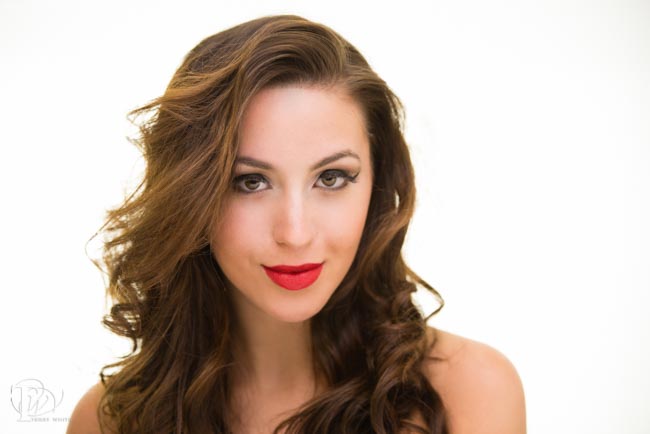
So I took some time away from my vacation last week and setup a beauty shoot with a few models to really give you an idea of what the Eyelighter really does beyond providing interesting catchlights in the eyes. In the two shots above you can see the affect of the Eyelighter not only in the eyes of my subjects but also under the chin.
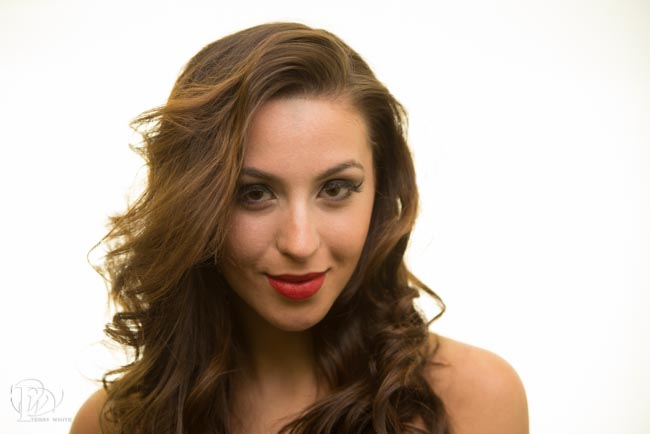
What a difference an Eyelighter makes. The shot above is the same model under the same Westcott Skylux and XXL RapidBox 48″ octa softbox, but without the Eyelighter.
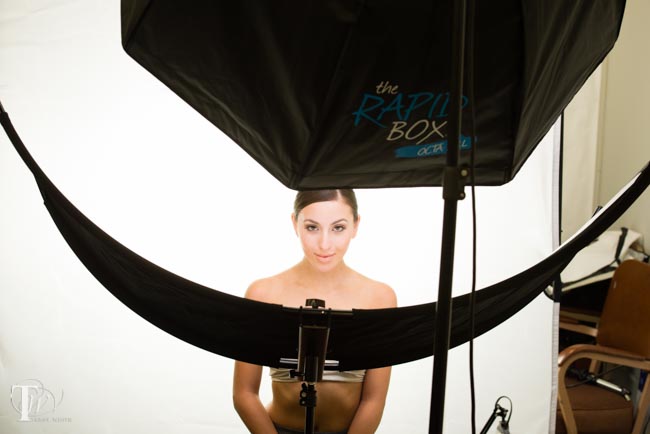
The shot above is a production shot showing the Eyelighter setup just in front of the subject with the Skylux LED light above subject.
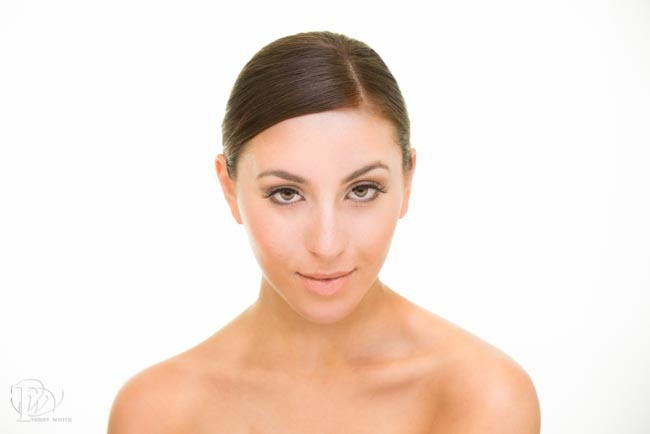
The results are AWESOME and pretty much night and day.
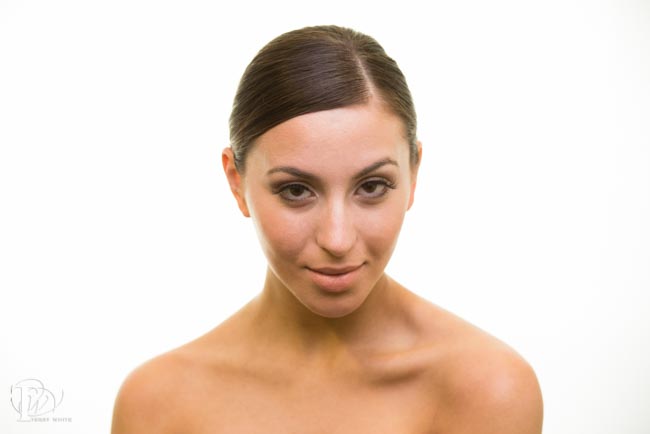
Again here’s another look without the Eyelighter using the exact same main light, subject and camera settings.
But what about the background?
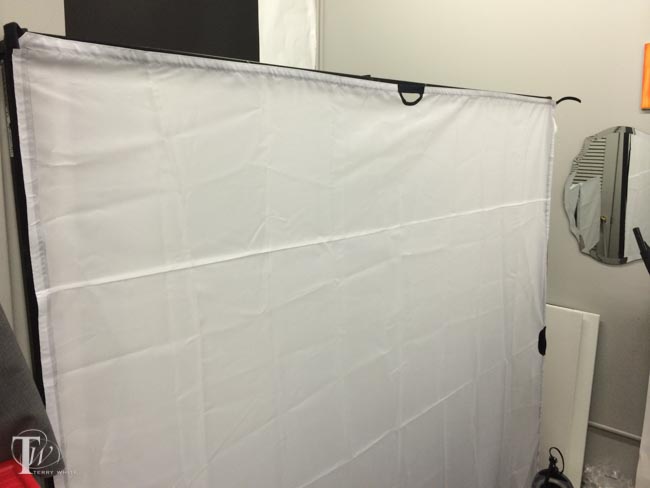
The background was lit using two lights shining through the Westcott Scrim Jim. This gave me the High Key look that I wanted by providing a nice big soft light source directly behind the subject that wrapped around the subject with beautiful rim lighting.
The Bottom Line

I’ve always been a fan of this clamshell beauty look and the Westcott Eyelighter makes it much much easier to do now with one light. Adding another light or two behind with the Scrim Jim makes this accessory useful for in studio work as well as on location work. All of the images above were shot with my Nikon D600 and 70-200mm f/2.8 VRII lens.
