
I’m traveling in Asia for the Adobe Create Now/CC Launch tour. My first stop was Auckland New Zealand and my hotel room just happened to have a balcony. Whenever, I have a private balcony that’s an added bonus when it comes to photography because it usually means that I can leave my camera setup for extended periods of time to shoot long exposures and time-lapse scenes. With a beautiful view of the harbor I decided to shoot a time-lapse. Since I don’t shoot time-lapse very often I Googled “best time-lapse settings”. Most of the result offered pretty much the same advice. For your time-lapse to look the best it’s better to use a consistent exposure and shoot in Manual mode as much as possible. This means setting a fixed exposure as well as shooting Manual focus. The reason for this is to keep your camera from changing exposure or focus in each shot, thereby creating a more smooth time-lapse video.
I learned the hard way that this works great except if your scene will change drastically during the shoot. For example, shooting a sunrise means that you will start out shooting in the dark and ending up in the light. The opposite would be the case for shooting a sunset as I attempted above. By keeping the same exposure throughout the scene it went from being properly exposed to completely dark. I salvaged it by combining it with a second one of the same scene after it got dark.
The lesson here is that if the scene is going to change drastically during your time-lapse it’s probably best to shoot it on Aperture Priority mode so that the exposure will be adjusted automatically over time. Learning from this mistake I shot another one in the morning and the results were much better:
The time-lapse above was shot in Aperture Priority and Manual Focus.
Settings and Gear
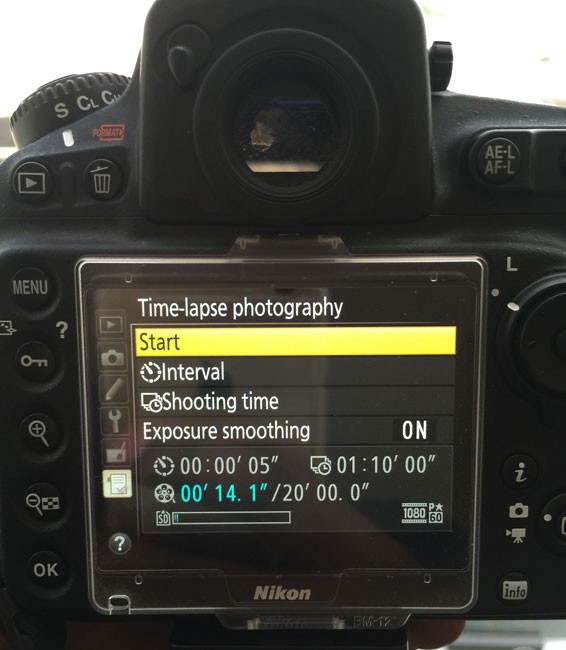
I took my Nikon D810 on this trip because I knew I’d be traveling to places I’d never been before and wanted to have my best camera with me. I also brought my Gitzo Traveler Tripod and Kirk BH-3 Ballhead. No matter which camera you have, you will definitely need a tripod. The camera will be shooting for several minutes or hours. This also means you’ll want a fresh battery. I wish I had brought my battery grip along to double my shooting time. If your camera can be plugged into AC that would be best. I used my Nikon 28-300mm lens. I shot using:
- f/11
- Aperture Priority
- Manual Focus
- 28mm
- Capturing a frame every 5 seconds
- Duration 40 minutes to 1 hour 10 minutes depending on how long of a video I wanted at the end.
A note about Time-Lapse on the newer Nikon bodies. Shooting Time-Lapse used to mean shooting hundreds of stills and then putting them together in a video editing program afterwards. Starting with the Nikon D4 the Time-Lapse mode creates a video right in camera. Instead of hundreds of stills on your memory card you’ll have the single video. This is great because it makes the process much much easier and frees up all that space on your memory cards/drives. There was one thing I hadn’t figured on when doing my math. I was figuring video at 30fps. However, I had my D810’s video setting on 1080p 60fps. When I brought my first time-lapse into my computer it was only 8 seconds instead of 15/16 seconds. I scratched my head for a few seconds before it hit me that 60fps means that the time-lapse will be half the time. I stretched duration in Adobe Premiere Pro CC to 15 seconds and the results still looked good.
Here’s one that I shot in Hong Kong during the day. Since the exposure wasn’t going to change I could shoot it all in Manual as originally recommended:
The Bottom Line
Shooting Time Lapse videos can be fun. With newer cameras it’s easier than ever. If you’re in a situation where you can set your camera up for 30 minutes or more on a tripod and shoot a scene you’d be surprised by what takes place during that time. Enjoy!
Going to Photoshop World 2015 in Vegas?
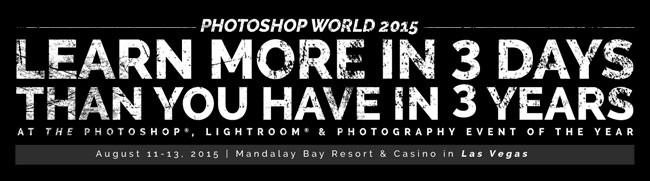
If so you can SAVE $50 by registering here with the Discount Code: TerryWhite50


