One thing that I’m always looking for as a photographer is new ways to stay ahead of the pack. Whether that is with a new lighting style, a new editing technique, or a new piece of gear that allows me to do something different, I’m always looking for that edge. Recently Scott from Saberstrip sent me a couple of his unique modifiers to try out, and I immediately knew I had to add a few to my speedlight kit. Not only do they do something different than any other light modifier that I currently own, but also it’s a look that not many people are getting with speedlights. The ease of use, durability, and unique design make them well worth the investment.
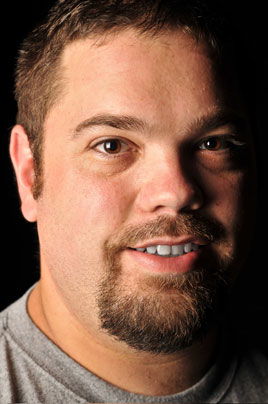
Immediately after receiving them I set one up and grabbed my closest subject, which happened to be my son who was playing a video game. Being my son, he’s used to standing in as a model while I test out new gear, so he was willing and happy (or at least he faked being happy). I brought the light in close and used it to light his face like I would do for a headshot, and I couldn’t have been happier with the light quality. I gelled the flash to match the ambient in the room and the output was beautiful.

What You Get
The Sabertrips arrives in a carefully packaged box, individually wrapped in plastic and bubble wrap. Each Saberstrip is a roughly 3foot long tube with a cap on each end. The middle section is cut out and covered with diffusion material. On the removable end you will see a wing nut type of fastener that allows you to loosen the cap to remove it. Once the bottom cap is removed you will see two screws holding the mounting plate down and a ¼-20 screw protruding from the mounting plate. If you look into the tube you will see at the very top (the end away from the base plate that you removed) is a reflector plate mounted to the top cap. That’s pretty much it. Other than a cold shoe or TTL cord (I’ll get to those in a minute) that’s all that you need to get started using your new Saberstrip. There are a few things that Saberstrip recommends to use when mounting your modifier, however they aren’t required. To see a list of those recommended items visit the Saberstrip website.
Setup
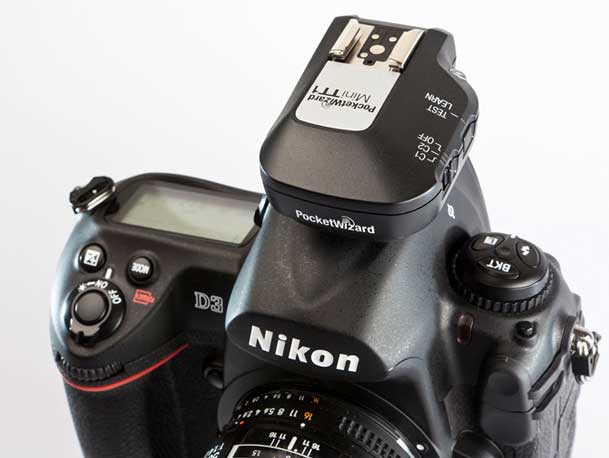
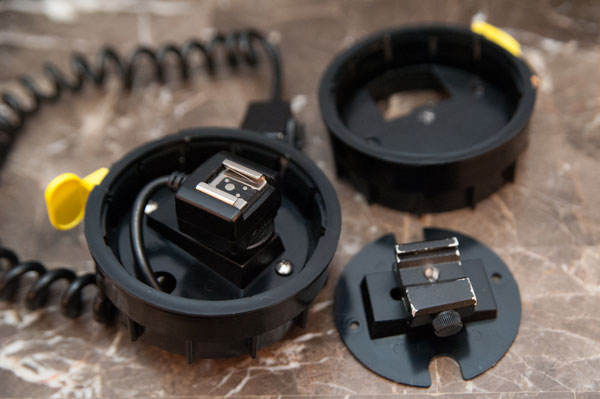
Setup is easy with the Saberstrip. Once the bottom cap is removed from the modifier you remove the two Phillips screws holding the base plate in place and the plate comes free. Once you have the plate removed you have access to the ¼-20 screw to mount your flash. Here you have to make a decision. Depending on how you’re going to trigger your flash units, you will need to attach one of two things to the mounting plate. If you’re using Pocket Wizard Flex units, or the Radio Popper TTL triggers, you will need to mount a TTL cable to the plate. If you’re using standard Pocket Wizards or any other kind of “dumb” triggers, you will need to attach a cold shoe adapter here. Personally I am using the Pocket Wizard Flex units so I attached the TTL cable to the base plate. (One note here, at first I had a little trouble getting the TTL cable through the hole in the bottom cap but it finally went through with a little twisting of the connection part of the cable) Once you have your cold shoe or cable attached, you can reinstall the two Phillips screws to reattach the plate to the cap. Attaching your flash to the base plate is done by either sliding the hot shoe connection into the TTL cord, or tightening the screw on the side of the cold shoe like you normally would. Once you have your flash attached, you need to remove the diffuser cap (if equipped) and zoom the flash to its maximum zoom. This causes the flash to bounce off of the reflector at the other end and distribute the light evenly across the diffusion material. Mounting the Saberstrip itself is easy. The bottom cap accepts a ¼-20 screw/stud (like most common speedlight accessories) so you can attach it to most standard light stands and booms. I used them with all sorts of stands and never had a problem mounting them with no extra equipment needed.
Uses

I found a few different “favorite” ways to use the Saberstrip. Since the Saberstrip is similar in shape to a conventional strip box, the immediate thought is to use them as rim lights. I used them like this as well, but I wanted to try them out in different ways. In the shot I did of my daughter I placed the Saberstrip on a boom horizontally and lowered it until it was just out of the picture. I then placed a piece of Plexiglas below her arms on a posing table. The design of the Saberstrip allows the light to be feathered off of the subject, which is exactly what I did in this situation by simply rotating the whole unit so that the diffusion material was pointed more towards the ceiling than directly at her. The modifier worked really well for this shot because it kept an even source of light across the entire reflective area as well as her face. The quality of light was soft and made for a beautiful portrait.
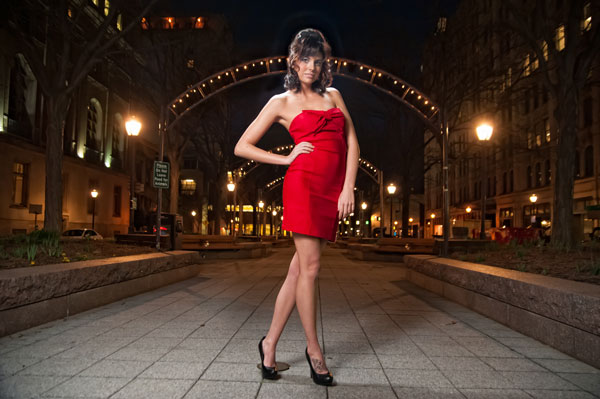
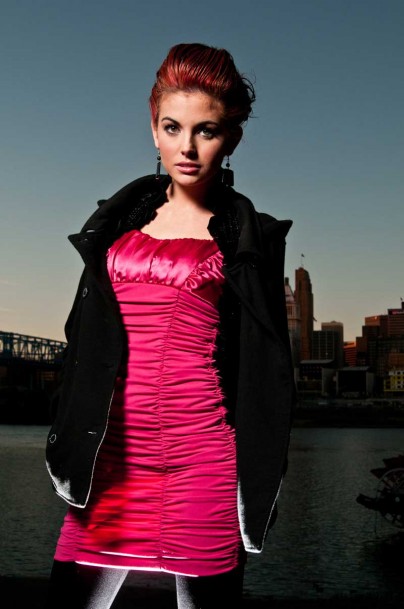
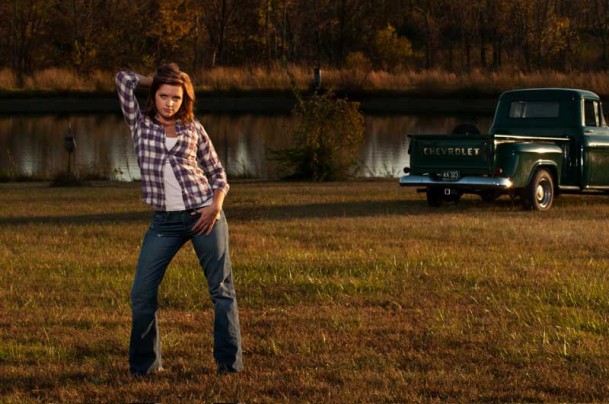
The next way that I found myself using the Saberstrip quite a bit was as a hair light. I found myself placing it on a boom above and behind the subject’s head in a horizontal position. I liked it this way because it puts a nice soft light on not only the subject’s head but on the shoulders as well. It creates great separation from the background and really makes the model “pop”. I used it with Dawn in the shot above, but because you can see so far above her head in the frame it’s actually a composite. I had the camera on a tripod and I told the model to remain still after the first shot. After I took the first shot I removed the boom and hair light, returned and took a second shot without the hair light in the photo. I then combined the two in Photoshop to make the image you see above. The main was a Qflash through a Zumbrella camera left.
The bottom Line
For me it comes down to creativity. I absolutely love the ability to control, contain, and shape my light to my liking. Adding speedlight powered strip lights to my mobile lighting kit is just one more way that I can separate myself from the pack making my images that are different than the rest. The Saberstrip is reasonably priced. For $135.00 you get a mobile strip light that can be used not only as a rim light, but also as a hair light, main light, fill light, and more! It’s a great value and a great product! To find out more, or to order your Saberstrip visit http://www.saberstrip.com.
