If you’ve followed my photography over the years you know that I’m always looking at new light modifiers. I can never have too many in my arsenal. Over the past few evenings I’ve been experimenting with some new ones that have made their way into my studio. Let’s take a look at them and some of the results I’ve been getting so far.
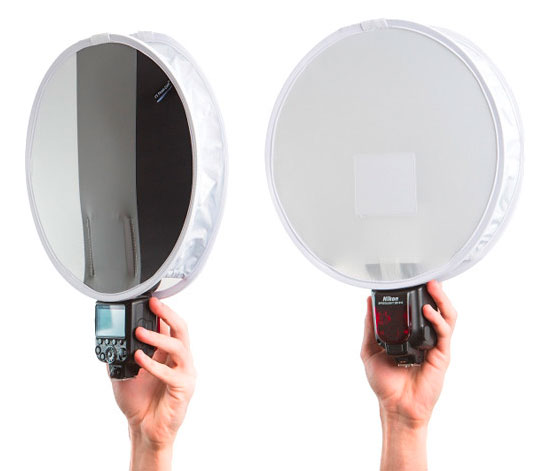
Fstoppers Flash Disc
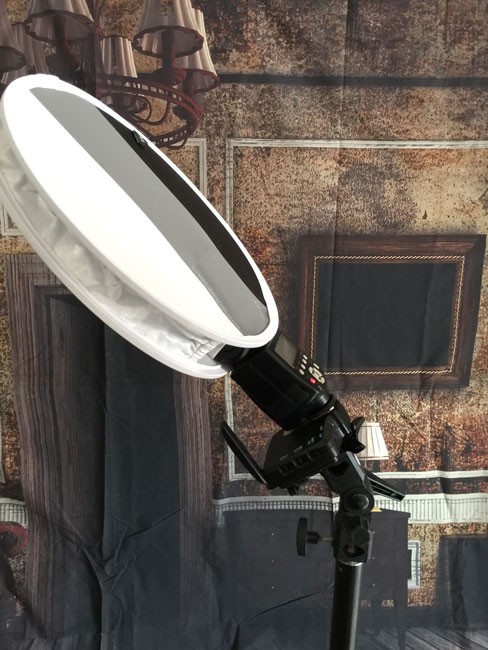
The first one was actually what I call a “checkout line impulse buy”. In other words my cart at B&H Photo had the items I wanted and I still had some money left on my gift card. I couldn’t think of anything else I wanted in the amount that was left over so I decided to add the Fstoppers Flash Disc. It looked cool, very portable (it folds down to a size smaller than the speed light), and I figured if nothing else I could use it as my white balance card.
Before last night’s shoot I decided to take a few test shots so that you can get a feel for what this will do for you. Now keep in mind that the bigger the light and the closer it is to your subject, the softer it will be. Since this modifier is relatively small I was skeptical. However, it did exactly what I expected. It gave me a better light than I would have gotten without it!
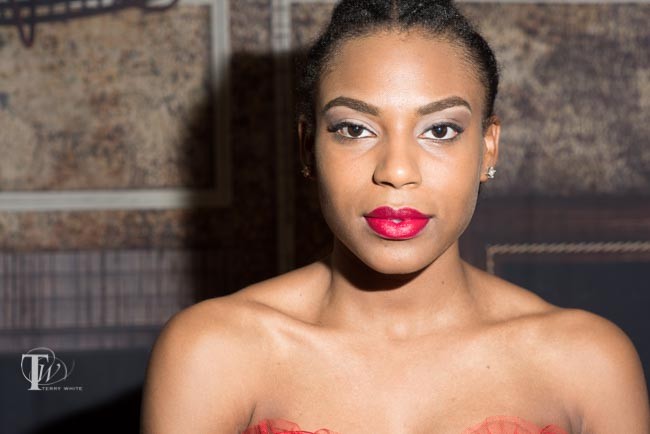
First up, here is worse case scenario. No modifier at all. Just flat horribly harsh lighting from the speed light using just the little built-in flip down diffuser. (yes I could have bounced it to make it better. Yes I could have turned the power down. Yes I could have done _____., but the point here is to show what small lights typically do straight on).
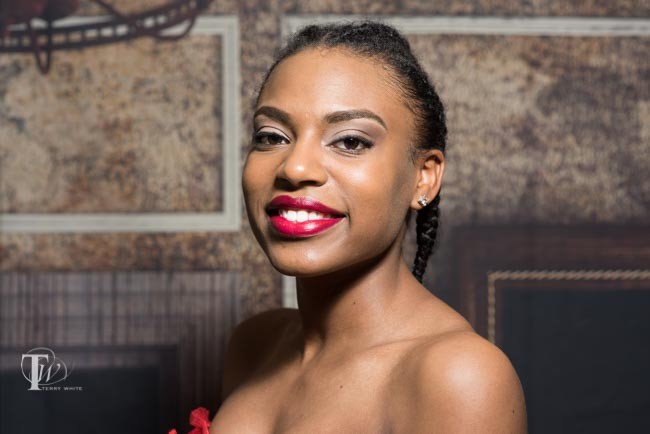
Now with the Fstoppers Flash Disc mounted directly on the speed light. The results are notably better than without it. If you look at the shoulders you see a software light pattern and her face is less blown out and not as flat. Again there are more things you can do to make the results even better, like bouncing the light and perhaps a different position/distance, but again the point here is to see simply what difference it would make by adding the Flash Disc.
Adding in the Westcott Omega
The next modifier I was going to look at was the NEW Westcott Omega 10-in-1 Reflector Kit. The material directly connected to the frame is a one stop diffusion panel. So before getting to my Omega setup I simply added the diffusor to my existing Flash Disc set up to get this result.
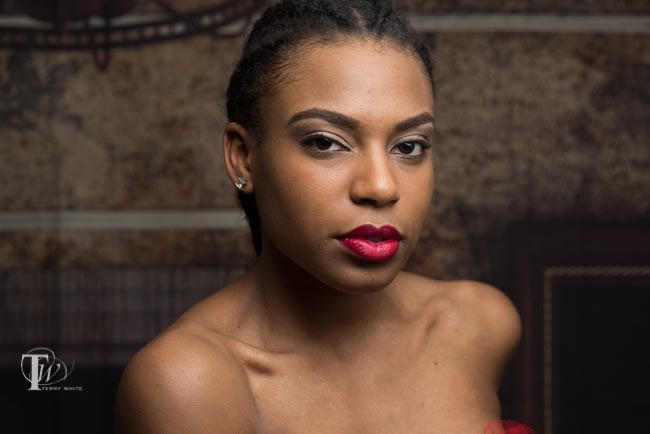
Same light. Same Flash Disc. However, the results are much much better simply by diffusing the light a little more. Add a reflector for under the eyes/chin and you’re golden.
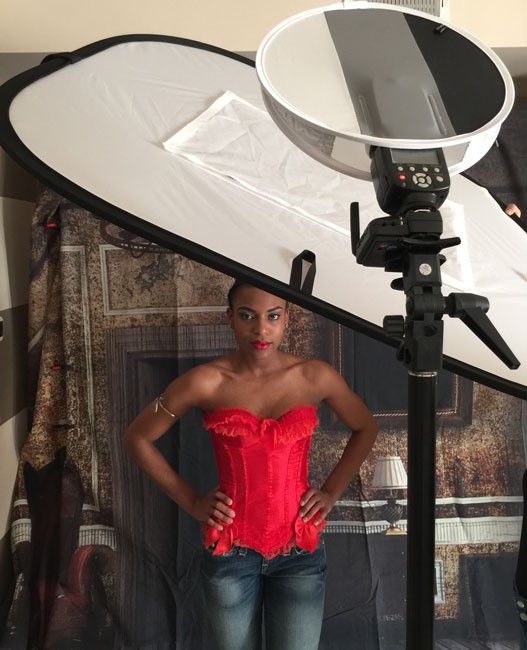
Since the Omega was effectively going to take the light down 1 stop, I increased the power setting on the speed light from 1/8 to 1/4 to compensate.
The Omega 10-in-1 Reflector Kit
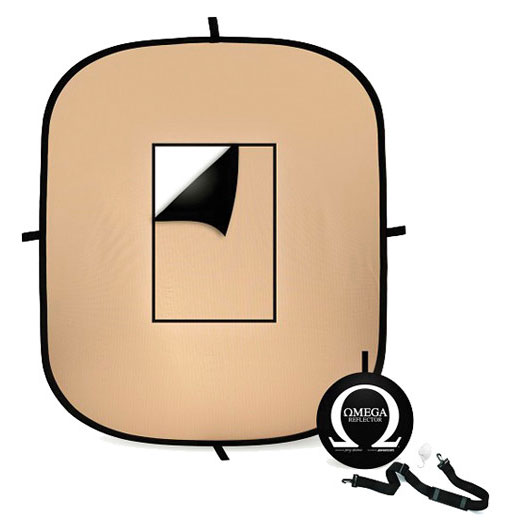
This reflector kit adds one element that I haven’t seen or had in any of my previous multi-use its and that is a “shoot through window”. First off you get a typical 5-in-1 kit right off the bat. You get Silver, Gold/Sunlight, White, Diffuser (built on to the frame) and Black. Now take all of those surfaces and remove the center piece for a 10-in-1 kit.
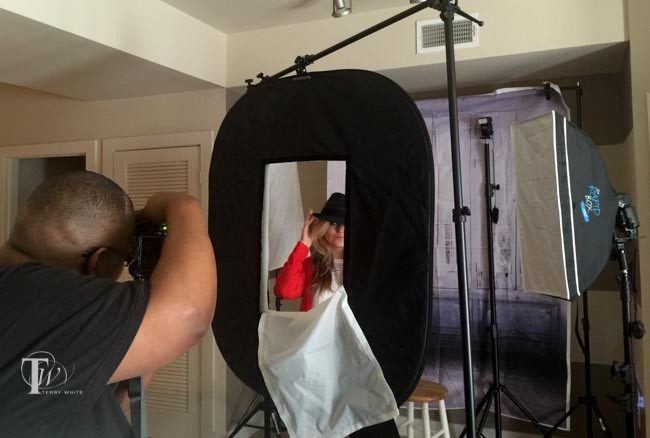
When doing a shoot through setup like this, you kinda have to think backwards as you’ll be using the reflective side facing the subject to light the subject. In the setup above I used two speed lights. The one in back (no modifier) was position up high to act more as a hair light and to add a little fill. The second speed light was mounted in a Rapid Box Strip to provide both a rim light and main light.
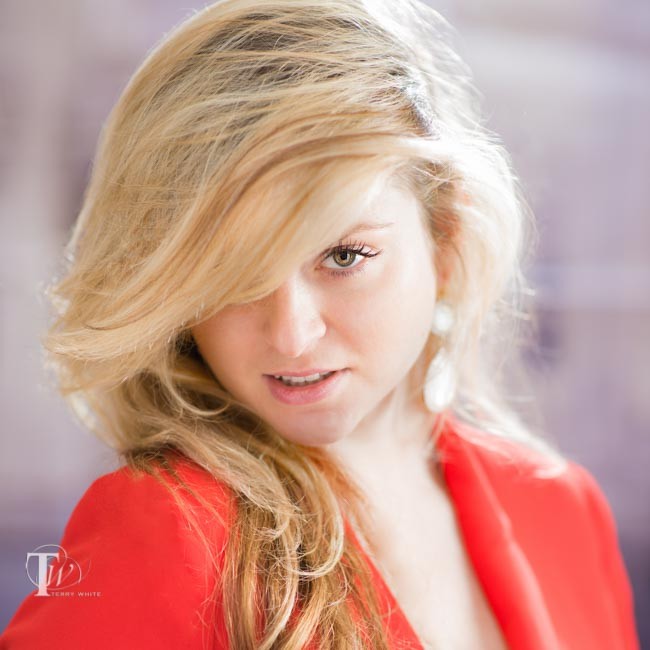
I like the results and the fact that this modifier made me think outside my box in ways of setting up lights that I probably wouldn’t have tried otherwise. It’s also ideal for putting up in front of a window either as a diffuser or shooting through the window from outside into the room without blocking the light.
The Westcott Omega 10-in-1 38″ x 45″ Reflector Kit is the one I’ll be traveling with from now on as it provides the basic reflecting, diffusing, flagging functions that I would need, plus the ability to shoot through.
The Rapid Box Duo
I was already a fan of the Westcott 26″ Rapid Box, which is part of my “Westcott Terry White Travel Portrait Lighting Kit“. So when they announced the Rapid Box Duo, I was intrigued.
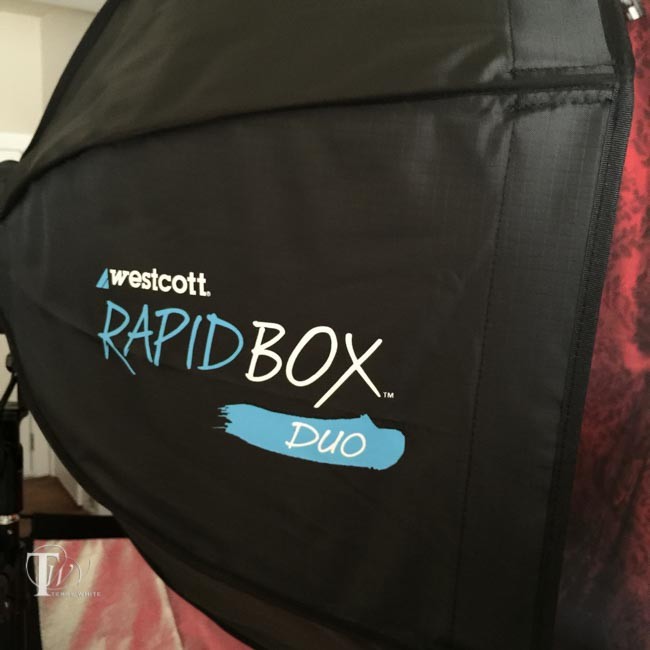
The big difference here is that this one allows you to mount one or two speed lights to give you more light. It’s also a slightly bigger size at 32″. It still collapses down for travel and comes with all the mounting hardware/angled bracket for mounting your speed lights outside for better triggering.
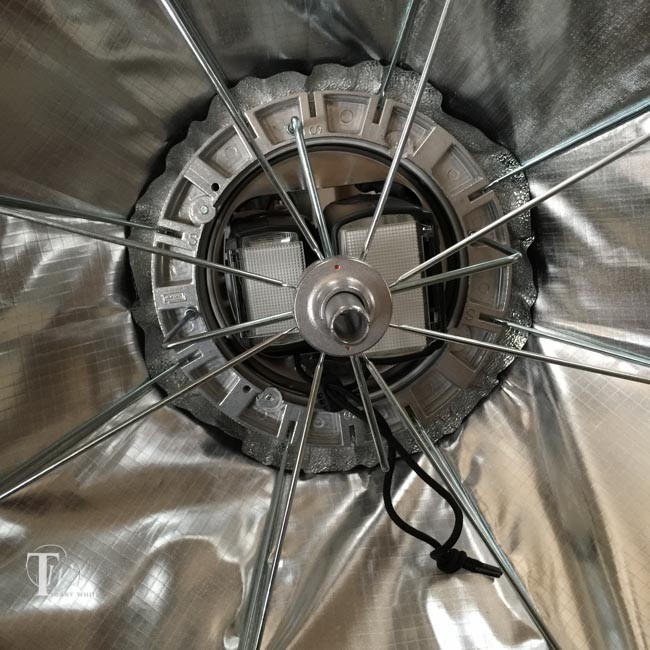
Here I have an Nikon SB 910 and SB 800 mounted.
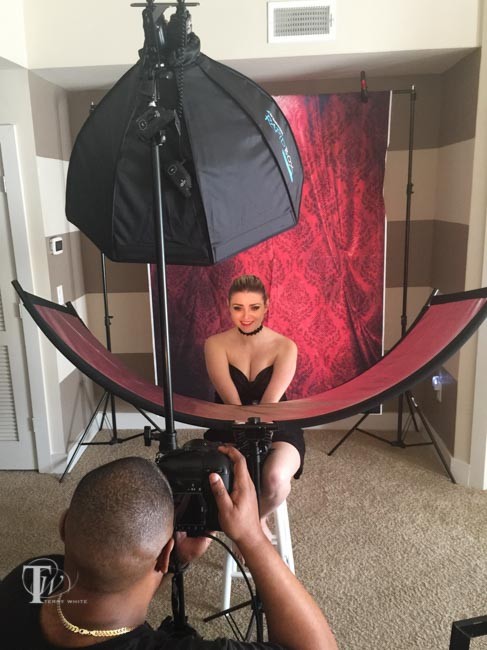
Adding in the Westscott Eyelighter, which is probably my favorite modifier of all time. I get the results on location that I would typically get with more expensive studio strobes.
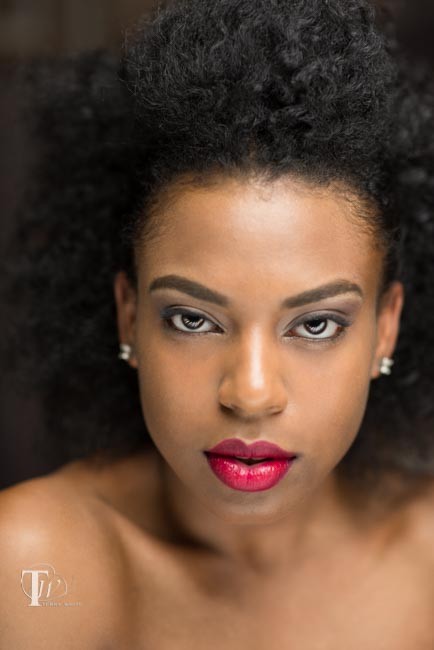
As I’ve said many times. You can have the most expensive camera in the world, but without great light your pictures are liable to suck.
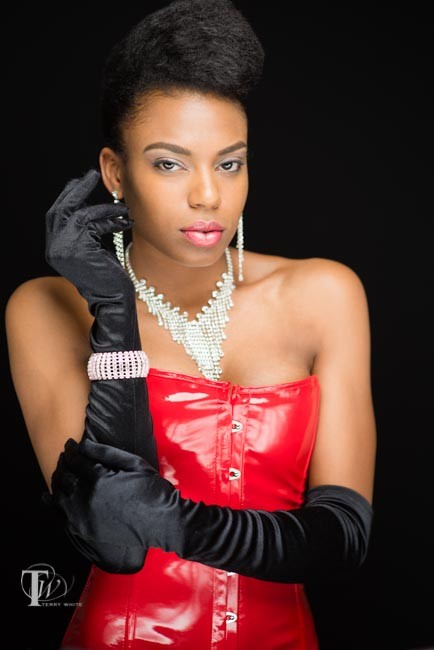
However, if you have great light you can get good results with just about any camera.
You can get the Fstoppers Flash Disc here. You’ll also want this “tilt mount” to be able to mount your speed light and tilt it down.
You can get the Westcott Omega 10-in-1 Reflector Kit here.
You can get the Westcott Rapid Box Duo here
