httpv://www.youtube.com/watch?v=ioevL6m62yk
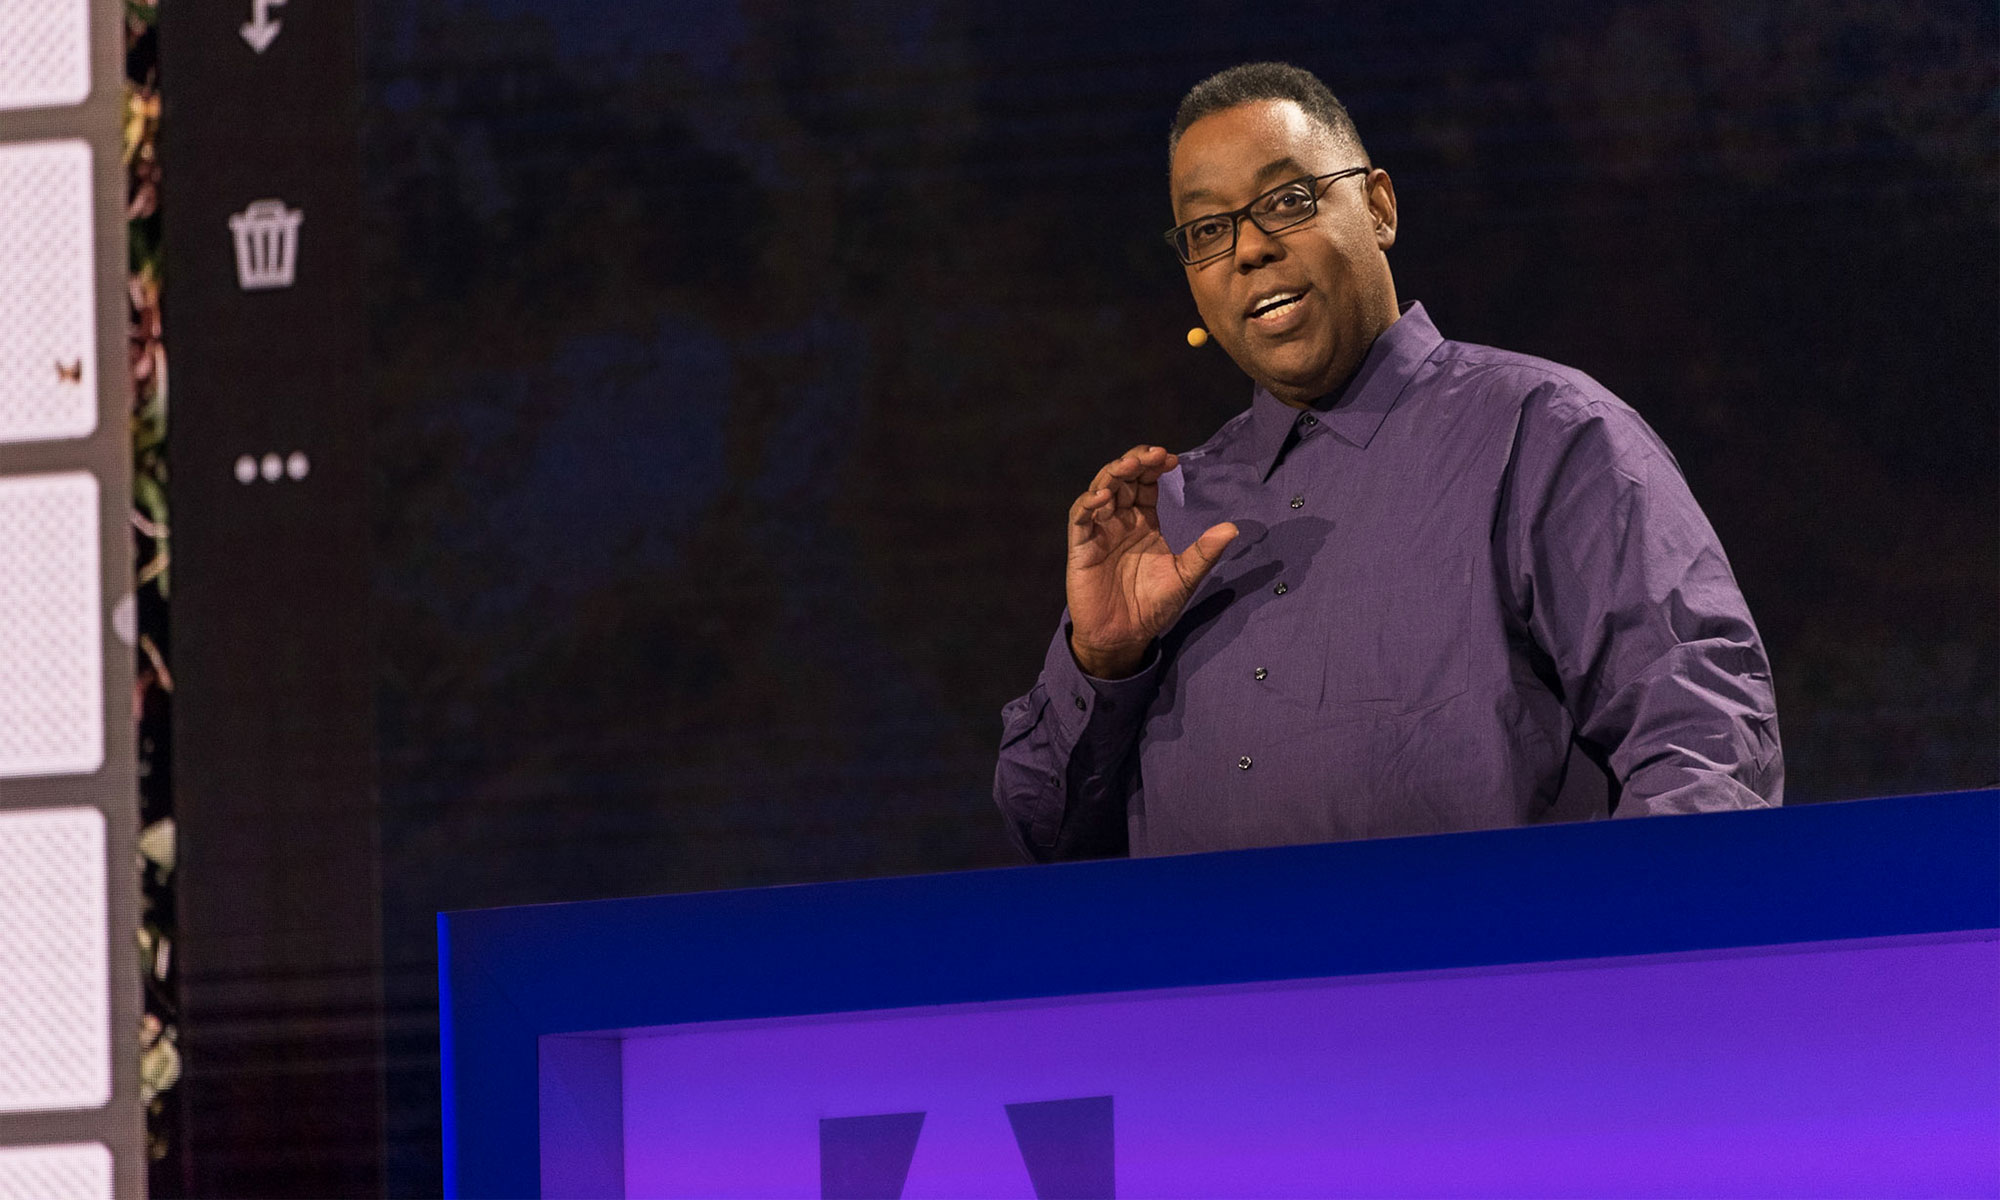
In this brief video, Adobe's Worldwide Video/Audio Evangelist Jason Levine will show you the incredible power and ease of NATIVELY editing DSLR footage in Premiere Pro CS5.
That's right. Straight from the camera to the timeline. No transcoding; no proxies. Import your videos through Adobe Bridge/Photo Downloader, or pull content directly off your CF/XD/SD/Express/PCMCIA card from a card reader. Full frame-size, mixed frame rates, all living together, harmoniously, in the Premiere Pro CS5 timeline. And what makes it all possible? The incredible new 64-bit Mercury Playback Engine. Oh, and Premiere Pro CS5 is a native 64-bit app as well now. 😉
Gear Guide
Camera used: Canon 7D
Lens: Canon EFS 18-135mm, 3.5; Tamron AF28-200mm, 3.8
Machine(s): MacBookPro COREi7; 8GB RAM, Snow Leopard; HP8730w Quad-Core, 8GB RAM, Windows7
Download a FREE Fully Functional 30 Day Trial of Premiere Pro CS5 here.


Nice tutorial, but why is he whispering?
Hi Terry, nothing to do with your review but the lady in the photo at the top right, I was just wondering who she is? She has a very interesting face 🙂
I’d like to see some DSLR-oriented tutorials that are even more basic than this. Some of us don’t know anything about making or editing video, but we want to get started.
I was under the impression that the Mercury Rendering Engine required certain NVIDIA video cards in order to work with HDSLR footage in real time without transcoding.
Explanation?
-Hopper
The Mercury engine also has a software only component. Granted with an Nvidia card you can get MORE layers of HD, but if your computer is fast enough you’ll still benefit from Mercury in software even without the Nvidia card.