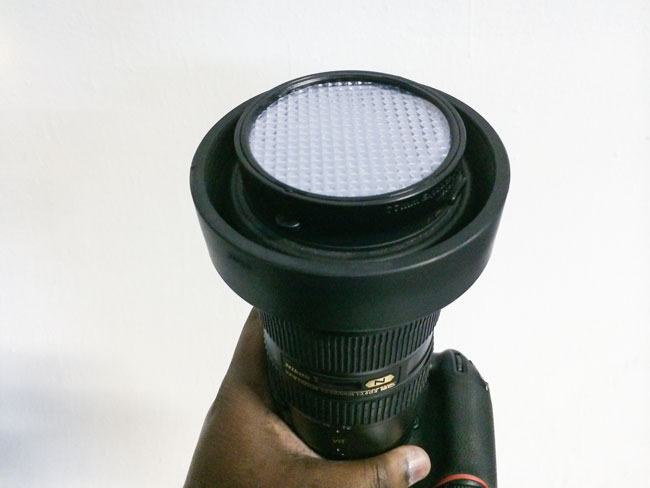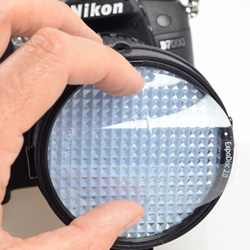
Having proper white balance in your photos can help make the difference between a good shot and a great shot. If you’re shooting RAW or in studio with a gray card or color passport, it’s pretty easy to adjust the white balance in post. However, if you’re shooting JPEG or shooting scenes where you can’t place a grey card then it’s probably best to get the proper white balance before you even start shooting. One of the best ways that I know to do this is with an Expoimaging ExpoDisc. I’ve used this product for years. I was pleased to see that they came out with a new version. The ExpoDisc 2.0 has been redesigned to make a good thing even better. The first thing I noticed and fell in love with is that it now clips on to your lens. There are two buttons on the outside that when depressed with your thumb and index finger retract the clips that hold it in place on your lens. This means that it’s very quick to put on and keep in place and take off. The older model didn’t have this feature and I would just lay it on my lens to set the white balance and of course it could fall off very easily. The other nice enhancement is that it comes with a set of warming filters too. This is great if you’re doing portraits. When photographing people you tend to want your subjects a little warmer than “standard/proper” white balance. These filters simply slide right on to the front of the ExpoDisc 2.0.

Once you have the ExpoDisc 2.0 in place with or without the included warming filter all you have to do is (depending on your camera model) put it in the mode for capturing a custom white balance. On the Nikon DSLRs you do this by putting the white balance selector on “Pre” and then holding down the white balance button until “Pre” starts blinking. You’ll have a few moments to take a shot. Now aim the camera at the light source and press the shutter. If all is well the display will now flash “Good” if not it will flash “No Good”, which means you’ll need to simply point at a different spot and try again. A couple of nights ago I did a portrait session in studio and used only the ExpoDisc 2.0 for my white balance. No adjustments to white balance in Lightroom. The results are below:


The Bottom Line
Professional photographers will tell you that it’s usually better to get things right in the camera rather than relying on post processing. I agree! If we are to agree on that then it makes sense to get white balance right in the camera as well. The ExpoDisc 2.0 is one of the best if not the best way of doing this. ExpoDisc 2.0 – Get one below:

